
Projects
- Creating DIY security camera roof mounts for passenger side security camera
- Installing 8 small LED lights on roof
Project Status
- Mounting of security cameras and small LED lights complete
- Conduit, wire running, roof fan, and solar panel installation still needs to be completed
Time Spent
- 12 Hours
Steps Taken
- Widen holes of security camera with drill for mounting to aluminum extrusion
- Add side bracket to security camera mount for more stability
- Paint security camera mounts with black bedliner
- Create 4th and last security camera mount with aluminum extrusion
- Mount camera to single piece of double 80/20 extrusion with 2 bolts
- Use DIY bracket for 3rd hole attachment of camera
- Use flat DIY bracket to hole camera wire in extrusion channel
- Add 2 additional brackets on bottom front and back of security camera mount for stability
- Attach rear security camera mount to roof rack
- Repaint rear security camera mount with black bedliner
- Attach 2 small LED lights to rear of roof rack
- Attach front security camera mount to roof rack
- Attach 2 small LED lights to front and rear on passenger side of roof rack
- Attach driver side security camera mount to driver side
- Attach 3 small LED lights to front, middle, and rear on driver side of roof rack
Materials Used
- Keep in mind that prices frequently fluctuate.
- It’s common for products to be delisted on Amazon. If you find a delisted product, please Email Me at steve@campervanfreedom.com and I will fix it.
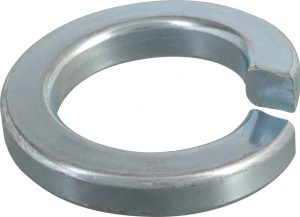
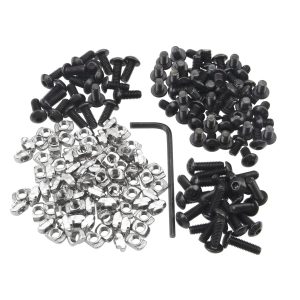
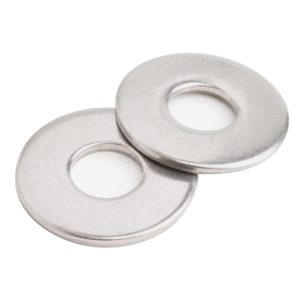
The Hillman Group 300018 1/4″ Split Lock Washer, Steel, 100 Pieces
Medium Strength Thread Locker 243
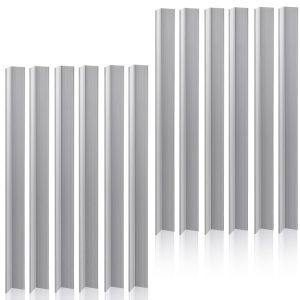

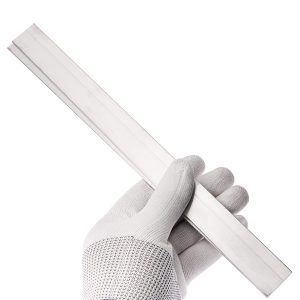
12 Pieces Square Aluminum Flat Bar, 1/8″ Thickness X 1.2″ Width X 12″ Length

Tools Used
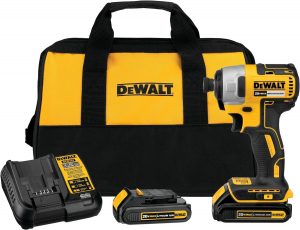
Dewalt DCD794B 20V MAX ATOMIC COMPACT SERIES Brushless Lithium-Ion 1/2 in. Cordless Drill Driver
DEWALT Titanium Nitride Coated Drill Bit Set, Pilot Point, 21-Piece
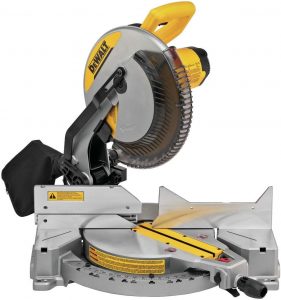
DEWALT 12-Inch Miter Saw, 15-Amp, Single Bevel, Compound (DWS715)
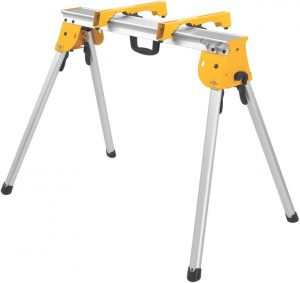
DEWALT Miter Saw Stand, Heavy Duty with Miter Saw Mounting Brakets (DWX725B)

COMOWARE Circular Miter Saw Blade – 12-inch 100 Tooth TCG Metal Saw Blade
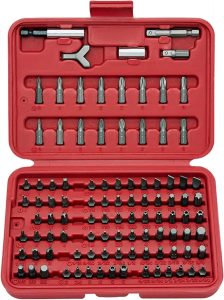
NEIKO 10048A Security Bit Set 100-Piece Set
DEWALT DWHT70263M Ergonomic Push Button Locking Folding Metric Hex Key Set

Notes
- I put in a very long day today. I got to the desert around noon and didn’t leave the desert until 2:30am
- The end of attaching the security cameras and small LED lights was in sight, so I pushed through fatigue and got it completed!
- One of the challenges of the camper van conversion project is how long it takes. When the end of a project is months away, summoning the motivation to work can be difficult at times.
- The solution to this is breaking up the giant conversion project into small projects and milestones that can be completed in a matter of days.
- Break your projects up into as many smaller projects as needed so that you can complete at least one (10) subproject per day.
- This will give you motivation to push through fatigue and frustration to complete a subproject per day. It will also help you put in longer hours per day.
Pictures
Short Video
Plans For Tomorrow
- I put in long hours in the desert the past 4 days so I will be resting and doing some hot yoga tomorrow.
- I will resume work on the roof electrical and conduit on the next day.
- It’s important that I don’t take more than 1 rest day because that can turn into procrastination, comfortability, and laziness to keeps me away from working on the van.
- This is good advice for anyone doing a van conversion: Taking rest days when you absolutely need them is important, but never take more than 1 day of rest consecutively.
- I enjoy working on the van very much, and I really enjoy being in the sun out in the desert. I love the peace and privacy of it.
- However, the reality is that working on the van can also be tiring, frustrating, and tedious. It’s important to me that I always present things honestly. When people are really honest, nothing is ever all good or all bad. There’s always a mix of good and bad.
- Working on the van can be especially challenging for me because I don’t have any dedicated indoor space to work. I have to take my van, tools, and materials out in the desert and work outside in the elements.
- I noticed that if I take too much time resting and being comfortable, my 1 day rest can turn into weeks of rest and procrastination because I got too comfortable and lazy. It’s important to ride the wave of momentum when I am working on the van and stick to my daily routine of putting hard work in.
- It’s a balance. My goal is to spend 90% of my days working on the van and 10% resting.
Long-Form Article
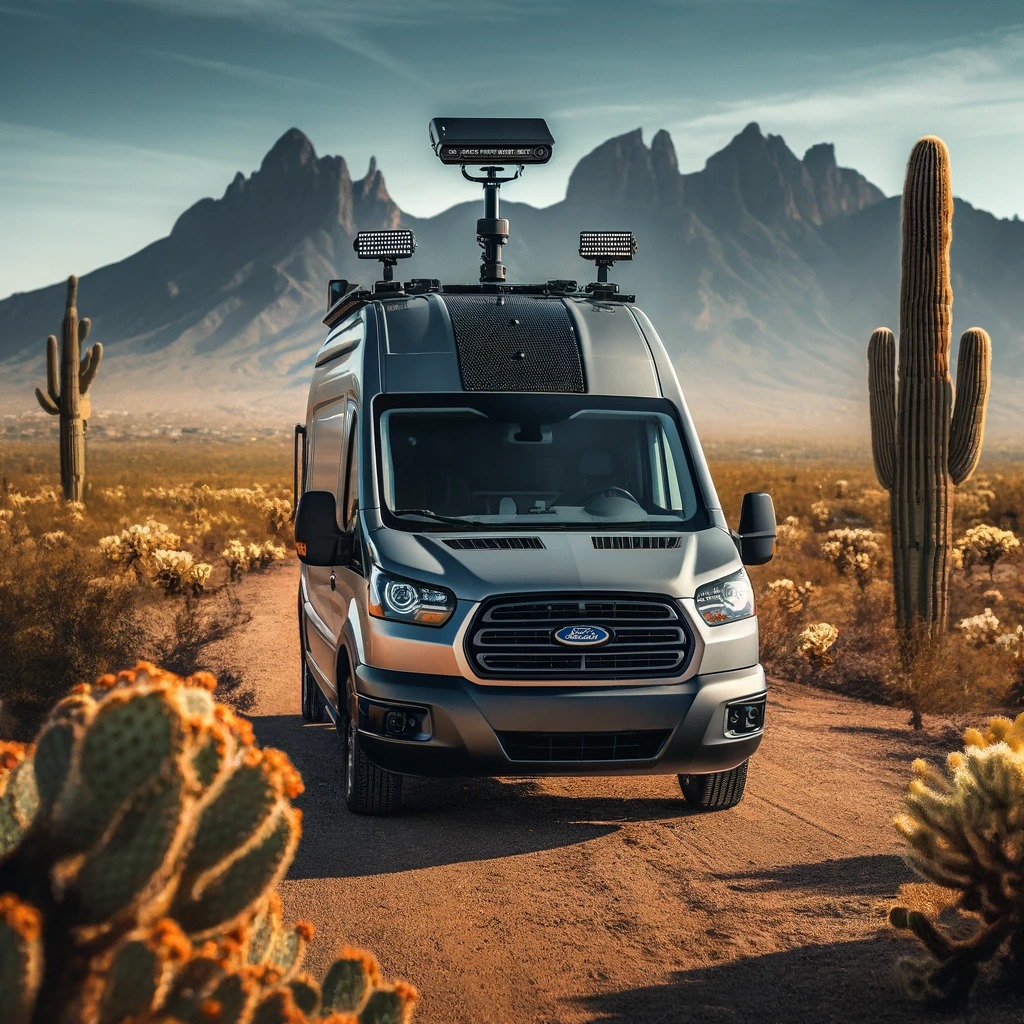
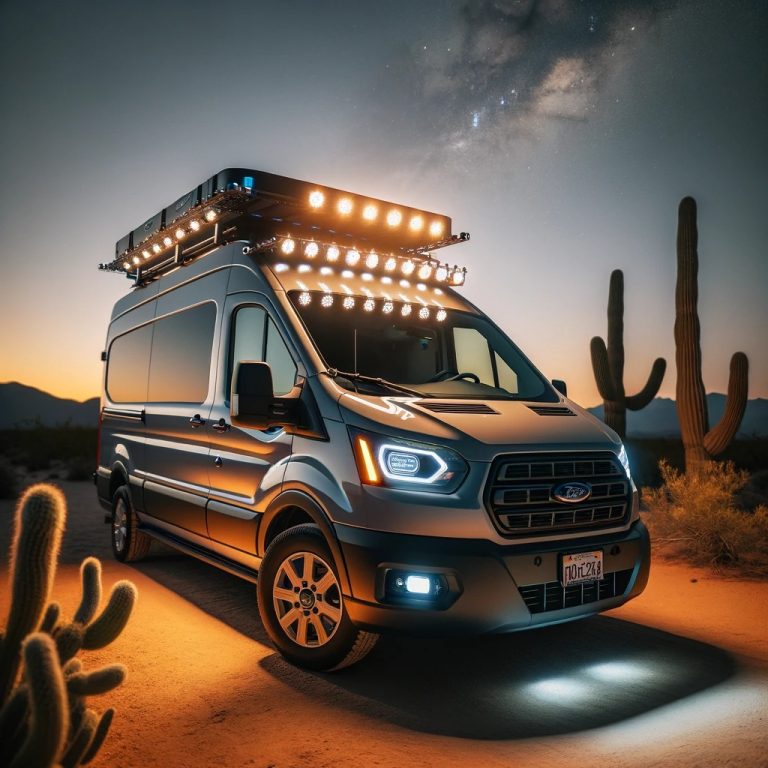
Elevating My Ford Transit Camper Van: Security and Lighting Upgrades
Transforming my 2023 Ford Transit 250 into a bespoke camper van has been a thrilling expedition. It’s a journey marked by numerous projects, each designed to bolster both the van’s utility and its security. Notably, the integration of DIY security camera mounting and the addition of small LED lights have significantly upgraded the van’s security apparatus and its external illumination. This article outlines the steps I took in this particular project, detailing the materials and tools I employed, and the progress thus far.
Project Overview
Completed Tasks:
- Installation of high-quality security cameras and small LED lights.
Upcoming Tasks:
- Installation of the conduit, wire running, a roof fan, and solar panels.
Time Invested:
- 12 Hours.
Execution Details
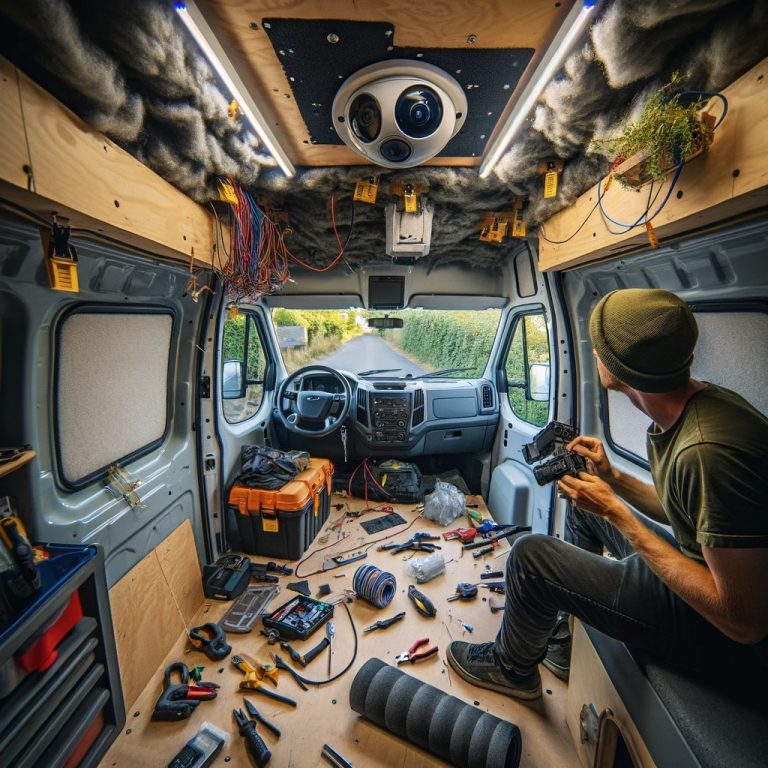
Mounting Security Cameras:
- I started by using a compact drill driver and a titanium drill bit to widen holes on the aluminum extrusion for the security camera mounting. This initial step ensured the mounts would fit perfectly.
- Side brackets were then added to each security camera mount, enhancing their stability. This was crucial for maintaining the fields of view and ensuring the longevity of the setup.
- The mounts received a coat of black bedliner paint for a durable and aesthetically pleasing finish.
- The culmination of this process was the assembly of the final security camera mount, using aluminum extrusion and ensuring every camera was equipped with color night vision for optimal monitoring, even in low-light conditions.
- A specially designed DIY bracket was created to provide additional attachment security and to secure the camera wire within the extrusion channel, keeping the setup neat.
LED Light Installation:
- On the rear and passenger side of the roof rack, I attached two small LED lights, ensuring easy installation and optimal illumination.
- Additionally, three small LED lights were strategically placed at the front, middle, and rear on the driver’s side, enhancing the van’s exterior visibility and safety.
Materials and Tools
Materials:
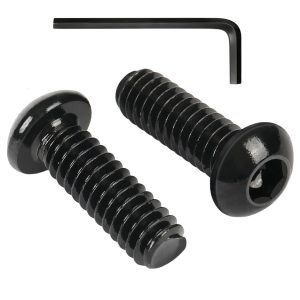
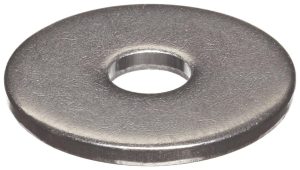
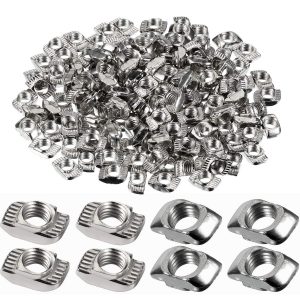
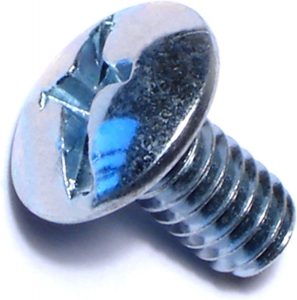
- A variety of bolts, washers, and screws ensured each component was securely attached.
- Custom brackets, crafted from aluminum angle bars and flat bars, provided tailored support for the security camera systems and LED lights.
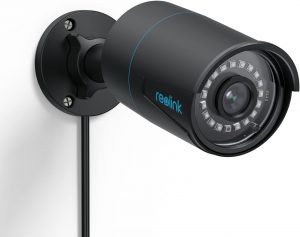
- The project centered around high-quality security cameras and outdoor cameras, each selected for their durability, battery life, and ease of installation.
- A premium quality roof rack was chosen to support the added equipment without compromising the van’s aerodynamics or design.
Tools:
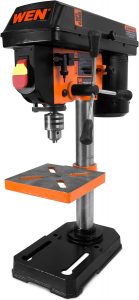
- Dewalt tools were invaluable throughout the project, with the compact drill driver, and a benchtop drill press playing key roles in the precise assembly and installation of components.
- A titanium drill bit set facilitated the creation of accurate, clean holes for mounting, while various other essentials like replacement batteries ensured a smooth workflow.
Reflections and Forward Look
After dedicating a long day in the desert, from noon until the early hours, my commitment to transforming my van remains unwavering. Segmenting the larger conversion endeavor into smaller, daily achievable projects has been instrumental in maintaining momentum and focus.
Plans for Tomorrow:
Following four days of intensive labor, a day of rest is on the horizon. However, this pause is brief, as work on the electrical and conduit installation atop the roof will resume shortly. It’s a careful balance of rest and productivity to ward off procrastination.
This phase of the project, focusing on security camera systems and lighting, underscores the importance of meticulous planning and execution. From ensuring the security camera mount offers ample attachment security to optimizing the battery life of outdoor cameras, every step is geared toward creating a van that’s not just a means of travel, but a secure, well-lit home on wheels.