Project Diary
Rust-Oleum 248903 Flat Black High Heat Spray Project
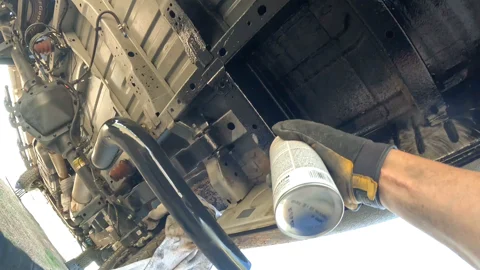
I cleaned and painted my Ford Transit tailpipe with Rust-Oleum Flat Black High Heat Spray #248903 to bring it closer to the black RAPTOR bedliner.
My Van Build
Explore my Ford Transit build through the recovered journals and project diaries, with the work, photographs and decisions recorded at each stage.
The journals below record work on the Camper Van Freedom Ford Transit conversion. They include floor and interior preparation, roof-rack and bracket work, a multi-day heater project, roof wiring and the start of a storage system. Each entry keeps its own publication date, project status, photographs and listed equipment.
These project diaries record the work, photographs and decisions from my Transit build. Follow each project in its own sequence.
For other ways to follow the project, browse the camper van video archive, read the van-life articles, or revisit Project Freedom’s 2024 podcast episodes.
Start with Floor Preparation for Sound Deadening’s floor preparation for the cleaning work recorded before the planned sound-deadening stage. Continue to Interior Preparation’s interior preparation for rivet nuts, trim removal and the work still in progress. Follow the project names and project-day sequence.
Flatline Low Pro Roof Rack’s roof-rack journal records a nearly complete rack installation, with a ladder and one screw still outstanding at that stage. Light Bar Mounting’s light-bar work and the camera-mount entry group show later, separate hardware projects. Use their original photographs and written observations together when reviewing the work.
Read from Diesel Heater Project Day 1 through the Diesel Heater Project Day 4, using the intervening entries below for context. Diesel Heater Project Day 1 describes partial installation. The journals preserve that project history; any new installation needs the instructions and checks for its actual heater, vehicle and associated systems.
Roof Wiring and Devices Project Day 1 introduces the recorded roof-wiring stage. Follow its related sessions through Roof Wiring and Devices Project Day 8 to compare the conduit, junction-box and wire-routing work as it developed. These records describe this build’s sessions; a complete electrical plan still requires the exact component documentation and design checks.
Roof Storage System’s storage entry records a SketchUp design, a patio layout representing the roof dimensions, and early drawer/cabinet work. Its status is in progress. Use the record to understand the design stage shown, while keeping completed attachment, loaded operation and travel retention as separate questions.
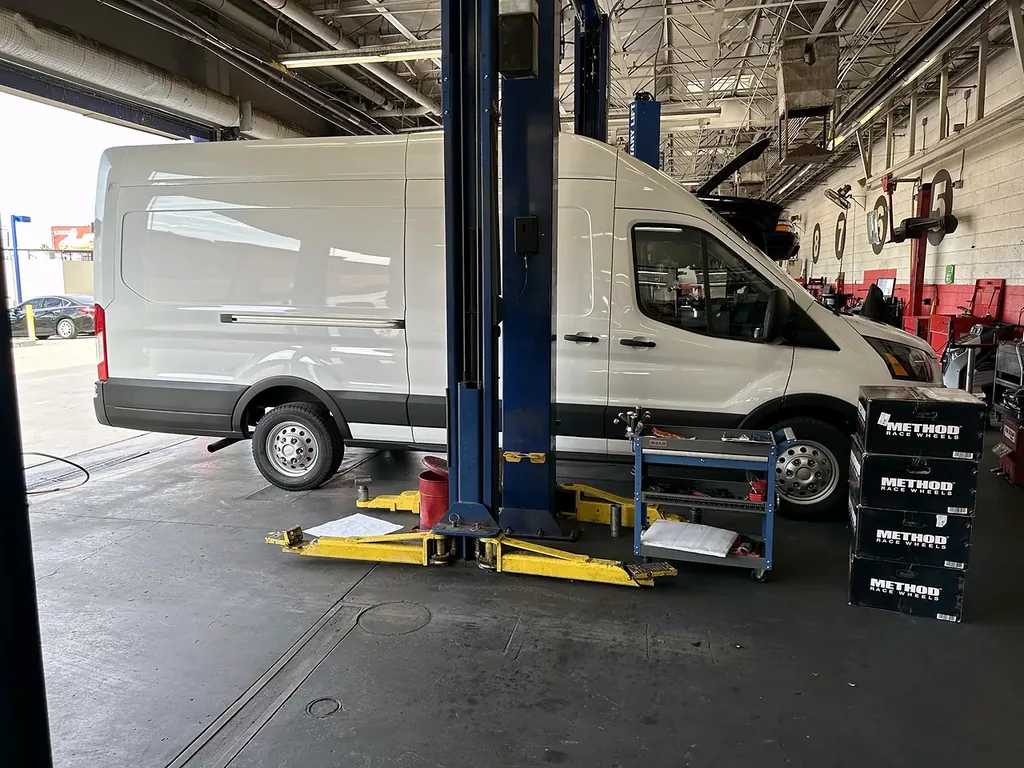
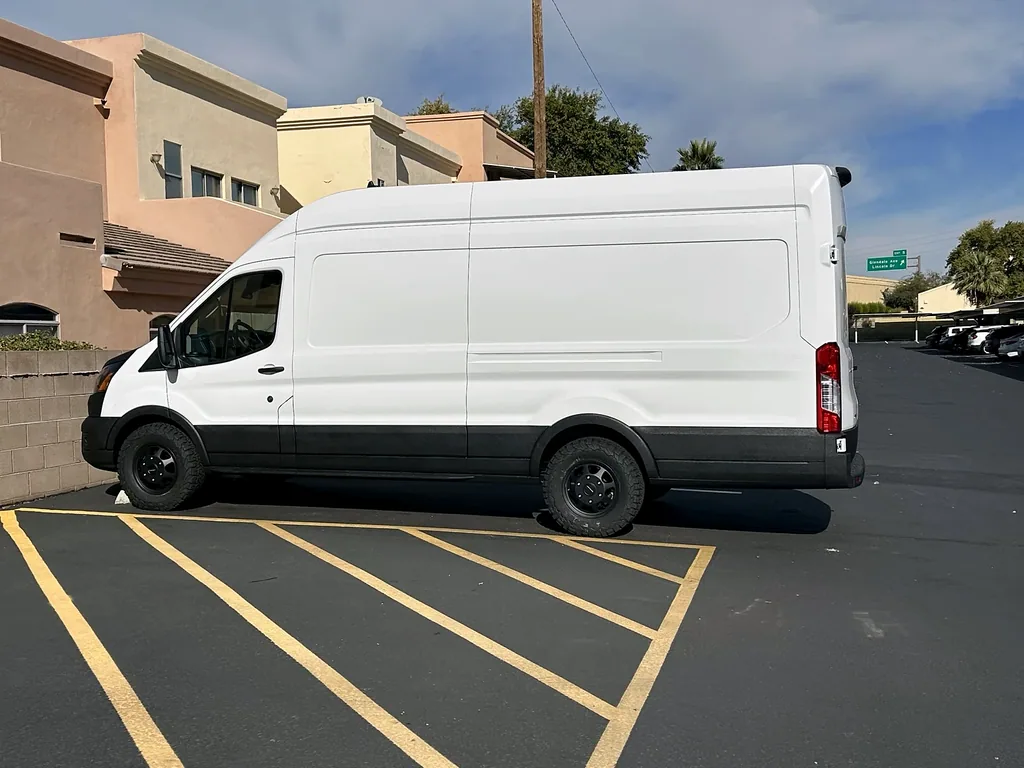
I replaced the original silver steel wheels on my 2023 Ford Transit 250 high-roof extended with black Method MR701 wheels and BFGoodrich tires. See the stock and installed wheel-and-tire photos from this project.
Choose one job and note what the entry actually establishes: a measurement, a photograph, a task completed in that session or an unresolved detail. Then record how your own vehicle, layout or equipment differs. Keep the source entry beside your build decision log so a later change is traceable.
For your own conversion, use the planning reading route, free worksheet directory and cost-record worksheet. Those resources help organize the next check before purchasing or building. The van comparison guide is the starting point if you are still choosing a platform.
Overview updated October 21, 2026. Original journal entries and publication dates retained.
Preparation, the sprayed finish, an uneven sheen and the roller correction that made the sides more even and glossier.
U-POL RAPTOR Black Urethane Bedliner Kit Project
Watch the preparation · See the roller correction · Watch the daylight result.
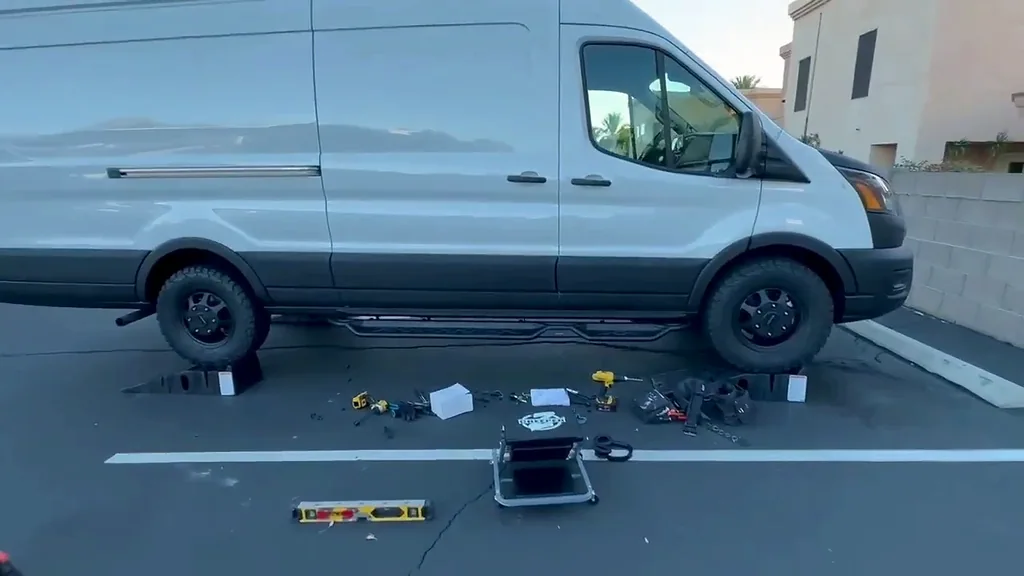
Ramp setup, trim access, prepared points, attached bracket and the finished passenger side.
From My Original Photos and Videos
Follow each project through my original photographs and videos. The black RAPTOR entries count days within that project; the wheel-and-tire change and passenger-side running board each have a single entry.
I cleaned and painted my Ford Transit tailpipe with Rust-Oleum Flat Black High Heat Spray #248903 to bring it closer to the black RAPTOR bedliner.
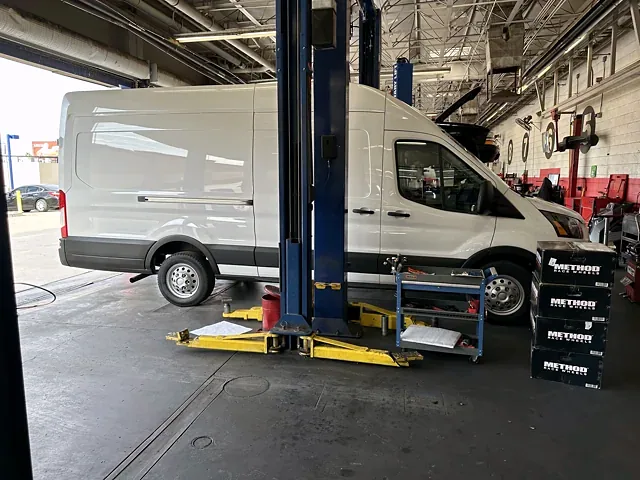
My Transit’s wheel-and-tire change, from the original silver wheels and Method MR701 boxes at the shop to the installed matte-black result.
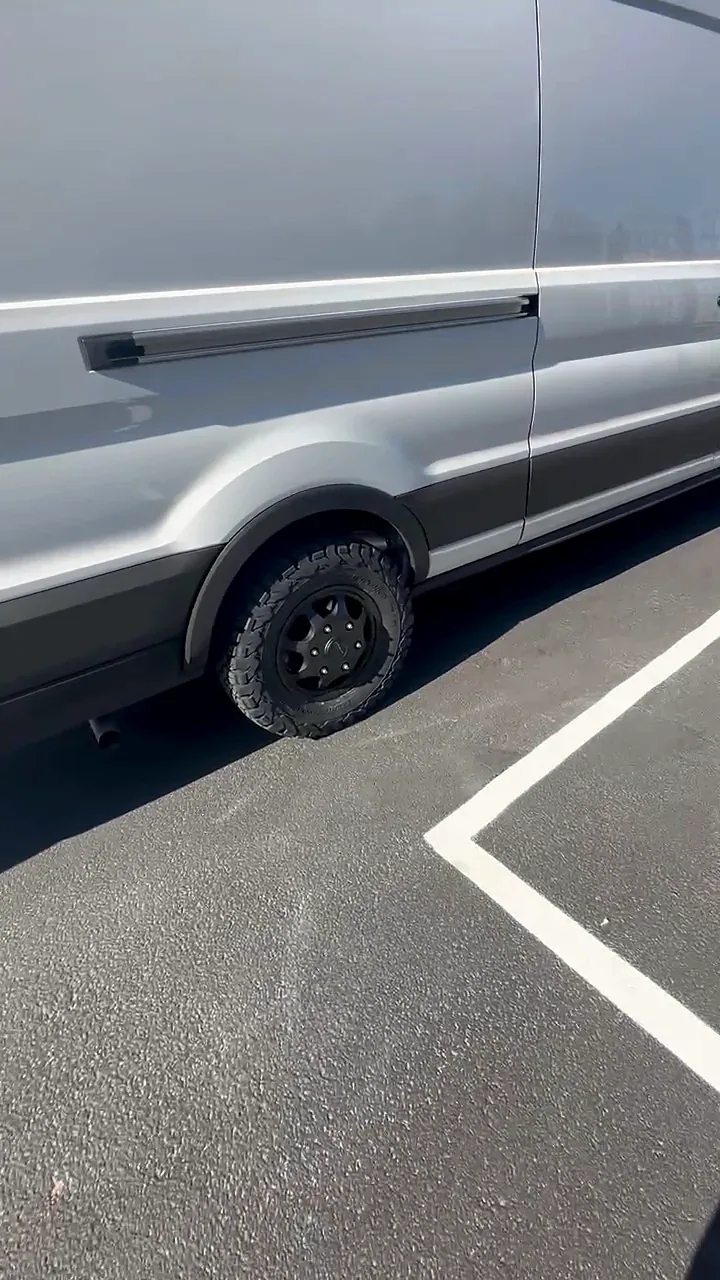
The start of my black RAPTOR project: recording the Transit’s gray trim and white lower panels, washing the coating areas and preparing to degrease.
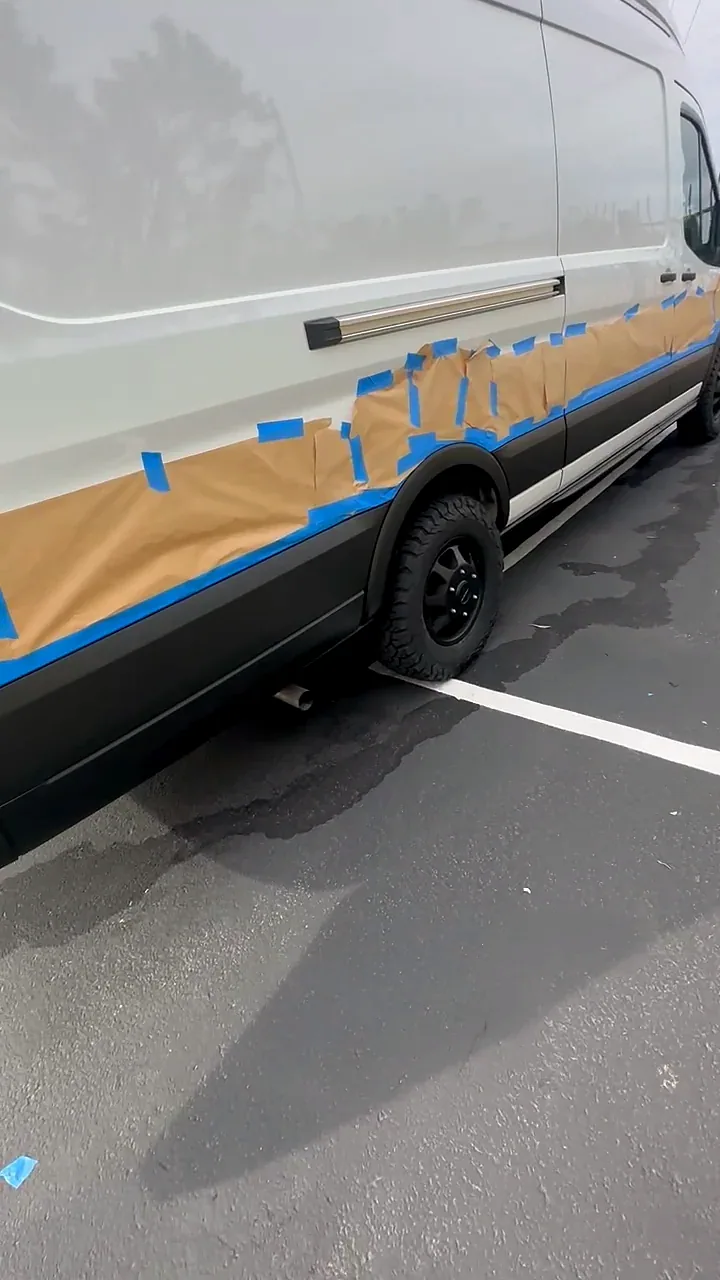
My next RAPTOR preparation session: degreasing, masking the Transit with paper and blue tape, and working toward sanding the coating areas.
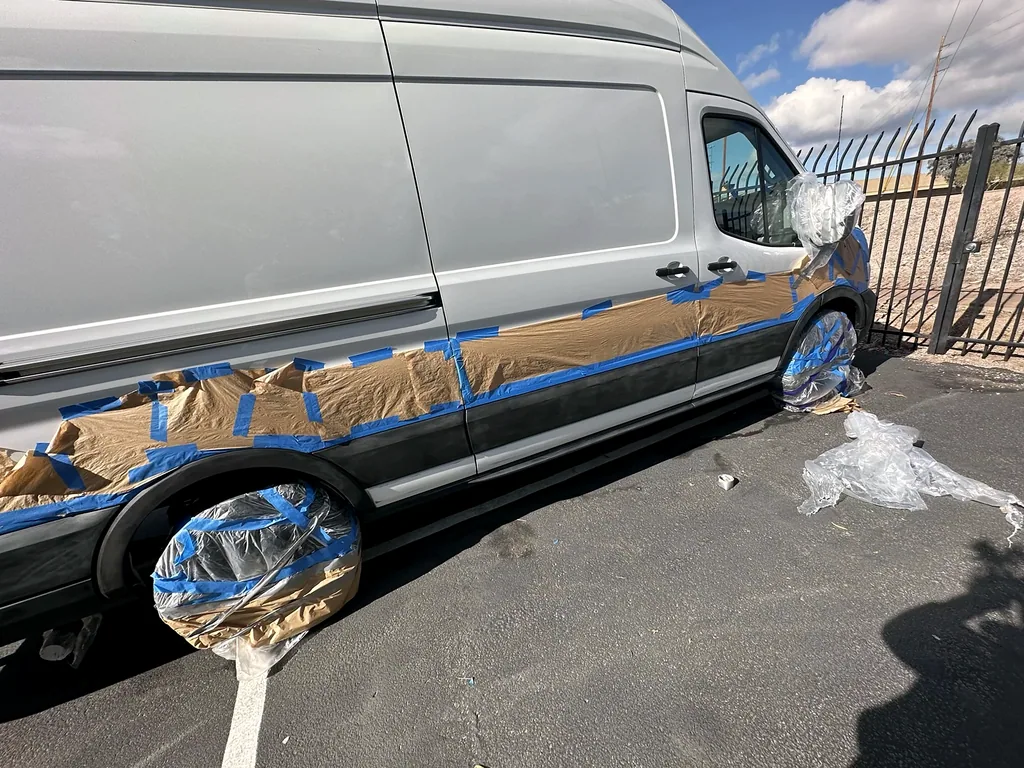
A long RAPTOR workday on my Transit: rain-delayed preparation, tack-cloth wiping, the masked and primed hood, and the first sprayed black result.
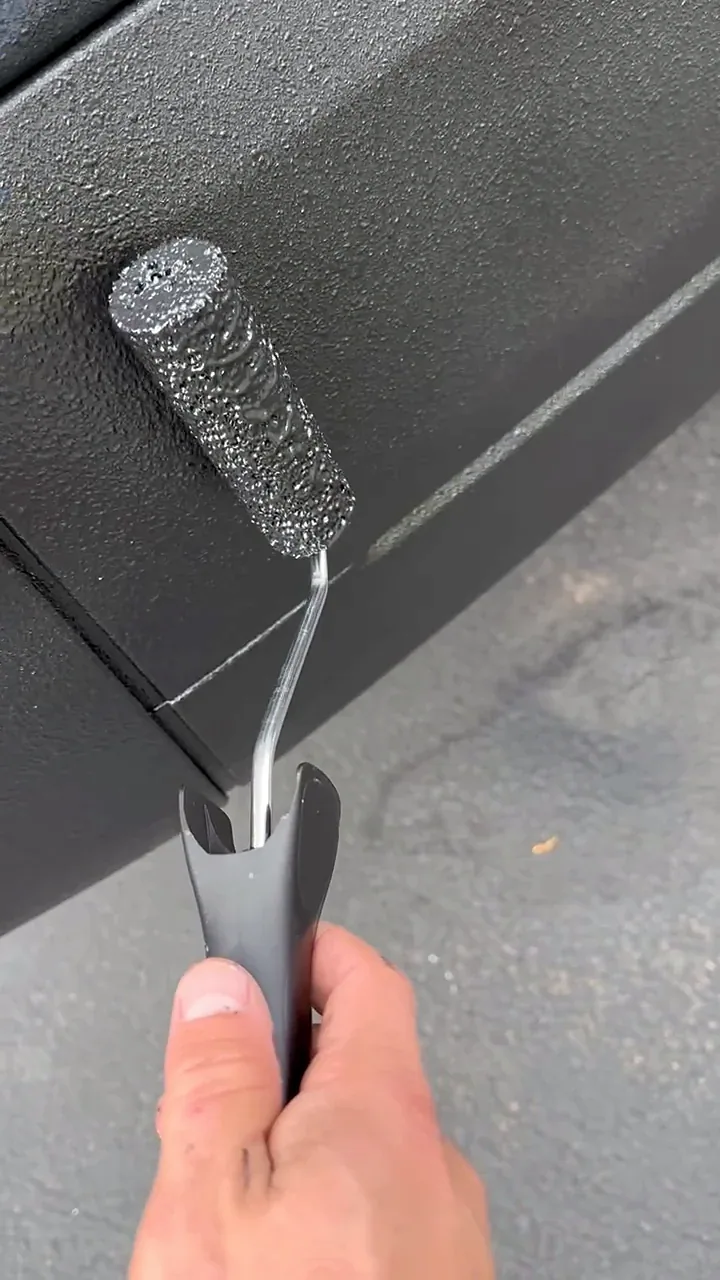
Why I returned to my sprayed RAPTOR trim with a roller, the application I recorded, and the tradeoff: a more even finish that was glossier than I wanted.
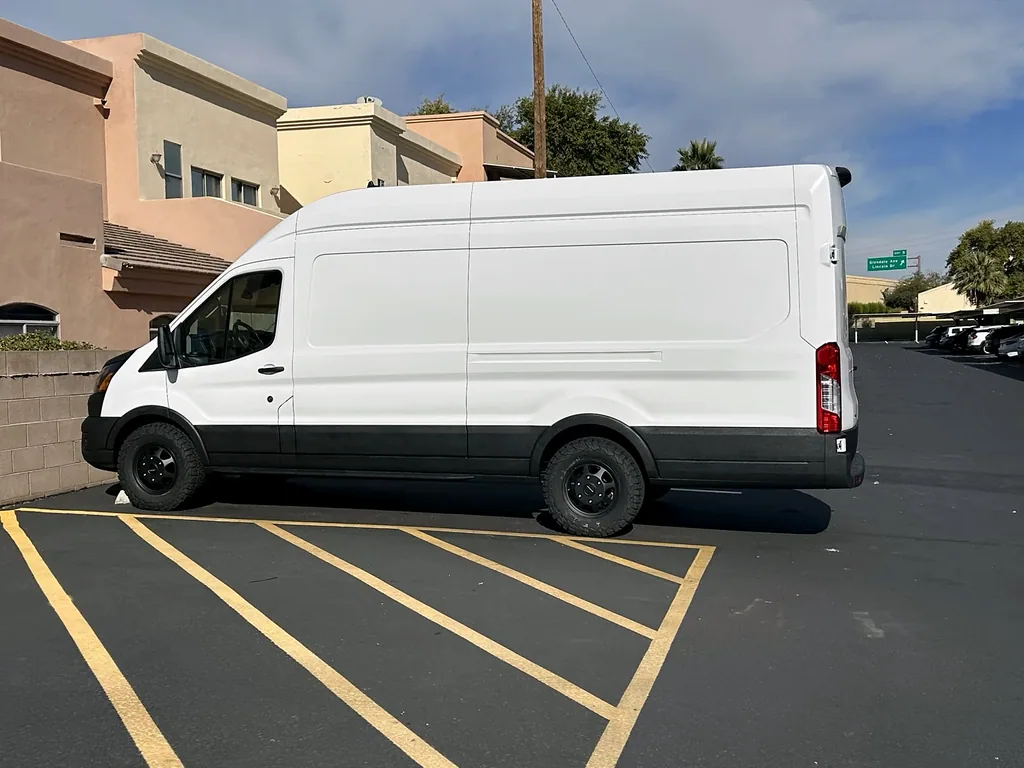
My daylight photographs and walkaround after removing the RAPTOR masking: black lower sides, wheel wells, hood and bumper, with the grille and vent inserts still to do.
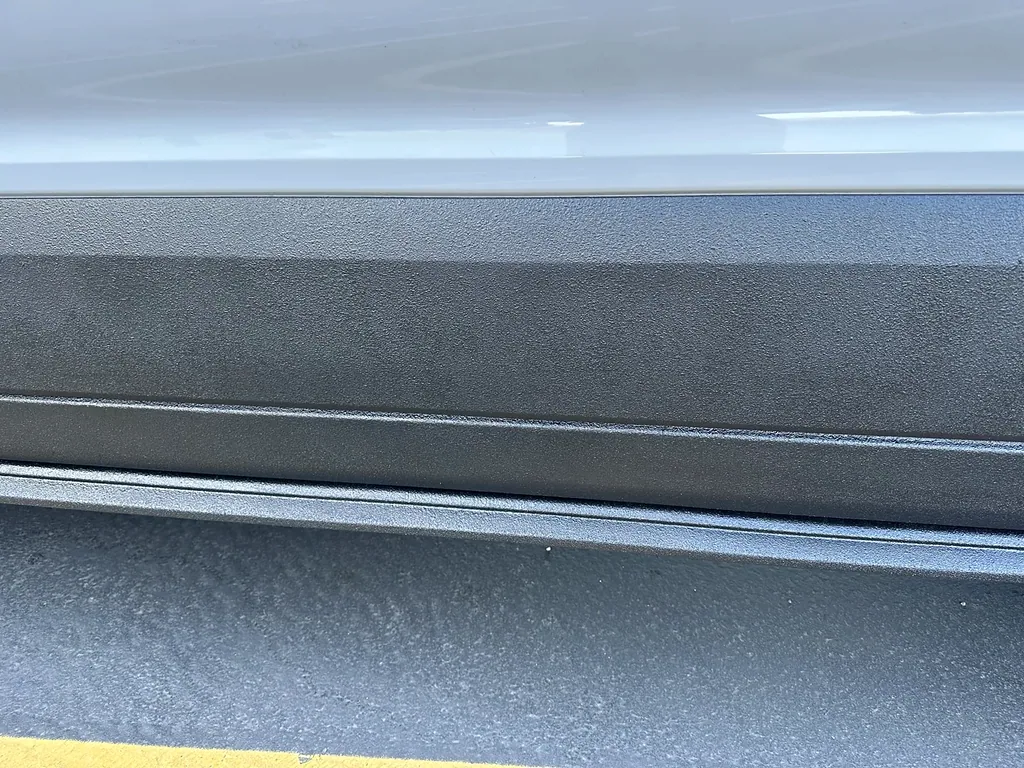
A later check of my rolled RAPTOR sides and the hood-vent inserts, showing the different aerosol finish and the hood work I was still planning.
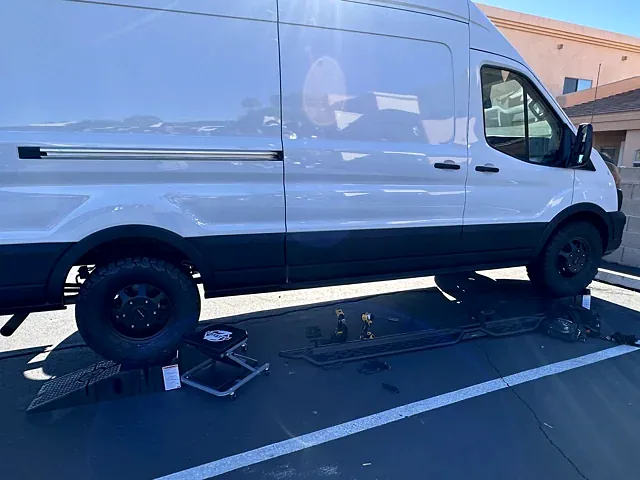
My passenger-side Transit running-board session: ramp setup, tools laid out, trim-clip access, prepared mounting points, attached bracket and the finished side.
Project Diary
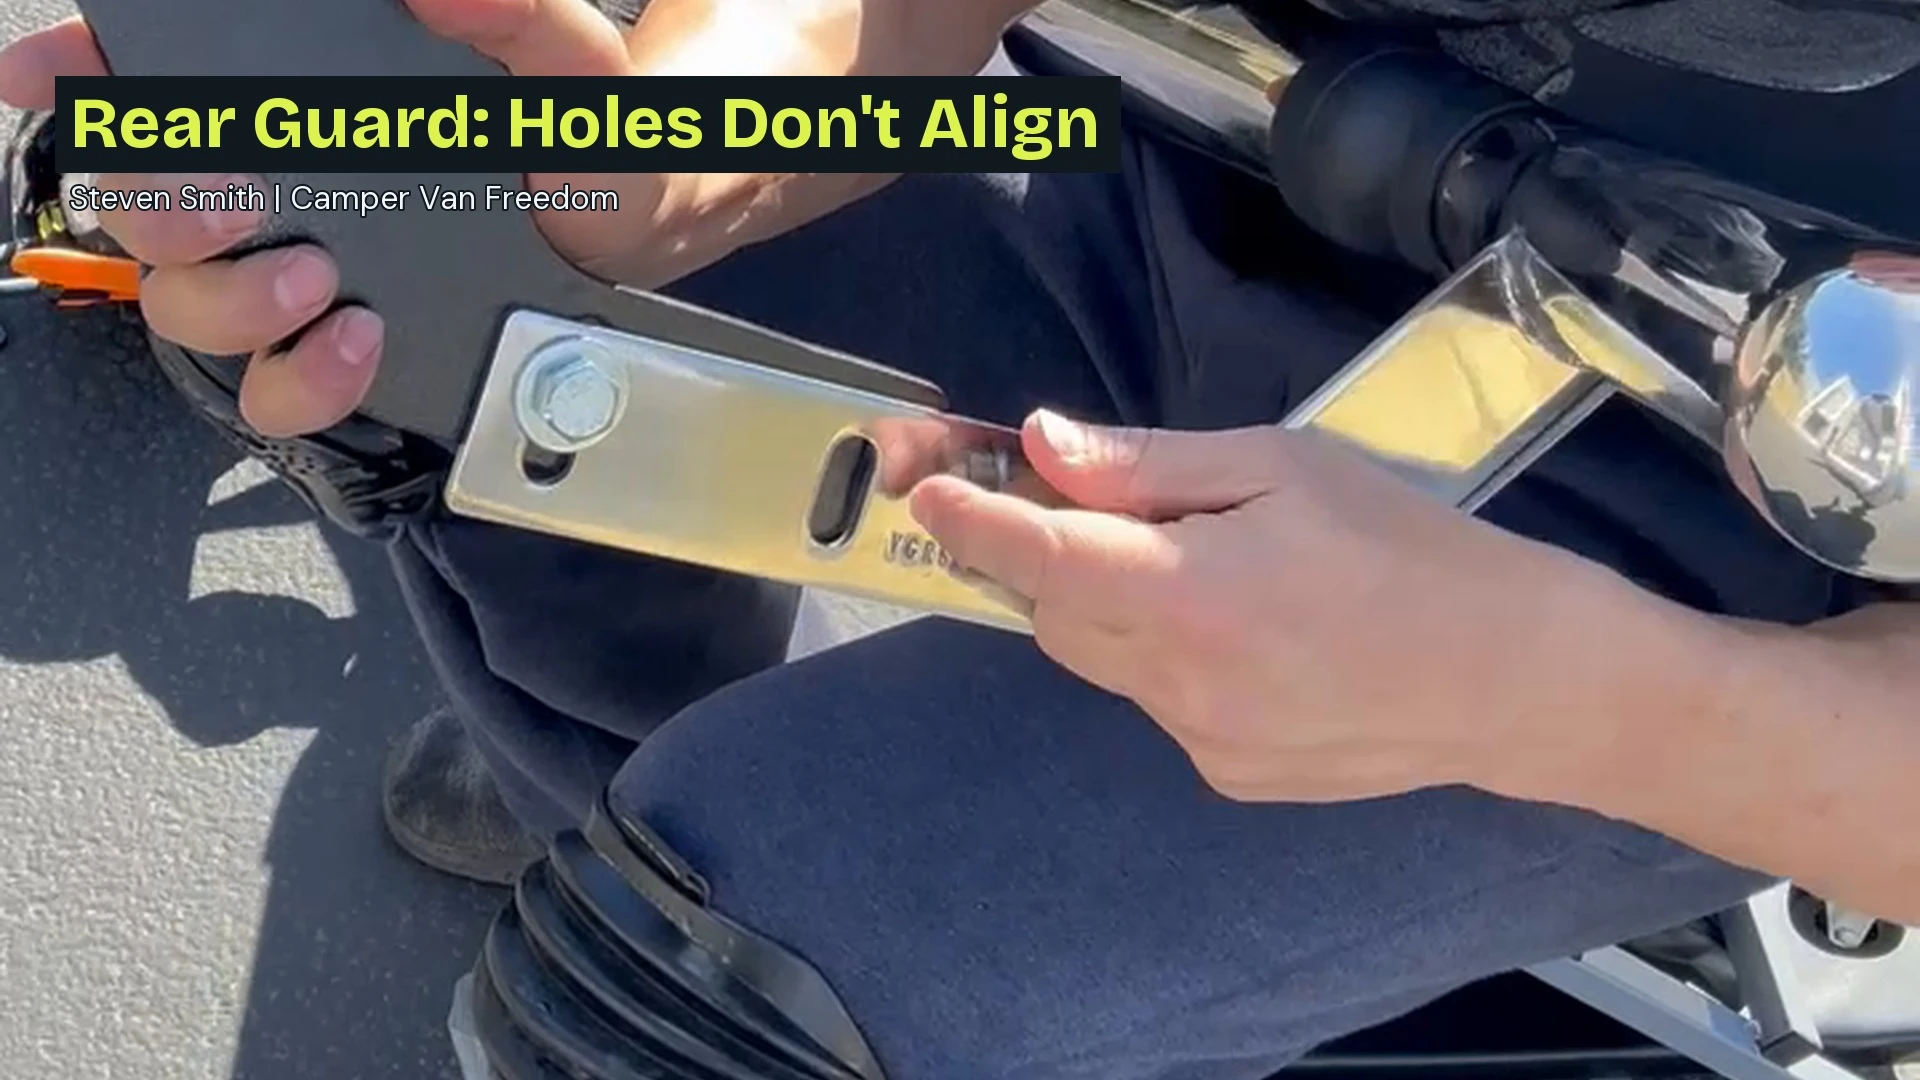
The chrome rear guard, my planned black finish, the bracket holes that did not line up and my possible-return discussion.
Splash-guard removal, the center support, bracket alignment and the completed front guard.
I installed a Flatline Van Co Low Pro Roof Rack at night using a tripod-mounted light. My roof already had fiberglass repairs covered with bedliner. I used my DeWalt drill to drill through those layers and reach the fact
Discover how I kickstarted the creation of a rooftop storage system for my camper van, detailing the design and initial construction phases.
Roof Wiring and Devices Project Day 8 of van conversion: Detailed the completion of the PVC electrical wire conduit system installation on the roof in a single day effort, enhancing safety and organiz…
Roof Wiring and Devices Project Day 7 of my van conversion journey focuses on installing a robust electrical system using PVC conduits and high-quality wiring solutions, ensuring safety and efficiency…
Dive into the detailed account of Roof Wiring and Devices Project Day 6 in the electrical setup on my van's roof, featuring extensive work on a robust PVC conduit system.
Explore the detailed process of installing a PVC electrical conduit system on a camper van, enhancing safety and organization for roof-mounted electrical devices.
Explore the step-by-step process of enhancing a Ford Transit camper van with DIY security cameras and LED lights, aiming for increased security and illumination.
Eight hours setting up the drill press and revising roof camera brackets, with the original notes and product images.
Six hours making a passenger-side roof camera mount, with original photos and the recovered tool and material cards.
The first 12-hour roof-wiring stage: junction boxes, conduit, cable routing and LED-light mounts, with original photos and product cards.
Five hours of custom light-bar mounting, with original extrusion notes, build photos, materials and the Roof Wiring and Devices Project Day 1 wiring follow-up.
Discover the final steps in installing a diesel heater under the passenger seat of a camper van, marking Diesel Heater Project Day 4 of a detailed van build diary.
Follow the detailed journey of installing a diesel heater under the front passenger seat in a campervan conversion, highlighting the steps, challenges, and tools used on …
Discover the latest updates on my diesel heater installation project for a Ford Transit camper van, including detailed steps and the tools involved
Discover the detailed process of installing a diesel heater in a camper van, showcasing the careful attention to ensuring a perfect fit and functionality
This entry focusing on the meticulous interior preparation and the challenges faced with installing rivet nuts and planning ahead.
Detailed project walkthrough of preparing a cargo van for Kilmat sound deadening mats, including cleaning steps, tools used, and before-after transformation.
Detailing the meticulous process of painting a van with white bedliner over 15 hours, this project highlights all the steps.
Follow the near completion of a Flatline Low Pro Roof Rack installation.
To follow the mount and bracket work as a small group, open the selected roof-camera mount build entries.
My capsule project covered shipping damage, fiberglass repairs, EXT fit problems and the adhesive mess that changed my exterior finish.