Projects
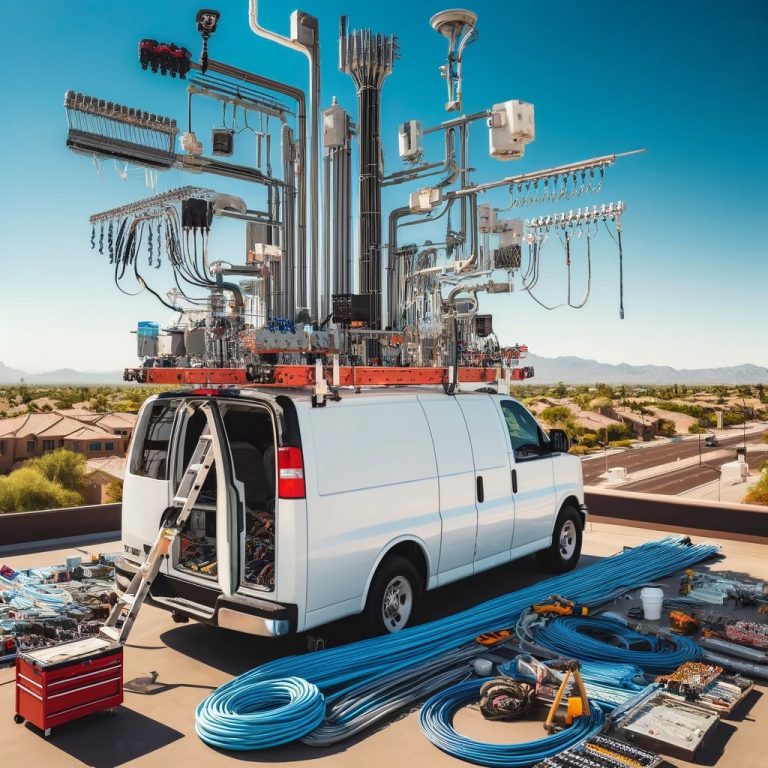
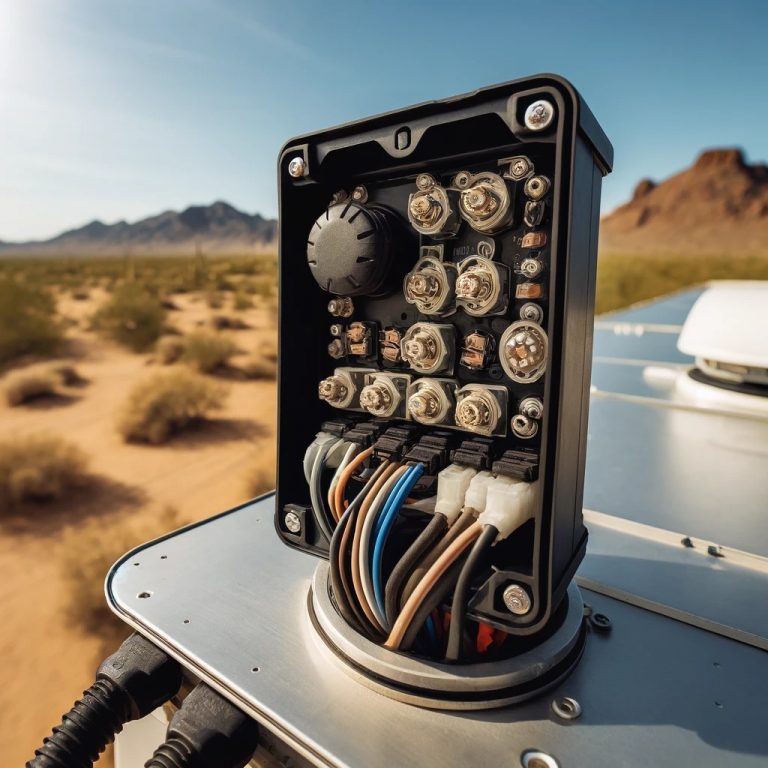
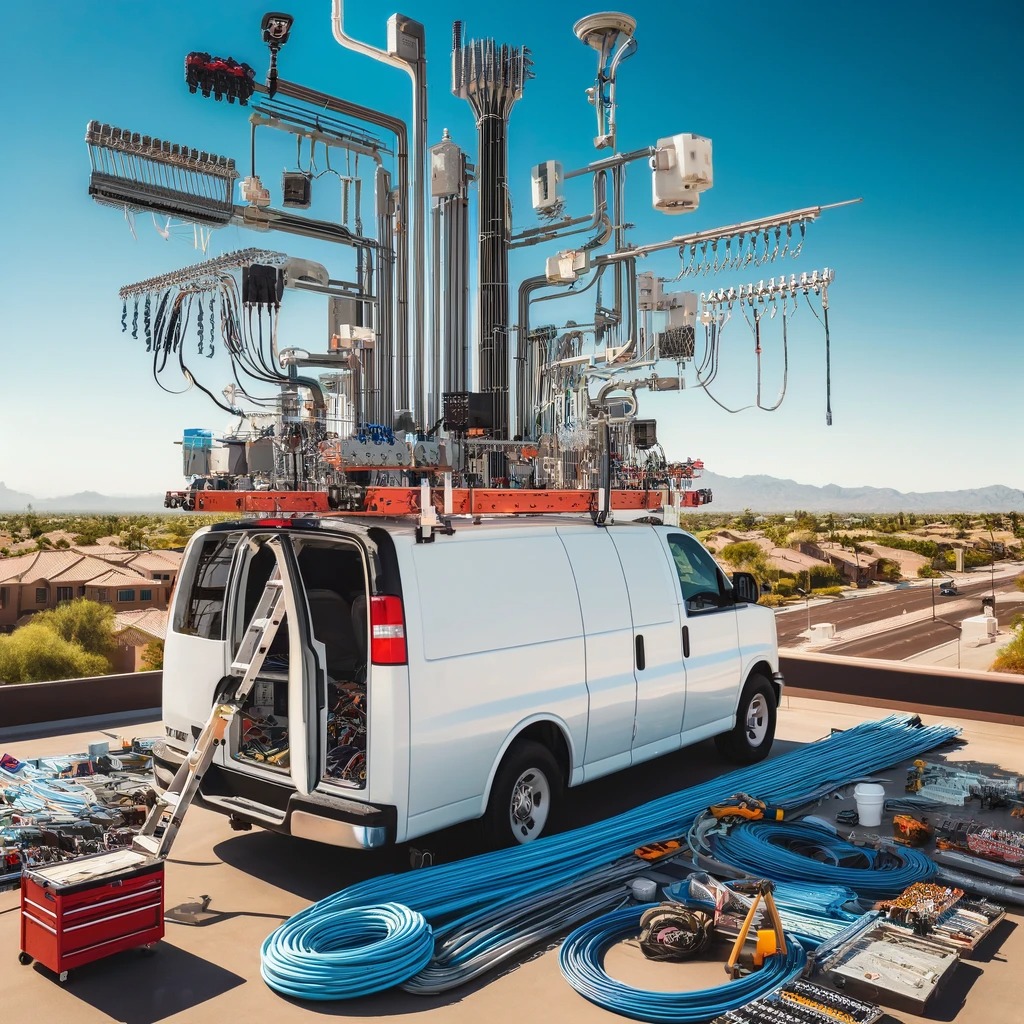
- PVC electrical wire conduit system on roof with junction boxes
Project Status
- In progress
Time Spent
- 8 Hours
Steps Taken
- Drill holes in passenger front junction box
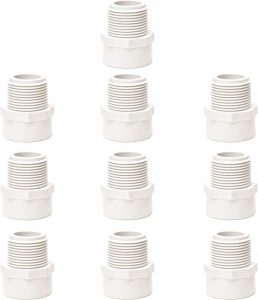
- Install male thread PVC connectors and thread on female PVC connectors acting as nuts
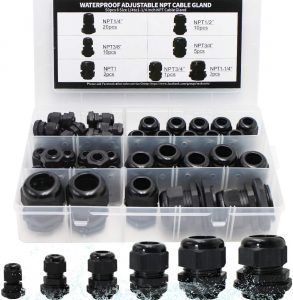
- Install wire gland
- Cut PVC pipe to size running to large junction box
- Use label maker to label wire running into van
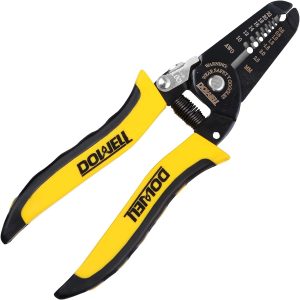
- Strip wires with stripper
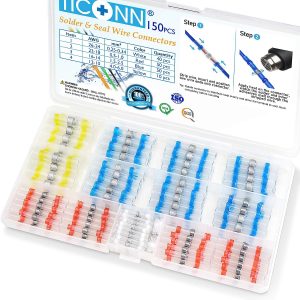
- Solder seal wires together with heat gun
- Run wires through junction box and PVC pipe and into van at large junction box
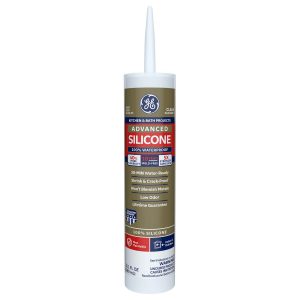
- Connect junction box and PVC pipe and apply PVC cement
Materials Used
- Keep in mind that prices frequently fluctuate.
- It’s common for products to be delisted on Amazon. If you find a delisted product, please Email Me at steve@campervanfreedom.com and I will fix it.
Tools Used
Pictures
Short Video
Plans For Tomorrow
- Continue work on PVC conduit system and running wires
Long-Form Article
Project Overview
Today marked the sixth day of the challenging yet rewarding project of setting up an electrical conduit system on the roof of my Ford Transit 250 High Roof Extended van. This system is designed to ensure that all electrical wiring is safely secured and weatherproof, essential for my off-grid living setup.
Project Details
- Project Type: PVC Electrical Wire Conduit System Installation
- Current Status: In Progress
- Hours Spent Today: 8
Work Accomplished
Setting Up the Conduit System
- Preparation:
- Drilled holes in the front passenger junction box.
- Installed male thread PVC connectors and secured them using female PVC connectors.
- Assembly:
- Attached a wire gland for additional security and protection.
- Measured and cut PVC pipe to fit the run to a larger junction box.
- Utilized a label maker to clearly label the wire heading into the van.
- Wiring:
- Stripped the wires using a specialized stripper tool.
- Solder sealed the wires together using a heat gun for a durable bond.
- Ran the wires through the junction box and PVC pipe into the van.
- Sealing and Securing:
- Connected the junction box and PVC pipe.
- Applied PVC cement to ensure a secure and waterproof connection.
Materials Used
- Electrical Components:
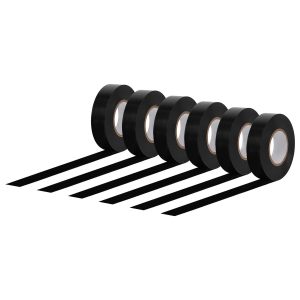
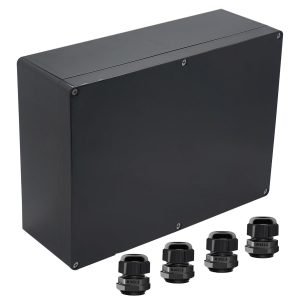
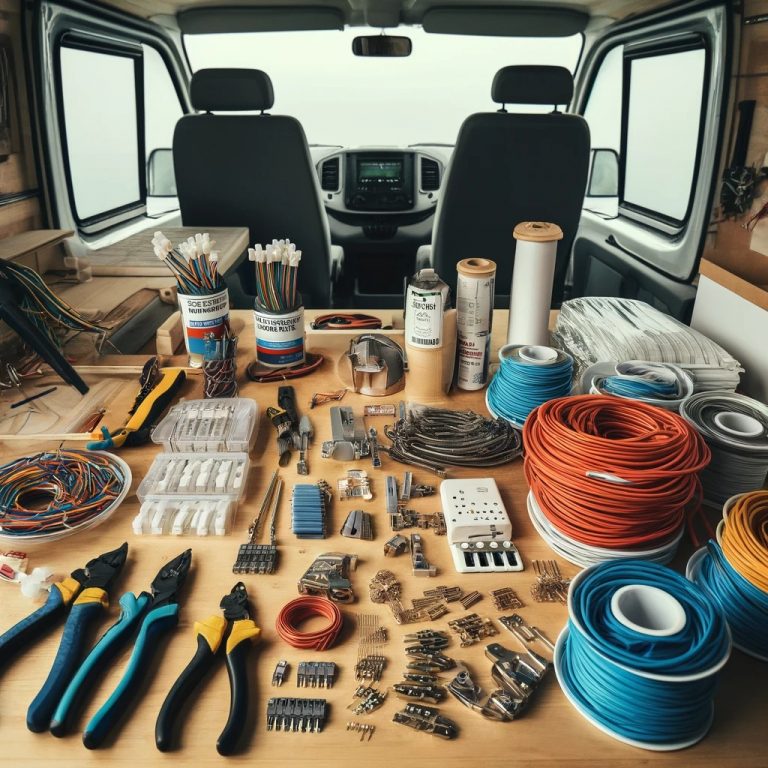
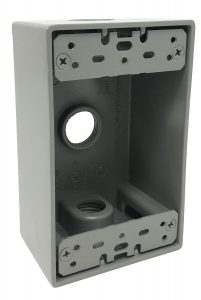
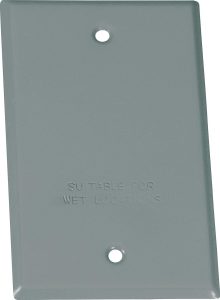
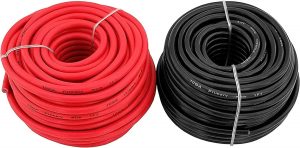
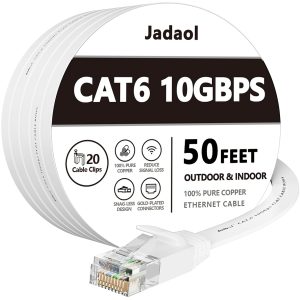
- REOLINK IP Security Camera, San-Young LED Work Lights, Sealproof Weatherproof Outlet Box, Sigma Weatherproof Cover, MAKERELE Cable Glands Kit, TICONN Solder Seal Wire Connectors, GS Power Automotive Wire, Jadaol Cat 6 Ethernet Cable, and various PVC piping components.
- Tools for Installation:
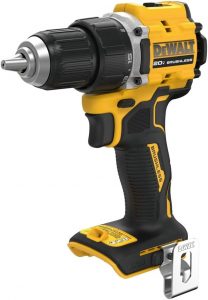
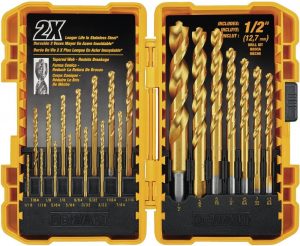
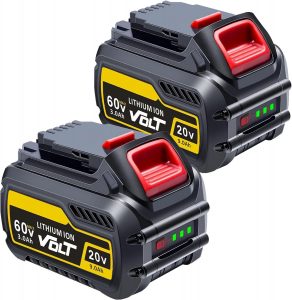
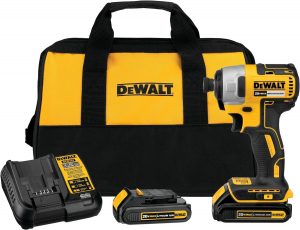
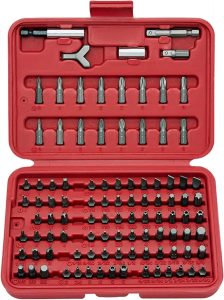
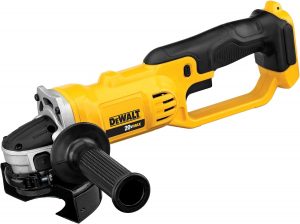
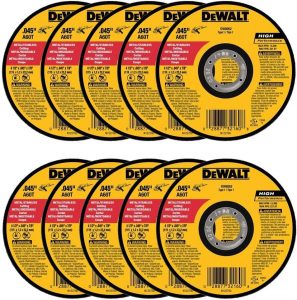
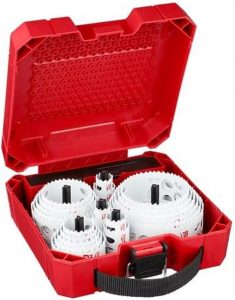
- Dewalt Drill Driver, Dewalt Drill Bit Set, Replacement Battery for Dewalt, Dewalt Cordless Impact Driver Kit, NEIKO Security Bit Set, Dewalt Folding Metric Hex Key Set, Dewalt Grinder, Milwaukee Hole Saw Kit, DOWELL Wire Stripper.
Plans for Tomorrow
- Continue enhancing the PVC conduit system.
- Ensure all connections are secure and test the setup for functionality.
Reflections and Considerations
Today’s progress is a testament to the meticulous planning and execution required in converting a van into a livable, functional camper. Each step brings me closer to achieving a self-sufficient lifestyle, encapsulating the essence of Project Freedom. For those following this journey, remember that persistence and attention to detail are key in any DIY project.

![letsFix 3/4" PVC Pipe, DIY PVC Projects for the Home, Garden, Greenhouse, Farm and Workshop, Sch. 40 Furniture Grade, White [40" x 10 Pack]](https://campervanfreedom.com/wp-content/uploads/2024/04/517F0g8RpPL._AC_SL1001_-1-298x300.jpg)
