
Projects
- PVC electrical wire conduit system on roof with junction boxes
Project Status
- In progress
Time Spent
- 8 Hours
Steps Taken
- Drill 3 holes through junction box at driver side front for driver side front LED light wires
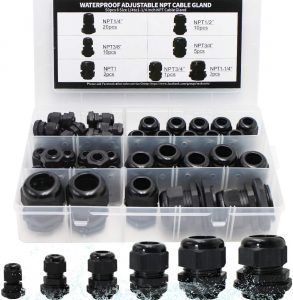
- Install wire gland
- Running driver side front LED light wires through gland
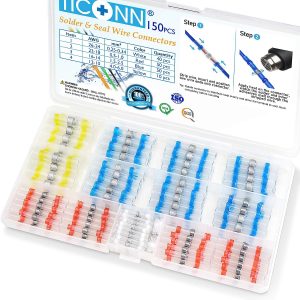
- Solder seal LED light wires together with heat gun
- Connect PVC elbow together with junction box PVC
- Mount conduit to aluminum extrusion with metal zip ties and metal zip tie tool
- Run wires through PVC conduit
- Attach mounting bars to metal junction box at middle driver side
- Drill holes in metal junction box at middle driver side
- Install PVC male thread connectors and wire glands in junction box
- Install cover on front driver side junction box
- Apply PVC cement to various PVC connections
- Apply clear sealant to PVC male thread connections to junction boxes
- Install additional metal zip ties to secure PVC conduit system
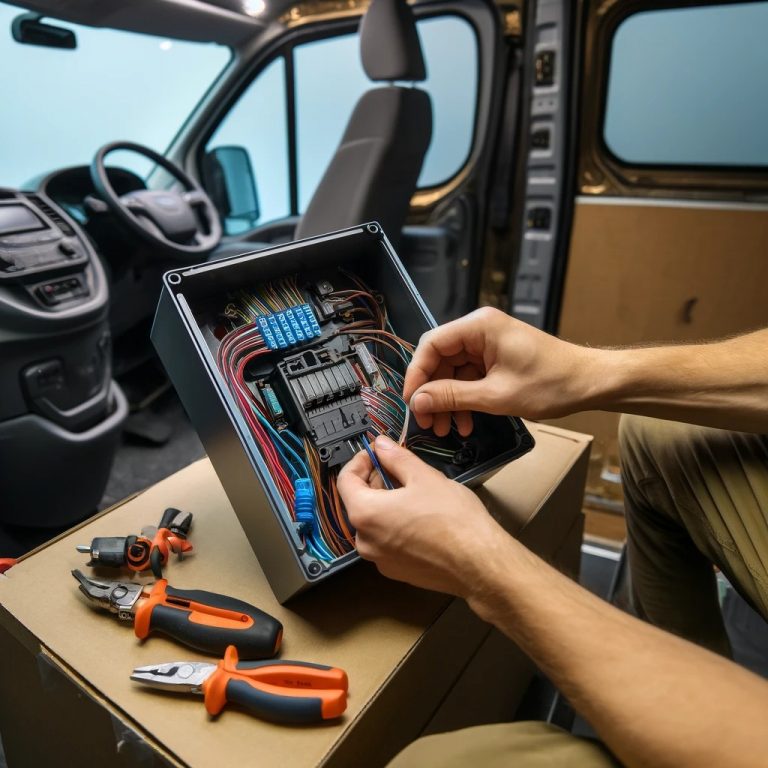
- Drill large hole through van roof and large junction box to run all wires into van
- Spray primer and white spray paint on outside and inside around hole
- Apply electrical tape around metal hole so wires are not cut
- Install wire gland connector in large junction box
Materials Used
- Keep in mind that prices frequently fluctuate.
- It’s common for products to be delisted on Amazon. If you find a delisted product, please Email Me at steve@campervanfreedom.com and I will fix it.
![letsFix 3/4" PVC Pipe, DIY PVC Projects for the Home, Garden, Greenhouse, Farm and Workshop, Sch. 40 Furniture Grade, White [40" x 10 Pack]](https://campervanfreedom.com/wp-content/uploads/2024/04/517F0g8RpPL._AC_SL1001_-1-298x300.jpg)


Tools Used

Dewalt DCD794B 20V MAX ATOMIC COMPACT SERIES Brushless Lithium-Ion 1/2 in. Cordless Drill Driver

DEWALT Titanium Nitride Coated Drill Bit Set, Pilot Point, 21-Piece


NEIKO 10048A Security Bit Set 100-Piece Set
DEWALT DWHT70263M Ergonomic Push Button Locking Folding Metric Hex Key Set

Notes
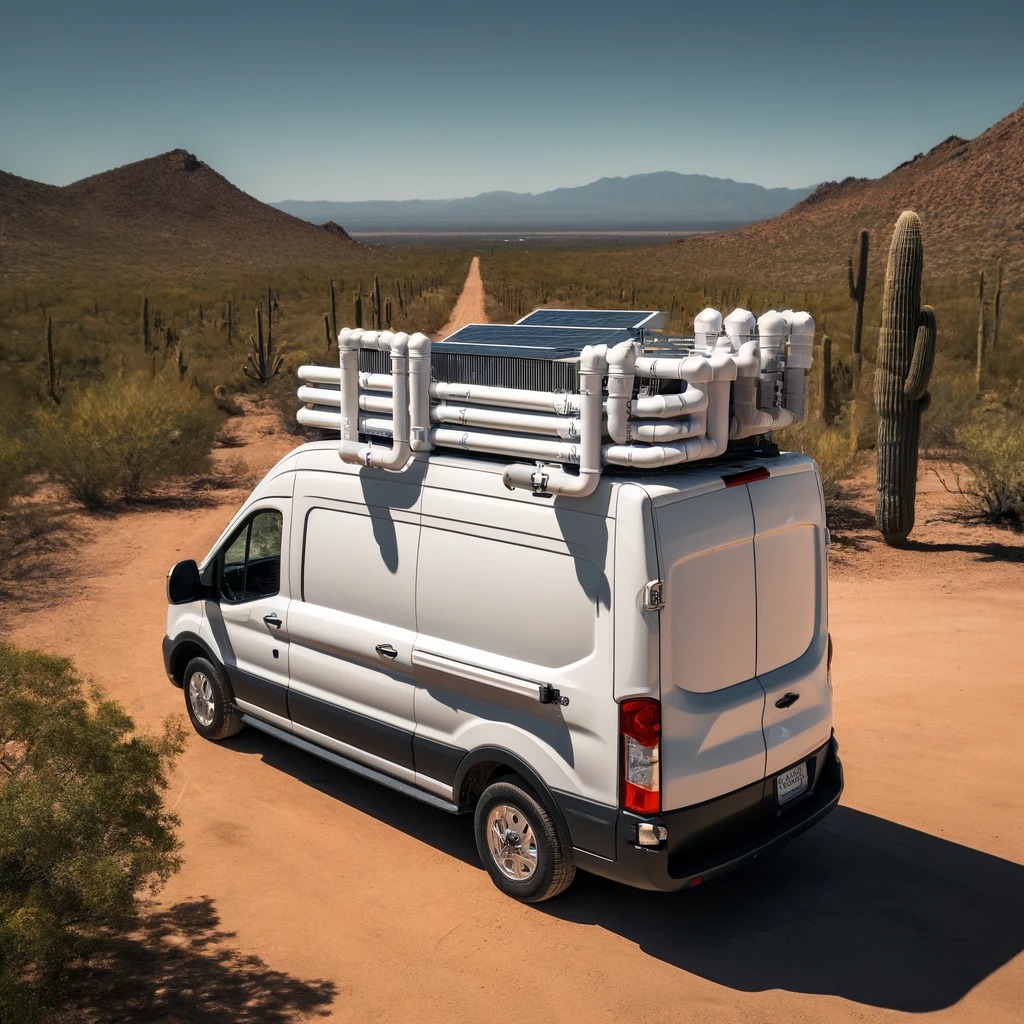
I’ve noticed a lot of DIY camper vans online don’t run roof wires through a conduit system, and instead leave the wires open to the elements. I’ve been selling residential solar for 6 years, and part of the electrical code in the USA requires all roof wires to be ran through conduit. This applies to a stationary residential home. The need for routing of wires and protection from the elements is even greater with a moving van.
So I designed a PVC conduit system in SketchUp to run all roof wires through. No wires will be exposed to the elements. All wires enter the PVC conduit system through sealed wire glands and then travel into the van cargo area through the sealed conduit system.
Pictures
Short Video
Plans For Tomorrow
- Continue work on PVC conduit system and running wires
Long-Form Article
Today marks the 100th day of my Ford Transit camper van conversion project, focusing specifically on the electrical setup for roof-mounted devices. The primary task involved the installation of a PVC electrical wire conduit system, integrating junction boxes to ensure all wires remain protected and organized. Here’s a detailed breakdown of today’s progress.
Project Status: In Progress
- Time Spent: 8 Hours
Step-by-Step Process
- Drilling and Wiring:
- Drilled three holes through the junction box located at the driver side front to route the wires for the LED lights.
- Installed a wire gland to ensure a watertight seal for the LED light wires.
- Ran and solder-sealed the LED light wires through the gland using a heat gun.
- Building the Conduit System:
- Connected a PVC elbow to the junction box using PVC cement to ensure a tight seal.
- Mounted the conduit onto the aluminum extrusion using metal zip ties and a specialized cable tie tool.
- Ran electrical wires through the PVC conduit for organized and protected routing.
- Setting Up Additional Junction Boxes:
- Installed and secured mounting bars to the metal junction box in the middle of the driver side.
- Fitted PVC male thread connectors and wire glands to ensure secure and weather-resistant connections.
- Sealing and Painting:
- Applied clear silicone sealant and PVC cement to various connections to prevent water ingress.
- Drilled a large hole through the van’s roof and a large junction box for wire entry, followed by sealing and painting the exposed areas for rust prevention.
- Final Touches:
- Installed a wire gland connector in the large junction box to ensure the entry point is secure.
- Additional metal zip ties were used to further secure the PVC conduit system along the route.
Materials Used
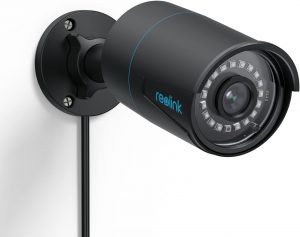
- REOLINK IP Security Camera: $54.99 – For enhanced security.
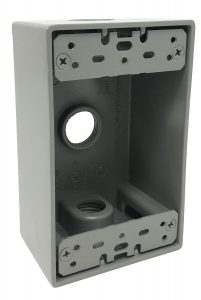
- Sealproof 1-Gang Weatherproof Box: $7.29 – Protects electrical connections.
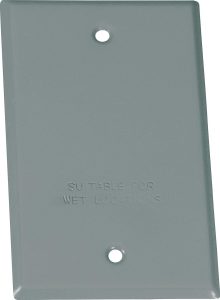
- Sigma Engineered Solutions Weatherproof Cover: $1.48 – For outdoor durability.
- MAKERELE Cord Grip Cable Glands Kit: $27.11 – Provides secure, watertight cable entries.
- TICONN Solder Seal Wire Connectors: $9.89 – For waterproof and insulated electrical connections.
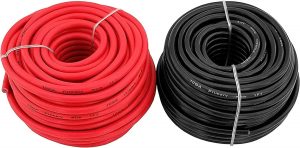
- GS Power 12 Gauge Wire: $17.49 – High-quality wire for automotive applications.
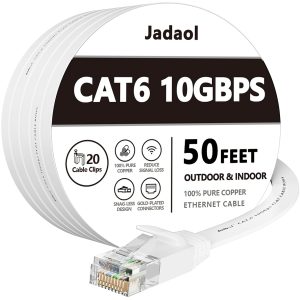
- Jadaol Cat 6 Ethernet Cable 50 ft: $12.34 – Ensures high-speed data transmission.
- PVC Pipe (3/4″ x 40″, 10 Pack): $49.99 – Durable conduit for wire protection.
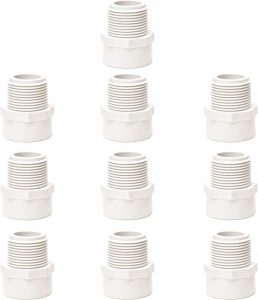
- 3/4 Inch PVC Male Adapter Fittings: $12.99 – For connecting different sections of PVC pipe.
- 3/4″ 45 Degree PVC Elbow: $11.99 – Allows for directional change of the conduit route.
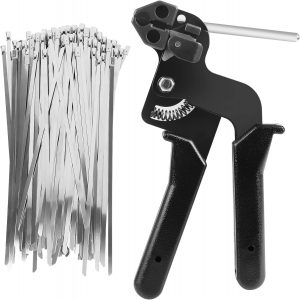
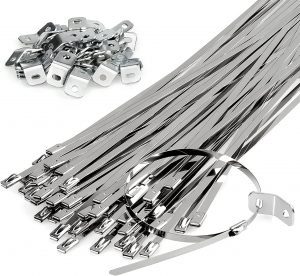
- Stainless Steel Cable Tie Gun With Ties: $27.59 – For secure and durable mounting of the conduit.
- Oatey PVC Cement: $9.46 – For permanent, waterproof PVC pipe bonding.
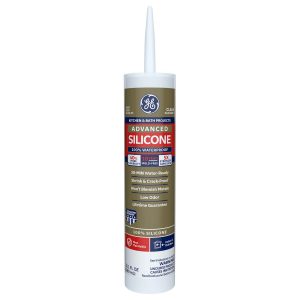
- GE Advanced Silicone Caulk: $10.77 – Seals and protects against moisture.
- Amazon Basics Electrical Tape: $11.59 – Provides insulation to electrical connections.
- Large Waterproof Junction Box: $29.99 – Protects electrical components from the elements.
- Rust-Oleum Spray Primer and Dupli-Color Spray Paint: $13.39 and $13.78 – Protects and colors metal surfaces.
Tools Used
- DEWALT DCD794B Cordless Drill Driver: $89.79 – Compact design for hard-to-reach areas.
- DEWALT Titanium Nitride Coated Drill Bit Set: $26.14 – For efficient drilling in tough materials.
- DEWALT Cordless Impact Driver Kit: $124.96 – For high-performance driving and fastening.
- NEIKO Security Bit Set: $15.99 – Diverse bits for various screw types.
- DEWALT Folding Metric Hex Key Set: $12.97 – For adjustments and assemblies.
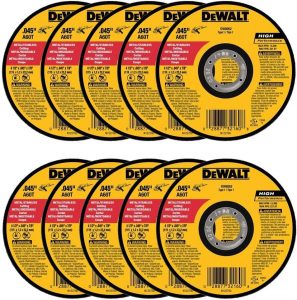
- DEWALT 4-1/2” Grinder: $99 – Essential for cutting and grinding tasks.
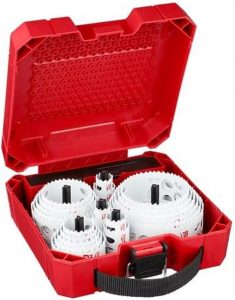
- Milwaukee Hole Saw Kit: $191.99 – For precise cutting of large diameter holes.

Reflections
Implementing a conduit system, while not common in DIY van setups, mirrors the stringent requirements seen in residential solar installations where I have six years of experience. This ensures that no wires are exposed to the elements, which is crucial for the durability and safety of the van’s electrical system.
Plans for Tomorrow
- Continue expanding the PVC conduit system.
- Complete the wiring setup for other roof-mounted devices.