Projects
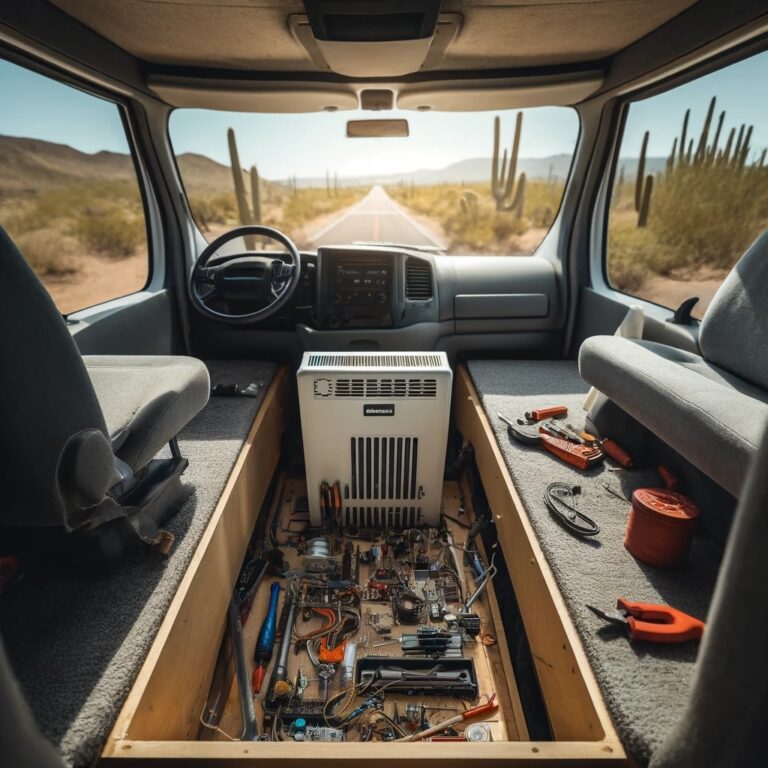
- Continuation of installation of diesel heater
Project Status
- Heater installation needs to be completed
Time Spent
7 Hours
Steps Taken
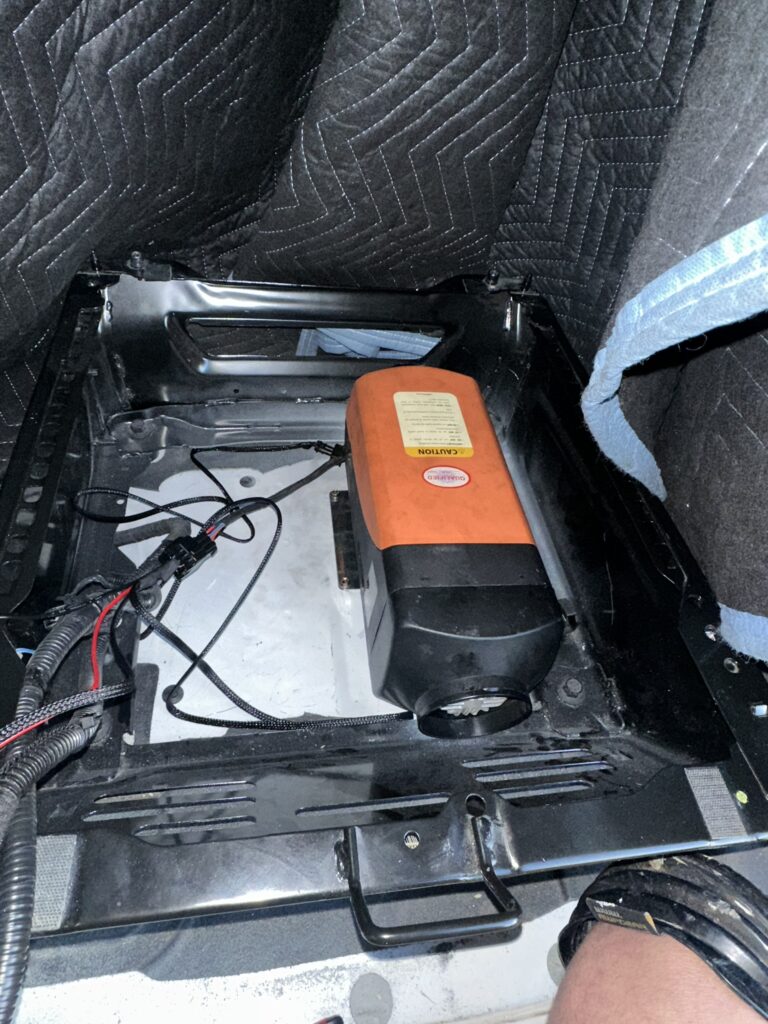
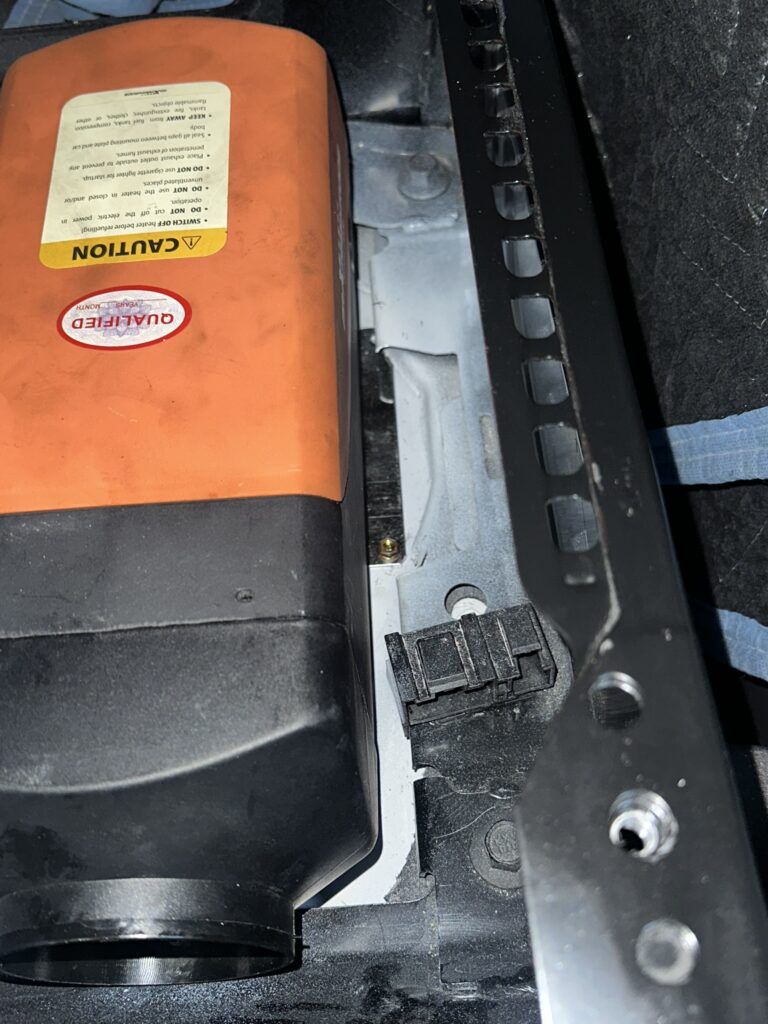
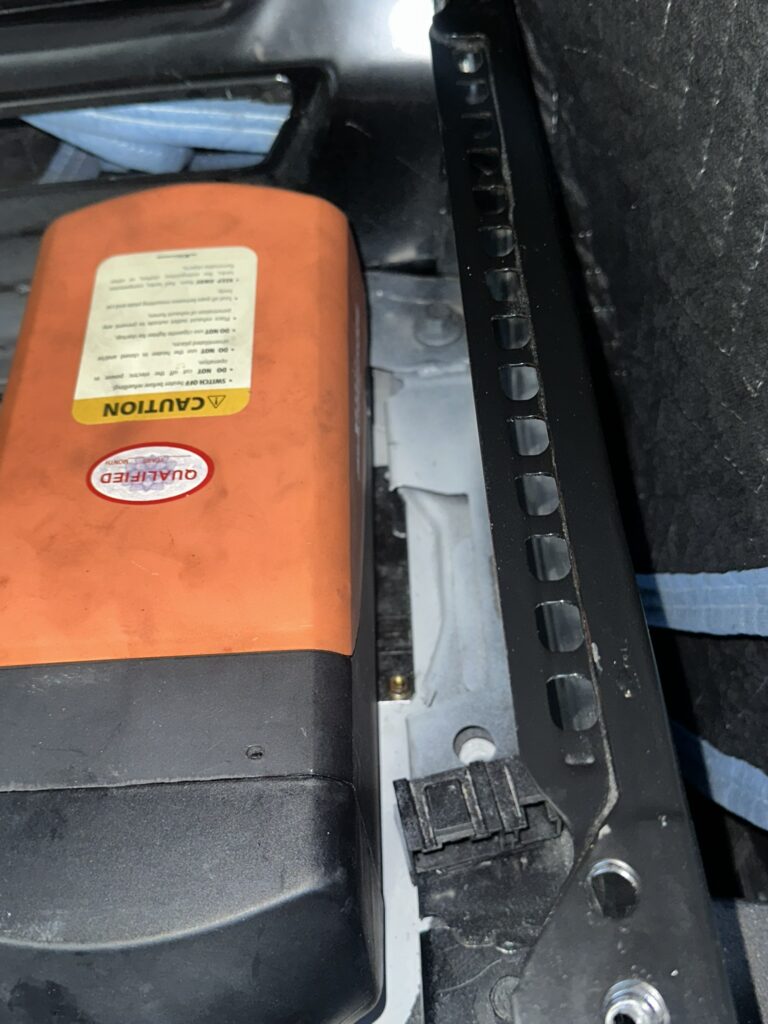
- Place heater with extruding tubes at mounting location underneath passenger seat
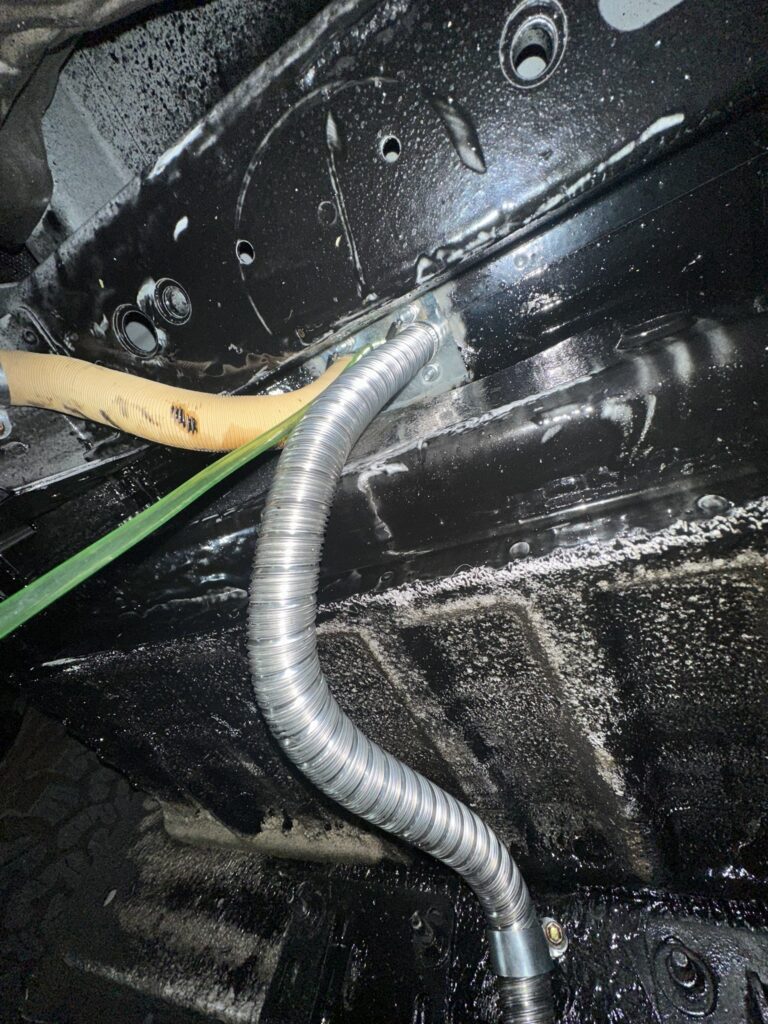
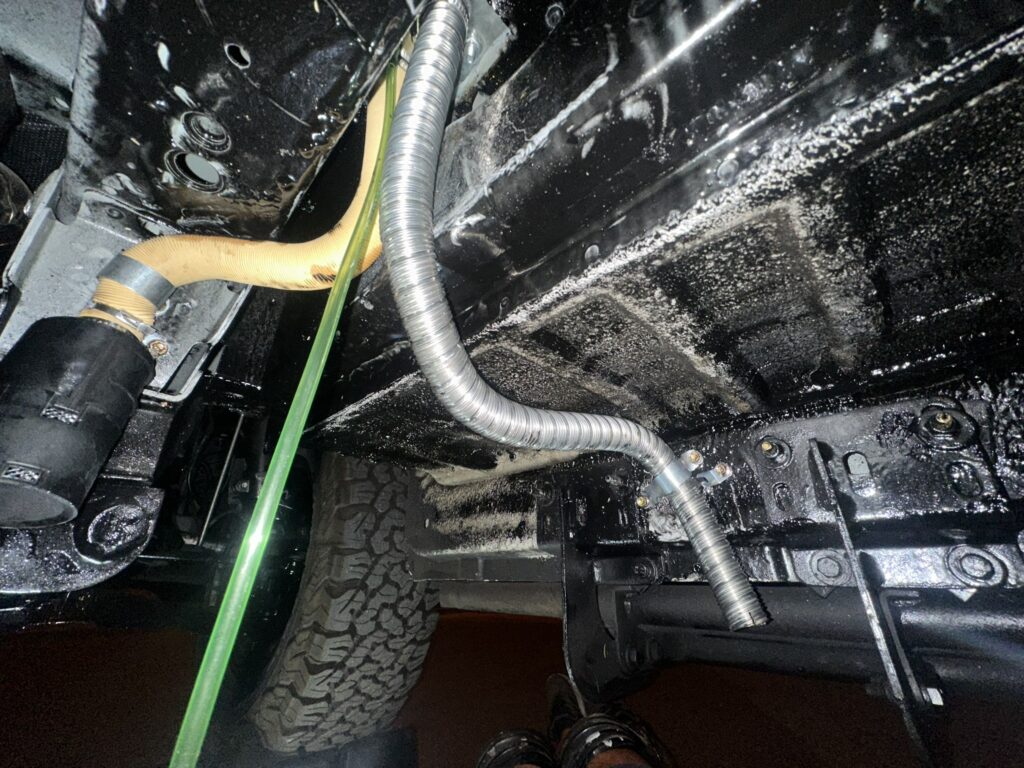
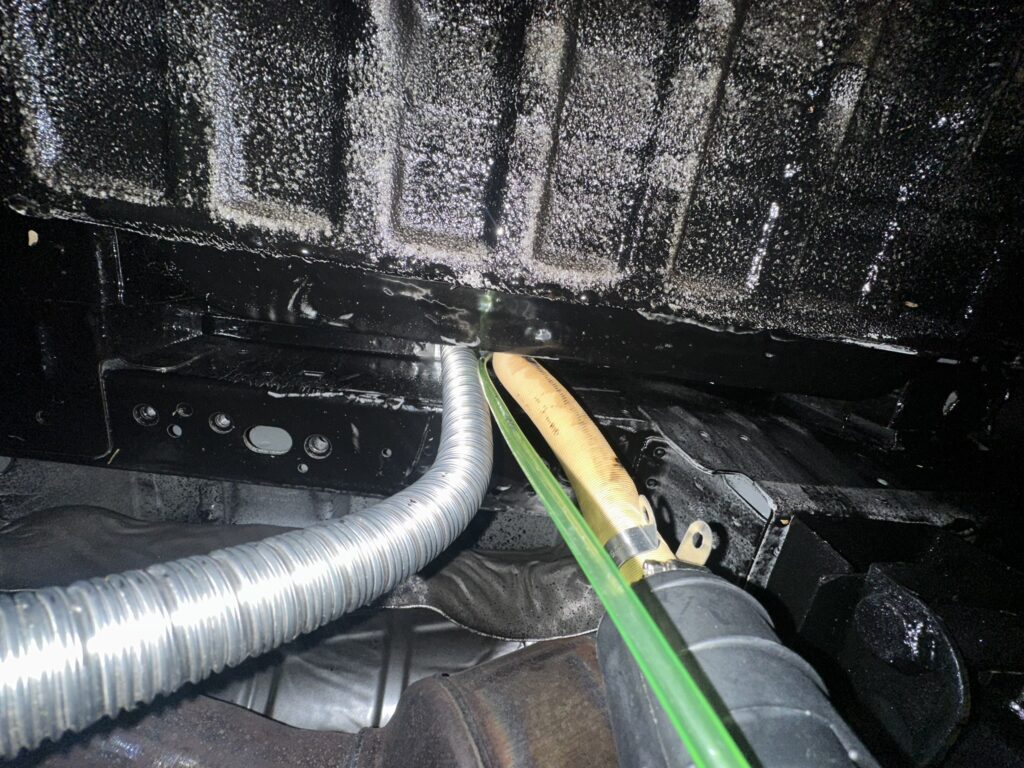
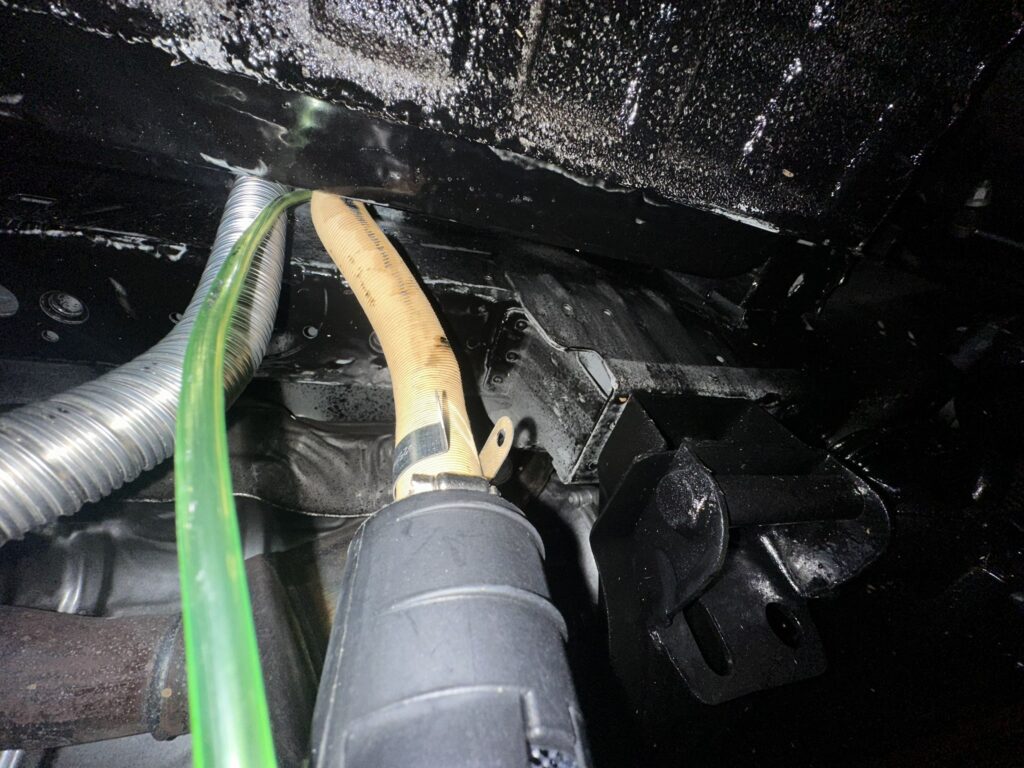
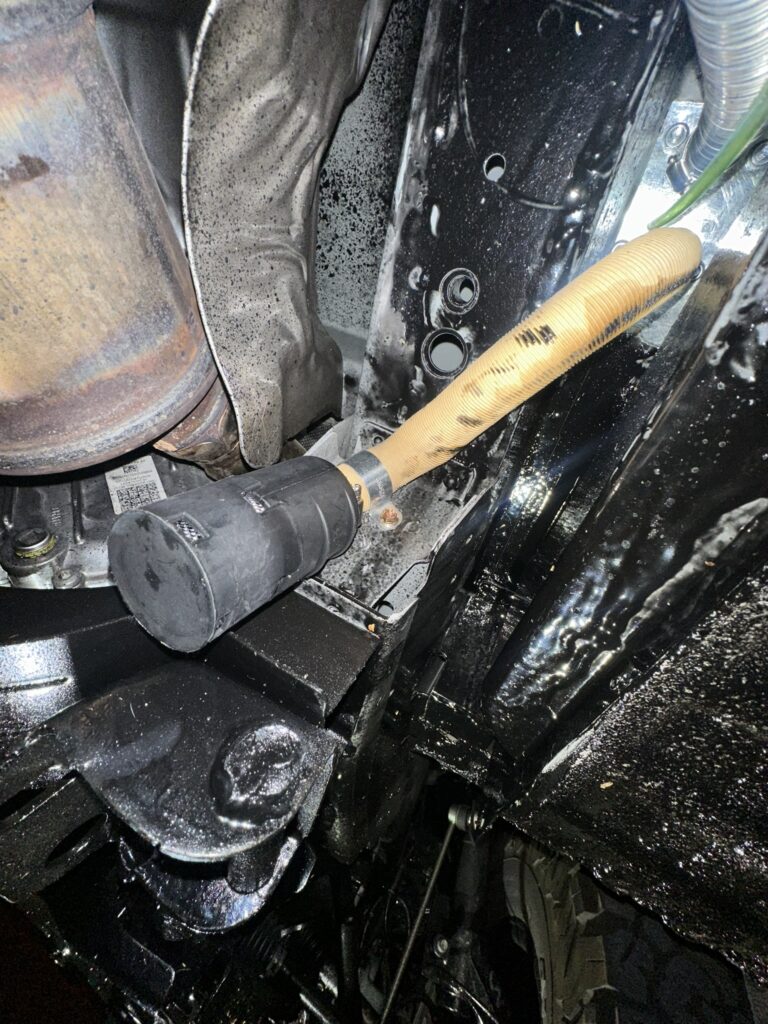
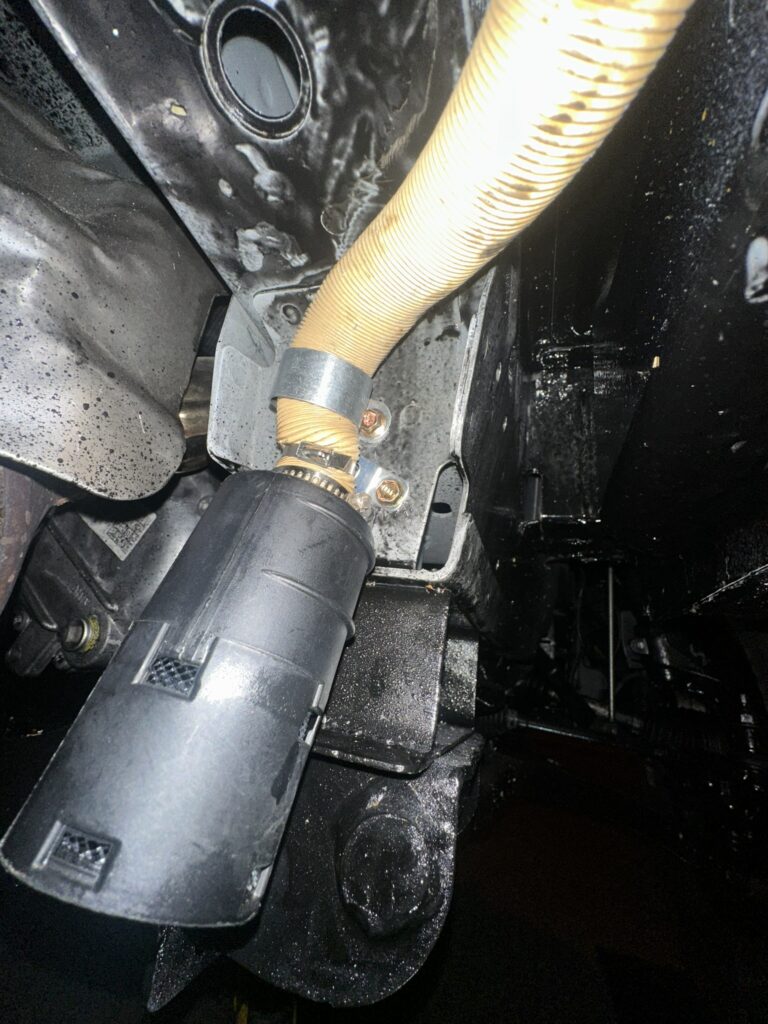
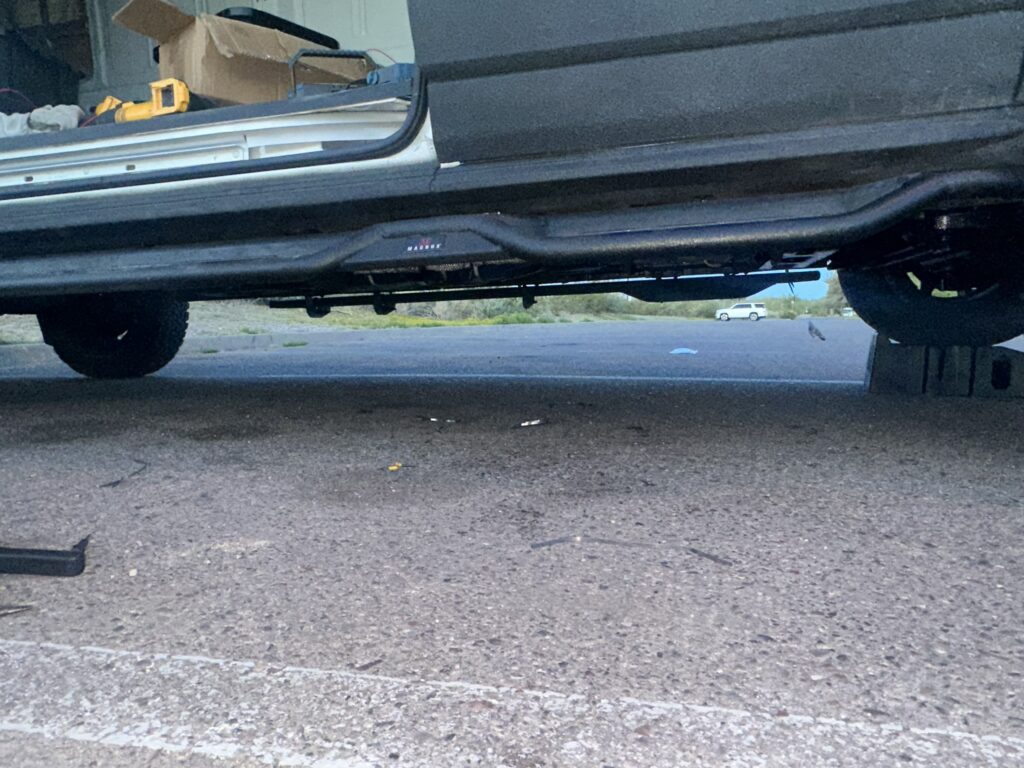
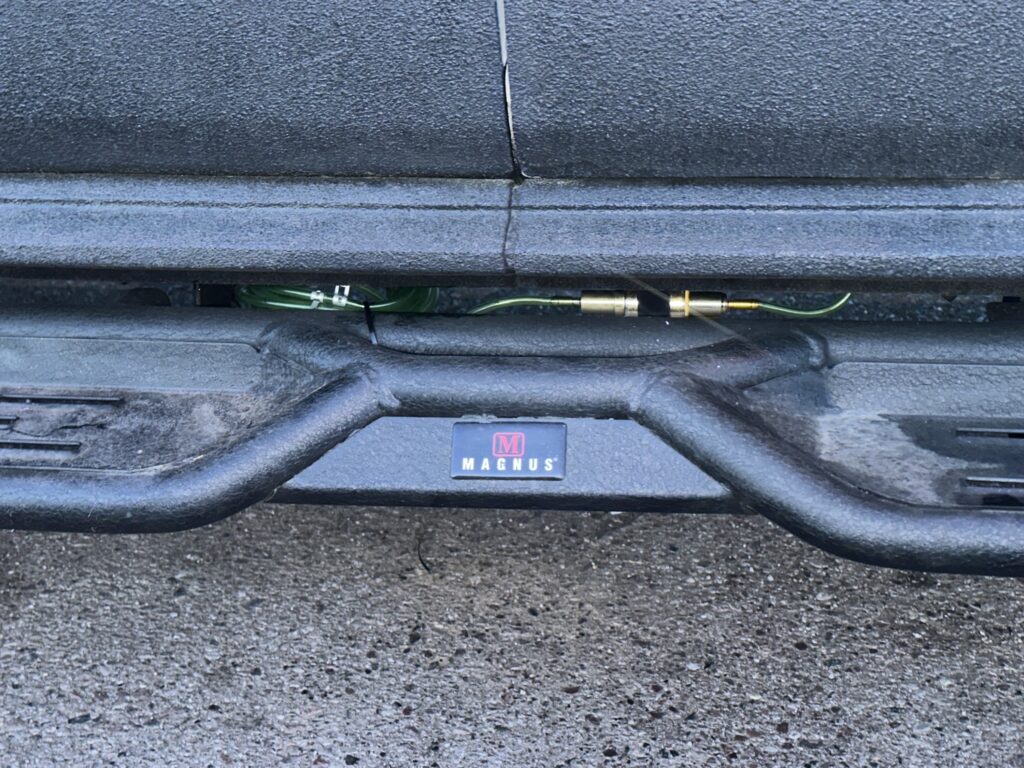
- Mount air intake tube and filter underneath van with provided metal clamp and self tapping metal bolt
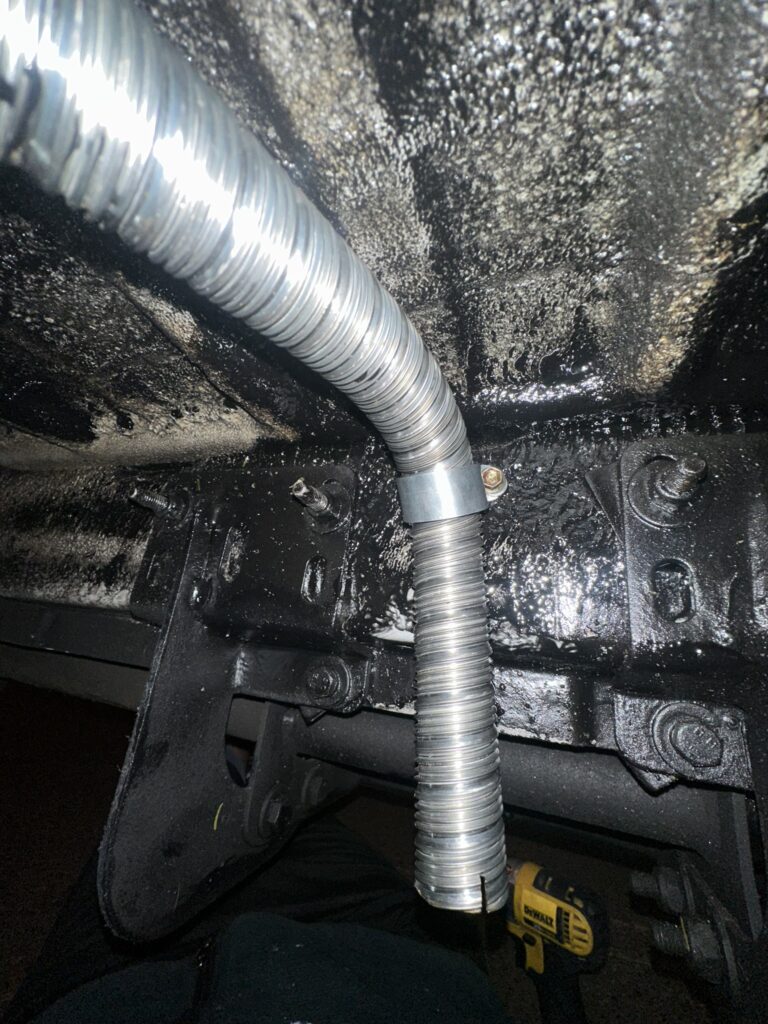
- Mount exhaust tube with with provided metal clamp and self tapping metal bolt (provided as part of diesel heater kit)
- Strengthen the mount of the air intake tube and filter with provided self tapping metal screw and metal zip tie (metal zip tie not part of kit)
- Strengthen the mount of exhaust tube with provided self tapping metal screw and metal zip tie
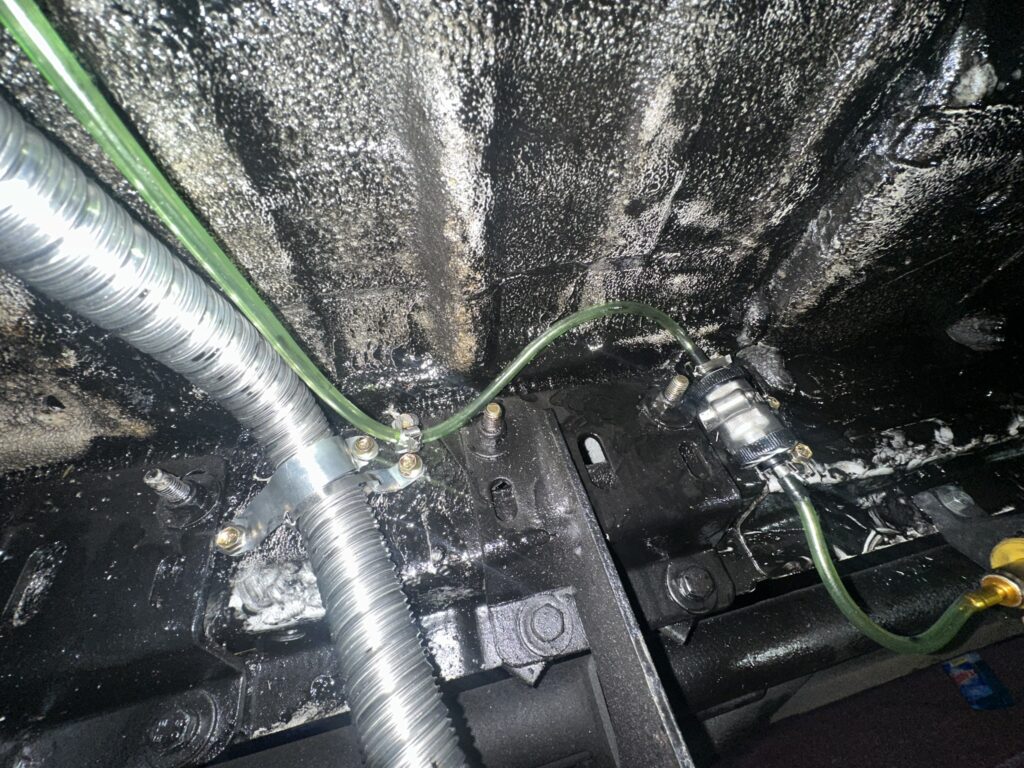
- Mount fuel intake tube with metal zip ties and provided
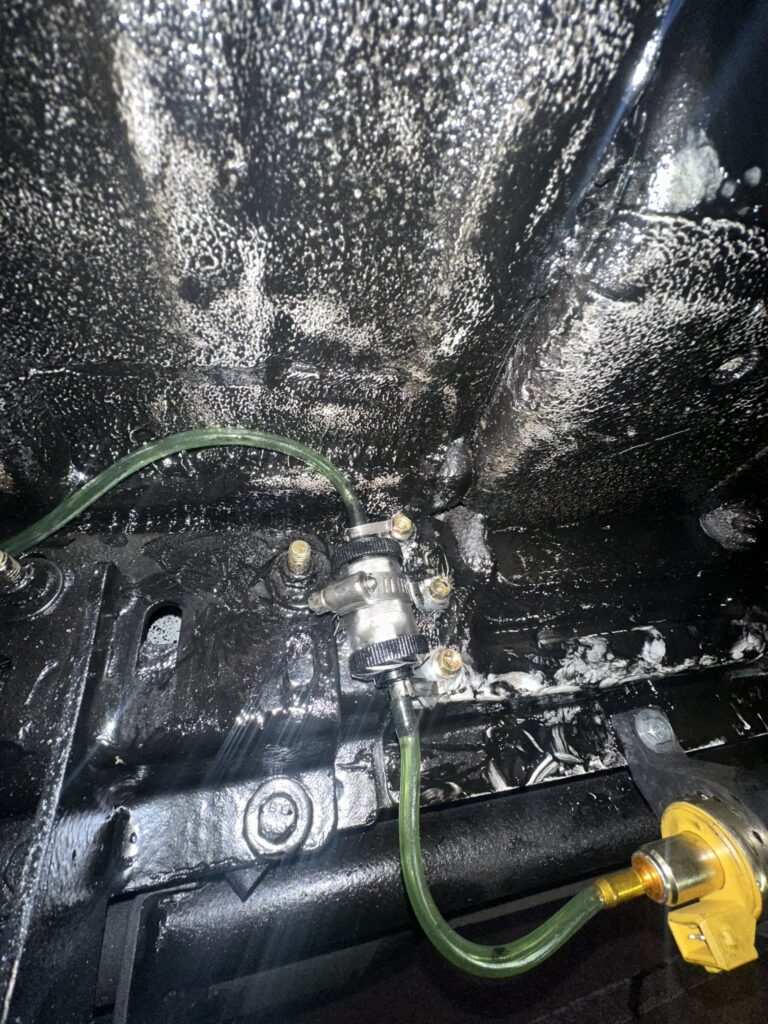
- Mount fuel filter with 3 provided bolts, 3 metal zip ties, and one provided hose clamp
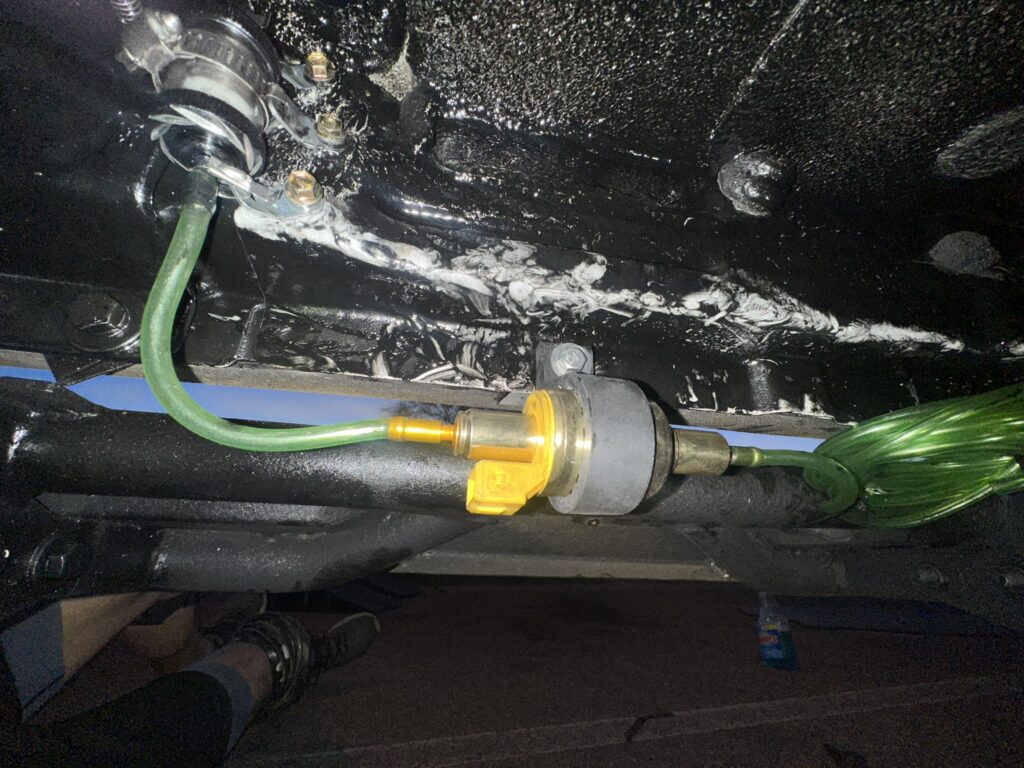
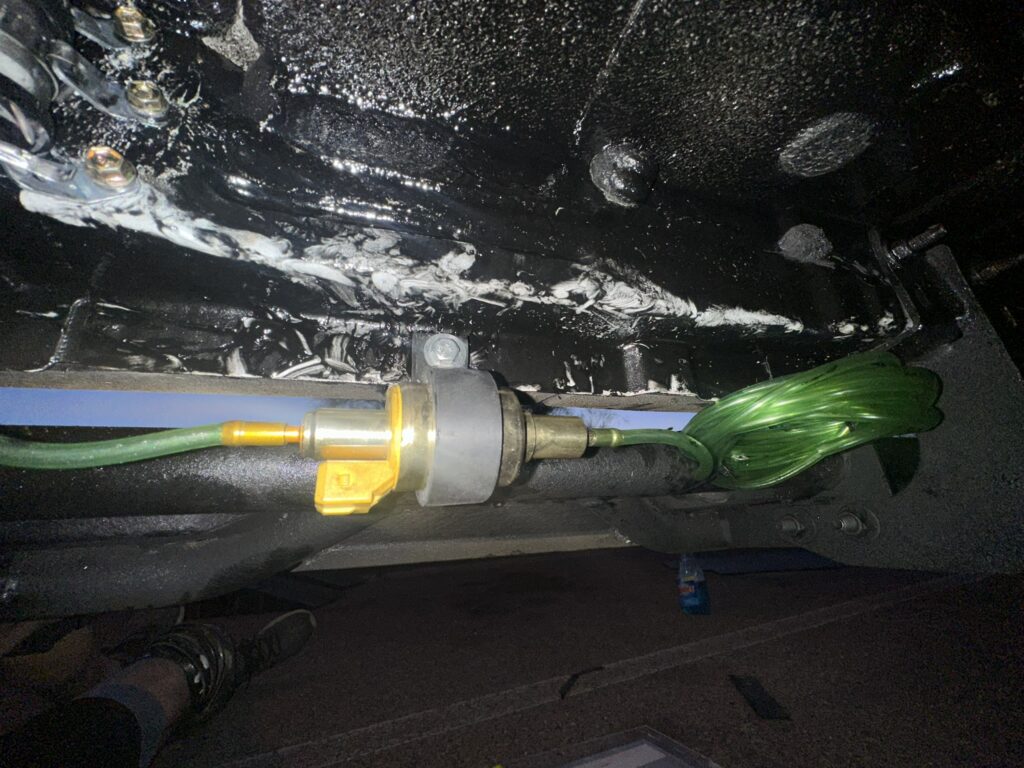
- Mount fuel pump with provided rubber mount, bolt, washer, and nut
- Use 2 provided plastic zip ties to temporarily mount remaining fuel intake tubing for later installation and routing of diesel fuel tank
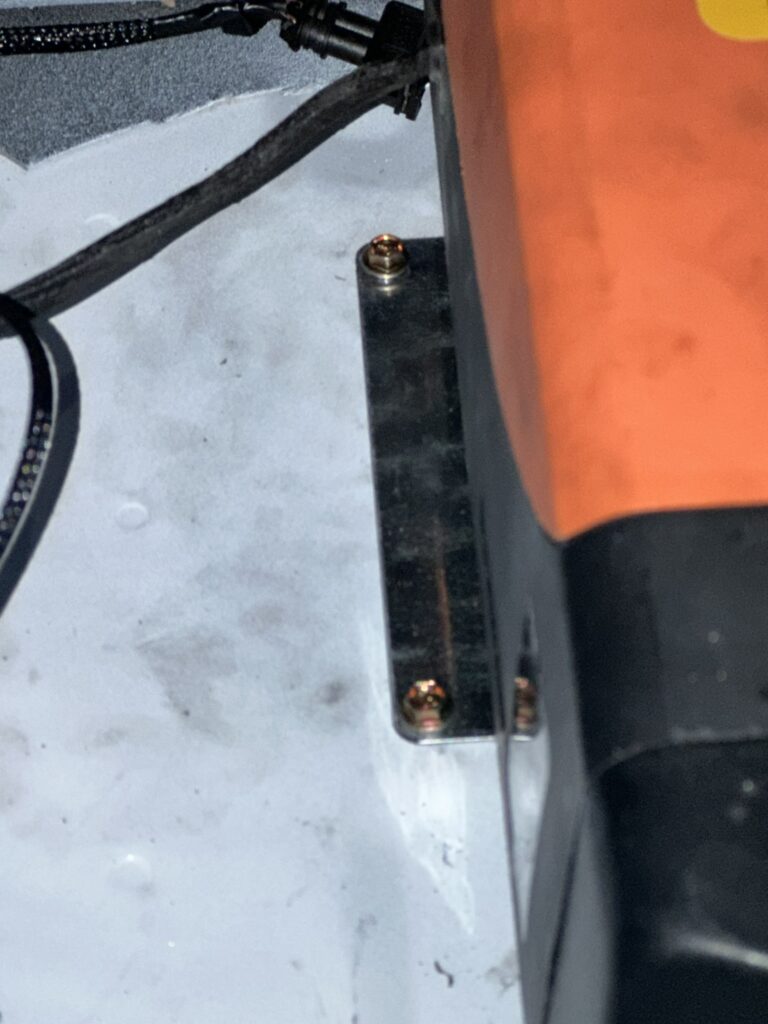
- Mount heater on floor with 3 provided self tapping metal screws (Needs one additional self tapping metal screw from my own supply)
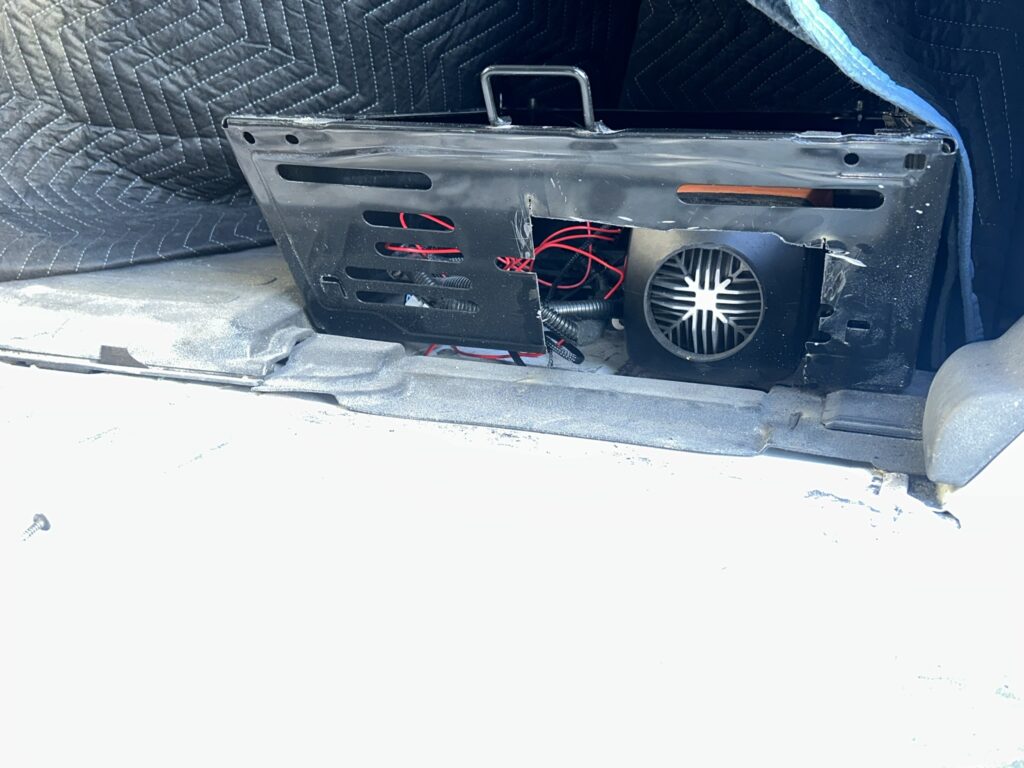
- Cut out portion of metal passenger seat platform with power drill and step bit, reciprocating saw, and grinder
- Cut off metal handle of passenger seat platform (it is not necessary and will interfere with the panel I will install that will cover the back of the platform and hold the heater vent and tubing)
- Use metal file and sand paper to sand down cuts in metal passenger seat platform
Plans For Tomorrow
- Finish installation of diesel heater
Tools And Materials Used

maXpeedingrods 12V 8Kw Diesel Heater
View On Amazon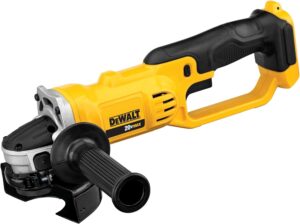
Dewalt DCG412B 20V MAX* Lithium Ion 4-1/2” Grinder
View On AmazonDewalt 20V MAX Reciprocating Saw
View On AmazonDewalt DW4892 12-Piece Reciprocating Saw Blade Set W/ Telescoping Case
View On Amazon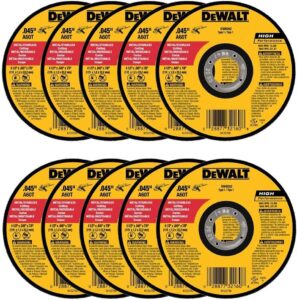
Dewalt - DW8062 - 10,Pk DW8062 4-1/2"X.045"x7/8" Metal Angle Grinder Thin Cutoff Wheel, 10 Pack
View On Amazon
Dewalt DCD794B 20V MAX Atomic Compact Series Brushless Lithium-Ion 1/2 In. Cordless Drill Driver
View On Amazon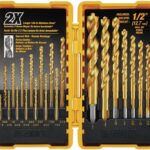
Dewalt Titanium Nitride Coated Drill Bit Set, Pilot Point, 21-Piece
View On Amazon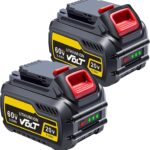
9.0Ah Replacement For Dewalt 20V/60V Max Battery
View On AmazonRexbeti 25Pcs Metal File Set
View On AmazonDura-Gold Premium - 40 Grit Gold - Hook & Loop Backing Longboard Continuous Sandpaper Roll
View On Amazon34 Pcs Woodworking Chamfer Drilling Tools Including 6 Countersink Drill Bit Set, 7 Countersink Drill Bit, 8 Plug Cutters For Woodworking, 3 Step Drill Bit And 8 Drill Stop Bit Collar Set
View On AmazonNotes
The black substance you see on the undercarriage of the van is Fluid Film Black - Power Rust & Corrosion Protection which I applied to the entire undercarriage of the van (except the exhaust parts)
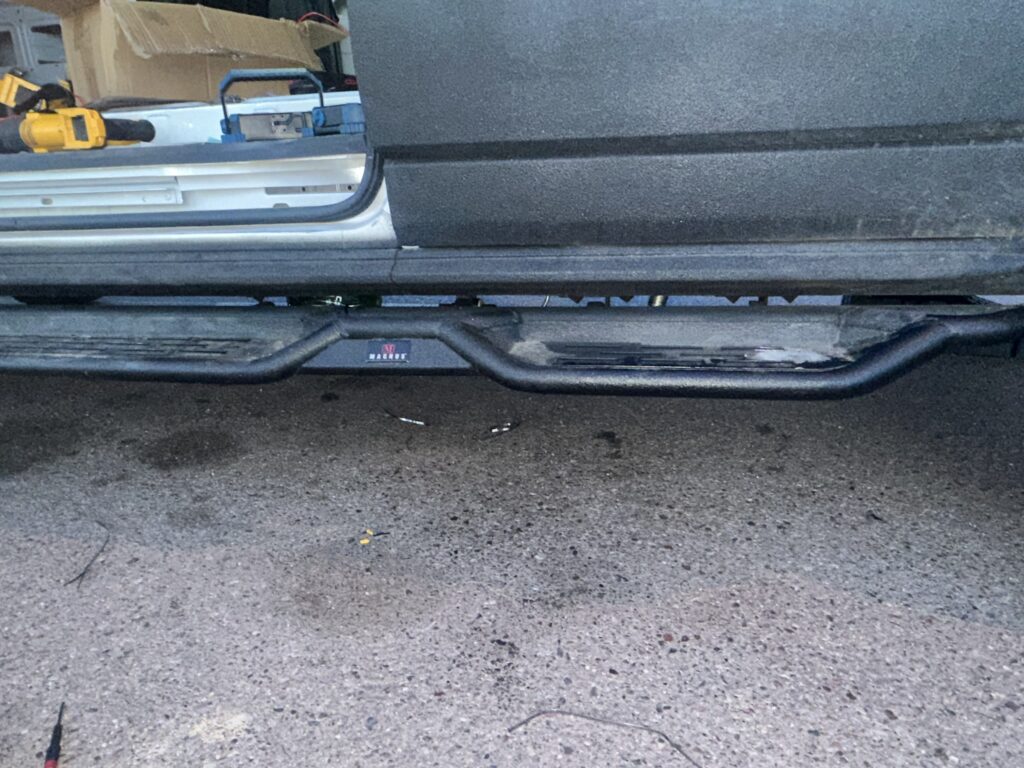
Today I mostly worked on my back underneath the van.
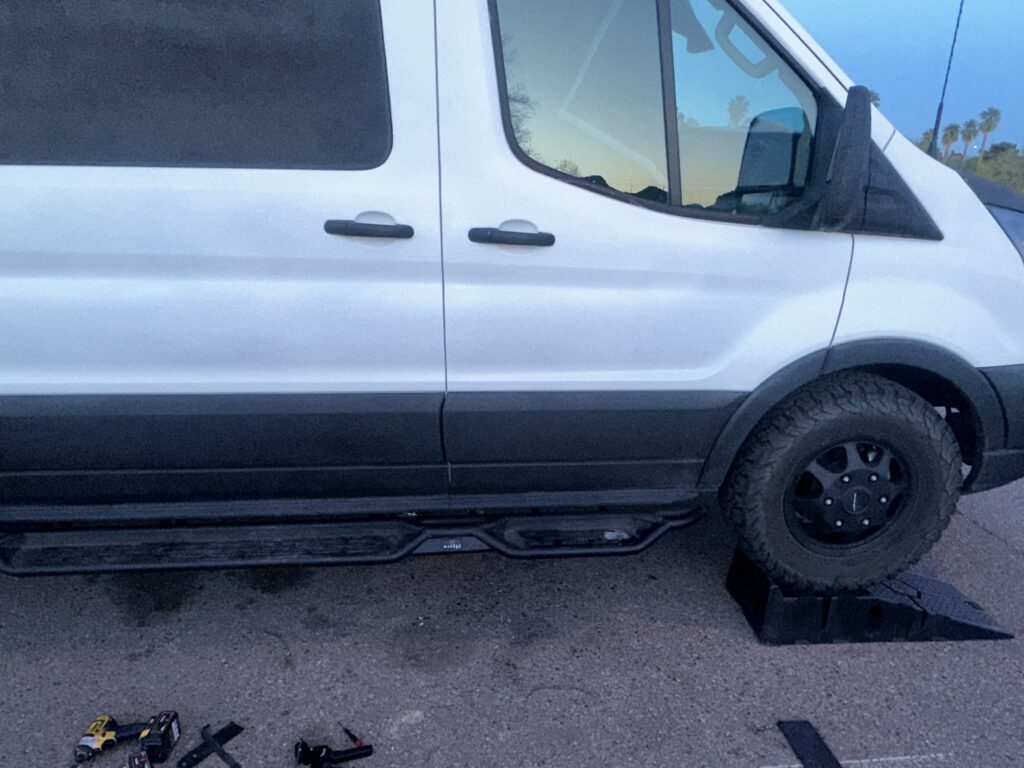
2 of my 4 RhinoGear RhinoRamps MAX Vehicle Ramps were destroyed when I attempted to drive the van on them. They previously started to crack and break, and today they were completely destroyed. They actually got caught under the van and I had to drive around in the parking lot just to shake them loose. I do not recommend buying these ramps, and I hope I can receive free replacements because they weren't cheap.
Since I don't have a vehicle lift to stand and work under, working under the van on my back for long hours is physically and mentally exhausting. I have to use abdominal, upper body, and neck strength to keep my head off the ground looking where I am working and also use my hands. Even with the ramps, it is very cramped and tight under the van, especially since I could only lift the front two wheels today as the other 2 ramps were destroyed.
Pictures