Projects
- Conclusion of installation of diesel heater
Project Status
- Completed
Time Spent
6 Hours
Steps Taken
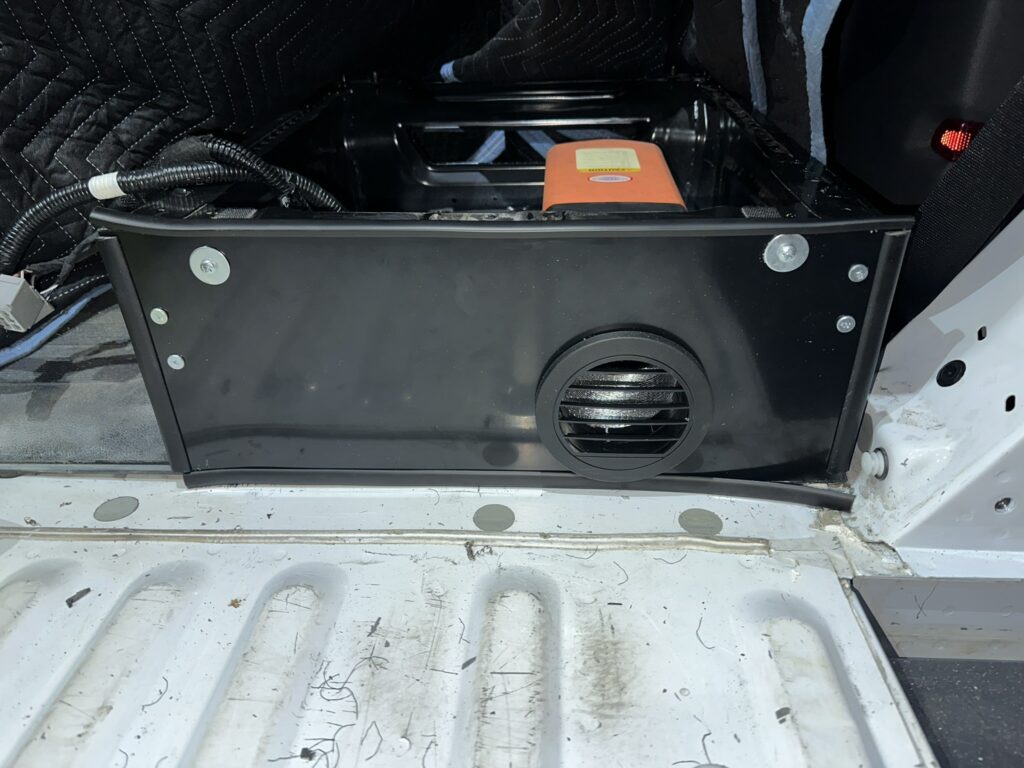
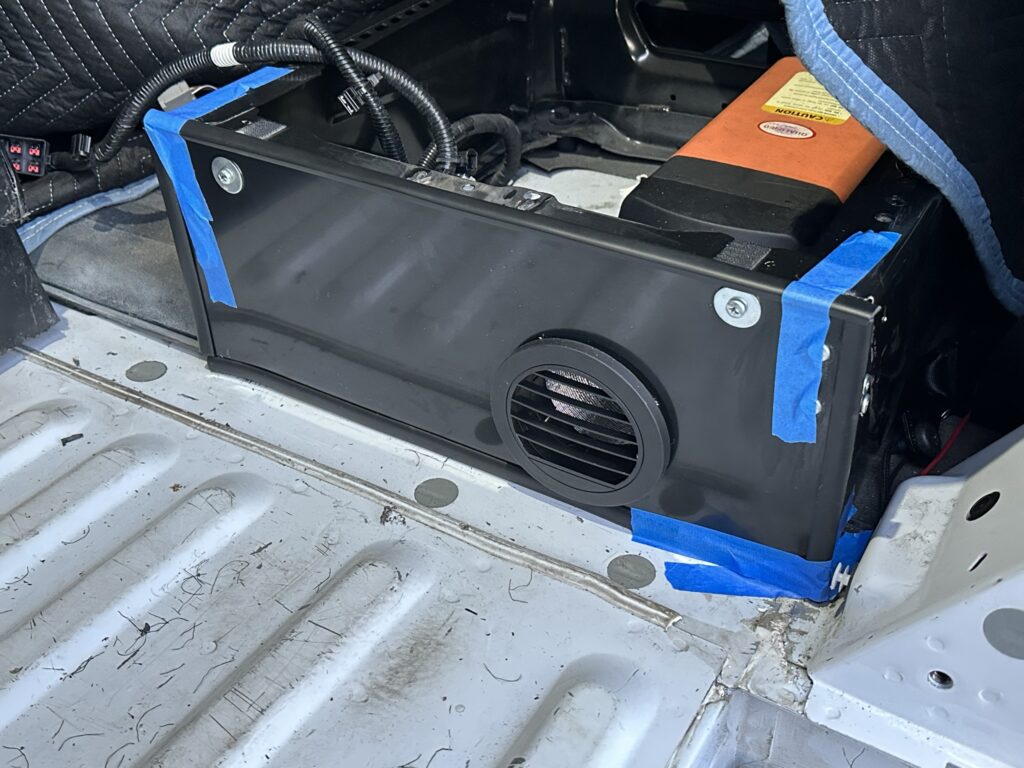
- Apply L shaped black trim to edges of DIY cover panel
- Cut fuel pump power wires in order to fit fuel pump power jack through factory hole in van floor near heater
- Drill hole in factory rubber gasket that fits in factory hole
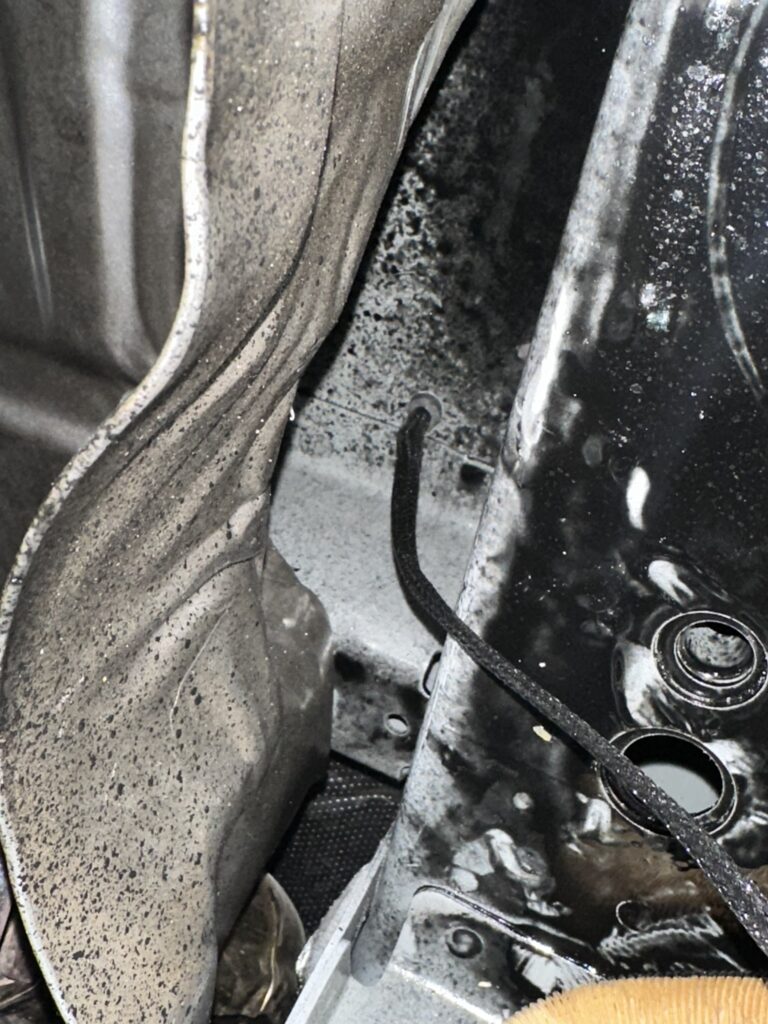
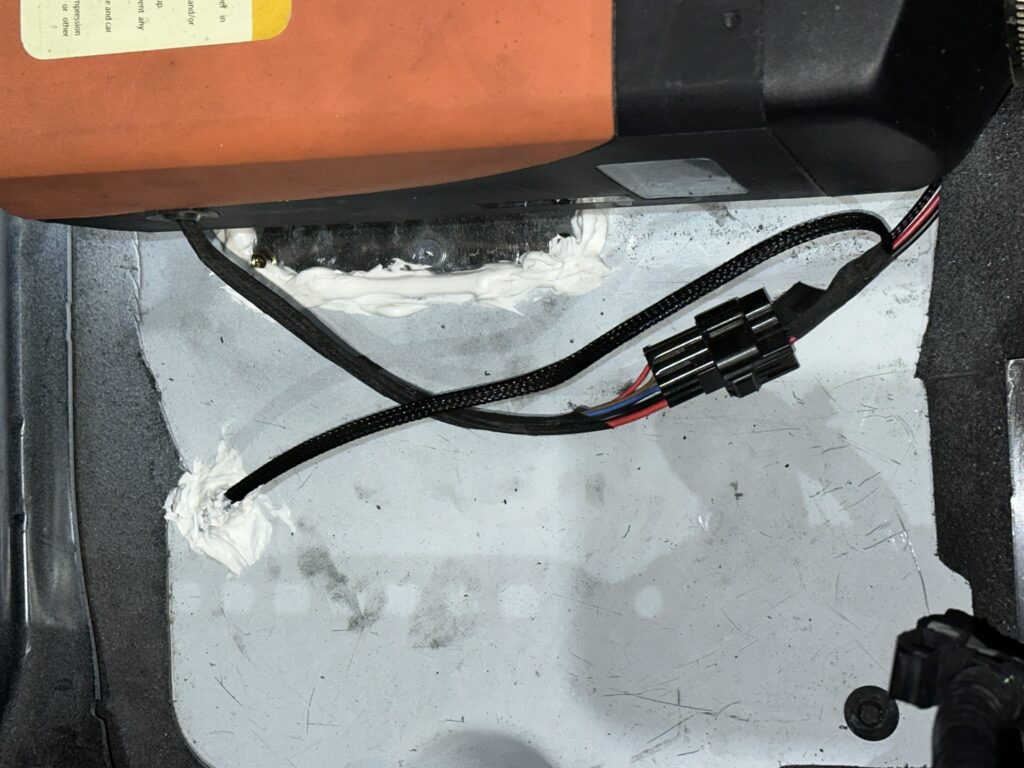
- Run fuel pump wires through rubber gasket and factory hole beneath van
- Reconnect fuel pump wires with two (2) lever wire connectors (will replace later with solder seal wire connectors)
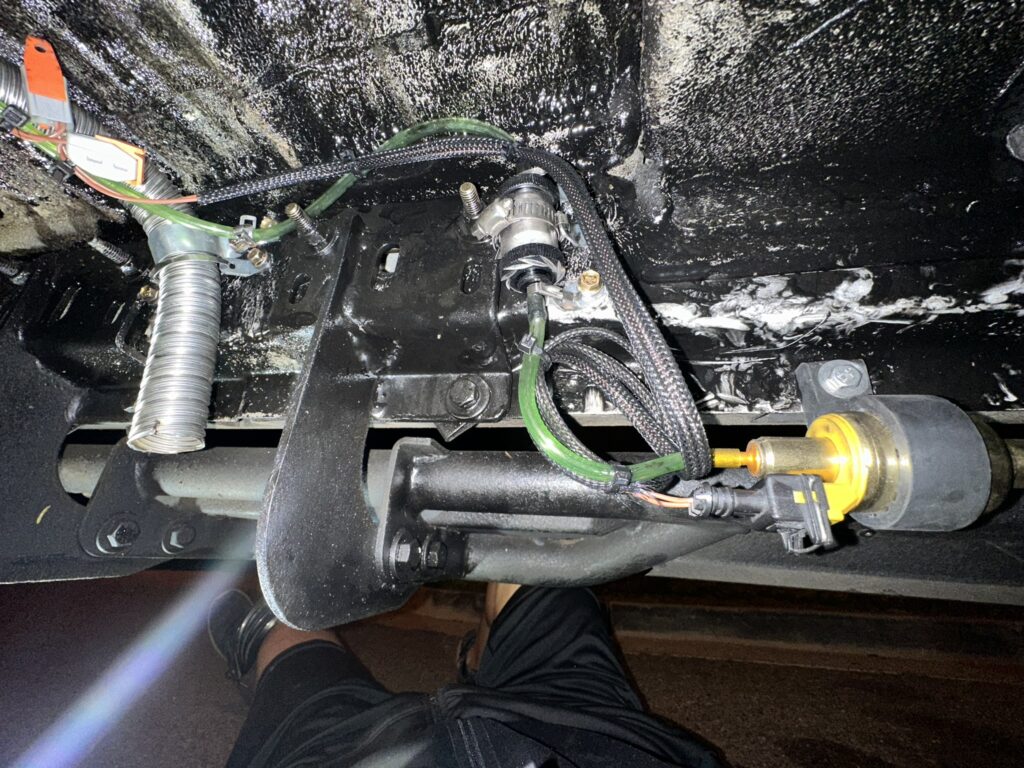
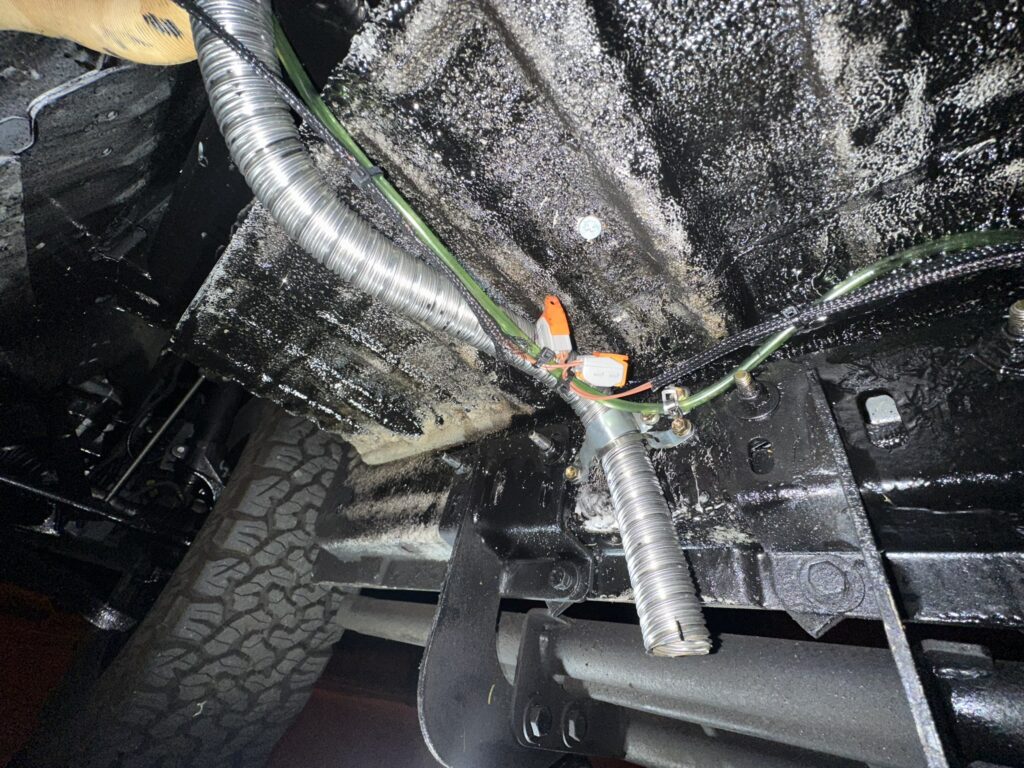
- Use plastic zip ties to mount fuel pump wires and nylon sheathing to fuel pump line
- Apply super glue to fix L shaped black trim to DIY cover panel and hold down with blue tape
- Apply sealant at factory hole where fuel pump wire was ran beneath van
Plans For Tomorrow
- Begin installation of solar panels and roof vent fan
Materials Used

maXpeedingrods 12V 8Kw Diesel Heater
1KW-8KW adjustable, you can adjust the power according to your heating needs, and the power up to 27000 BTUs, meets your high power heating requirements.
View On Amazon
Falken Design Aluminum Composite Panel Black, 12"X 36", 1/8" Thick
Falken Design Aluminum Composite Material (ACM) feature two thin sheets of corrosion resistant aluminum enclosing a polyethylene core.
View On Amazon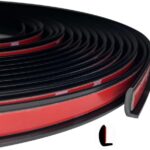
Automotive Door Edge Trim Molding Kit With Tape
This car door trim molding measures 9/16 inch wide by 26.3 feet long, L shape foot applied along door edge.
View On Amazon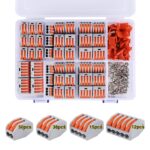
115 Pcs Lever Wire Connectors Nuts Kit
Terminates 28-12 AWG;Rated Voltage: 250V/4KV; Rated Current: 32A.
View On Amazon
Tr Industrial Multi-Purpose Uv Resistant Black Cable Ties, 8 Inches, 100 Pack
Made with UV resistant industrial strength 6/6 Nylon
View On Amazon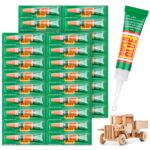
36 X 3G Super Strong Glue For All Purpose
Each tube is 3 grams, drop it one time, and no need to stock for a long time once open, which is better for a big size of glue.
View On Amazon
Scotch Painter's Tape Original Multi-Surface Painter's Tape
READY. SET. PAINT!: 9 rolls of 0.94 inch wide ScotchBlue Original Painter's Tape, a multi-surface solution for preparing to paint your living or working environment
View On AmazonTools Used

Dewalt DCD794B 20V MAX Atomic Compact Series Brushless Lithium-Ion 1/2 In. Cordless Drill Driver
Our shortest 20V MAX Drill Driver at 5.88 in. (tool head length only) to access hard to reach areas
View On Amazon
Dewalt Titanium Nitride Coated Drill Bit Set, Pilot Point, 21-Piece
DEWALT drill bit set has connectable accessory storage system to optimize storage space
View On Amazon
9.0Ah Replacement For Dewalt 20V/60V Max Battery
View On AmazonNotes
The L shaped black trim adhesive did not want to stick to the DIY cover panel on the edges, so I super glued it down.
I still need to run the red, black, and LCD screen wires up the B Pillar towards the back of the van. I will run all wires to the back of the van together, which will be more efficient than
Pictures
Short Video
Long-Form Article
Camper Van Build Diary: Day 93 - Perfecting Diesel Heater Installation For Cold Winter Days

Embracing Warmth: Installing An 8Kw Diesel Heater
As the 93rd day unfolds in my camper van build diary, the installation of an 8KW diesel heater beneath the front passenger seat concludes, marking a significant enhancement in comfort for my 2023 Ford Transit 250 High Roof Extended van. This complex journey, spanning over four days, focused on ensuring uniform heat dissipation and fast heat up times, essential for smooth operation in harsh environments. Let's dive into the meticulous steps that rounded off this vital project.
Project Finale
- Project Status: Completed
- Time Allocated: 6 Hours
Installation Steps Detailed
Trim And Panel Configuration:
- Started with applying L-shaped black trim to the edges of the DIY cover panel, crafted from aluminum composite panel black, boosting both aesthetics and safety.
Fuel Pump Wiring Adjustments:
- Carefully cut the fuel pump power wires to enable the fuel pump power jack to weave through the factory hole in the van floor, a strategic move for streamlined diesel heater installation.
Gasket And Wiring Placement:
- Precisely drilled a hole in the factory rubber gasket, positioned perfectly for wire passage, to lay down the foundation for the wiring harness.
- Skillfully threaded the fuel pump wires through this rubber gasket and the factory hole beneath the van, ensuring a neat and secure setup.

Wiring Reconnection And Security Measures:
- Rejoined the fuel pump wires using lever wire connectors, with an upgrade to solder seal wire connectors on the horizon for enhanced durability.
- Employed plastic zip ties to firmly secure the fuel pump wires and nylon sheathing along the fuel pump line, ensuring the system operates smoothly in any harsh environment.
Final Adjustments:
- Utilized super glue to securely bond the L-shaped black trim, also acting as an automotive door edge trim, to the DIY aluminum composite panel, ensuring a snug fit.
- Applied sealant to the area where the fuel pump wire emerged beneath the van, achieving a watertight seal against external elements.
Highlight On Tools And Materials
This project made use of a range of premium tools and materials, including the maXpeedingrods 12V 8KW Diesel Heater, known for its compact and portable design, and the Dewalt cordless drill driver. The installation also featured automotive door edge trim and a meticulously chosen aluminum composite panel in black, ensuring the diesel air heater's combustion chamber the base is well-integrated and aesthetically pleasing.
Reflecting On The Process
The challenge of the black trim adhesive not sticking was cleverly overcome with super glue, showcasing the need for adaptability in DIY projects. The next steps involve organizing the red, black, and LCD monitor wires to run up the B Pillar, optimizing the wiring setup for efficient diesel vehicles operation, complete with reduced noise and enhanced control through the remote control.

Forward Looking: Next Phase In Van Conversion
With the diesel heater's installation now complete, the plan to add solar panels and a roof vent fan looms on the horizon, signaling the next chapter in this van conversion saga, ensuring the van remains a choice for home and shop with its uniform heat dissipation fast, tank heater and fuel pump, and the ability to function smoothly in any harsh environment.