
Projects
- Creating DIY security camera roof mounts for passenger side security camera
Project Status
- Not complete
Time Spent
- 8 Hours
Steps Taken
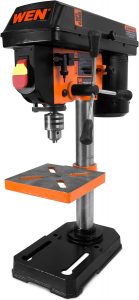
- Unbox and assemble WEN drill press
- Drill larger holes in exterior extrusion corner brackets for 80/20
- Mount corner brackets one existing security camera mount
- Create bracket for front hole of security camera on mount and attach it
- Measure, cut, and drill aluminum brackets for remaining DIY security camera mounts
- Measure and cut 80/20 aluminum extrusion for remaining DIY security camera mounts
Materials Used
- Keep in mind that prices frequently fluctuate.
- It’s common for products to be delisted on Amazon. If you find a delisted product, please Email Me at steve@campervanfreedom.com and I will fix it.
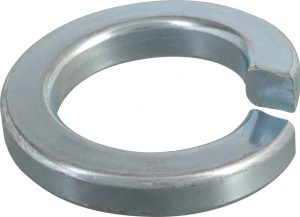
The Hillman Group 300018 1/4″ Split Lock Washer, Steel, 100 Pieces
Medium Strength Thread Locker 243

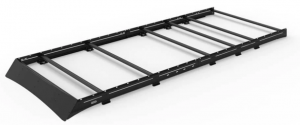
Transit Van Low Pro Roof Rack | 148″ High Rook Extended
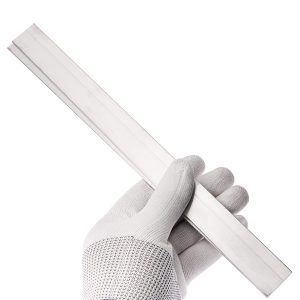
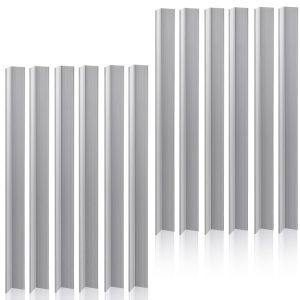
12 Pieces Square Aluminum Flat Bar, 1/8″ Thickness X 1.2″ Width X 12″ Length

Tools Used
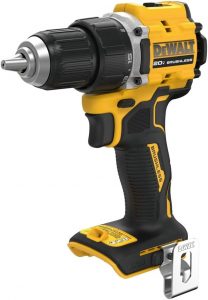
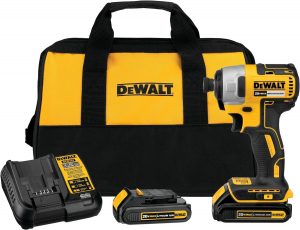
Dewalt DCD794B 20V MAX ATOMIC COMPACT SERIES Brushless Lithium-Ion 1/2 in. Cordless Drill Driver
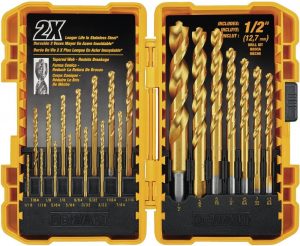
DEWALT Titanium Nitride Coated Drill Bit Set, Pilot Point, 21-Piece
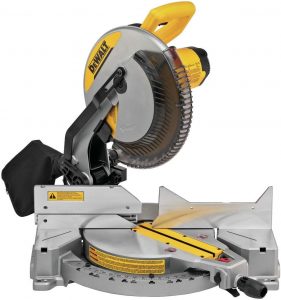
DEWALT 12-Inch Miter Saw, 15-Amp, Single Bevel, Compound (DWS715)
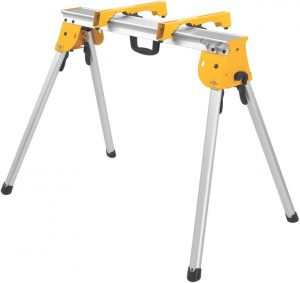
DEWALT Miter Saw Stand, Heavy Duty with Miter Saw Mounting Brakets (DWX725B)

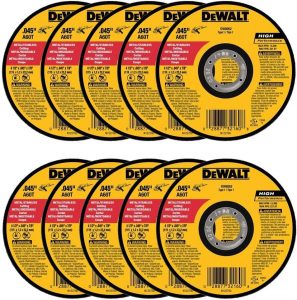
COMOWARE Circular Miter Saw Blade – 12-inch 100 Tooth TCG Metal Saw Blade
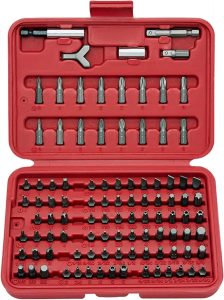
NEIKO 10048A Security Bit Set 100-Piece Set
DEWALT DWHT70263M Ergonomic Push Button Locking Folding Metric Hex Key Set

Notes
- I destroyed my hands in new and exciting ways with my new drill press.
Short Video
Plans For Tomorrow
- Install more PVC conduit on roof and run wires from LED lights and security cameras through it
Long-Form Article
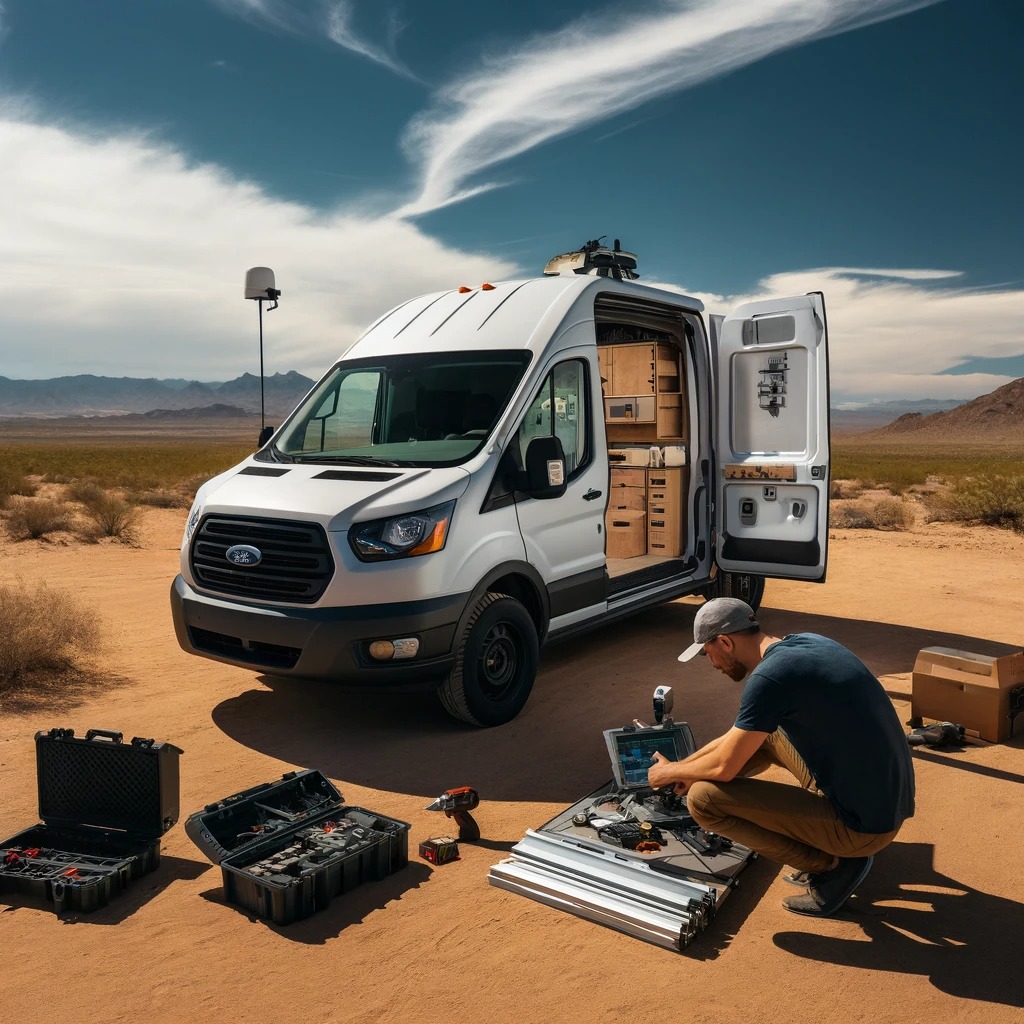
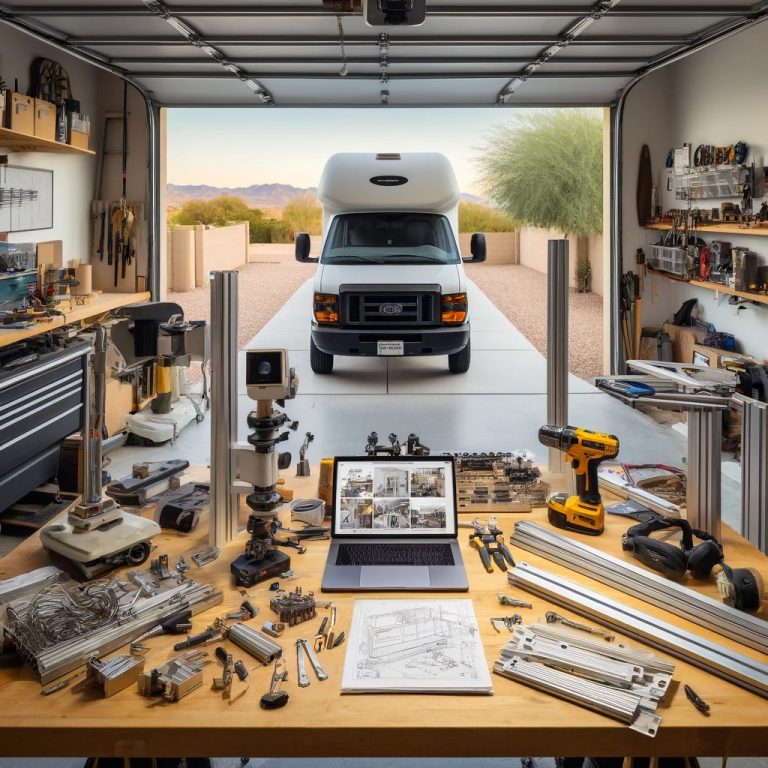
In the serene yet expansive deserts of Phoenix, AZ, the security of my campervan not only provides peace of mind but is an absolute necessity. Driven by a blend of necessity and passion for DIY, I embarked on an intricate project to construct DIY security camera mounts specifically for the passenger side of my van. This endeavor, though rife with challenges, has been a rewarding journey into the heart of DIY craftsmanship and self-reliance. Below, I share an in-depth account of my project’s progression, from its inception to its current state, detailing each step, the materials and tools employed, and offering insights into the challenges encountered along the way.
Project Overview
- Status: In Progress
- Time Invested: 8 Hours
Step-by-Step Guide
- Workspace Preparation: The journey began with the unboxing and setup of my WEN drill press, a pivotal tool for the precise drilling tasks ahead. The benchtop drill press, with its heavy-duty 1-inch thick cast iron base, features predrilled holes for effortless mounting, embodying the mantra, “remember when power tools were actually powerful.”
- Bracket Preparation: I drilled larger holes into the exterior extrusion corner brackets, ensuring they fit the 80/20 aluminum extrusion system perfectly, thus laying a robust foundation for the security camera mounts.
- Initial Assembly: The corner brackets were then affixed to an existing security camera mount, marking the preliminary phase of the camera’s strategic placement.
- Front Hole Bracket Fabrication: A bespoke bracket for the front hole of the security camera mount was designed and attached, guaranteeing the camera’s stability.
- Aluminum Bracket Crafting: Leveraging precise measurements, I meticulously cut and drilled aluminum brackets for the additional DIY security camera mounts, a testament to the versatility and reliability of the WEN drill press series.
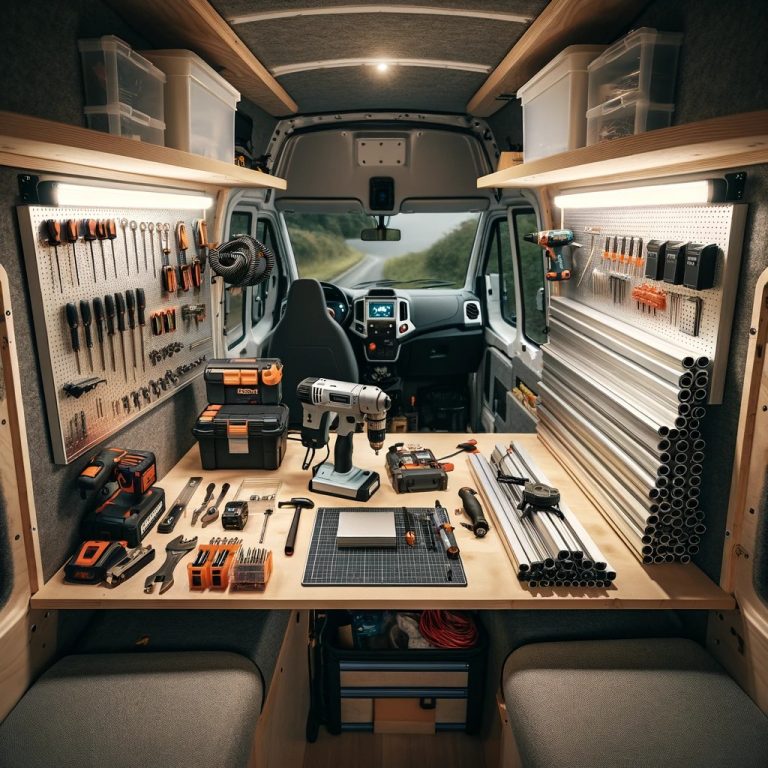
- Extrusion Trimming: The 80/20 aluminum extrusion was measured and sawed, forming the structural core of the additional mounts, showcasing the drill press series’ spacious and cast iron worktable bevels.
Materials and Tools
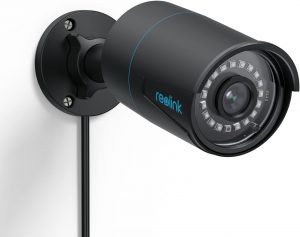
The project required a diverse assortment of materials and tools, ranging from DEWALT products special offers like the DEWALT titanium nitride coated drill bit set to the REOLINK IP security camera, which served as a specific product focus. Notably, the Transit Van Low Pro Roof Rack provided an exceptional foundation for the security configuration.
Materials Utilized:
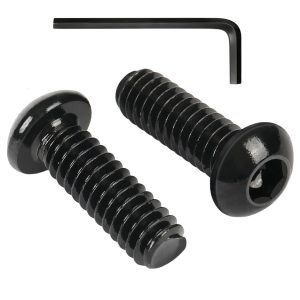
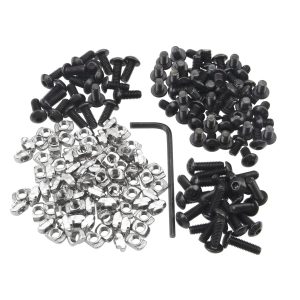
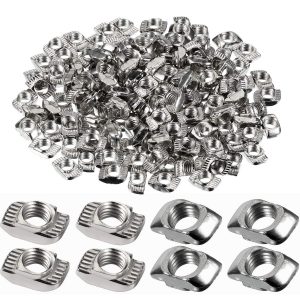
- 60Pcs 1/4-20 x 3/4″ Button Head Socket Cap Bolts Screws, complementing the 80/20 aluminum extrusion.
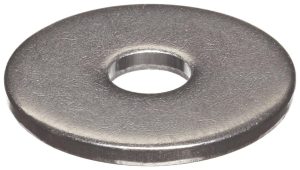
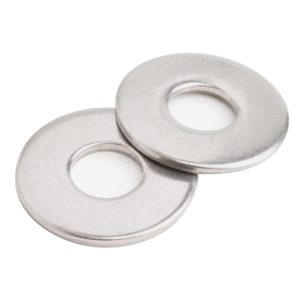
- Small Parts 18-8 Stainless Steel Flat Washer (Pack of 100), enhancing the durability of the setup.
- The Hillman Group 300018 1/4″ Split Lock Washer, Steel, 100 Pieces, ensuring a vibration-proof and secure assembly.
Crucial Tools:
- DEWALT DCD794B 20V MAX ATOMIC COMPACT SERIES Drill Driver, embodying efficiency and power.
- WEN 4208T 8-Inch 5-Speed Cast Iron Benchtop Drill Press, whose powerful induction motor features ball bearings, cast iron worktable bevels 45 degrees for versatility, and on-board chuck key storage for convenience.
Personal Insights
This project not only challenged my technical prowess but also tested my resilience. The drill press, especially, was a steep learning curve that, as humorously noted, “destroyed my hands in new and exciting ways.” Despite the hurdles faced, the project stands as a testament to the robust and indomitable spirit of DIY that defines Project Freedom.
Looking Ahead
The project remains incomplete, with further steps including the installation of the remaining camera mounts and the integration of the security system with the van’s electrical framework. For continuous updates on this and other projects in my journey toward campervan liberation, please review the information about our warranties and stay connected with our friendly customer support line detailed on campervanfreedom.com.