Projects
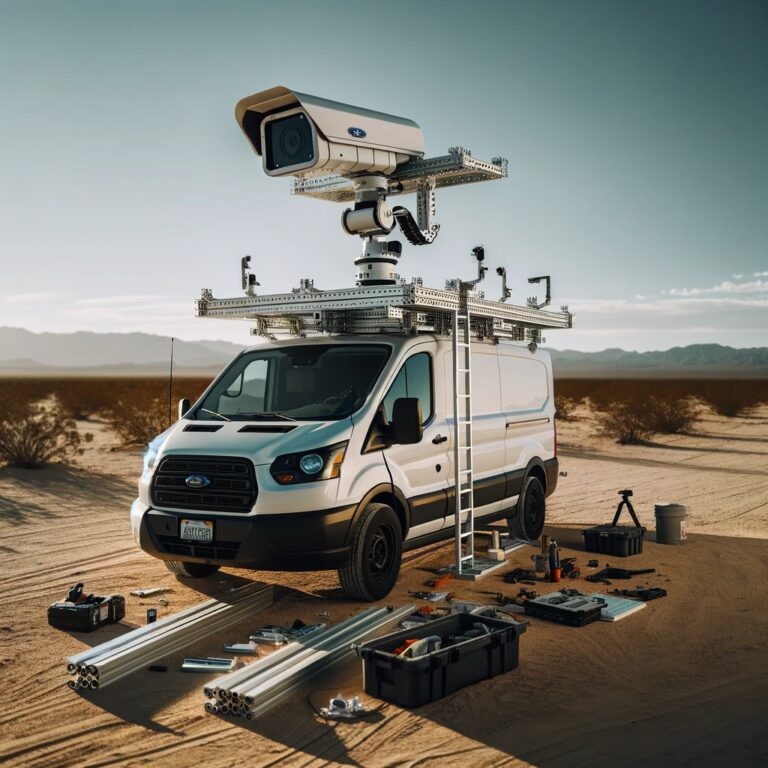
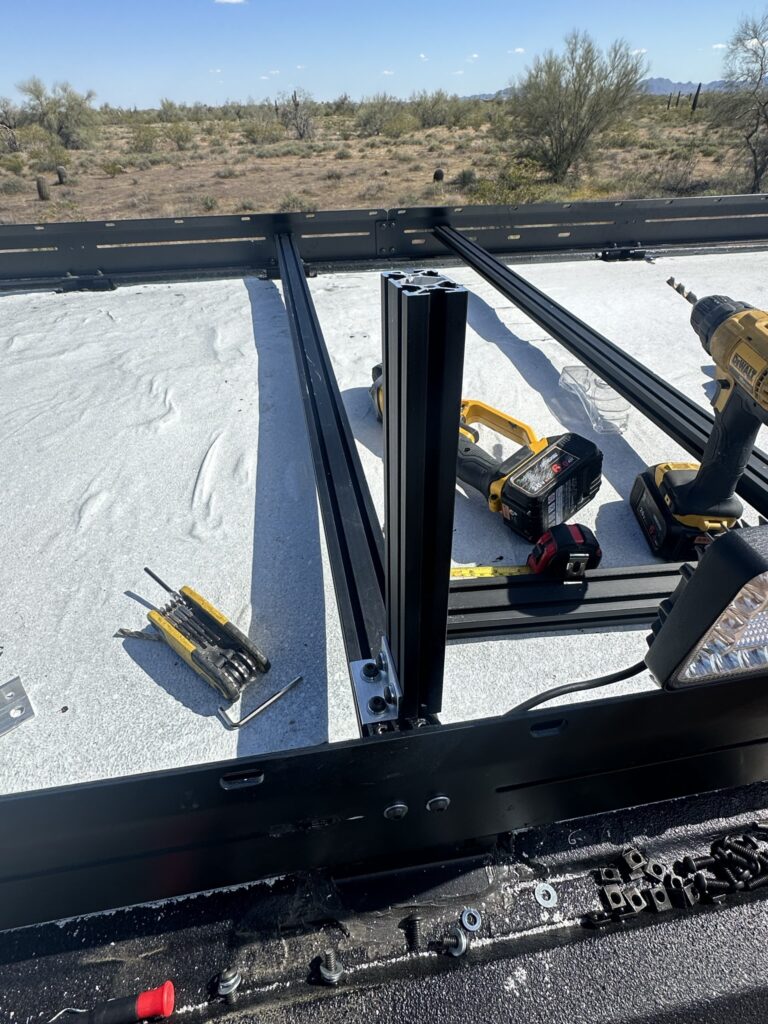
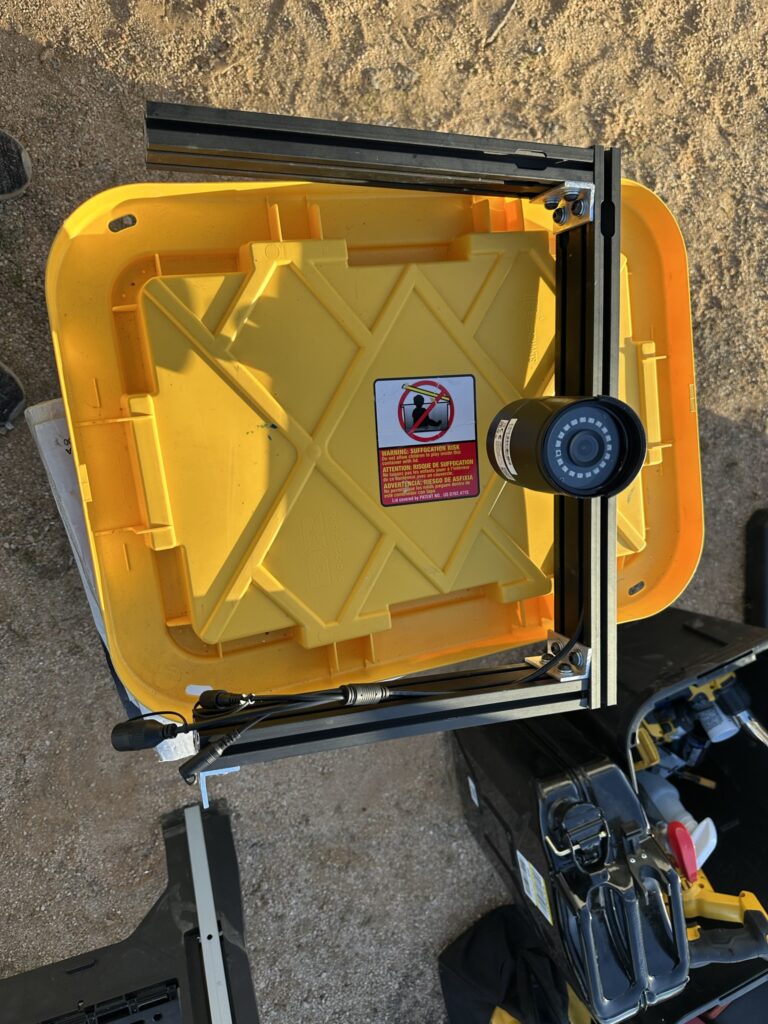
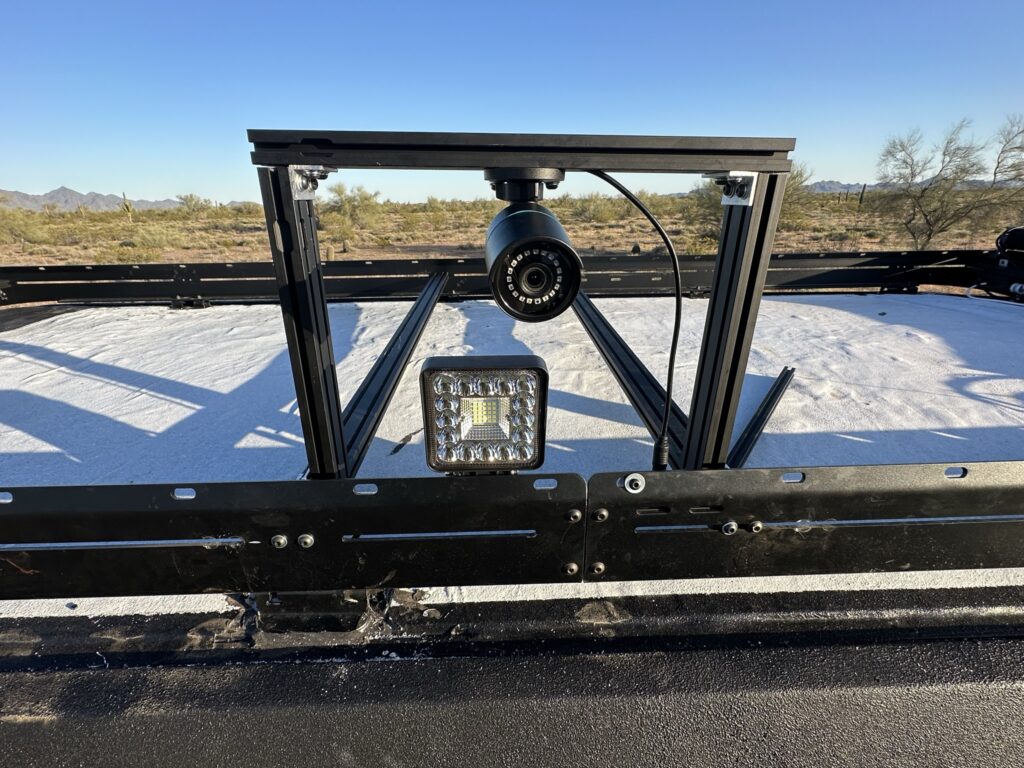
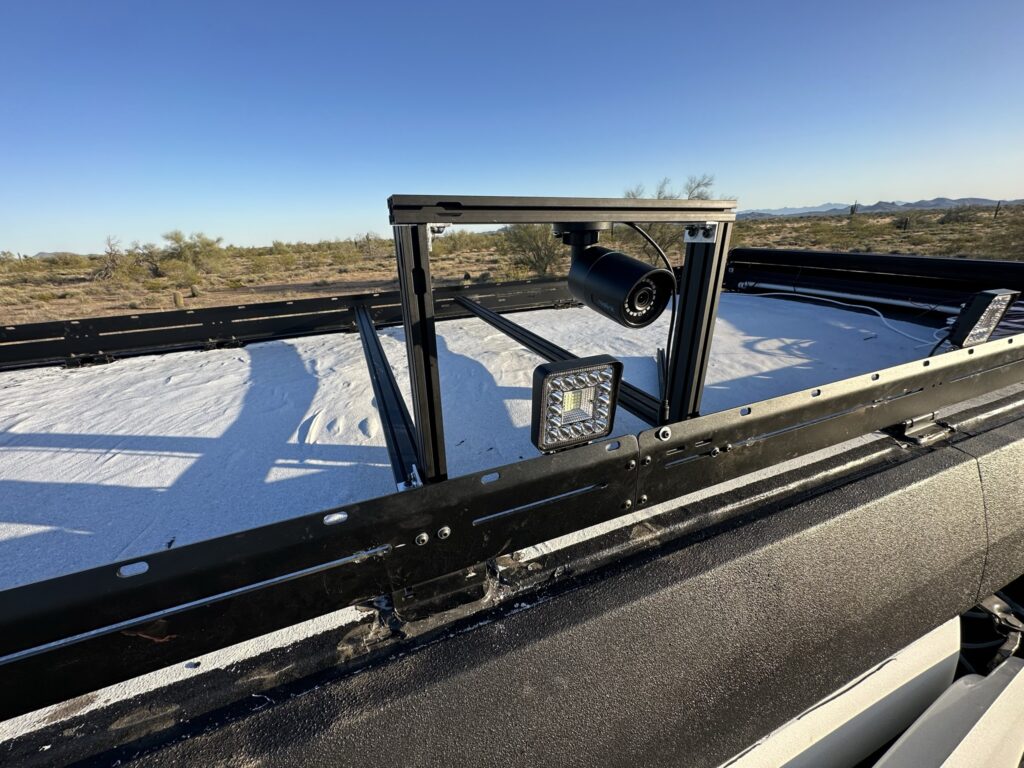
- Creating DIY security camera roof mount for passenger side security camera
Project Status
- Not complete
Time Spent
- 6 Hours
Steps Taken
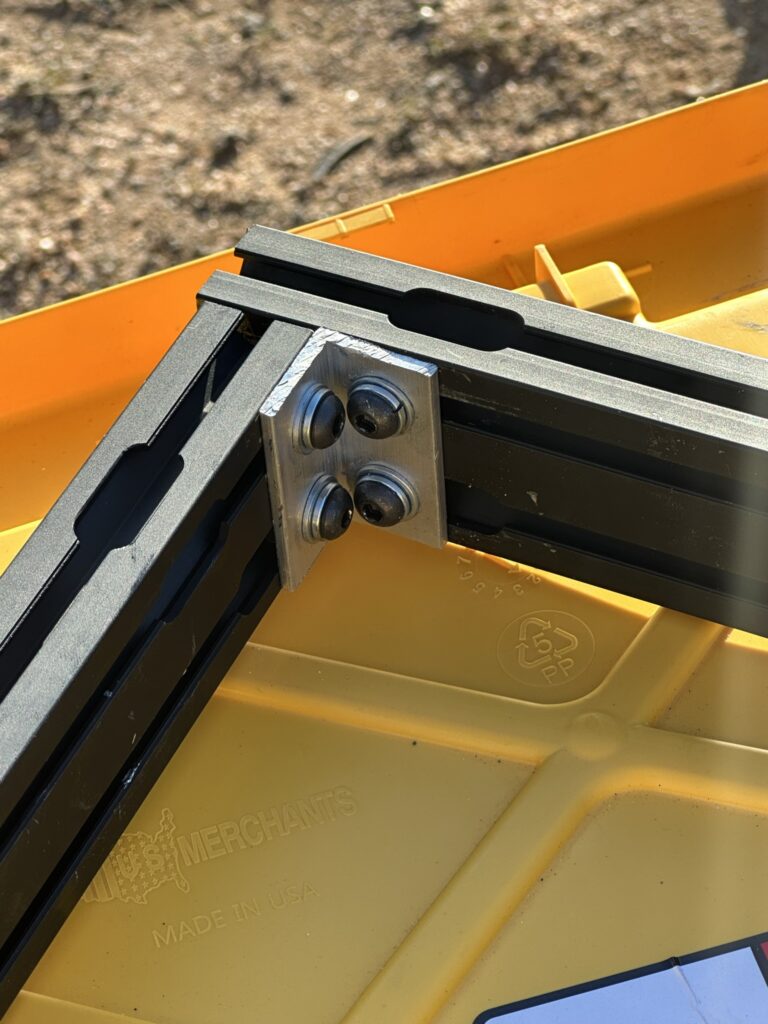
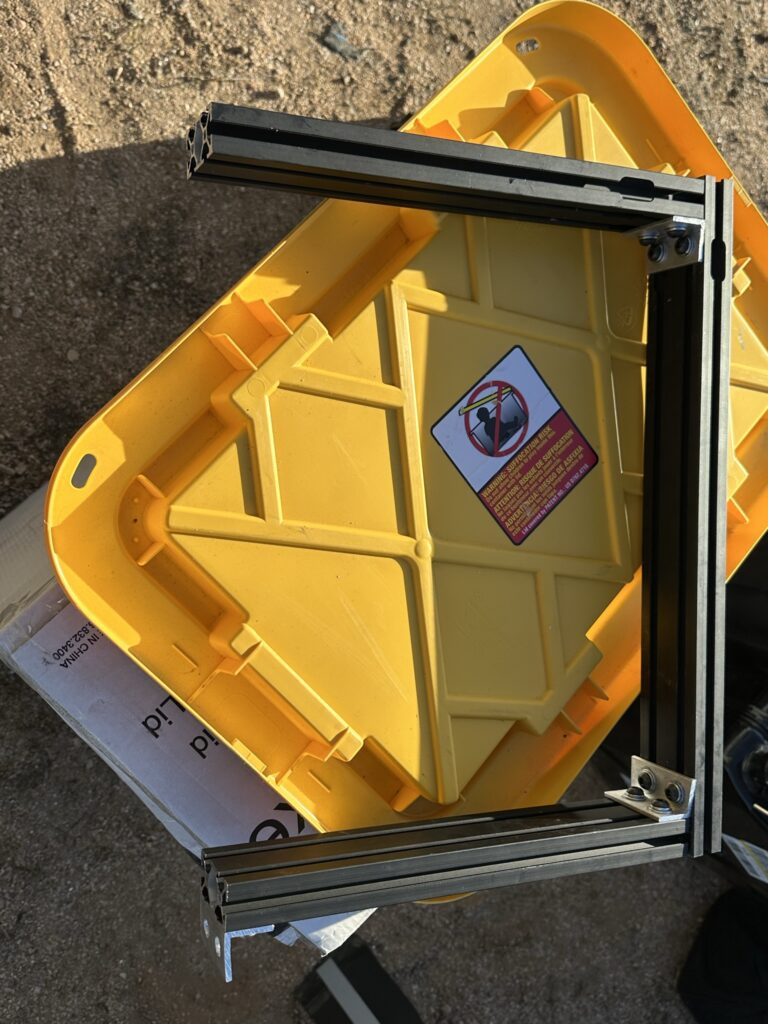
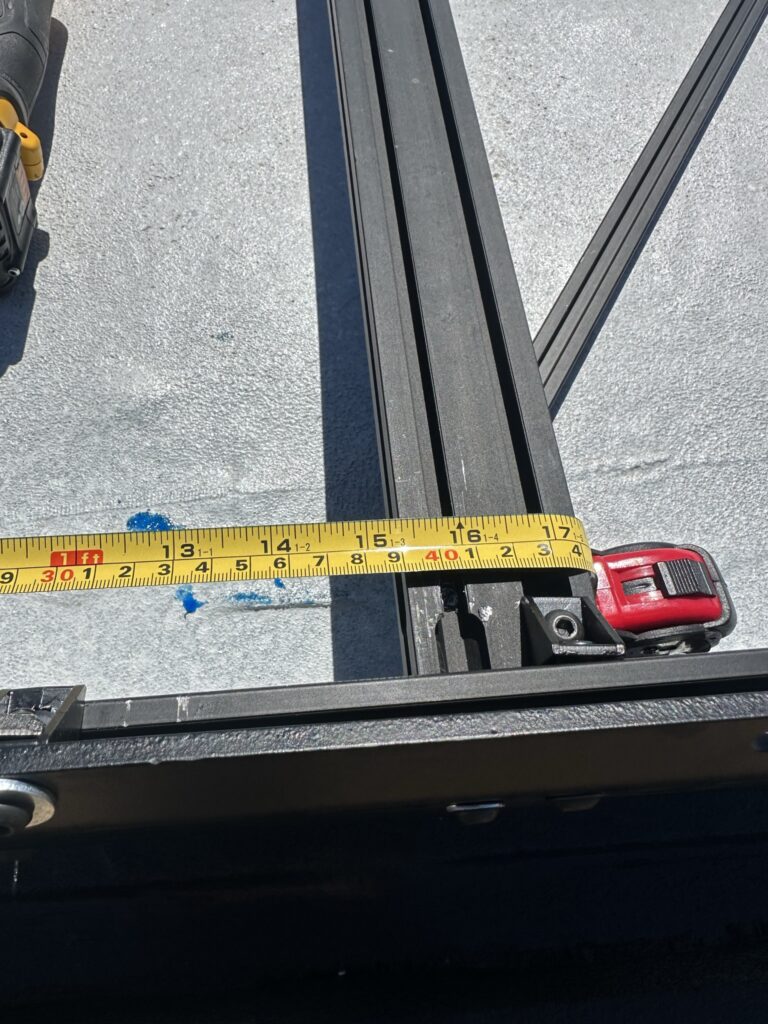
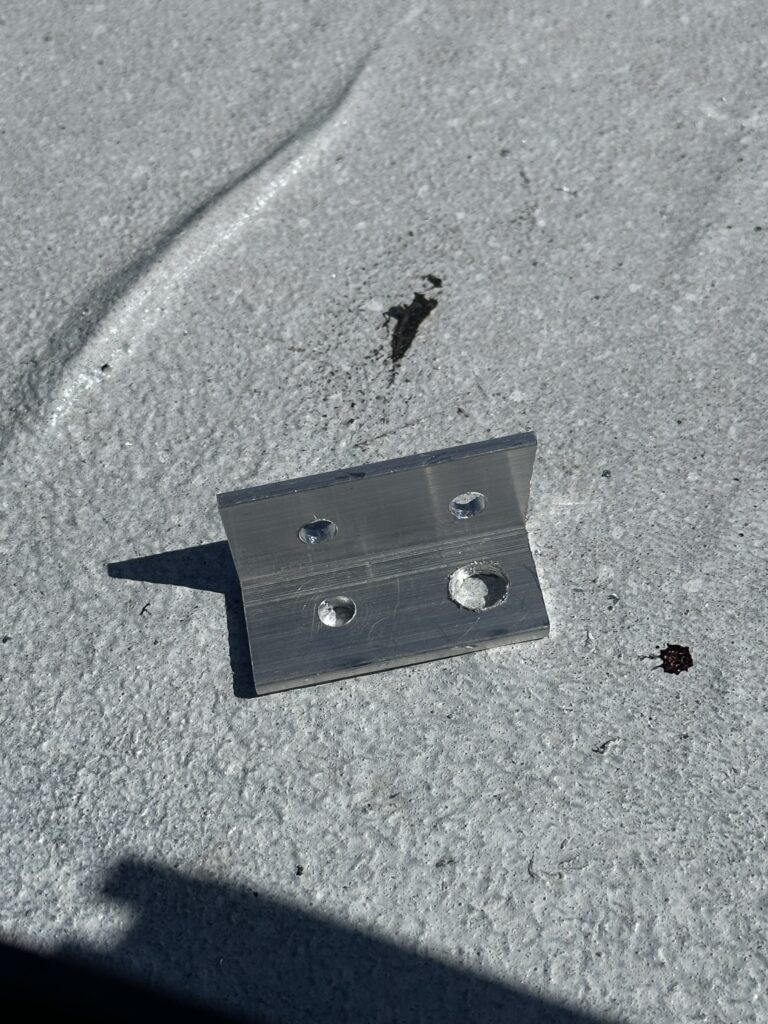
- Fabricate angle aluminum brackets to bind 80/20 extrusion together
- Drill holes through brackets
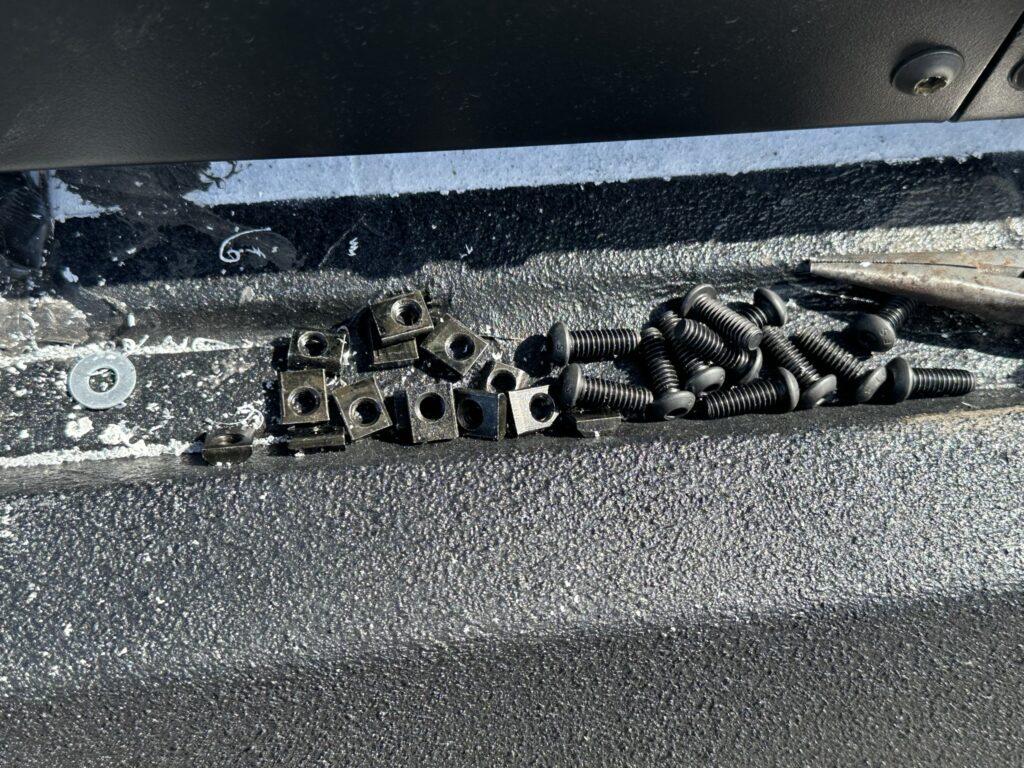
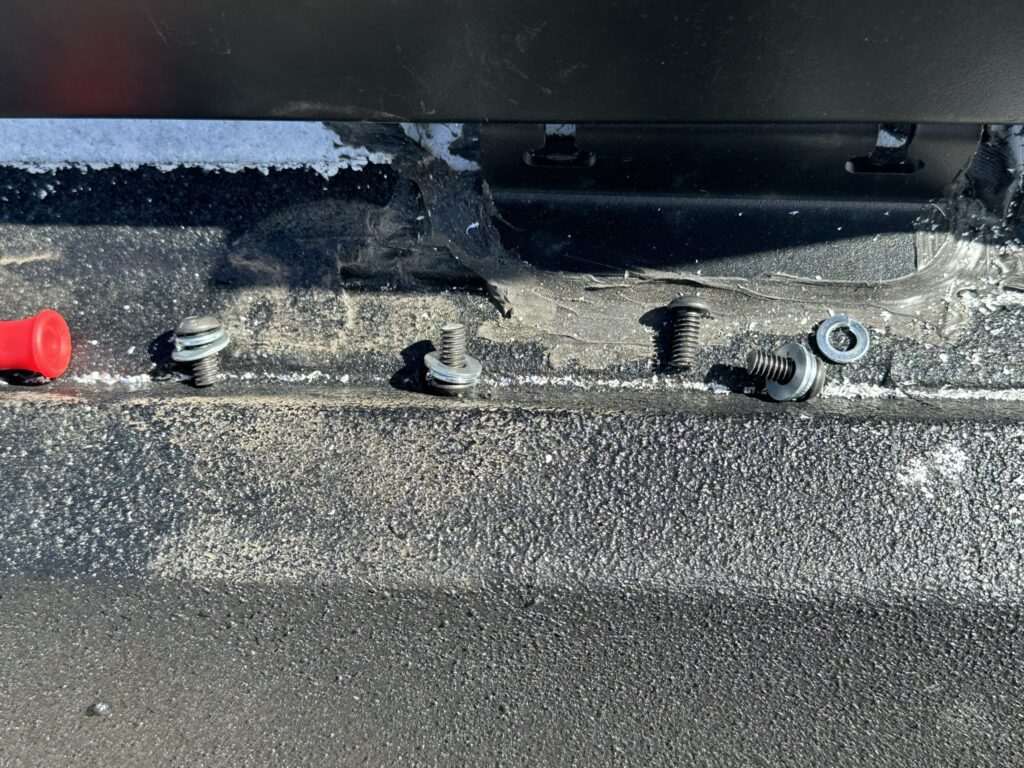
- Attach extrusion together
- Mount security camera on extrusion
Plans For Tomorrow
- Continue work on mounting small LED lights and security cameras
Materials Used
- Keep in mind that prices frequently fluctuate.
- It's common for products to be delisted on Amazon. If you find a delisted product, please Email Me at steve@campervanfreedom.com and I will fix it.
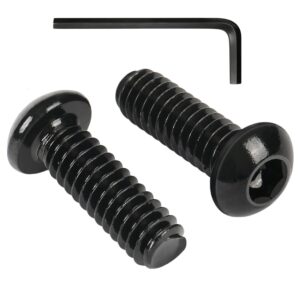
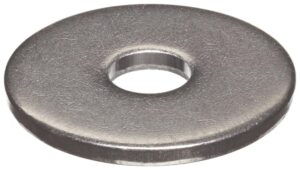
Small Parts 18-8 Stainless Steel Flat Washer (Pack Of 100)
For 1/4-20 80/20 extrusion screws
View On Amazon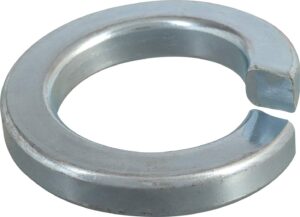
The Hillman Group 300018 1/4" Split Lock Washer, Steel, 100 Pieces
For 1/4-20 80/20 extrusion screws
View On Amazon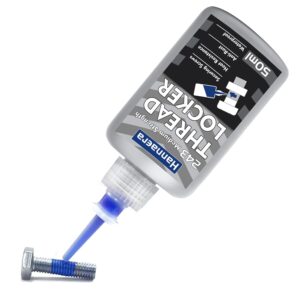
Medium Strength Thread Locker 243
Threadlocker: Thread locker has strong adhesion and can fix screws, nuts, and metal fasteners to prevent loosening due to vibration.
View On Amazon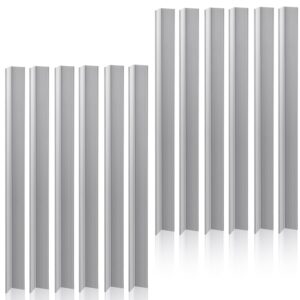
Blulu 12 Pcs 1" X 1"X 1/8" Aluminum Angle 6063 Aluminum Angle Stock Angle Bar Aluminum Corner Trim, 12" Length, 1/8" Thick
View On Amazon
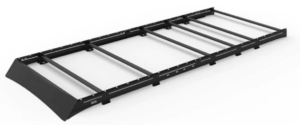
Transit Van Low Pro Roof Rack | 148" High Rook Extended
The 148” High Roof Extended Low Pro Ford Transit Roof Rack is aerodynamic, completely adjustable, and easy to install. If you are looking for a premium quality roof rack at an affordable price - you’ve found it!
View Product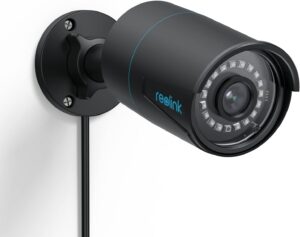
Tools Used
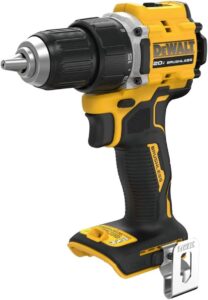
Dewalt DCD794B 20V MAX Atomic Compact Series Brushless Lithium-Ion 1/2 In. Cordless Drill Driver
Our shortest 20V MAX Drill Driver at 5.88 in. (tool head length only) to access hard to reach areas
View On Amazon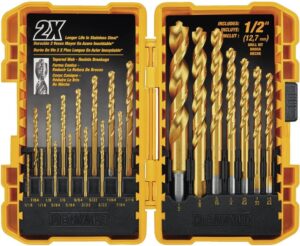
Dewalt Titanium Nitride Coated Drill Bit Set, Pilot Point, 21-Piece
DEWALT drill bit set has connectable accessory storage system to optimize storage space
View On Amazon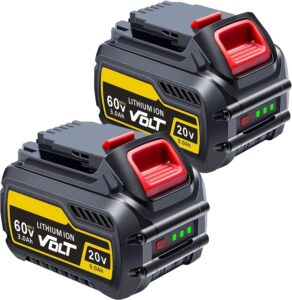
9.0Ah Replacement For Dewalt 20V/60V Max Battery
View On Amazon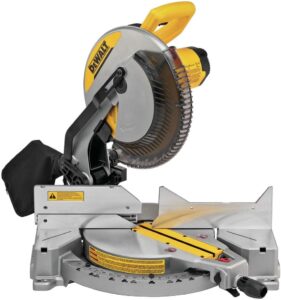
Dewalt 12-Inch Miter Saw, 15-Amp, Single Bevel, Compound (DWS715)
Stainless-steel miter detent plate of 12-inch miter saw blade comes with 14 positive stops
View On Amazon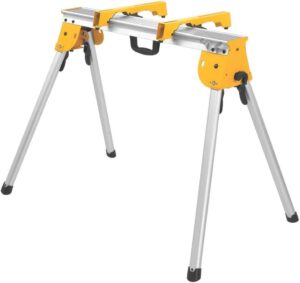
Dewalt Miter Saw Stand, Heavy Duty With Miter Saw Mounting Brakets (DWX725B)
Compact design of DEWALT miter saw stand allows easy transport and storage
View On Amazon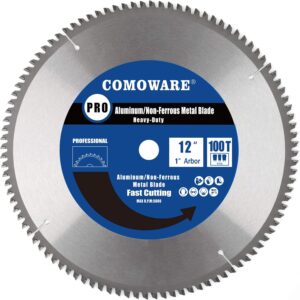
Comoware Circular Miter Saw Blade - 12-Inch 100 Tooth Tcg Metal Saw Blade
UNIQUE DESIGN: Silencer groove, reduce vibration and noise, Smooth Cutting, High Hardness Carbide Tip, provide a longer service life. TCG Design,Triple Chip Grind includes a 15-degree hook angle.
View On Amazon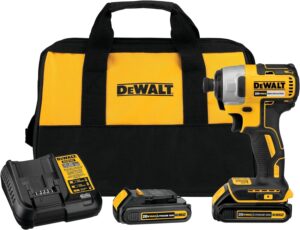
Dewalt 20V MAX Cordless Impact Driver Kit, Brushless, 1/4" Hex Chuck, 2 Batteries And Charger (DCF787C2)
Brushless motor for efficient performance and runtime
View On Amazon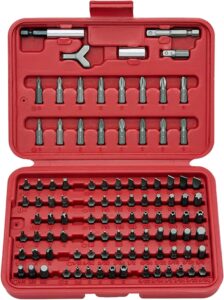
Neiko 10048A Security Bit Set 100-Piece Set
These bits are made of a high-quality chrome vanadium steel for strong hardness that can withstand more torque, reduce wear-outs, ensure longevity, and durability!
View On Amazon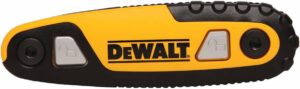
Dewalt DWHT70263M Ergonomic Push Button Locking Folding Metric Hex Key Set
Push-button locking feature locks in three positions at 90°, 135°, and 180°
View On Amazon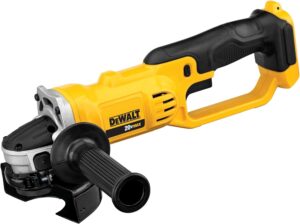
Dewalt DCG412B 20V MAX* Lithium Ion 4-1/2” Grinder
View On Amazon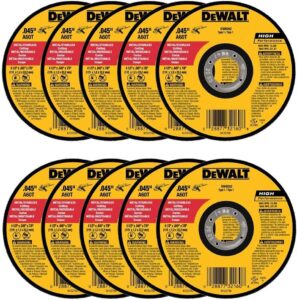
Dewalt – DW8062 – 10,Pk DW8062 4-1/2″X.045″x7/8″ Metal Angle Grinder Thin Cutoff Wheel, 10 Pack
View On AmazonNotes
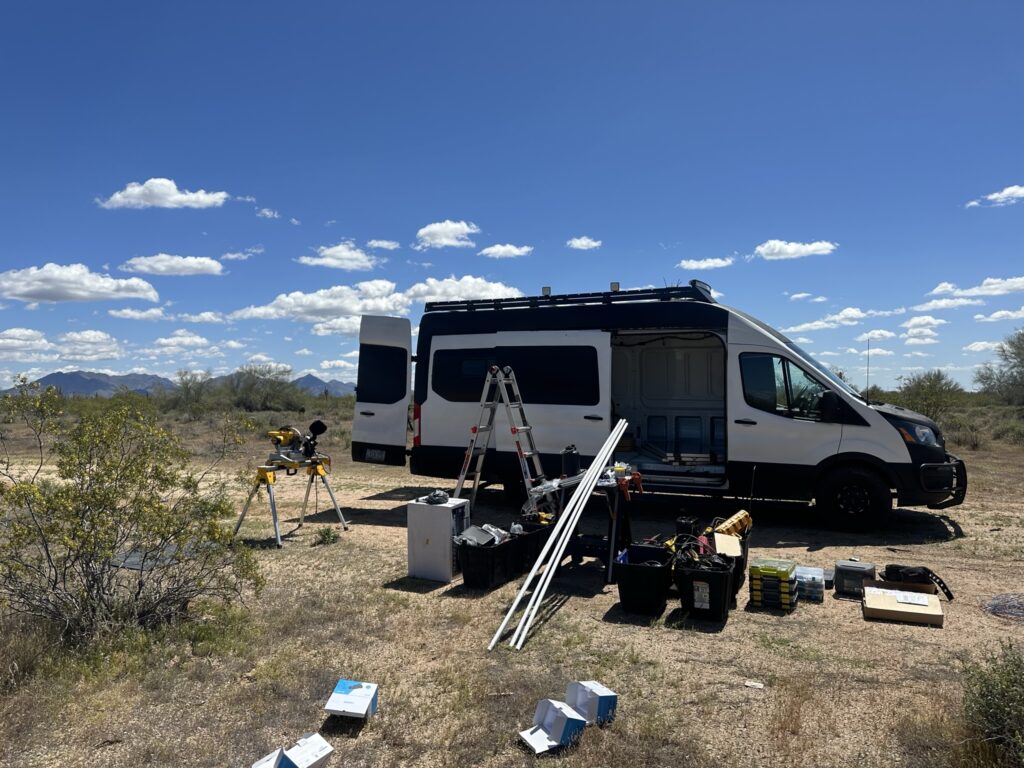
- Working with the aluminum extrusion can be time consuming due to the small pieces and the imperfect design of the T Nuts, when it comes to positioning them and screwing into them.
- I'm bringing my drill press out tomorrow to speed up the drilling of holes into the DIY aluminum brackets.
- I'm buying shorter 1/4-20 bolts so I don't have to grind down every one to fit.
- Grinded into my finger with the grinder but thankfully I did not cut it off.
Pictures
Short Video
Long-Form Article
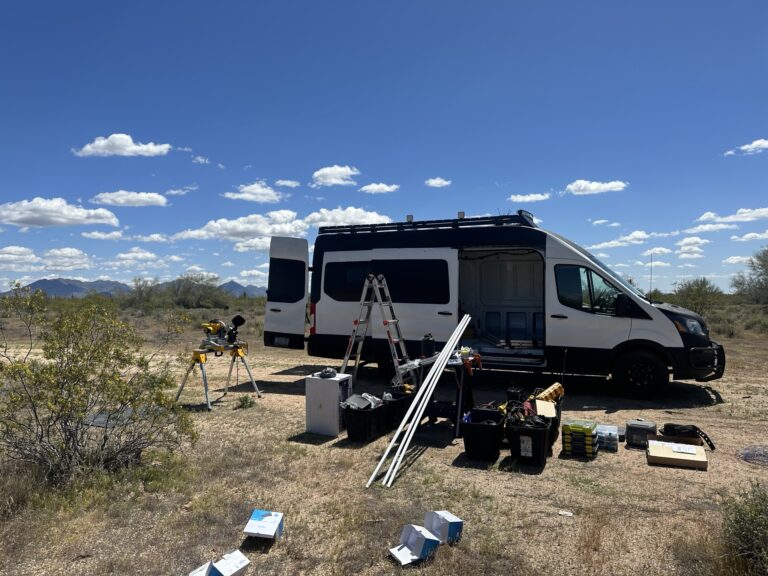
In an era where protecting your home is as important as beautifying it, setting up a robust security camera system has become a priority for many homeowners. For those who prefer the DIY route over opting to professionally install, crafting a custom security solution offers not only a sense of accomplishment but also a tailored fit for your specific needs. This guide dives deep into how I embarked on my journey to enhance my camper van’s security with a DIY security camera mount, leveraging tools like aluminum extrusion and the trusty drill press to achieve professional-quality installation.
Why Choose DIY For Your Security Camera System?
Opting to DIY your security camera installation comes with the freedom to customize your security system down to the finest detail. From selecting the best outdoor security camera that fits your aesthetic to integrating advanced features like motion detection, the DIY path allows for a personalized setup that can rival any professionally installed system. Among my top picks for this project was the Reolink IP security camera for its balance of quality, affordability, and ease of integration into a broader security ecosystem.
Materials And Tools: The Foundation Of DIY Success
The cornerstone of any successful DIY security camera installation is the choice of materials and tools. Aluminum extrusion and aluminum angle brackets formed the backbone of my camera mount, chosen for their durability and ease of customization. Securing these components together required precise tools, notably the Dewalt Titanium Nitride Coated Drill Bit Set for drilling through metal with ease and the Security Bit Set for fastening everything securely.
The Heart Of The System: Cameras And Features
- Outdoor Security Camera: My choice fell on the Reolink IP security camera for its robust build and excellent video quality. An outdoor security camera needs to withstand the elements while providing clear footage, which Reolink accomplishes splendidly.
- Indoor Security Camera: For interior surveillance, a wireless security camera like Google Nest offers convenience and quality. These cameras easily integrate into your home’s Wi-Fi network, offering peace of mind through live feeds accessible from anywhere.
- Motion Sensor and Detection: A key feature in modern security systems, motion detection allows cameras to only record when there’s activity, conserving storage space on the video recorder and ensuring you’re only alerted when necessary.
- Arm and Disarm Functionality: Advanced systems, such as the Ring Alarm Pro, provide options to arm and disarm your security setup either manually or through automated schedules, adding an extra layer of convenience.
Power Solutions And Connectivity
One of the challenges in setting up a security camera system is ensuring it remains operational even during power outages. My solution incorporated a combination of wireless camera models with built-in battery backup and a robust power system designed to keep critical components running. Connectivity plays a crucial role, especially for wireless security cameras that depend on a stable Wi-Fi network to transmit footage.
Installation Process: A Step-By-Step Approach
- Planning Your System: Before drilling the first hole, plan your camera placement considering coverage areas, motion sensor positioning, and how your cameras mount to various surfaces.
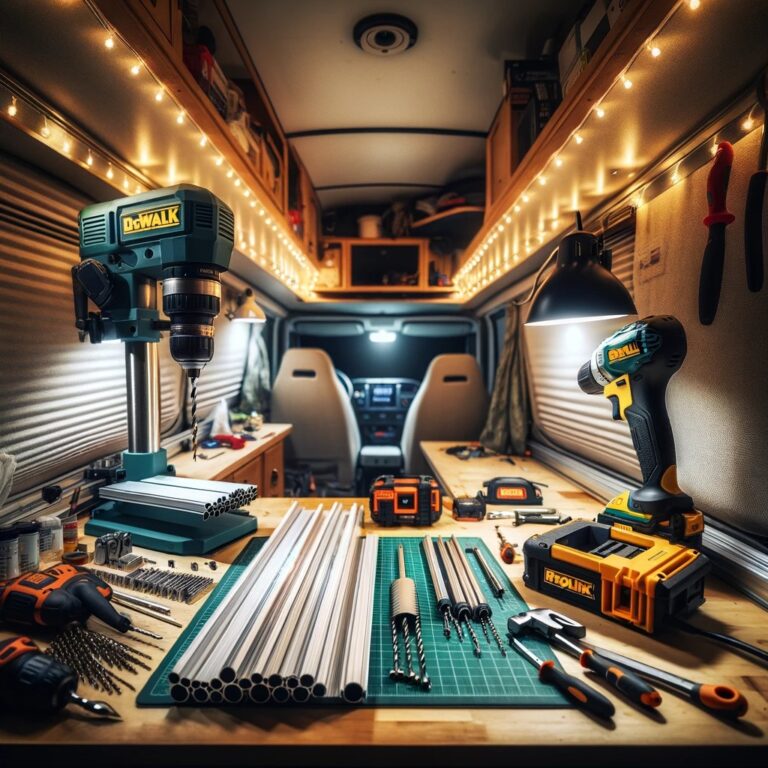
- Assembling the Mount: Using the aluminum extrusion and aluminum angle, I fabricated a mount designed to offer flexibility in camera positioning while ensuring stability against the elements.
- Mounting and Wiring: With the help of my drill press and Dewalt drill bit set, mounting the security cameras was a breeze. Special attention was given to routing wires in a way that protected them from weather and tampering.
- Setting Up the Network: Integrating the cameras into my Wi-Fi network was straightforward. The real magic happens in the configuration, where setting up motion detection zones and connecting to additional features like the video recorder ensures a seamless security experience.
- Testing and Adjusting: After installation, I spent time testing the system, adjusting the motion sensor sensitivity, and ensuring the video recorder captured footage as intended.
Embracing The DIY Spirit
This project was more than just about installing security cameras; it was a testament to the DIY spirit. Easy to install and offering additional features that can be customized to fit any need, this setup proves you don’t have to compromise on security to achieve a system that’s uniquely yours.
From wireless camera options that offer flexibility without the mess of cables to integrating top picks like the Google Nest indoor security camera for interior surveillance, the possibilities are endless. The satisfaction of pressing the arm and disarm button on a system you’ve built yourself is unmatched, providing not just security but a deep sense of accomplishment. Whether you’re protecting your home or, in my case, a camper van, the journey to a more secure space is well worth the effort.