The allure of the open road and the freedom of van life are increasingly appealing. More and more people are turning to DIY van conversions to create their dream mobile homes.
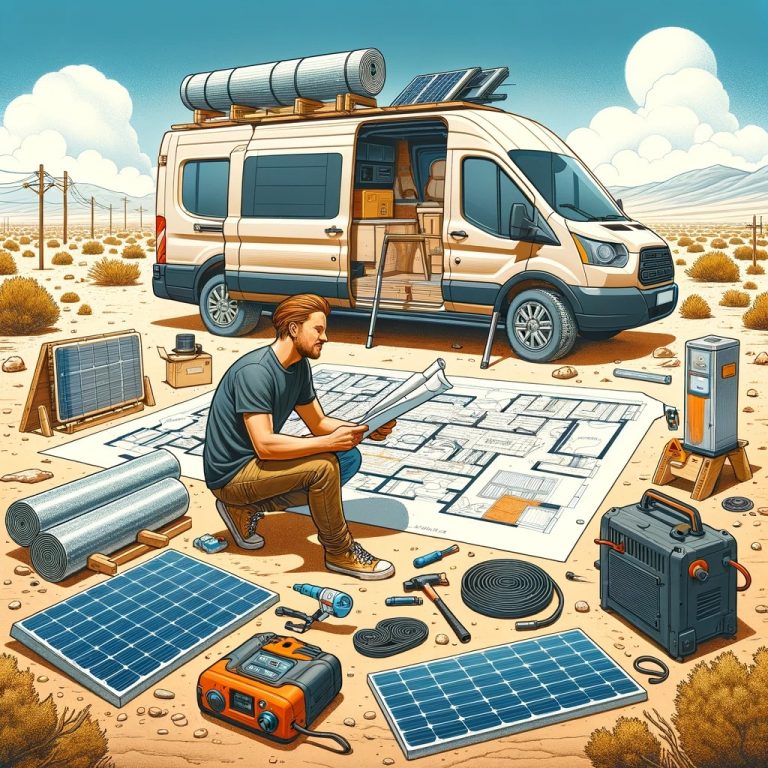
This guide is for those ready to embark on their own van conversion journey. Whether you’re a seasoned DIY enthusiast or a beginner, we’ve got you covered.
We’ll delve into everything from choosing the right van to planning your layout and installing essential systems. By the end, you’ll be equipped with top tips to make your van conversion project a success.
Choosing the Right Van for Your Conversion
The first step in your DIY van conversion journey is choosing the right van. This decision will greatly impact your project, so it’s crucial to consider your needs and preferences.
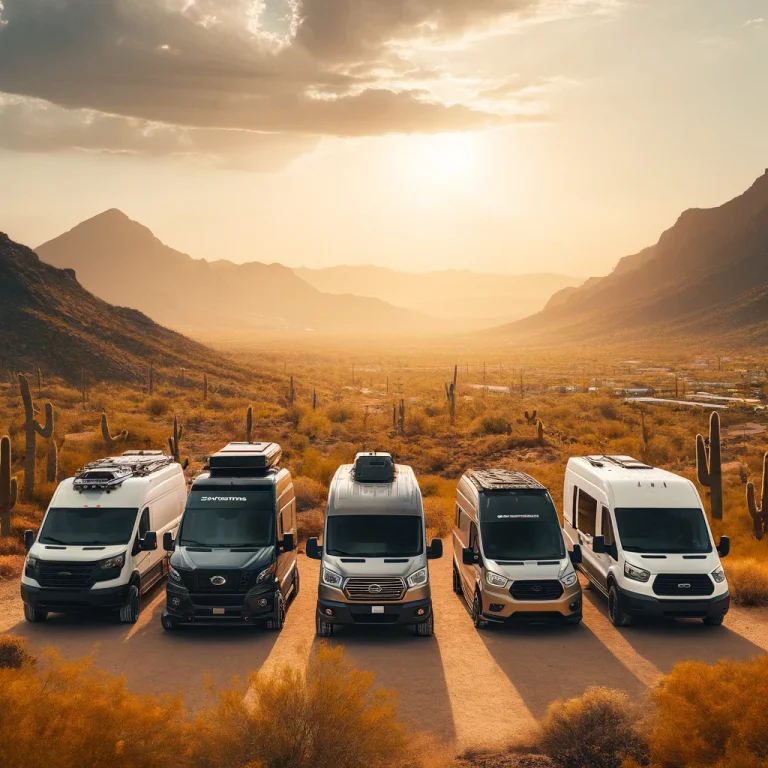
- Ford Transit: A popular choice due to its size options and reliability. It’s known for its high roof, providing ample standing room.
- Ram ProMaster: This van stands out for its wide body and front-wheel drive, making it easier to maneuver.
- GMC Conversion Vans: GMC vans are praised for their durability and spacious interiors, ideal for long-term living.
- Ford Econoline: A classic choice, the Econoline is affordable and widely available, though it lacks the interior height of some newer models.
- Dodge Van: Dodge vans, particularly older models, can be a budget-friendly option. They’re smaller but can still be converted into cozy living spaces.
Remember, there’s no one-size-fits-all van. The best van for your conversion is the one that fits your lifestyle and budget.
Planning Your Van Conversion Layout
Once you’ve chosen your van, it’s time to plan your layout. This is a crucial step in your van conversion process.
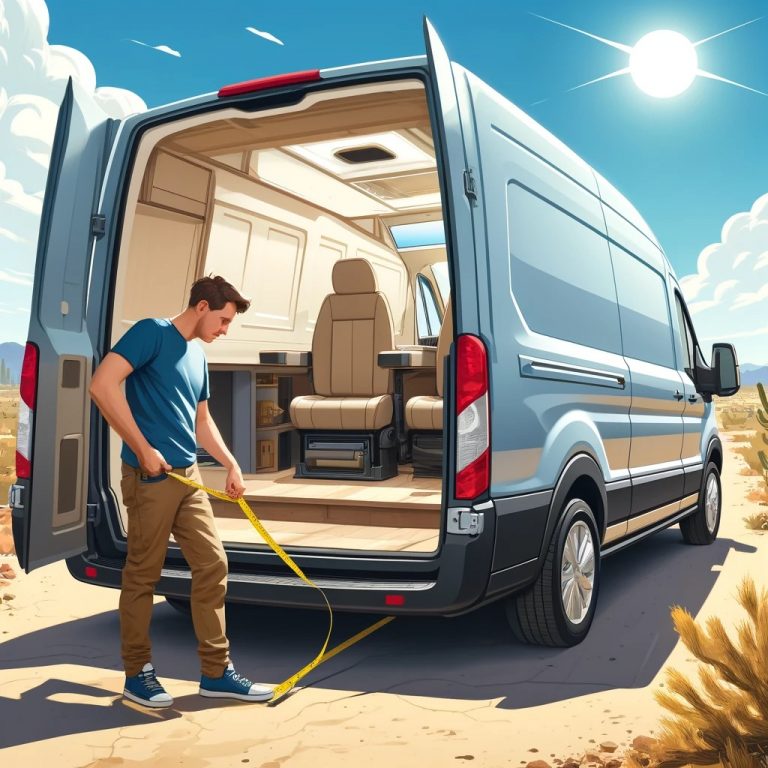
Consider the following when planning your layout:
- Functionality: Your layout should cater to your needs. Think about your daily routine and how your van can accommodate it.
- Comfort: Make sure to allocate space for a comfortable sleeping area and seating.
- Storage: Plan for ample storage space. Clever storage solutions can make a big difference in a small space.
- Kitchen and Bathroom: Depending on your needs, you might want to include a small kitchenette and a portable toilet.
Remember, a well-planned layout can make your van feel spacious and homey, despite its size.
Insulation and Temperature Control
Insulation is key to maintaining a comfortable temperature in your van. It keeps the heat out in summer and in during winter.
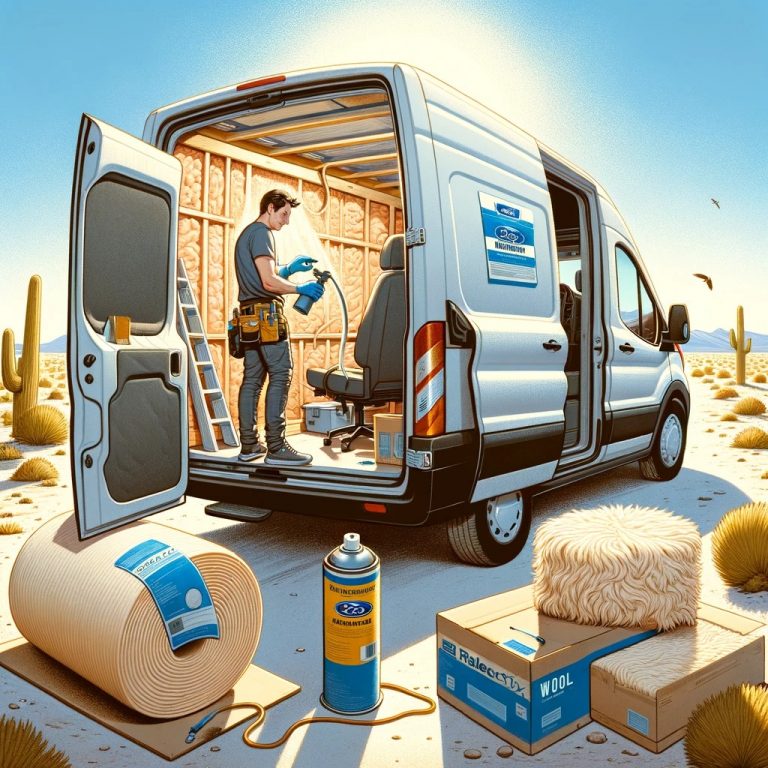
Here are some insulation materials to consider:
- Spray Foam: This provides a high R-value and fills in all the nooks and crannies.
- Reflectix: This is a radiant barrier that reflects heat away from your van.
- Wool: This is a natural insulator that’s safe and easy to install.
What I Used and Recommend:
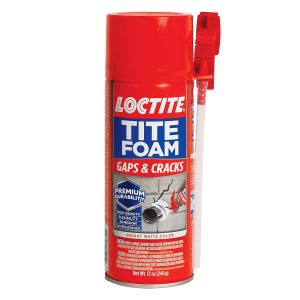
- Loctite Tite Foam Gaps & Cracks Spray Foam Sealant: This is an ideal solution for sealing and insulating gaps and cracks in camper vans, ensuring no space is left exposed to the elements. Its expansive properties allow it to fill even hard-to-reach areas, providing a durable barrier against air, moisture, and temperature fluctuations.
- 3M Thinsulate: 3M Thinsulate is a popular insulation choice for van conversions due to its lightweight and effective thermal properties. It’s designed to keep the interior of your van warm in the winter and cool in the summer. Thinsulate is made from fine fibers that trap air molecules between the van’s walls and the interior, providing excellent insulation without taking up much space.
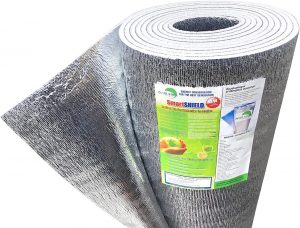
- SmartSHIELD -10mm Reflective Insulation: SmartSHIELD, featuring a foam core radiant barrier, is engineered foil specifically designed for areas requiring slim wall profiles, such as bed capsules in camper vans. I used it not only to insulate these compact spaces but also layered it over Thinsulate in other areas, enhancing the overall thermal insulation effectiveness of my van conversion.
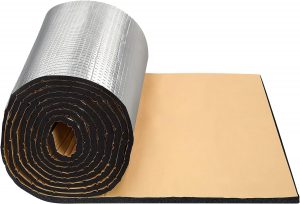
- Kilmat Car Sound Deadening Mats: These acoustic insulation mats are essential for reducing road noise and improving acoustic comfort within camper vans. These mats are easy to install and effectively dampen vibrations, making the interior of the van quieter and more serene while on the move.
Remember to insulate the floor, walls, and ceiling. Also, consider installing a ventilation fan to control humidity and temperature.
Proper insulation will make your van conversion comfortable in any climate.
Power and Electricity: Going Off-Grid
Powering your van conversion is crucial for off-grid living. You’ll need electricity for lights, charging devices, and running appliances.
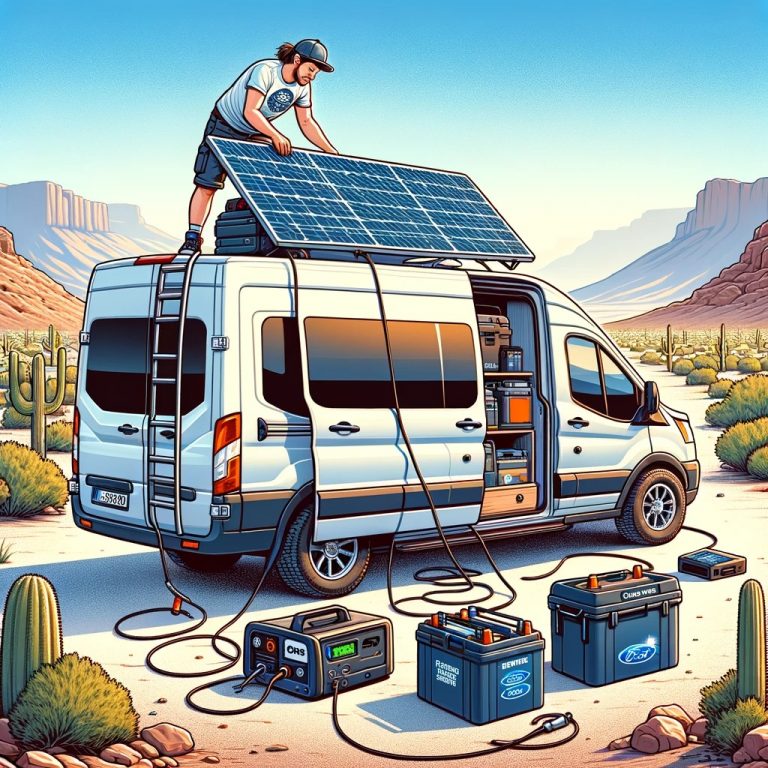
Here are some popular power options:
- Solar Panels: These provide renewable energy and can be installed on your van’s roof.
- Leisure Batteries: These are charged while you drive and provide power when stationary.
- Generators: These are a backup option but can be noisy and require fuel.
What I Used and Recommend:
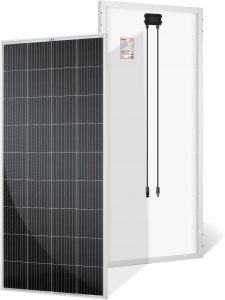
- RICH SOLAR 200 Watt Solar Panels: RICH SOLAR 200 Watt Solar Panels are an efficient energy solution for powering camper vans, offering high output and reliability for off-grid living. After doing a lot of research, I found the Rich Solar panels offered the smallest size panel, competitive pricing, reliable products, and high quality customer service.
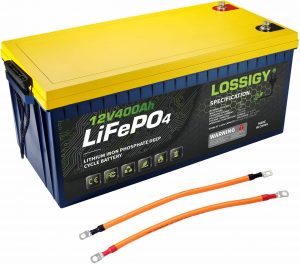
- LOSSIGY 12V 400AH Lifepo4 Deep Cycle Lithium Battery: The LOSSIGY 12V 400AH Lifepo4 Deep Cycle Lithium Battery is a powerhouse for energy storage in camper vans, ensuring ample power for extended off-grid adventures. There are a lot of other more expensive batteries out there, but these are reviewed well and many owners have great things to say about their customer service.
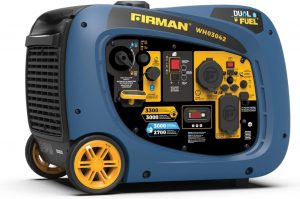
- Firman WH03041 Dual Fuel Generator: The Firman WH03041 Dual Fuel Generator provides a versatile and reliable power source for camper vans, capable of running on either gasoline or propane to ensure electricity availability wherever your travels take you. I originally bought this to work on my van out in the desert, but I took it on the road to produce power in my batteries run out.
Consider your power needs carefully. Calculate the wattage of all your devices to determine your power requirements.
With the right setup, you can enjoy the freedom of off-grid van life.
Plumbing and Water Systems
A well-planned water system is key for comfort in your van conversion. It’s needed for drinking, cooking, and cleaning.
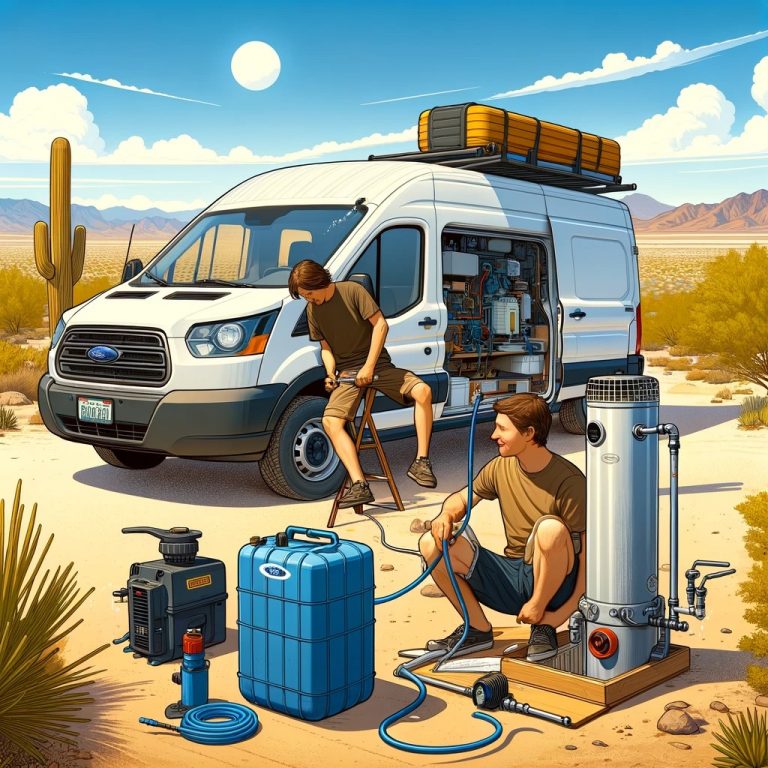
Here are some components to consider:
- Water Tanks: These store fresh and waste water. They can be installed under your van.
- Pump: This moves water from the tank to your faucet.
- Heater: This provides hot water, if needed.
Remember, water adds weight. Consider your van’s weight limit when planning your water system.
Maximizing Storage and Space
In a van conversion, every inch counts. Smart storage solutions can make a big difference.
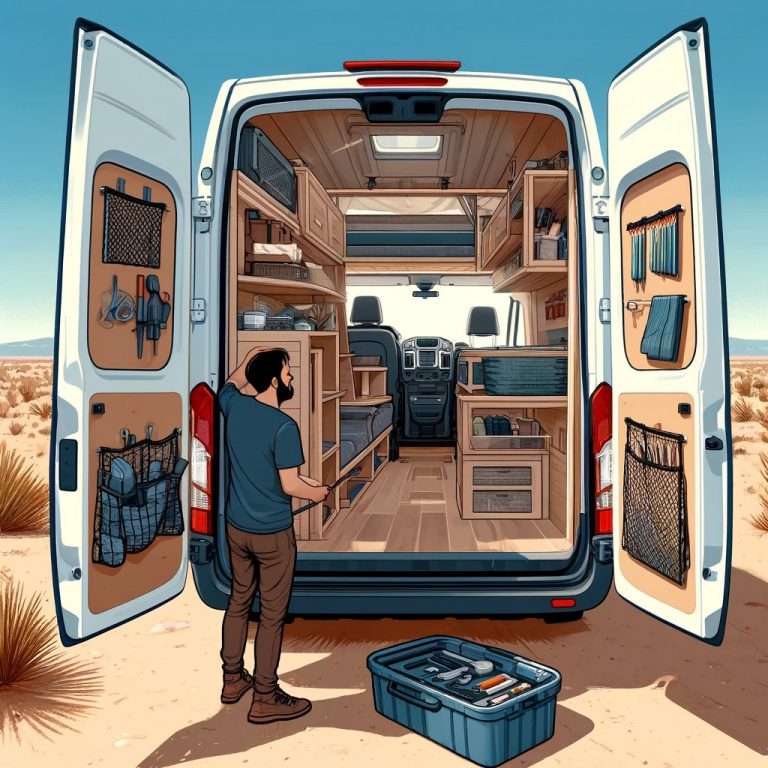
Consider these tips:
- Use Vertical Space: Install shelves or nets to store items.
- Multi-purpose Furniture: Opt for items that serve multiple functions, like a bed with storage underneath.
- Hooks and Magnets: These can hold tools, kitchen utensils, and more.
Remember, a clutter-free van is more comfortable and easier to navigate.
Custom Interior Design and Comfort
Your van conversion should feel like home. Personal touches can make it cozy and inviting.

Here are some ideas:
- Choose Warm Colors: They can make the space feel more welcoming.
- Add Textiles: Rugs, curtains, and cushions add comfort and style.
- Personal Items: Photos, artwork, or souvenirs can make the space truly yours.
Remember, your van is a reflection of you. Make it a place you love.
Legal Considerations and Safety
Safety should be your top priority. It’s crucial to understand the legal requirements for a van conversion.
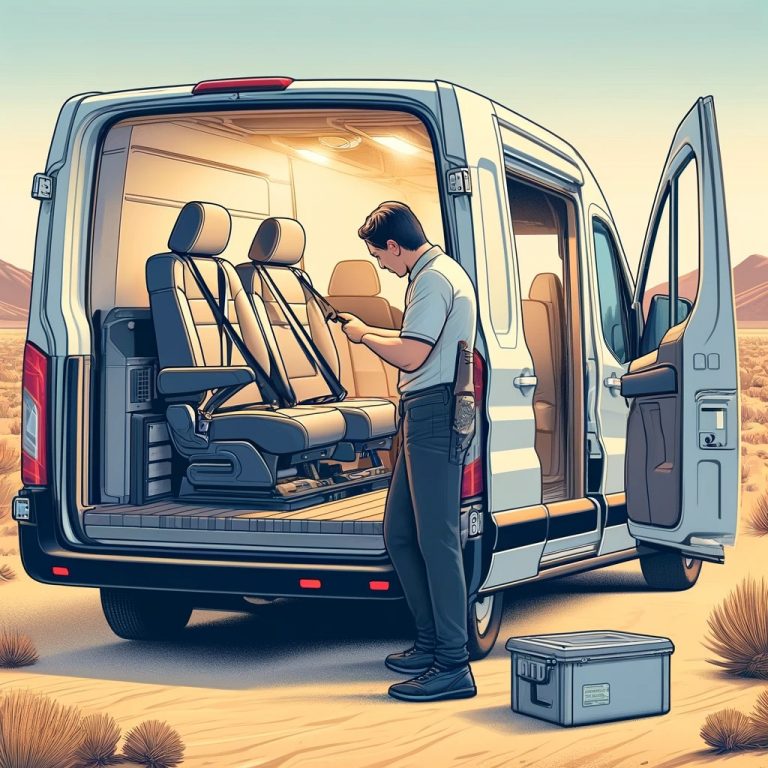
Here are some key points:
- Seat Belts: Ensure all seats have functioning seat belts.
- Ventilation: Proper ventilation is a must to prevent carbon monoxide poisoning.
- Weight Distribution: Balance the weight to maintain vehicle stability.
Remember, a safe van is a happy van. Always prioritize safety over aesthetics.
Tools, Materials, and Building Tips
A successful van conversion requires the right tools and materials. It’s also important to have some basic DIY skills.
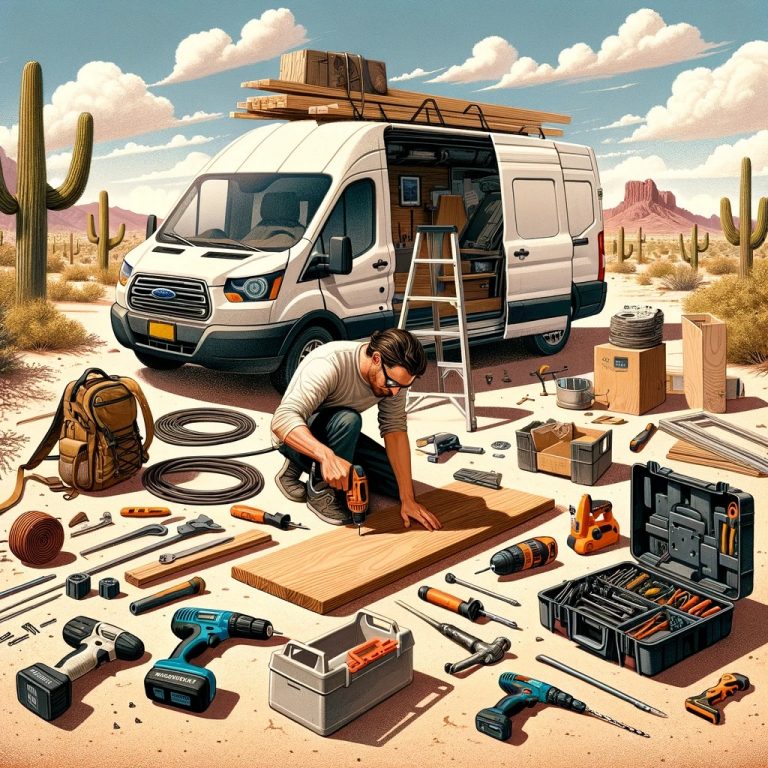
Here are some tips:
- Tools: Invest in quality tools. You’ll need a variety, from power drills to hand tools.
- Materials: Choose durable materials. They should withstand the rigors of van life.
- Skills: Brush up on your DIY skills. There are plenty of online tutorials to help.
Remember, preparation is key to a successful van conversion.
Maintaining Your DIY Van Conversion
Once your van conversion is complete, regular maintenance is crucial. This ensures your van stays in top condition.
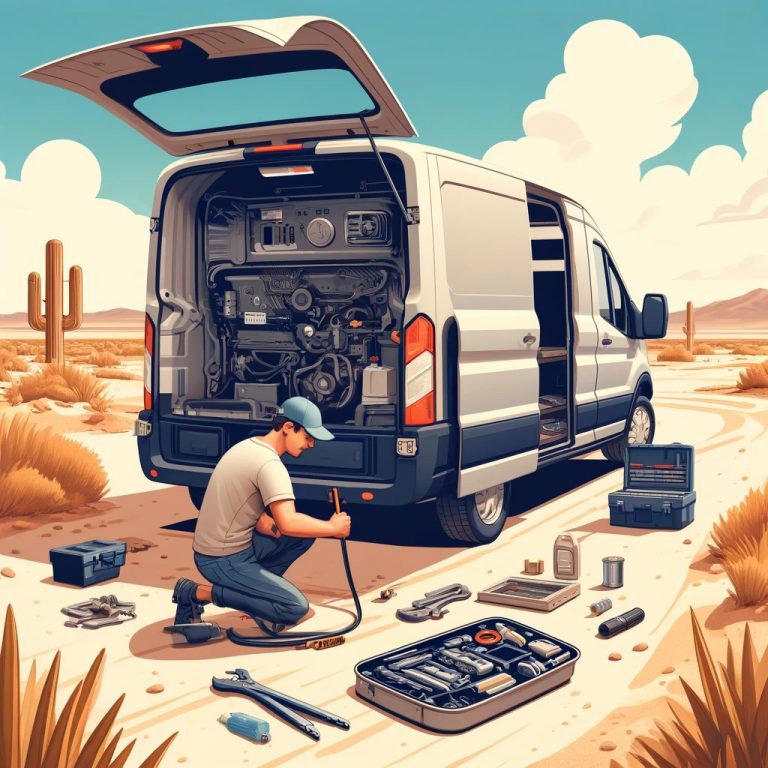
Here are some tips:
- Regular Checks: Regularly check your van’s systems. This includes plumbing, electrical, and mechanical systems.
- Cleaning: Keep your van clean. This helps prevent wear and tear.
- Repairs: Address any issues promptly. Small problems can quickly become big ones if left unchecked.
Conclusion: Ready for the Road
With these tips, you’re now ready to start your DIY van conversion journey. Remember, the process requires patience, but the result is rewarding.
Enjoy the freedom and joy that comes with van life. Safe travels!
