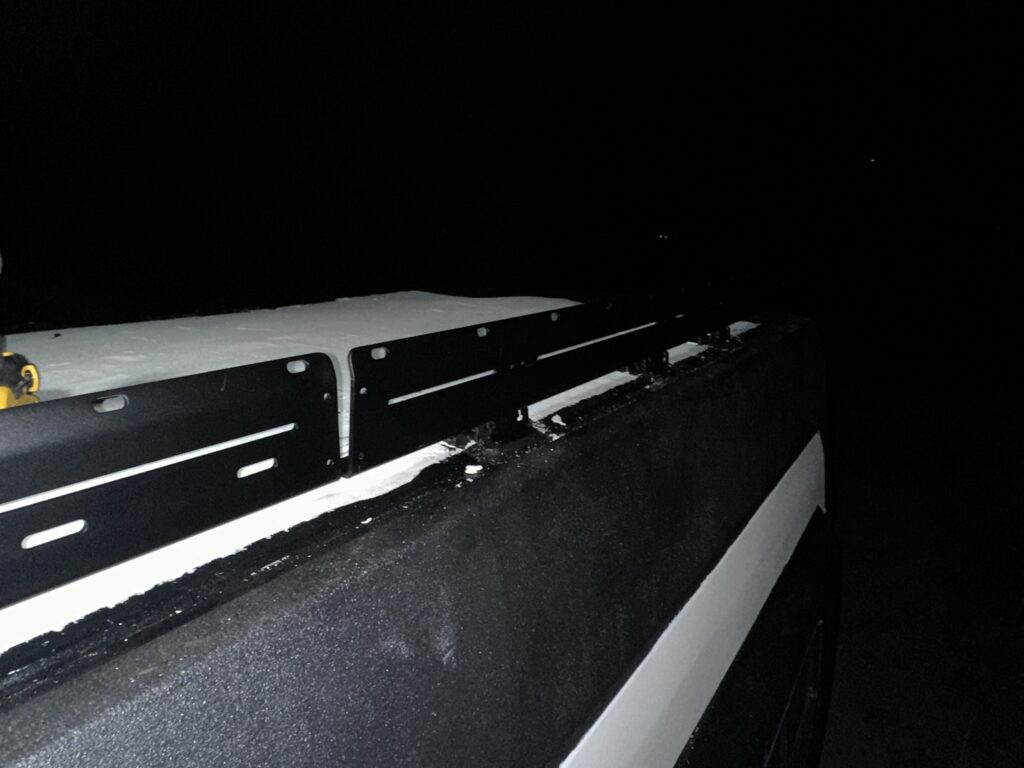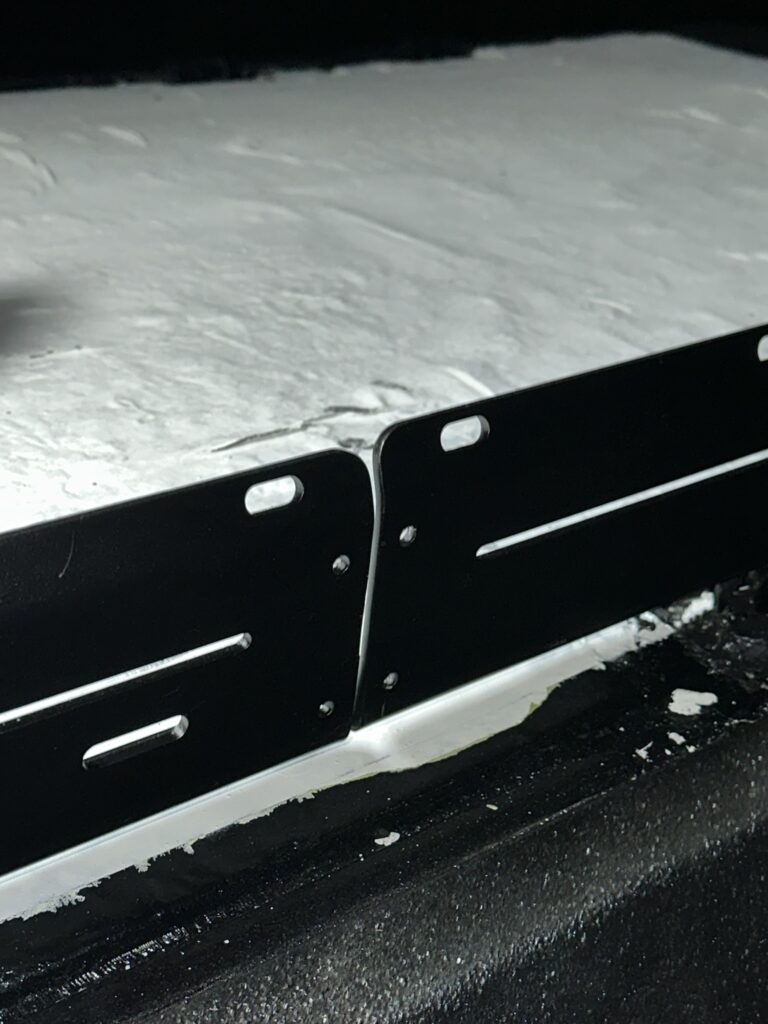
Projects
Flatline Low Pro Roof Rack Installation
Project Status
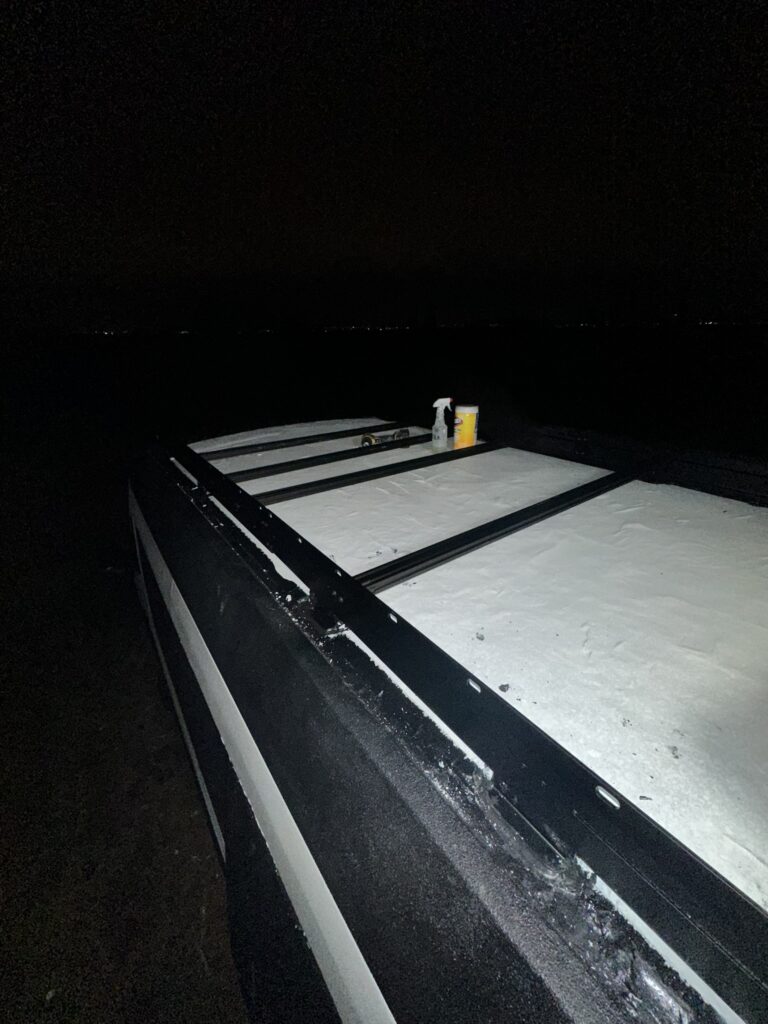
Nearly completed. Need to install side ladder and one more screw.
Time Spent
10PM to 7AM - 9 Hours
Steps Taken
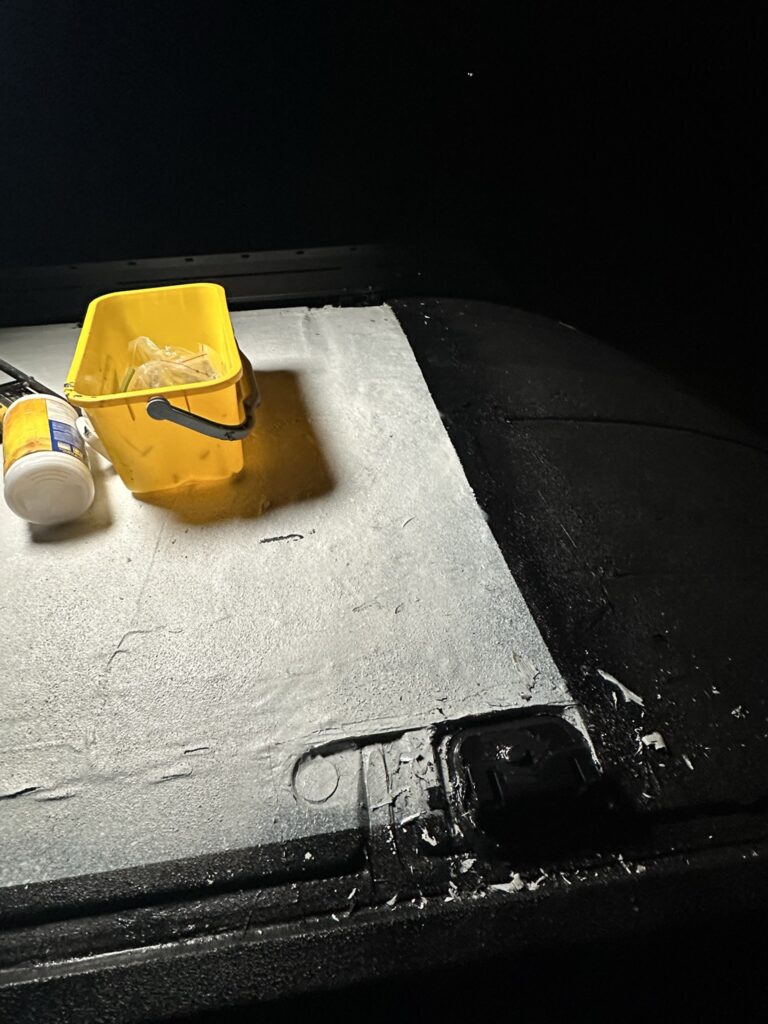
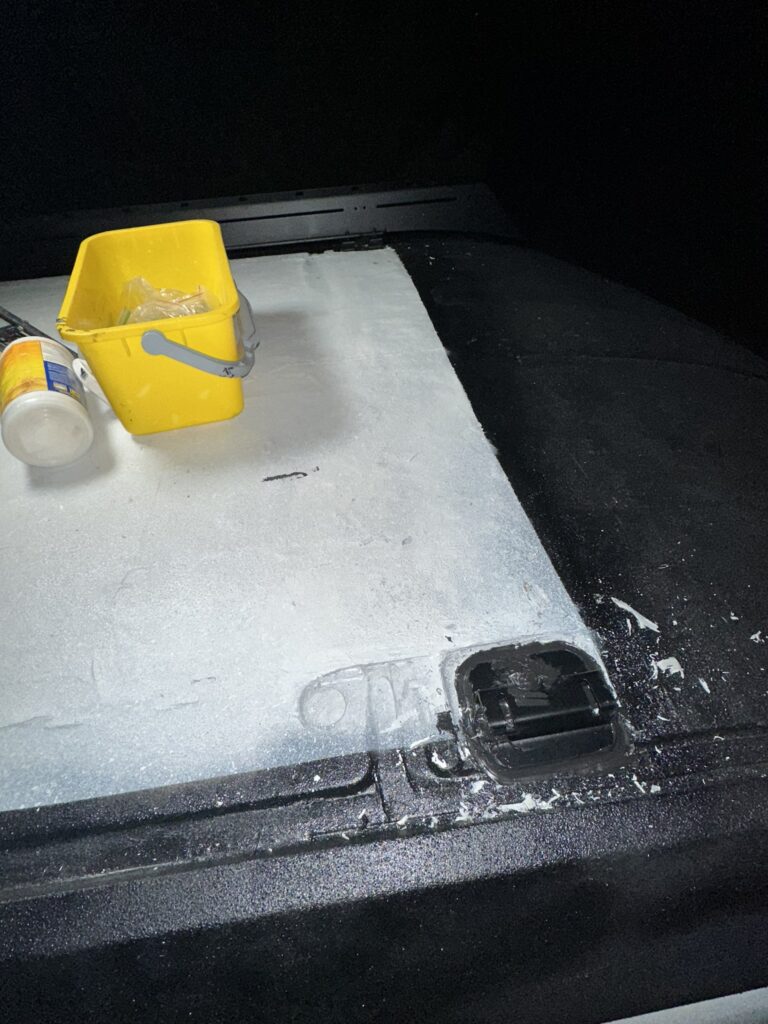
- Pry off 10 circular covers on roof to expose threaded holes using flathead screwdriver
- Widen some holes with drill as some threaded holes were covered
- Scrape off paint and adhesive in 10 indented areas
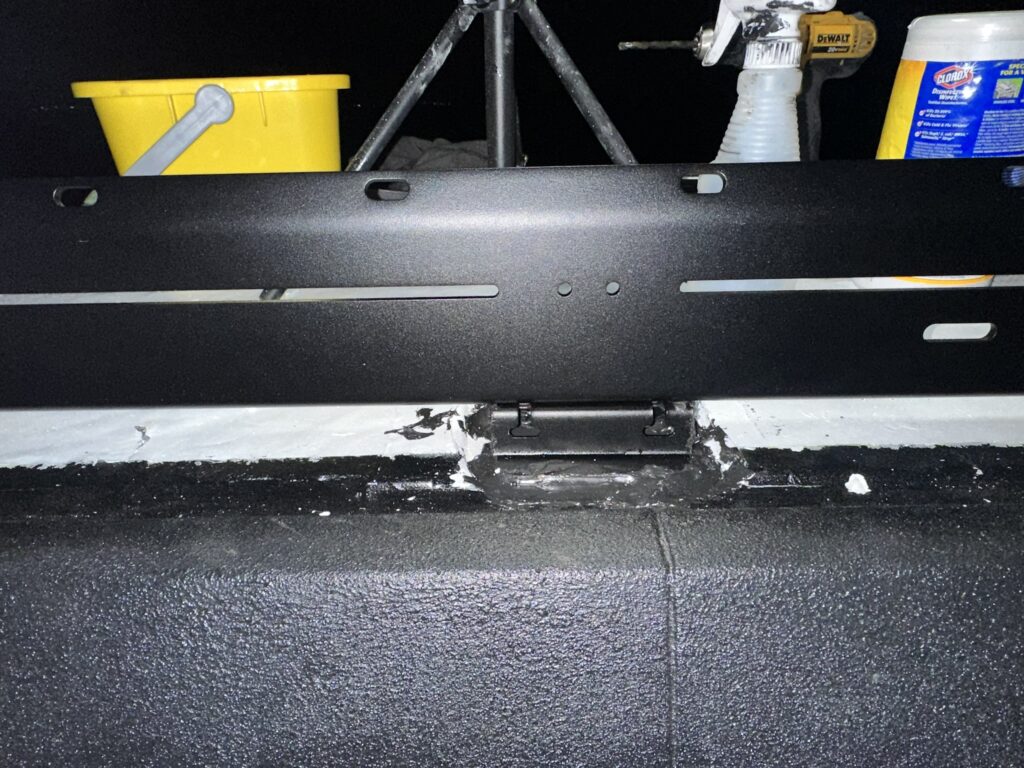
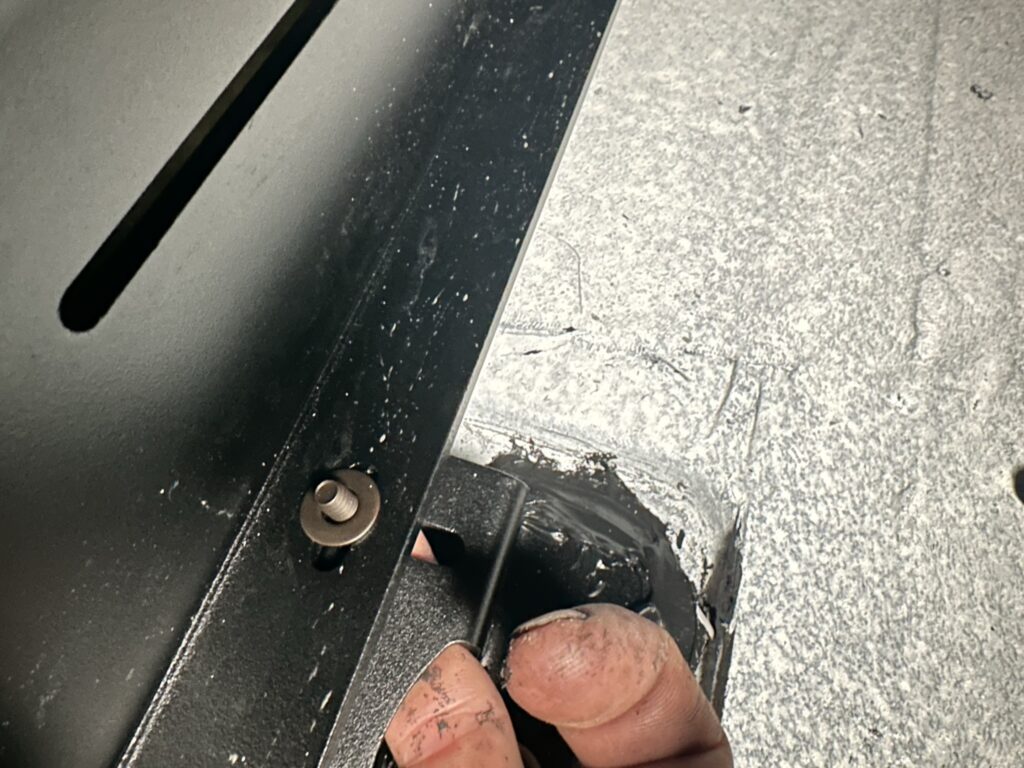
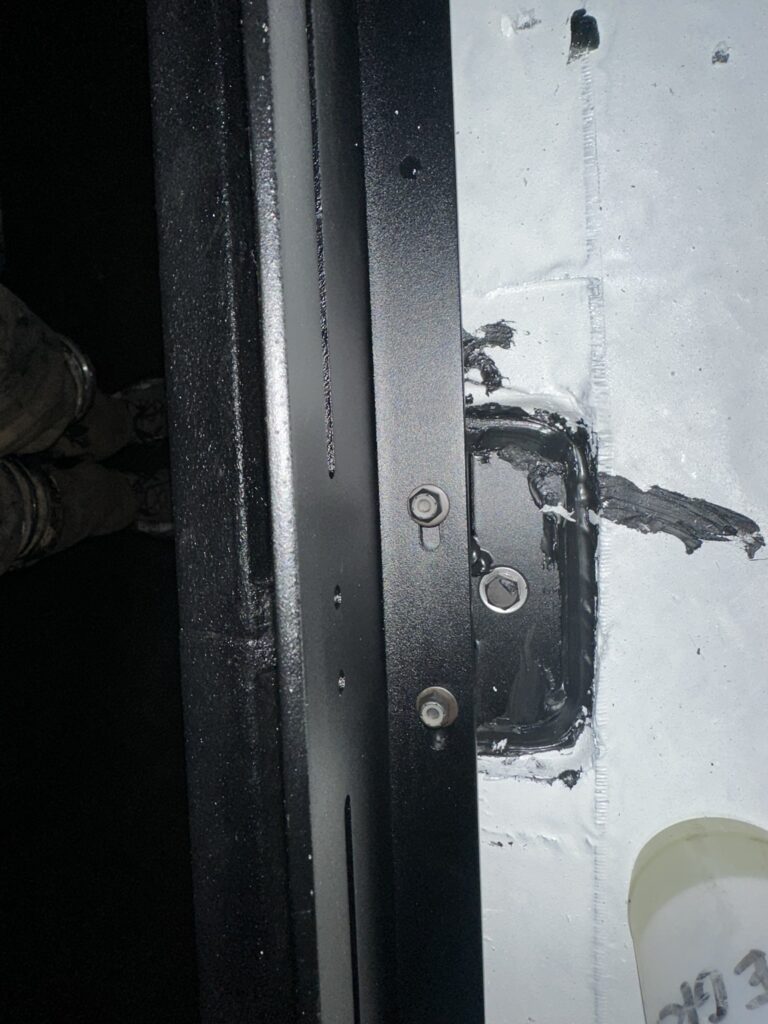
- Bolted down 10 landing pads from kit using M8 screws from kit
- Apply black sealant around 10 landing pads
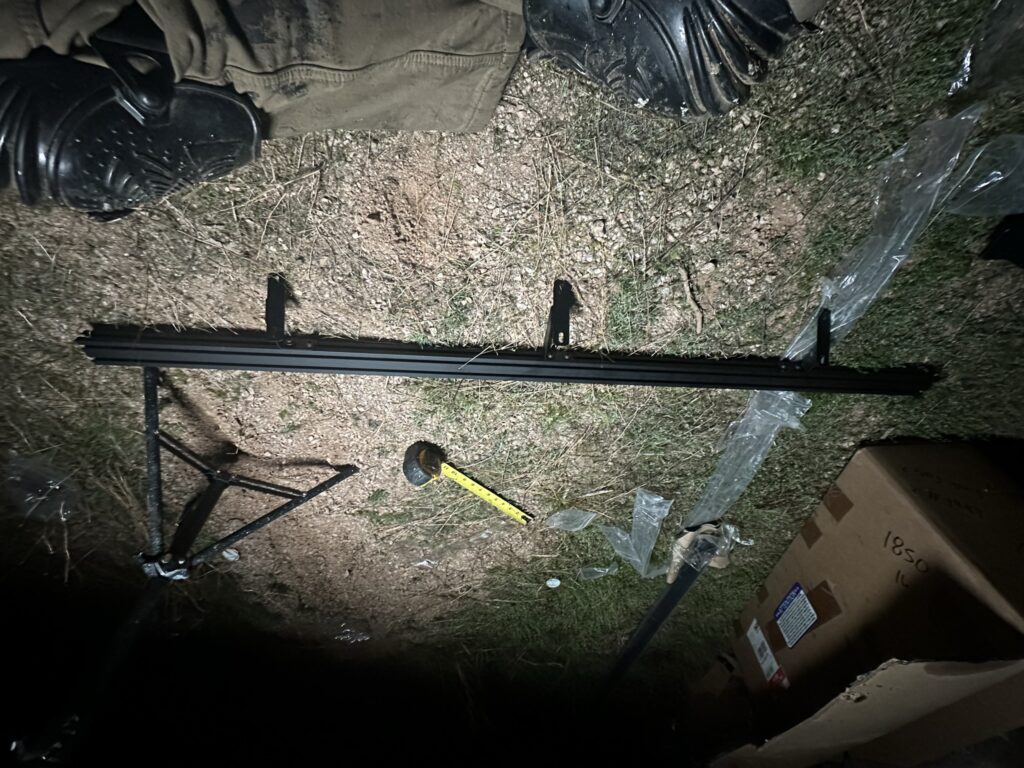
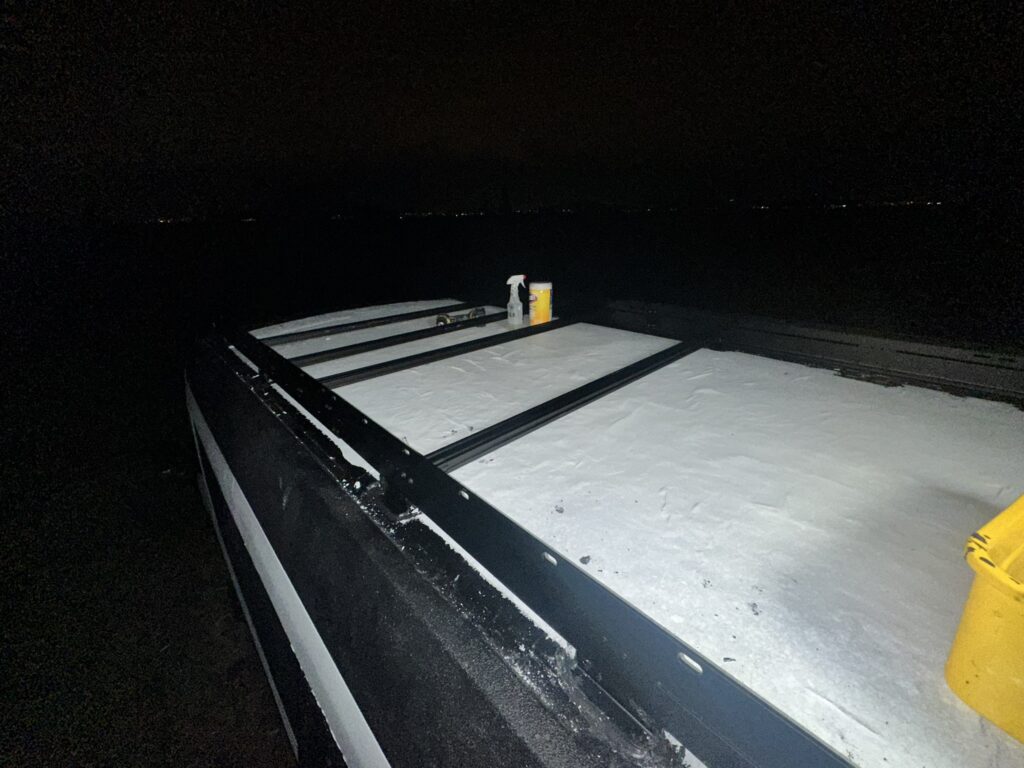
- Attach side rails
- Attach crossbars
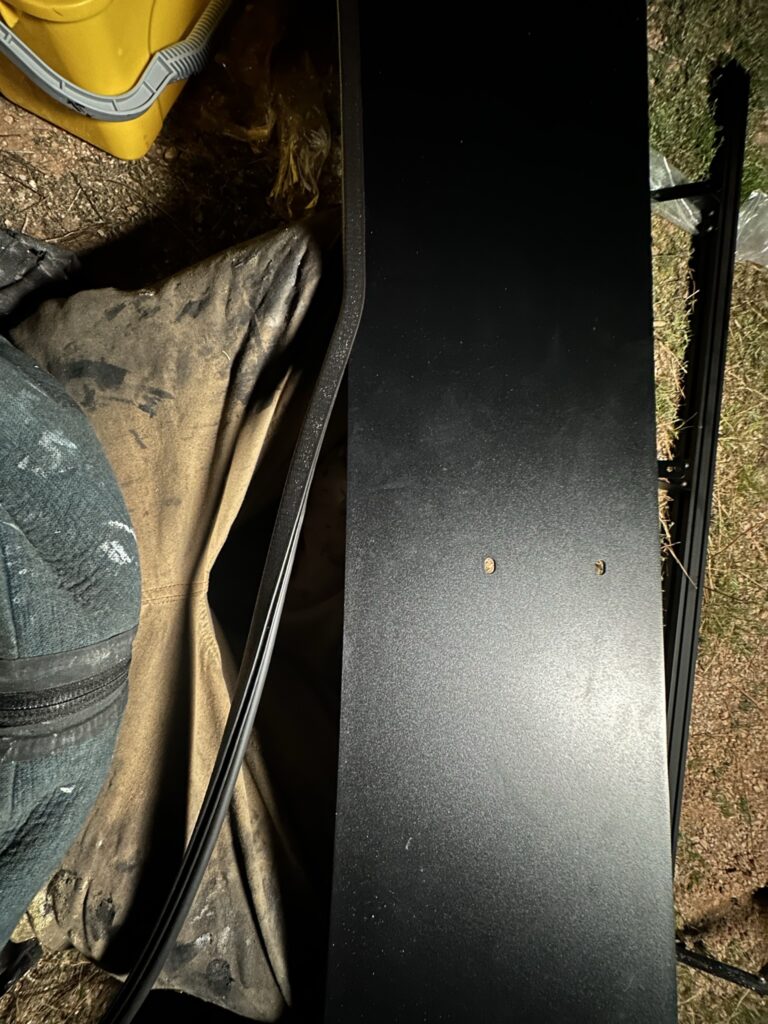
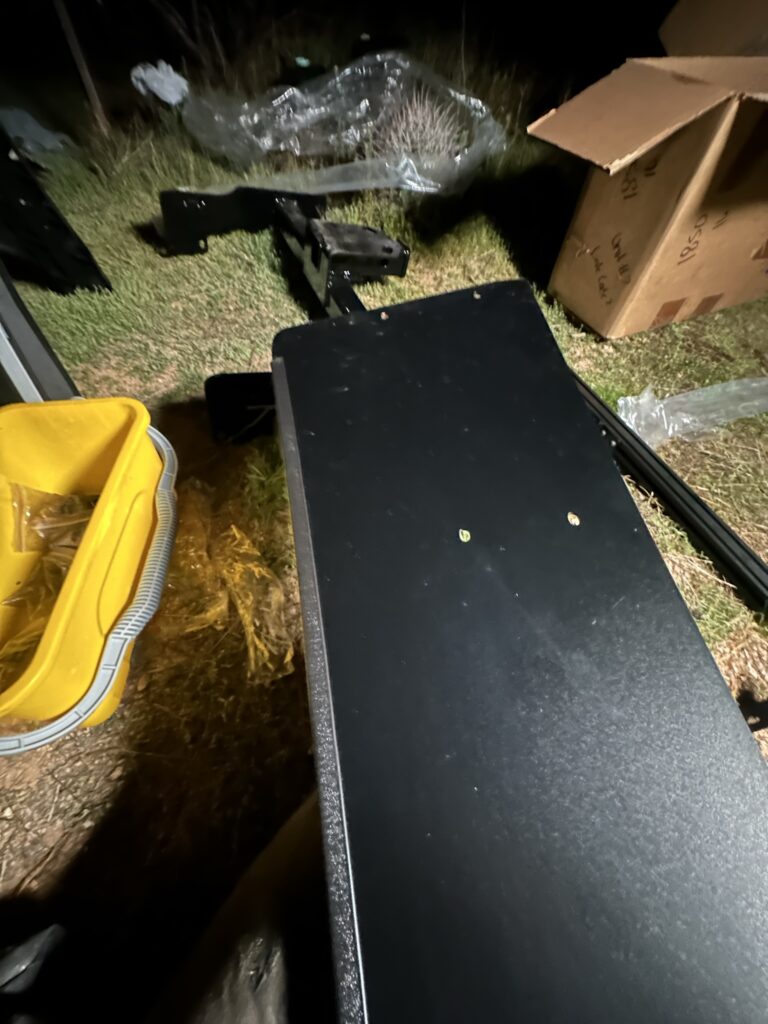
- Put together fairing assembly
- Attach fairing assembly
- Line up all pieces and tighten all bolts
Plans For Tomorrow
Rest
Tools And Materials Used
Transit Van Low Pro Roof Rack | 148" High Roof Extended
View ProductXFasten Silicone Sealant
View On AmazonXw Razor Blade Paint Scraper Set
View On AmazonDewalt 20V MAX Caulking Gun
View On AmazonDewalt 20V MAX Xr Impact Driver, Brushless, 3-Speed
View On Amazon
Dewalt DCD794B 20V MAX Atomic Compact Series Cordless Drill Driver
View On AmazonNotes
- Used this Low Pro Roof Rack Installation Guide.
- I would have definitely preferred that Flatline printed out an Installation Guide and included it with the Roof Rack Kit. I was annoyed that there were no instructions in the kit and nothing pointing me to the Installation Guide online.
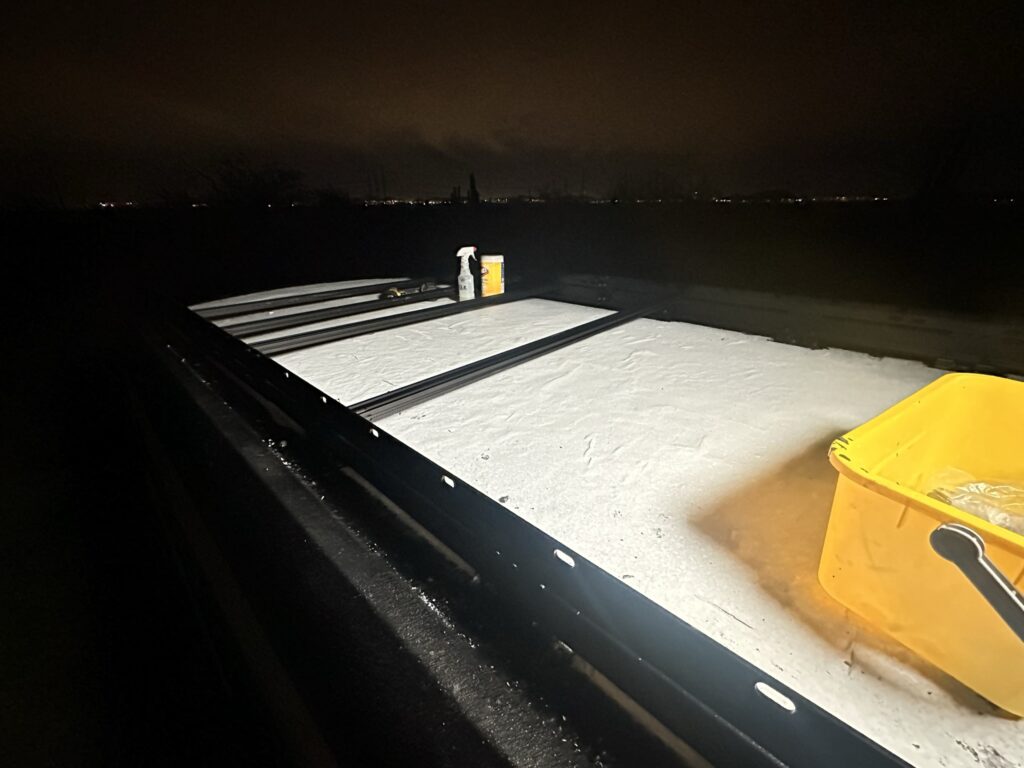
- Doing this on top of a ladder and at night in the desert made it take longer.
- I recommend using sealant on the landing pads after you've finished installation. I used the sealant directly after installing the landing pads, and then then the sealant got on my hands and everywhere else when installing the side rails and crossbars. It was messy!
- Applying sealant around the landing pads is difficult as you can't get the tip of the sealant tube fully underneath the pad.
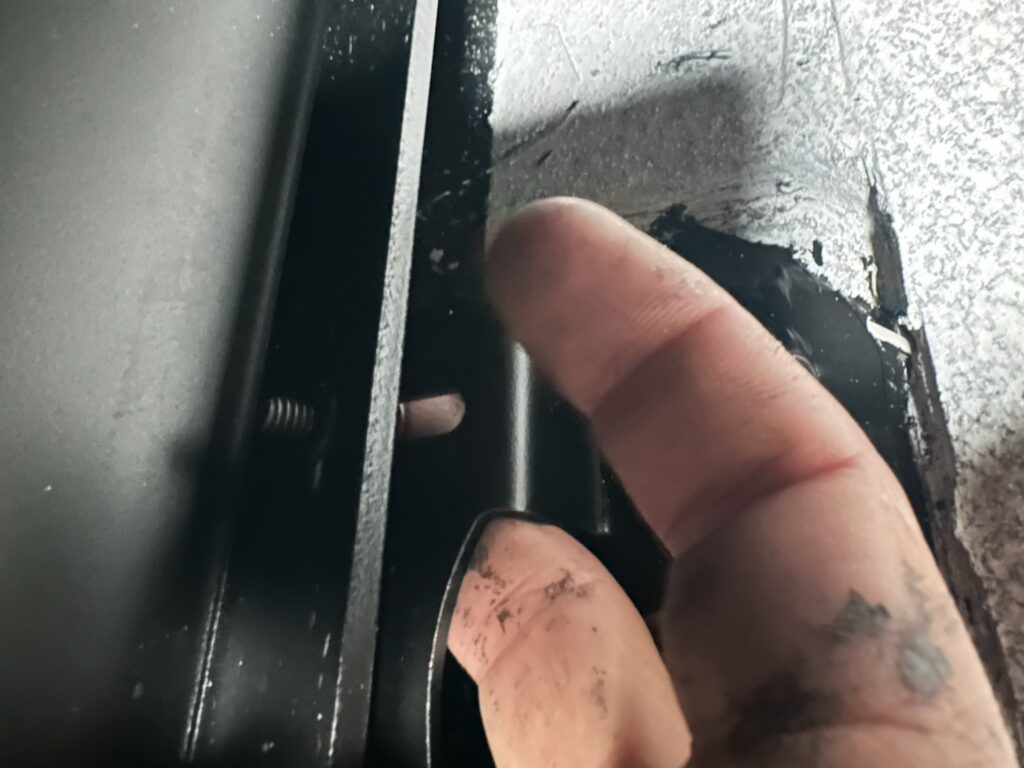
- Installing the side pieces is difficult because you need to get your fingers in a tiny space in the base parts.
Pictures