Plan a camper van conversion around the decisions that each next job depends on. This build account explains the challenge of working alone; the checklist below turns that experience into a way to organize your own layout, purchases and progress.
Watch The Project Planning Video
Quick Answers For Planning The Next Build Task
How Do You Decide What To Build Next In A Camper Van Conversion?
Choose a task whose required decisions and measurements are ready, then define one next action and a completion check. Record what the job depends on before cutting, ordering or closing access. The sequence follows your design and the exact equipment instructions. Start with the working project-plan checklist.
When Is A Layout Decision Ready For Buying Materials?
Resolve the dimensions and access questions that affect the purchase, and keep the supporting measurements, drawing revision and sources together. If a required dimension remains uncertain, mark the affected item as not ready to order. A revised model is a planning change, not proof of a completed fit check. Use the layout-decision example to record the remaining evidence and next action.
How Do You Keep Optional Improvements From Hiding Unfinished Work?
Define what must be completed and checked before use, then keep optional changes on a separate list. Record the result of each completion check and any unresolved dependency instead of treating a purchase or drawing update as finished construction. Revisit affected tasks when a decision changes. Follow the completion-versus-improvement guidance before adding the next idea to the active work.
Introduction To Camper Van Conversion: A Personal And Professional Journey
Hello, everyone! This is Steve from Project Freedom. Today, I want to share my ongoing journey of converting a camper van, a project that intertwines my past professional experiences with my current ambitions. It's a deep dive into not just the physical construction of a small, mobile living space but also a reflection on personal growth, discipline, and the pursuit of a vision.
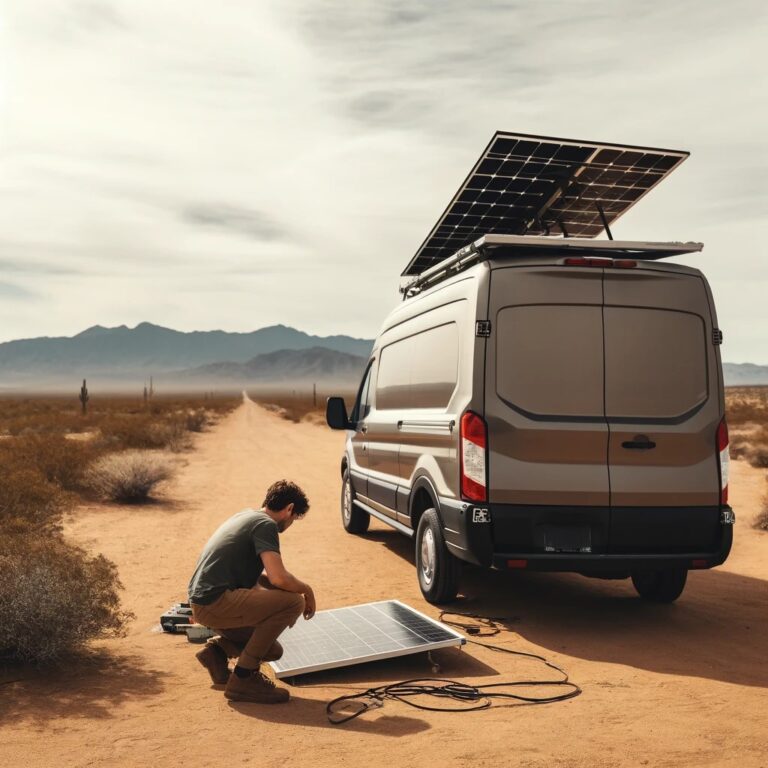
The Scope Of Camper Van Conversion
When I first entertained the idea of converting a camper van, I underestimated the enormity of the task. This venture is akin to building a small house, demanding a variety of skills such as plumbing, electrical work, and more. It requires meticulous organization, a well-maintained routine, and a robust system to keep track of the myriad tools and materials involved. The process can span months or even years, influenced by the complexity of the design and the features desired in the van.
Drawing From A Wealth Of Experience
My professional background is diverse and rich with leadership and project management roles. I've been a family lawyer and managed my own law firm with up to 15 employees, owned a kickboxing gym, and operated a solar company. These experiences have instilled in me a strong sense of project management, from initiation to completion, which I now apply to my camper van conversion.
The Solo Challenge
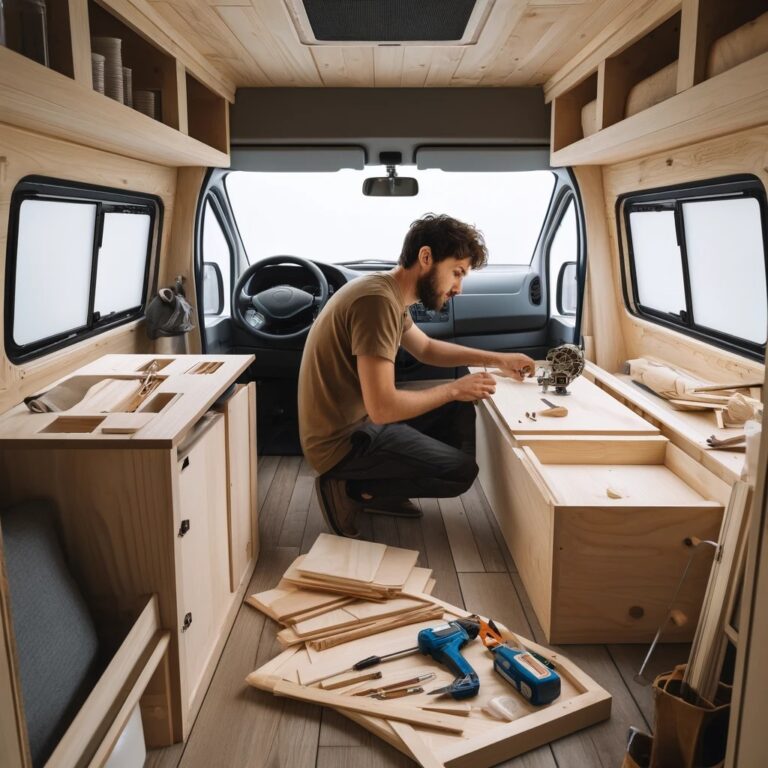
Unlike my previous ventures, the camper van conversion is a solo project. This brings unique challenges, especially in maintaining motivation and momentum without the immediate support of a team. It demands significant self-motivation and discipline—qualities that I have cultivated over my career but are put to the test in this solitary setting.
Lessons From Sports And Past Business Ventures
My experience as a boxer and business owner has taught me about resilience and the importance of pushing forward, regardless of the obstacles. The philosophy of never giving up, especially in a sport like boxing where moving forward is essential, parallels the persistence required in large-scale projects like a law firm or a camper van conversion.
Turn The Build Into A Working Project Plan
A build plan needs more than a shopping list. For each task, record what must be decided first, the materials required, the next action and how you will check the result. Keep unfinished decisions visible so they do not get mistaken for finished work.
- Define The Layout: List the sleeping, cooking, storage and work space you need. Measure your own van and sketch the arrangement before committing to major components. Use the SketchUp Planning Guide to explore the layout.
- Break The Layout Into Projects: Separate floor preparation, roof equipment, wiring, water, cabinets and finish work. Give each project a next action rather than a vague label such as “finish the interior.”
- Record Dependencies: Mark the tasks that require an earlier decision or test. Confirm component dimensions before cutting cabinet openings; plan cable and pipe routes before closing access. The exact sequence depends on your design and the equipment instructions.
- Track Costs And Purchases: Keep quantities, quoted cost, actual cost, ordered status and return deadlines separately. Reserve room in the budget for fittings, consumables and changes. The Van Conversion Tools Checklist helps distinguish a starter kit from tools for a specific job.
- Define A Completion Check: Decide how you will confirm fit, access and operation before concealing work.
- Review And Update: At the end of a work session, record what changed, what remains blocked and the next task you can actually start. Keep photos and measurements with the entry so you can find them later.
For example, “install the cabinets” can become separate tasks for checking the layout, confirming material dimensions, deciding the attachment method, checking service access and only then making and fitting parts. Buying panels does not complete the design decision.
Record One Layout Decision Before Buying Parts
For example, suppose you are deciding whether to move a cabinet to improve access. Keep the decision, supporting measurements and next action together.
- Decision: Write the question in a form you can check: “Can this cabinet move without obstructing the entrance or the storage I need to reach?” Record what you want to improve and which requirements must remain satisfied.
- Evidence: Identify the dated layout revision and the relevant rows in your measurement worksheet (CSV). Keep the measured vehicle dimensions, planned finishes and furniture sizes distinct. Label anything that still depends on an estimate.
- Dependencies: List the unanswered questions that affect the choice. For this example, that could include the intended wall finish and the cabinet's outside dimensions. A required equipment-access check also needs the exact equipment documentation; a general layout drawing cannot resolve it.
- Next Action: Compare two positions using the same measured vehicle and furniture sizes. The blockout steps help keep those objects separate. Record the access difference and the measurement or source still needed to decide, rather than adjusting the vehicle until the drawing looks convenient.
- Purchase Status: Mark the affected panels, fittings or ready-made cabinet as “not ready to order” while the dimensions remain unresolved. Check whether you already have suitable tools before adding purchases; use the first-project tool checklist for that separate decision.
- Completion Evidence: Record the chosen position, the measurements and sources checked, the date and the question that remains open, if any. “Model revised” describes a drawing update. It does not mean the cabinet has been built, fitted or checked in the van.
When a finish choice or component dimension changes, reopen this record and identify the downstream items affected: the model, the parts list, an order or an access check. Keep the reason for the revision beside the new decision. This makes the next work session easier to resume and keeps completed work distinguishable from work that is merely planned.
Follow the Camper Van Build Diary for the original project record and Tools And Materials By Project for links tied to the work being planned.
The Influence Of Leonardo Da Vinci And Continuous Improvement
I've always admired Leonardo da Vinci's relentless pursuit of knowledge and mastery over a wide array of disciplines. That interest in learning and refinement inspires my approach to the camper van project. This perspective aligns with the Japanese philosophy of Kaizen, which emphasizes continuous improvement and the cyclic nature of innovation, standardization, and measurement.
Vision, Mission, And Values: Guiding Principles
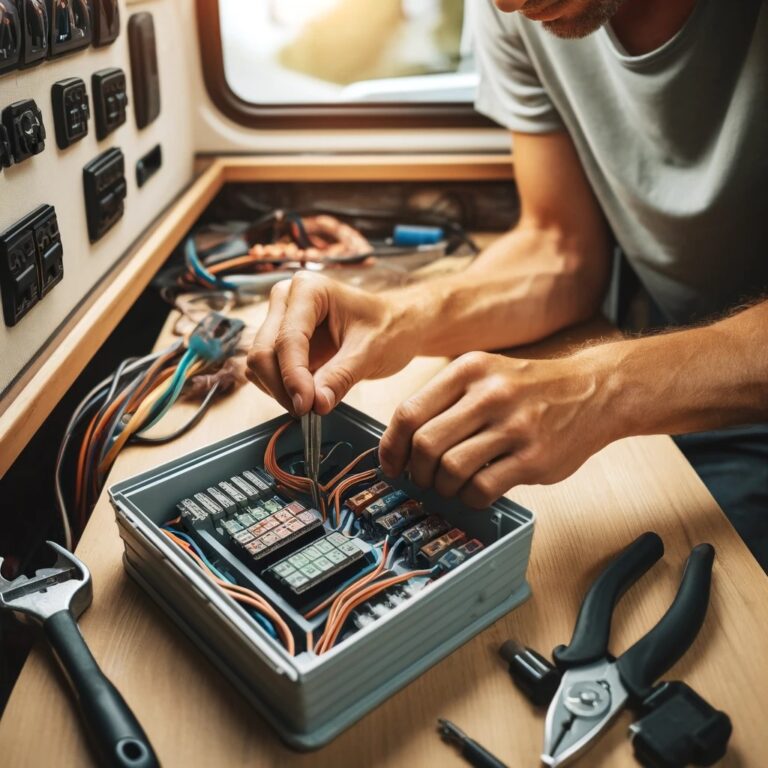
Having a clear vision and set goals is critical. This vision not only guides the camper van project but also influences the broader aspects of my life and work. It serves as a compass, steering all decisions and efforts. For this project, envisioning the final outcome—the features of the van, the lifestyle it enables, and the freedom it offers—motivates daily activities and the overall project trajectory.
The journey of converting a camper van is not just about customization and building a mobile living space; it's a profound reflection on self-reliance and the resilience required to bring such a vision to fruition. This journey is reminiscent of my earlier days when I started my own law firm, facing skepticism and doubts from many around me. The process taught me valuable lessons about self-dependency and the importance of nurturing one's vision against all odds.
Overcoming External Doubts And Self-Reliance
When I embarked on the camper van conversion, I faced similar skepticism. People questioned the practicality of my project, suggesting simpler alternatives like purchasing a pre-built van or sticking to traditional travel methods. However, the criticisms mirrored those I faced when starting my law firm—they were reflections of others' limitations, not mine. This project has been about proving that with enough determination and self-reliance, one can convert a simple van into a bespoke sanctuary that meets their unique needs and lifestyle.
Setbacks And Learning From Mistakes
One of the most challenging aspects of this project has been dealing with setbacks, particularly those involving the van’s roof. From accidentally damaging the roof in a parking garage to misjudging the clearance at a drive-through with newly installed equipment, each incident provided a harsh lesson in spatial awareness and the importance of meticulous planning and execution.
Each setback has forced me to learn new skills, such as fiberglass Bondo work and applying multiple coats of protective finishes like epoxy and bed liner. Those incidents changed the project schedule and made clearance checks part of the planning process. A repair still needs its own assessment.
The Mental Game Of Solitude And Persistence
The solitude of working alone on this project parallels the experiences shared by David Goggins in his books, where he discusses the loneliness of undertaking extreme challenges. Like Goggins, I've learned that achieving something extraordinary often requires enduring loneliness and channeling it into a form of strength. Throughout this van conversion, I've had to be my own motivator, critic, and cheerleader, relying on internal reserves of motivation and discipline to continue making progress.
Project Management And Planning With Tools Like SketchUp
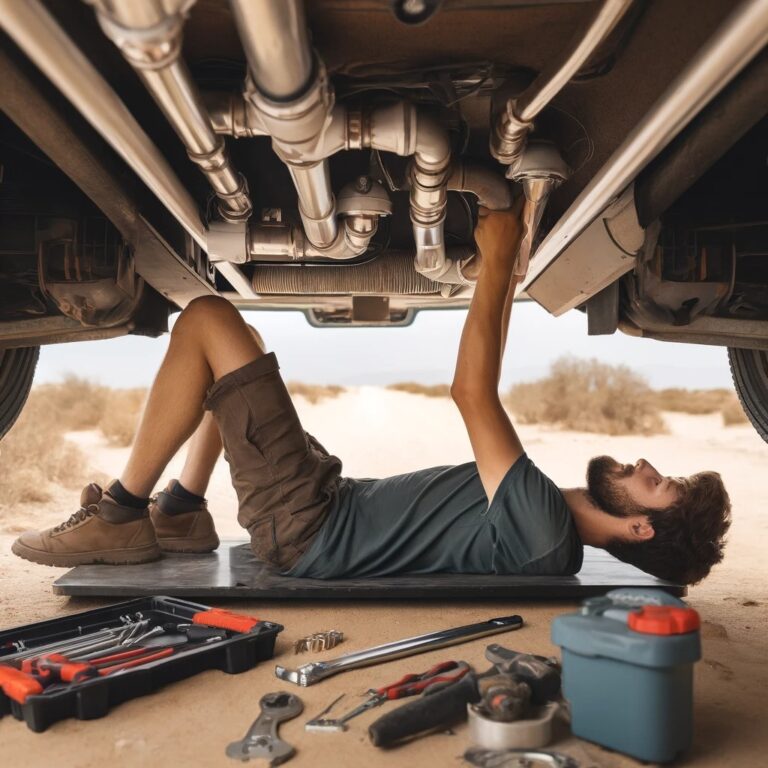
On a more technical note, transitioning from spontaneous action to structured planning was a significant shift in my approach, prompted by the logistical challenges of working in remote locations like the desert. Utilizing CAD software like SketchUp has allowed me to meticulously plan and visualize each component of the van conversion before actual implementation. A model helps me consider layout conflicts before making parts. It still needs to be checked against measurements, installation requirements and access in the actual van.
Continuous Improvement And Adaptation
The philosophy of Kaizen, or continuous improvement, has been a guiding principle in this project. Each task, whether it’s installing a heater or modifying the roof storage, is approached with the mindset of incremental improvement. This approach has not only refined the quality of the build but has also fostered a mindset of resilience and adaptability—qualities that are indispensable in both personal and professional growth.
Building Momentum And Routine
Establishing a consistent routine has been crucial. Similar to maintaining a workout regimen, the discipline of daily work on the van builds momentum that makes large tasks seem more manageable. A useful routine also includes breaks and a clear stopping point. When tired, record the next step and return to work when you can handle tools and decisions carefully.
Separate Completion From Future Improvements
Define what needs to be completed and checked before using the van, then keep optional improvements on a separate list. A new idea should not hide an unfinished essential task or silently change the budget.

Choose Your Next Build Task
Start with one project you can measure, plan and check. Write down the decision or material it depends on, confirm the next action, and record the result in your build notes. The purpose of a plan is to help you complete useful work and recognize when you need to change course.
Changing a layout decision after planning a job? Use the van build decision log and free worksheet to connect the change to your drawing revision, access checks and shopping list.
Related CVF Collections And References
Continue with the relevant original collection or detailed reference below. Check each source’s vehicle, equipment and publication context before applying it to your own build.