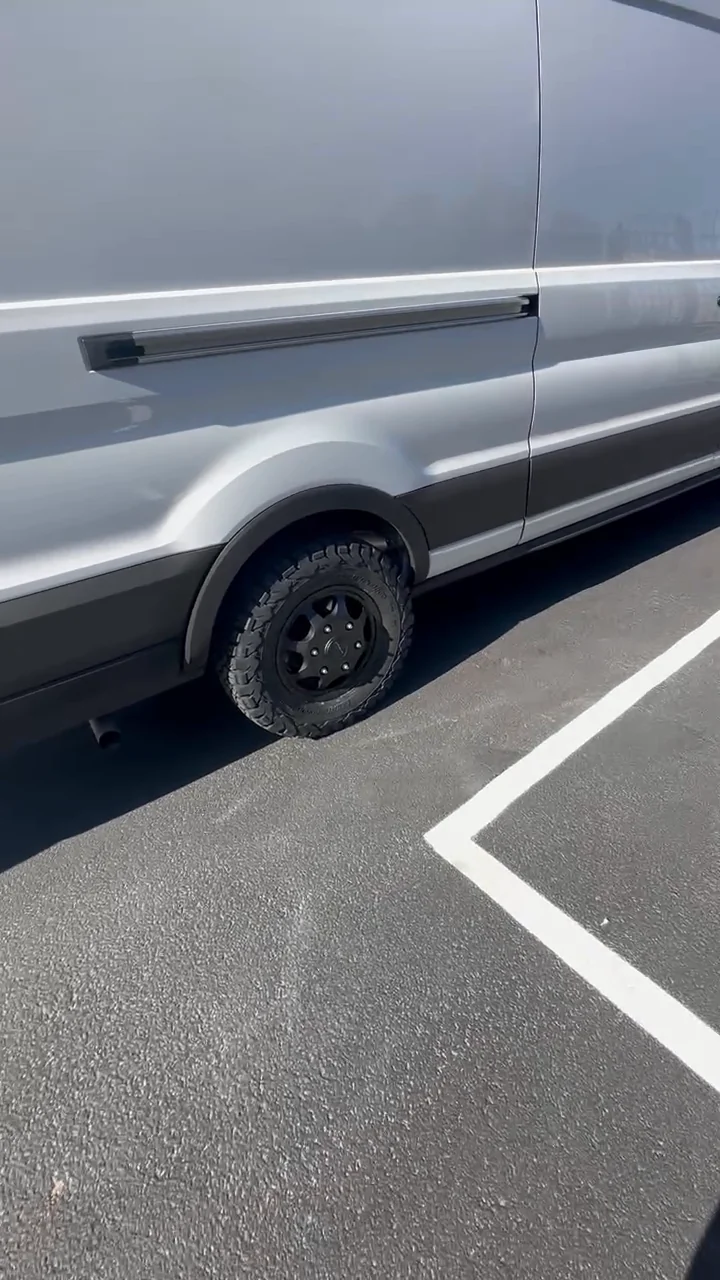
Recording the starting appearance
Today I introduced the next exterior project: black RAPTOR coating on the lower part of my Transit. I walked around the van and pointed out the gray plastic trim, the white strip below it, the wheel arches and wheel wells. I also showed the hood and front bumper while explaining the areas I wanted to change.
The matte-black wheels were already fitted. Against those wheels, the gray trim and exposed white lower strip made the starting appearance easy to see. I recorded both sides so I would have something to compare with the finished coating later.
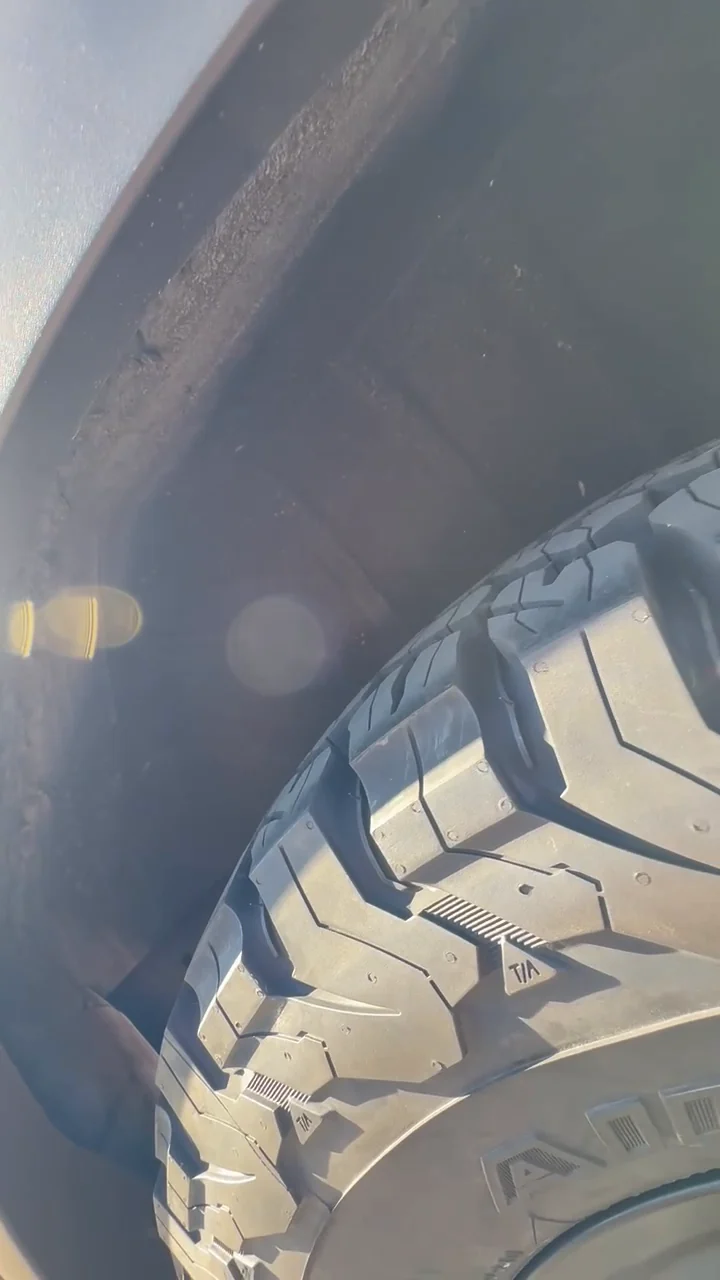
Washing before the next stage
My first recorded job was washing the parts I planned to coat with soap and water. In the next update I said that washing was finished and degreasing was the next task. I also showed the cleaner I had ready for that stage.
At this point the footage is about getting the project started. The van still has its original-looking gray lower trim, and I am walking through the areas I intend to work on rather than showing a coated result.
A larger job than just the trim
The walkaround helped lay out the scope: long side sections, lower painted panels, arches, wheel wells and the front of the van. I discussed the grille and mirror housings too. Those ideas developed separately as the work progressed.
This entry starts the black coating story. The following diary entries follow my masking, spraying and roller correction, while the complete RAPTOR project article brings the whole sequence together.
Where I finished
The starting-point video was useful: it recorded exactly which gray and white areas I wanted to change before the preparation hid them behind paper and tape.
Read the complete project story for the wider sequence and related product notes.