My Flatline Low Pro Roof Rack Installation
Steven SmithWatch The Project Videos
Starting On My Repaired Roof
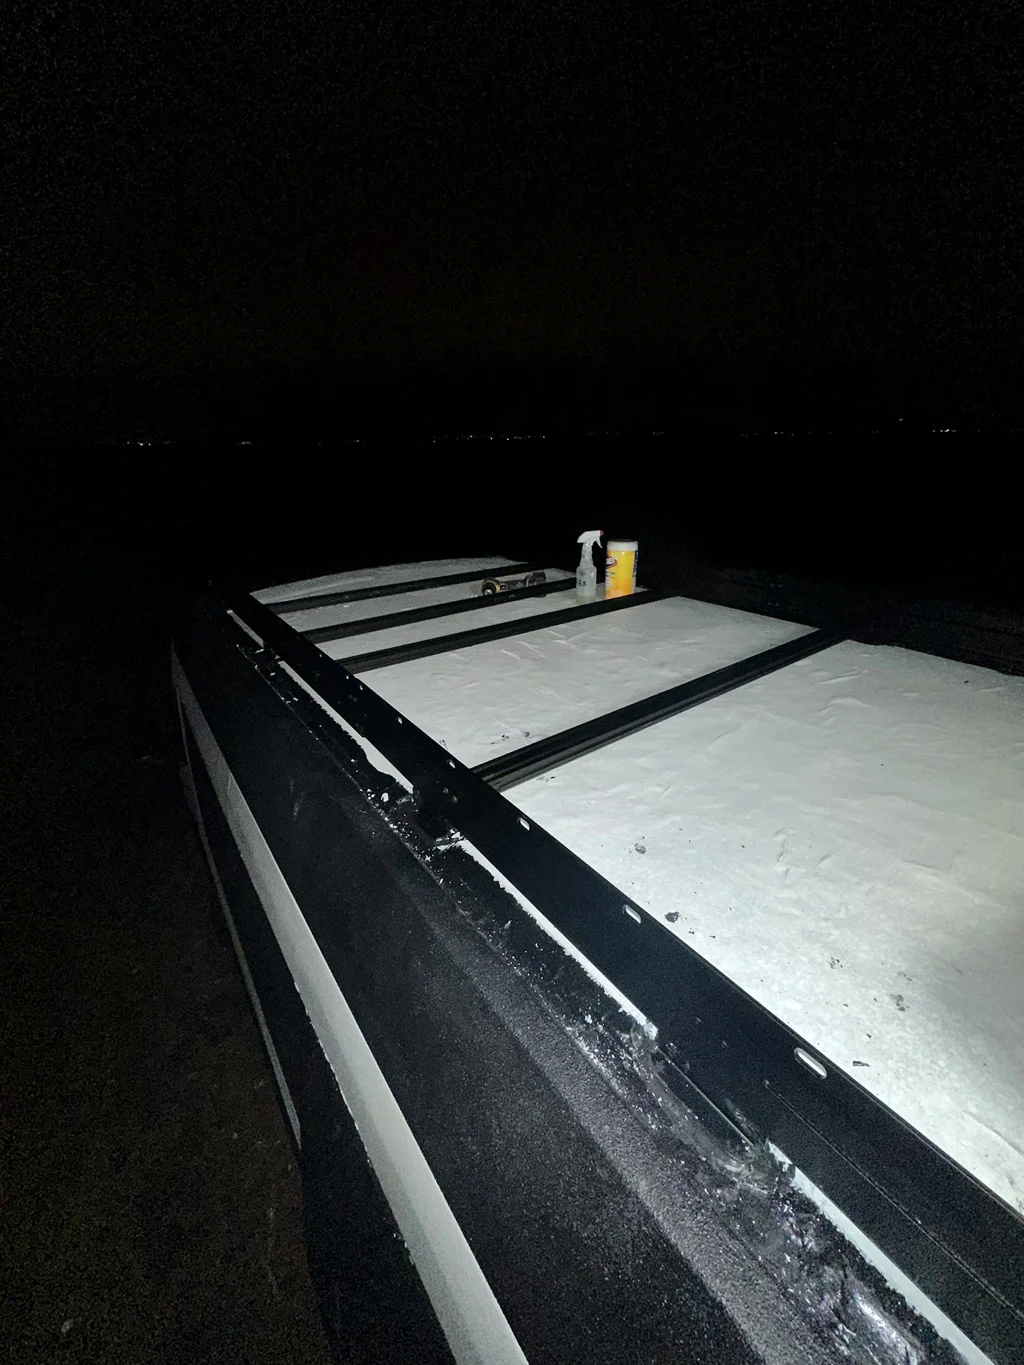
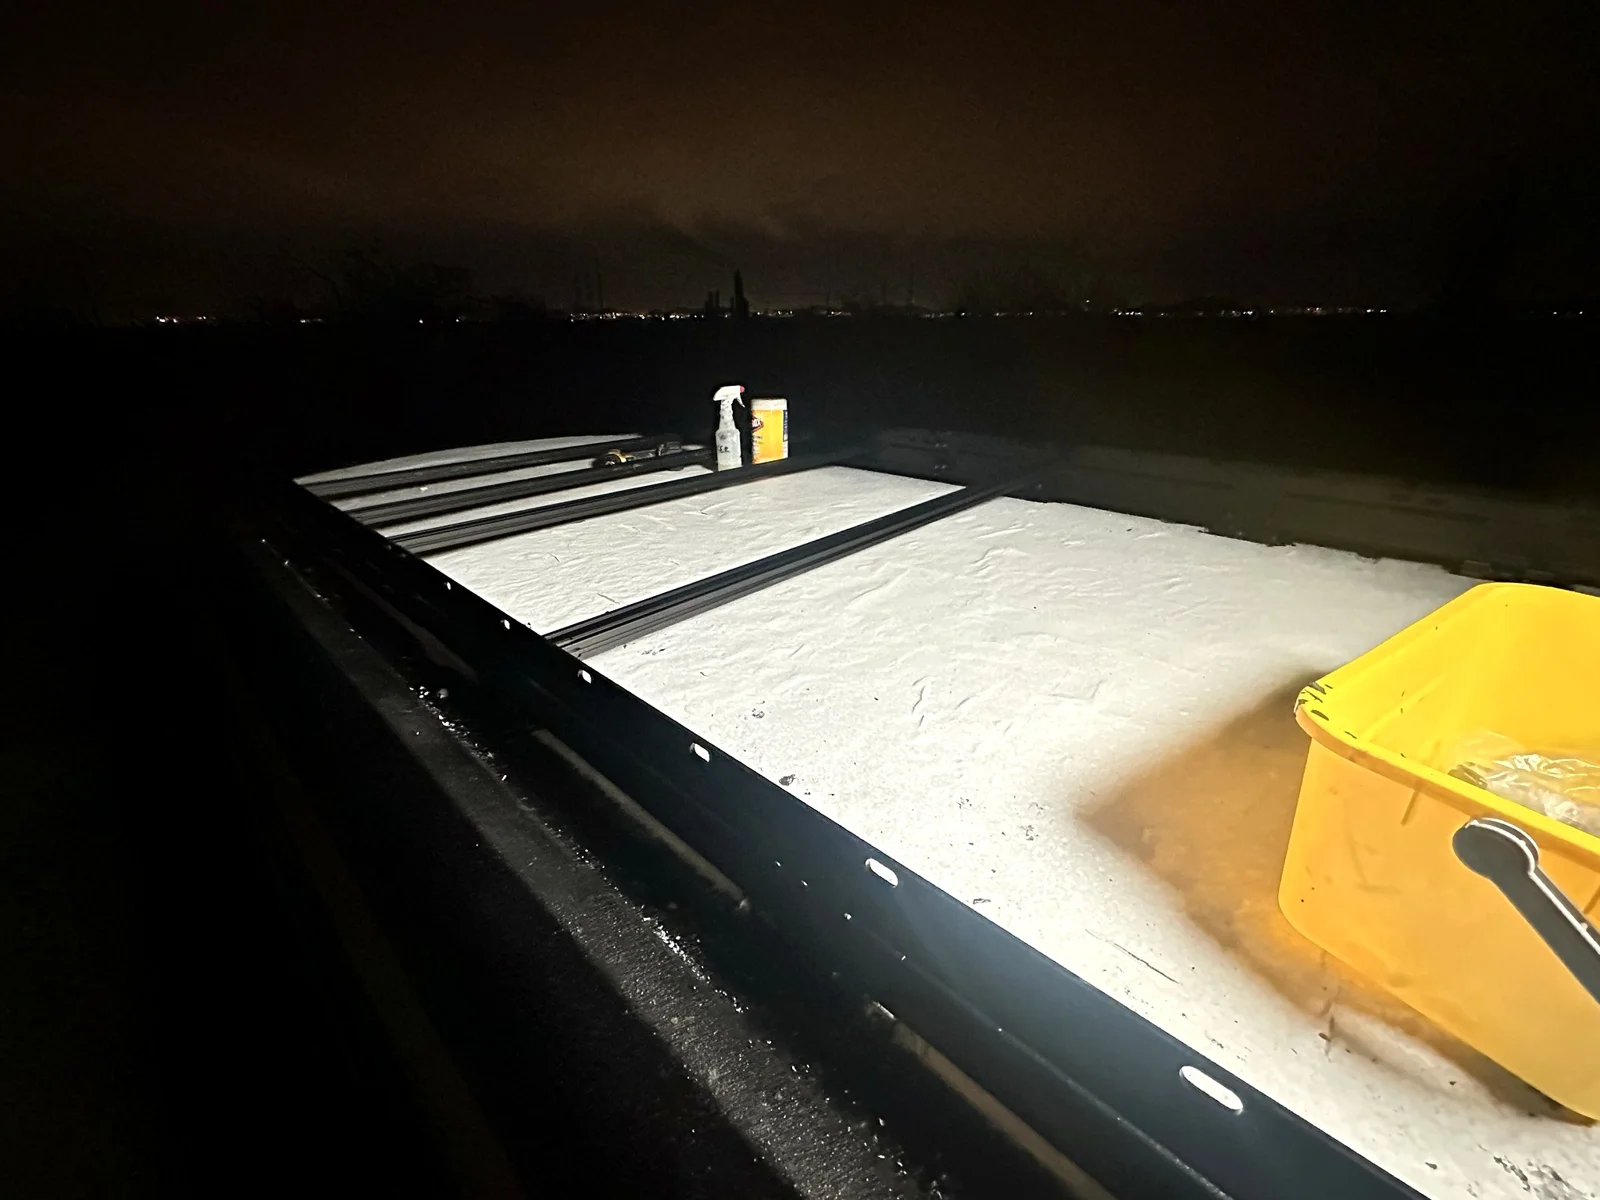
I installed a Flatline Van Co Low Pro Roof Rack at night using a tripod-mounted light. My roof already had fiberglass repairs covered with bedliner. I used my DeWalt drill to drill through those layers and reach the factory mounting holes.
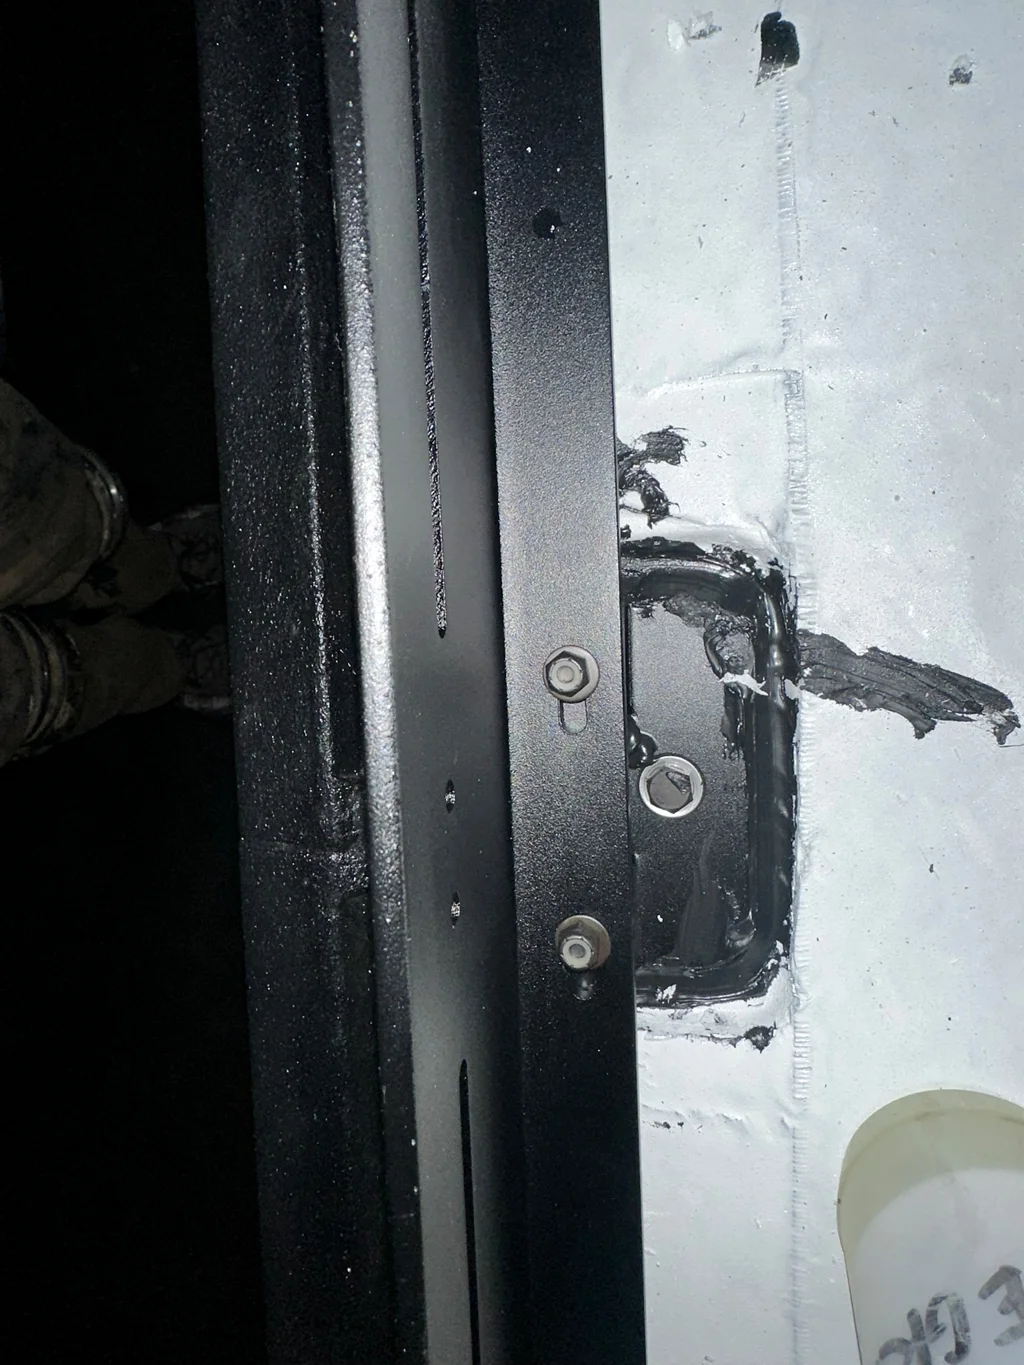
Bolting And Sealing The Mounts
I bolted five mounts to each side using the supplied hardware. Before applying black waterproof caulking around their edges, I cleaned the roof surface with Clorox wipes and degreaser. The caulking was intended to keep water from entering at the installation points.
The Tightest Part Of The Job
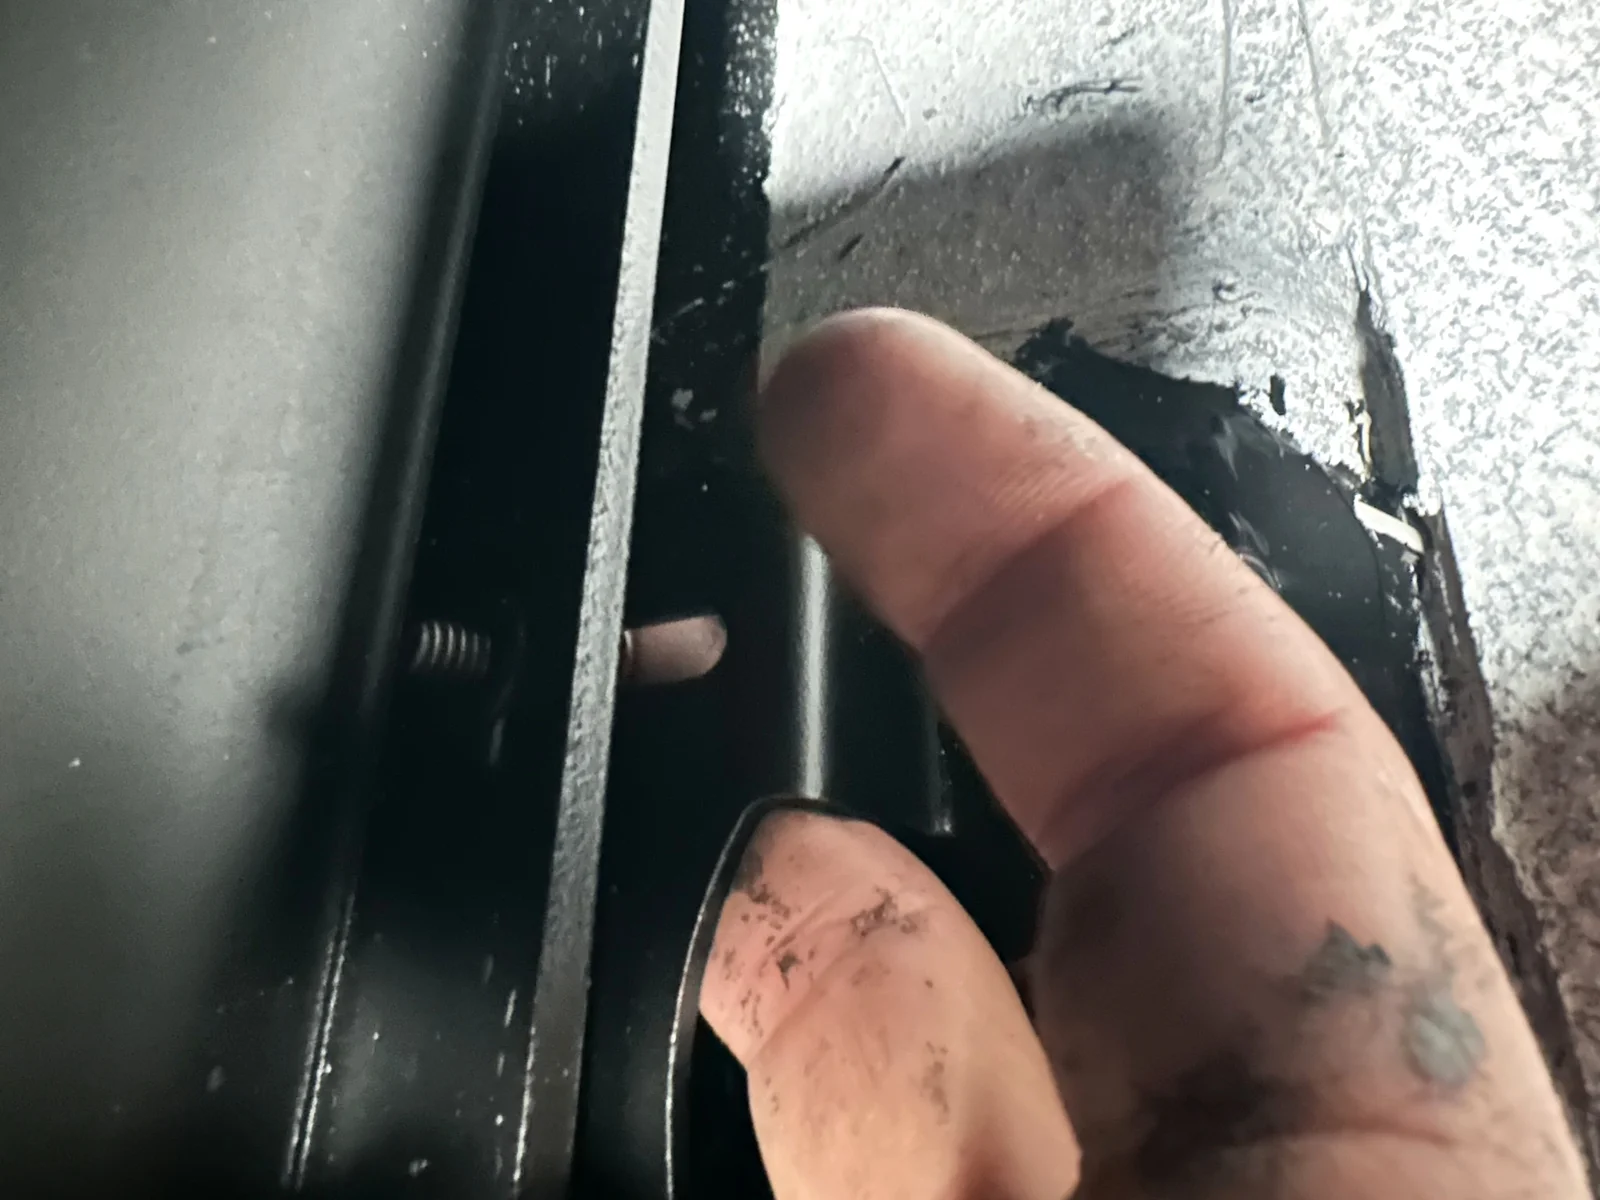
Securing the side rails meant passing a bolt and washer upward through each mount and rail, then threading on a nut. The opening beneath the mount lip barely fit my finger. Holding that bolt took the most time because access was so cramped.
Seeing The Rack Together
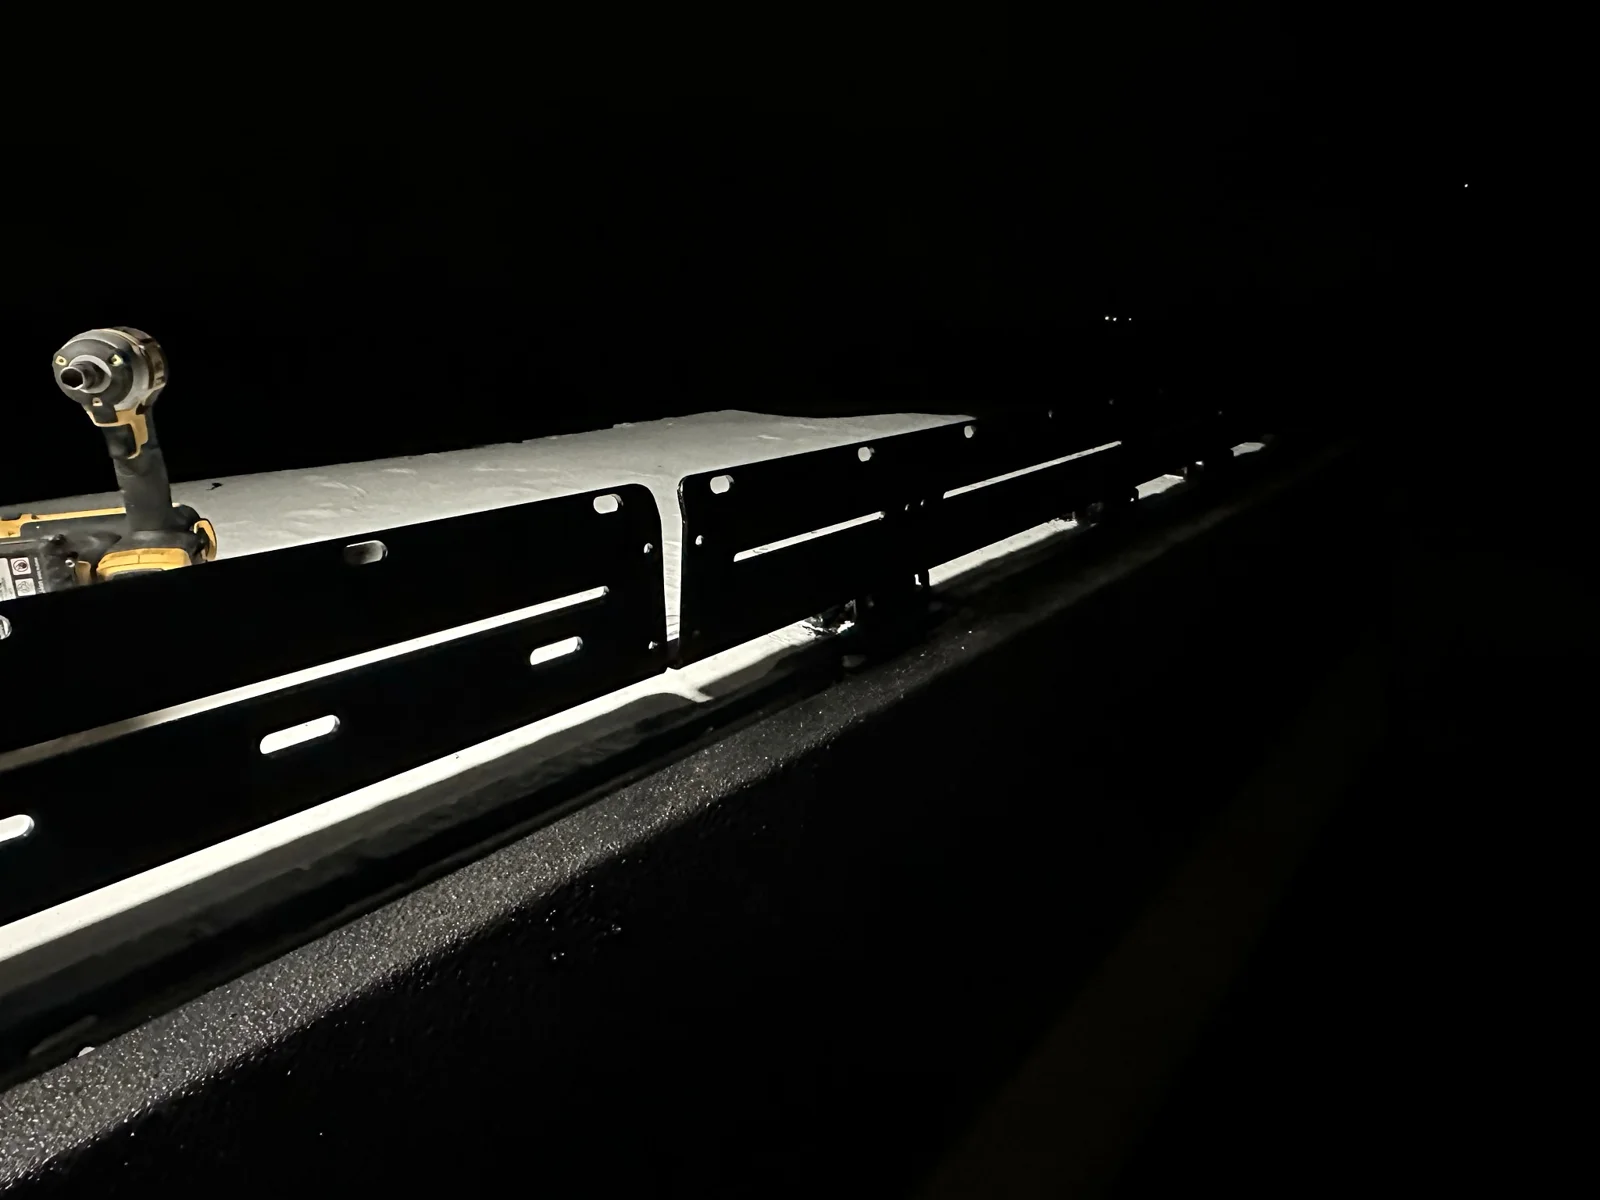
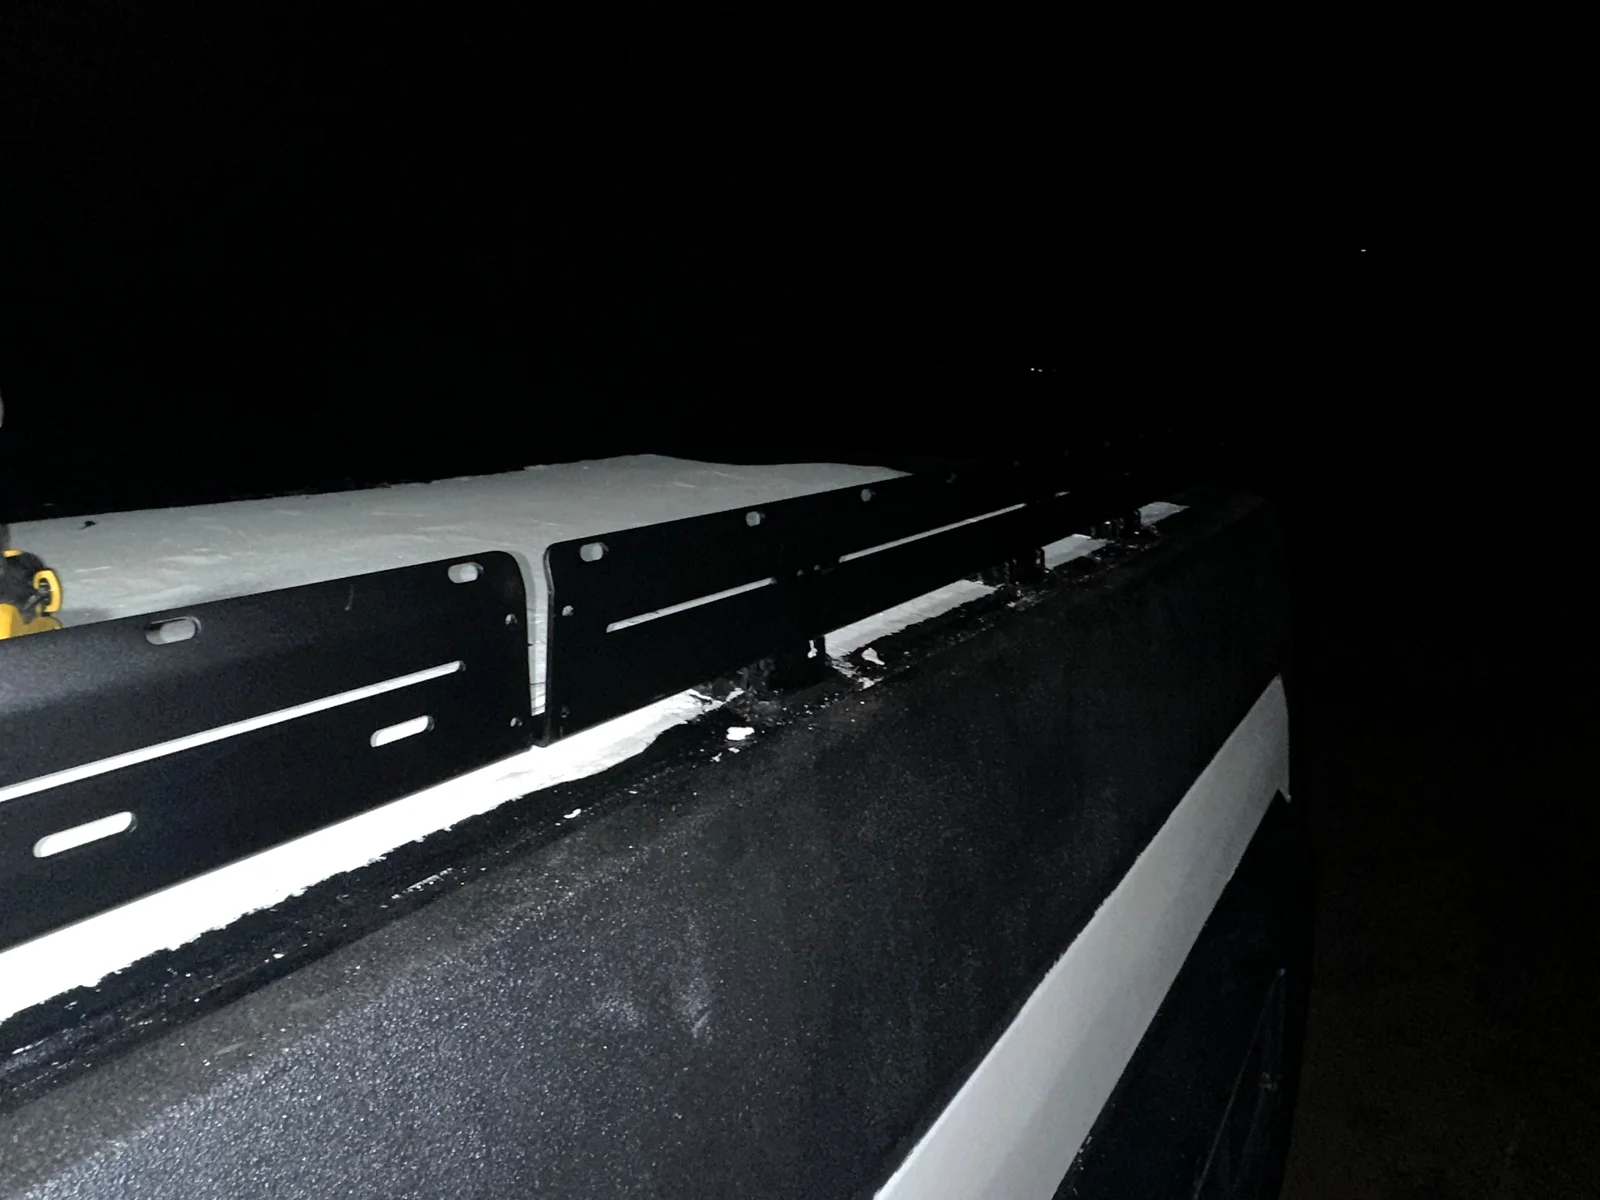
My photos show the rail junction before joining, plus the joined rails and installed crossbars—not those assembly steps themselves. I also fitted edge guard onto the plastic front fin. The daylight exterior shows the finished rack; cramped bolt access remains my strongest memory.