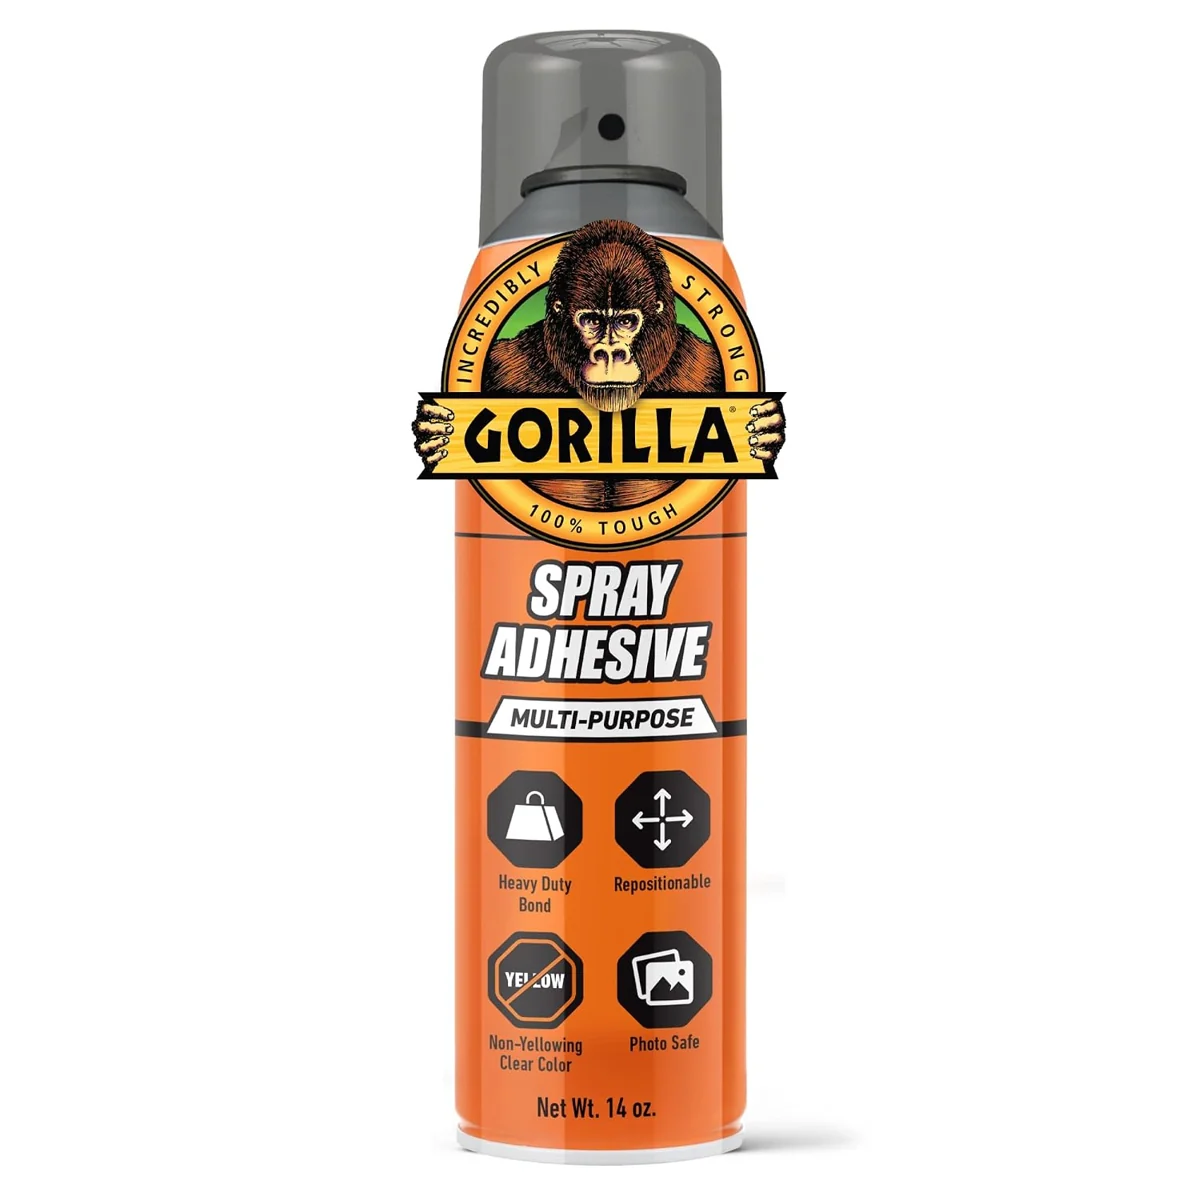
I bought Gorilla Heavy Duty Spray Adhesive as part of my camper van equipment.
Spray adhesive belongs to my purchased interior materials, alongside the planning that preceded lining the van's walls and other surfaces.
Where it fits my build
My Day 87 plan put the body openings ahead of the aluminum framing, flooring and wall panels. I specifically included the shower drain and the openings for three water tanks in that order of work.
I removed cargo tie-down hardware to leave mounting points for the extrusion framing, and removed door trim for the later insulation and paneling. SketchUp helped me plan how those separate jobs would fit together.
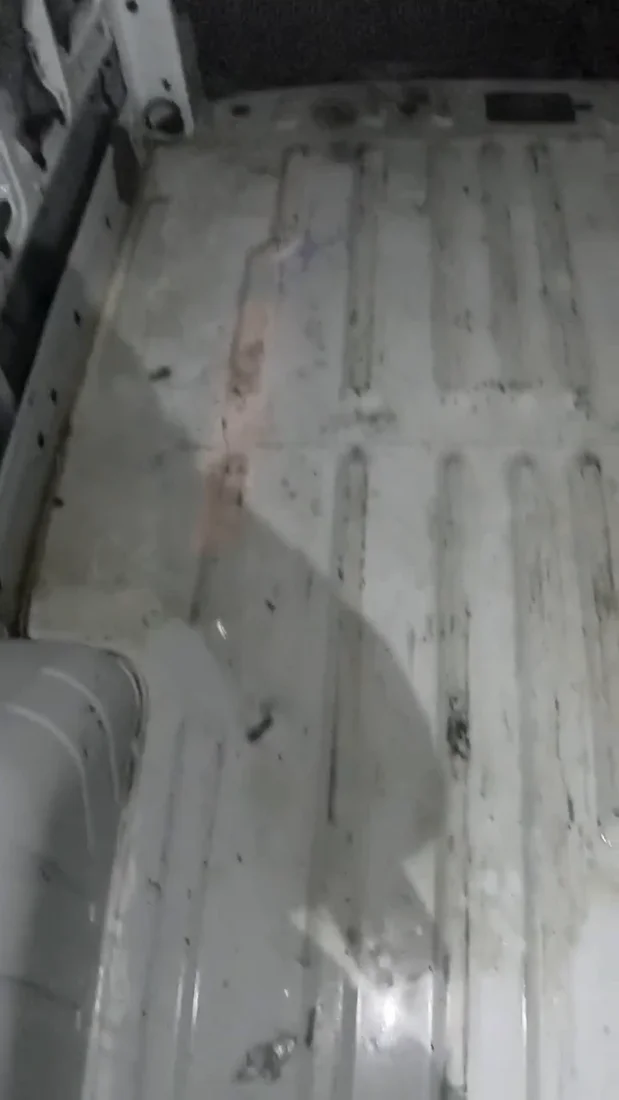
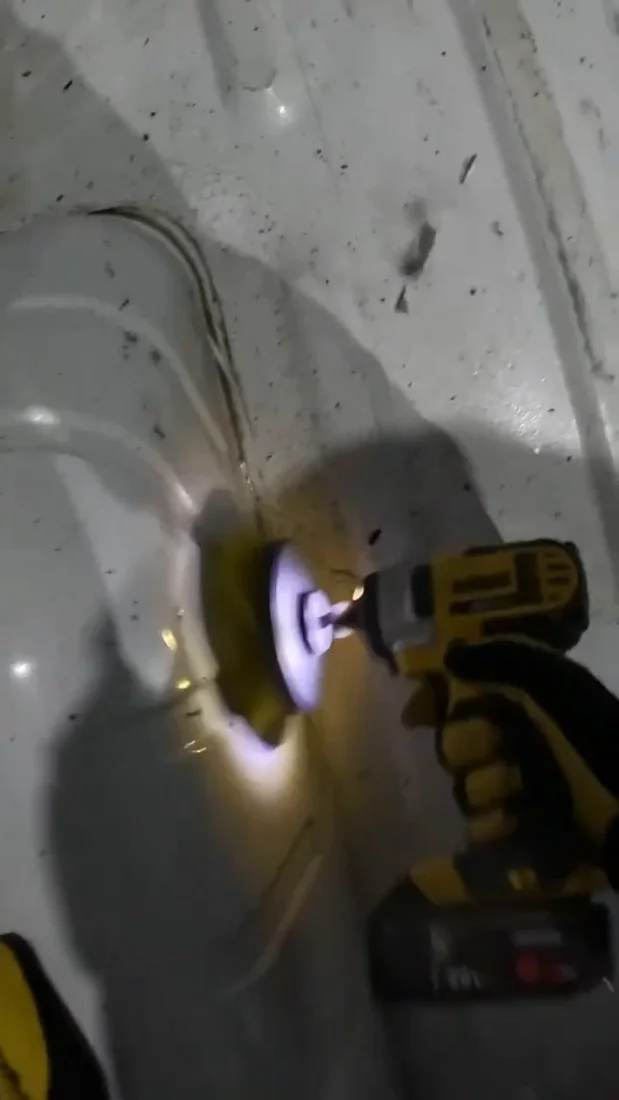
The cargo floor during my preparation session before sound deadening.Removing stuck-on residue during the floor cleanup.
My build notes
The useful part of this diary entry is the sequence. I wanted to finish the drilling while the interior metal was bare, so later work would not mean opening finished surfaces again.
The photographs show my preceding floor-preparation session. Sweeping, washing and removing residue created the starting point for the interior work I described next.
I planned the openings and mounting access before enclosing the interior.
Alternative products
Two alternatives to compare
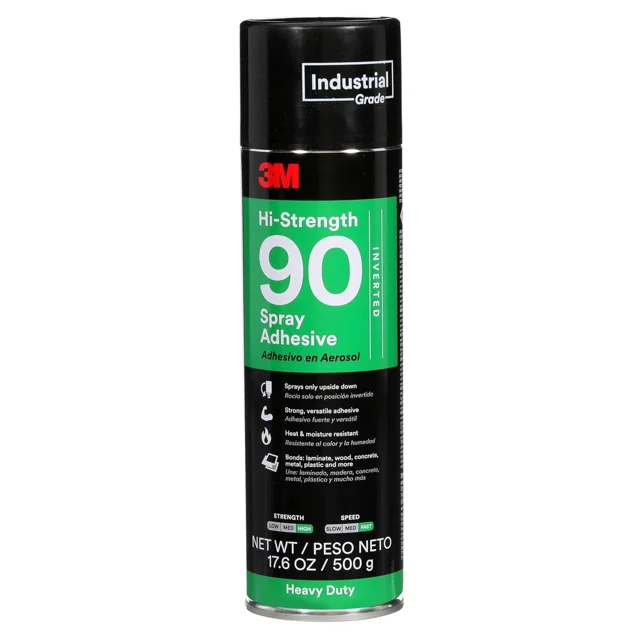
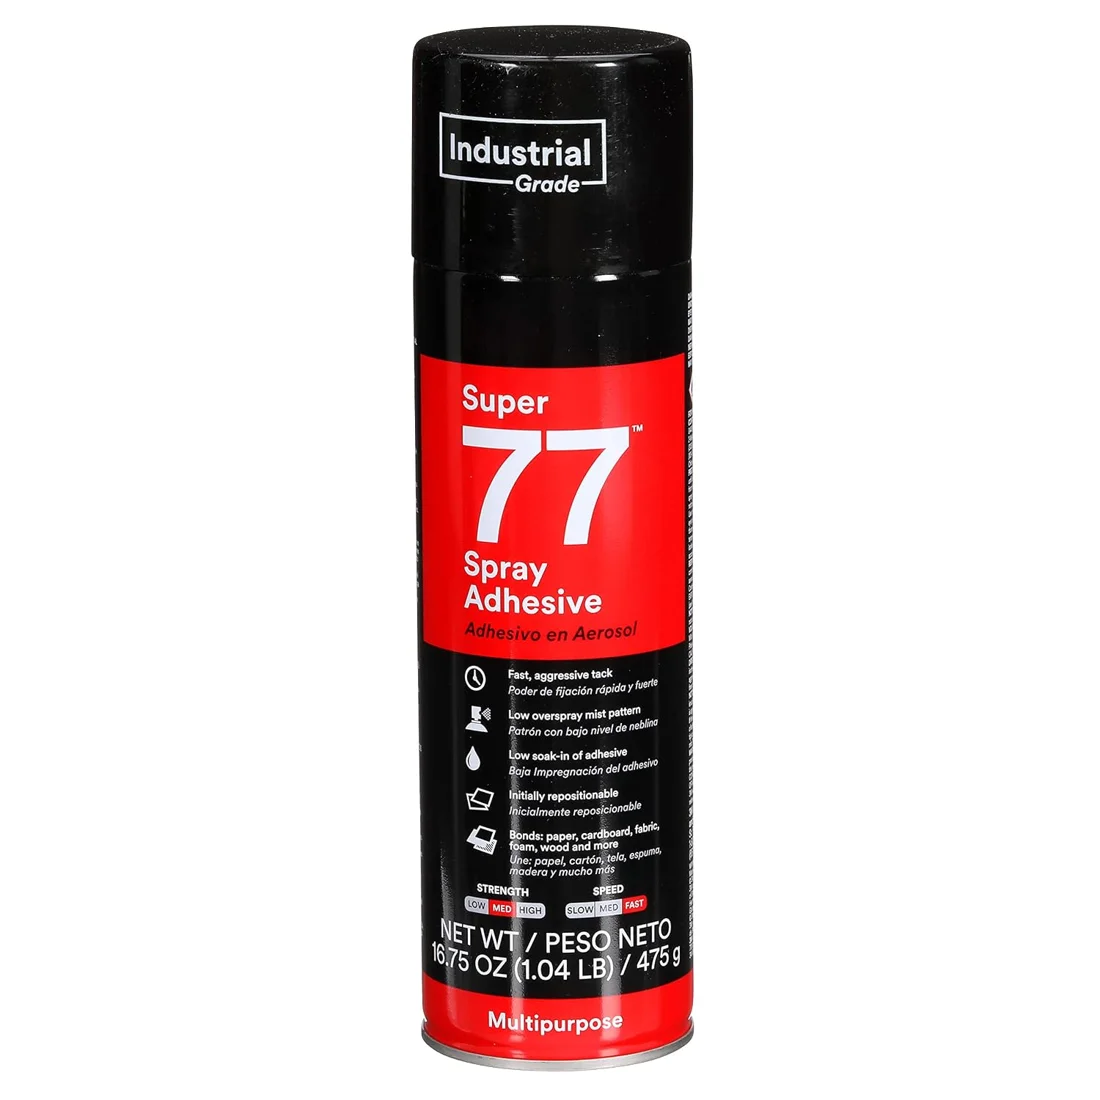
3M Hi-Strength 90 and Super 77 are two other spray-adhesive products. They have separate formulations and spray characteristics, rather than being different pack sizes of the Gorilla product.
3M Hi-Strength 90 Spray Adhesive
This 3M contact-type spray adhesive bonds compatible sheet materials during camper-van interior construction. Its adjustable spray pattern helps cover larger surfaces such as suitable panels, fabrics or insulation.
This multipurpose aerosol adhesive bonds materials such as fabric, paper, wood and metal. Its spray application covers broad areas during lining and fabrication work.