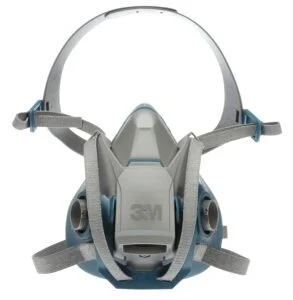
I bought 3M 52P71 Paint Project Respirator as part of my camper van equipment.
The 52P71 assembly is in my preparation purchases, alongside the paint and abrasive materials used to organize the finishing work.
Where it fits my build
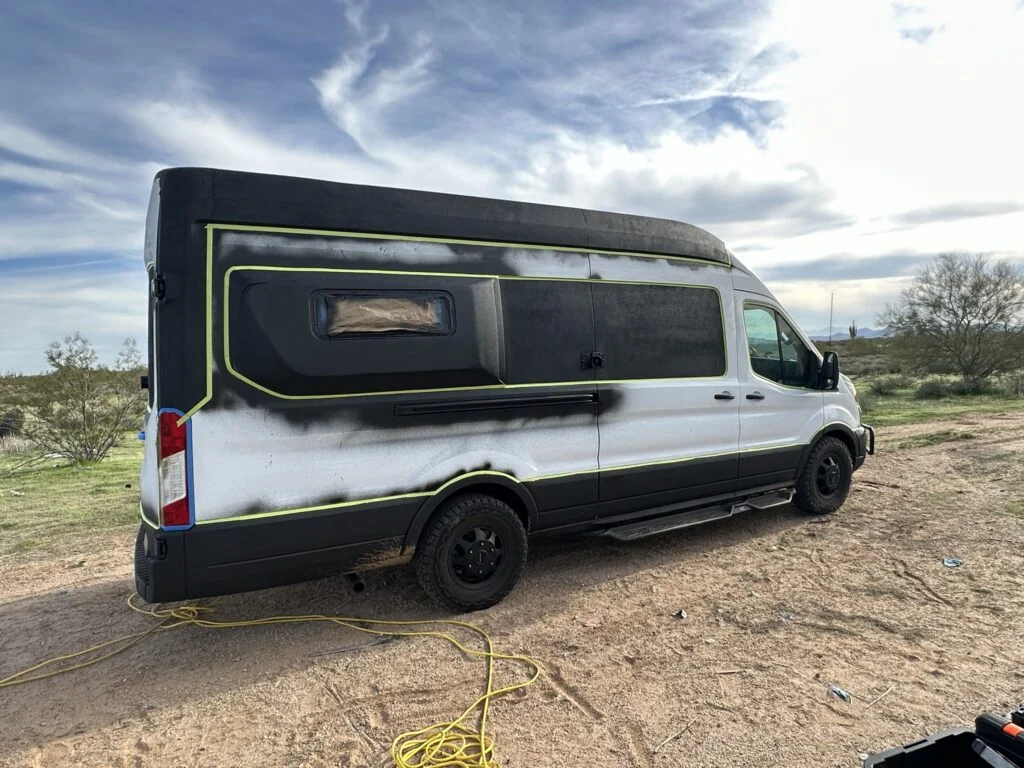
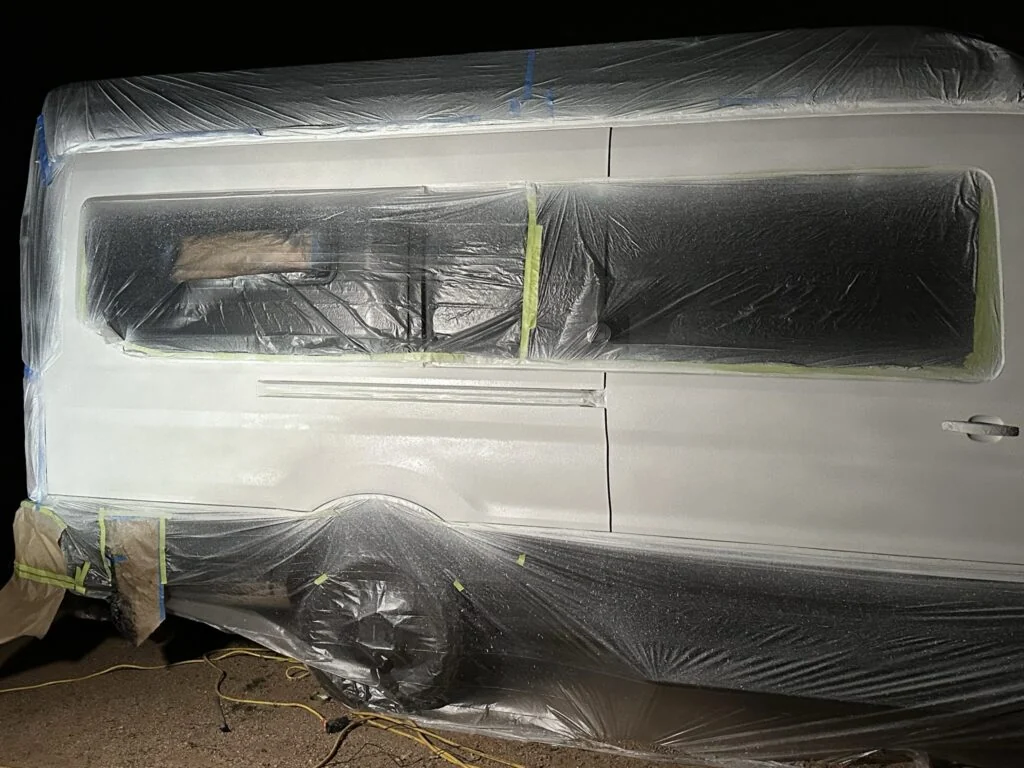
I taped the boundaries and covered the areas that would not be painted with plastic sheeting. I then sanded the exposed areas with an orbital sander and 60-grit abrasive, blew away the dust with a compressor, and cleaned and degreased the surfaces.
I mixed clear bedliner with white tint and sprayed the van. After it dried, I removed the masking. The tape and sheeting stage alone took around eight hours, and the finished edges still needed some touch-up.
My van with masking around the exterior areas prepared for coating.The side of the van during the white-bedliner project.
My build notes
The most useful detail in my diary is the result, including the problems. Rust-Oleum pooled and dripped in places, and trying to repair one area with a paintbrush made it worse. I wrote that I would use a foam roller for touch-ups and preferred the more consistent finish I had obtained with RAPTOR.
Masking, preparation and application method each became a substantial part of the exterior-coating job.
Alternative products
Two alternatives to compare
The Paint Project reusable assembly uses replaceable cartridges. The Rugged Comfort option is a quick-latch facepiece supplied separately from its filtration components.
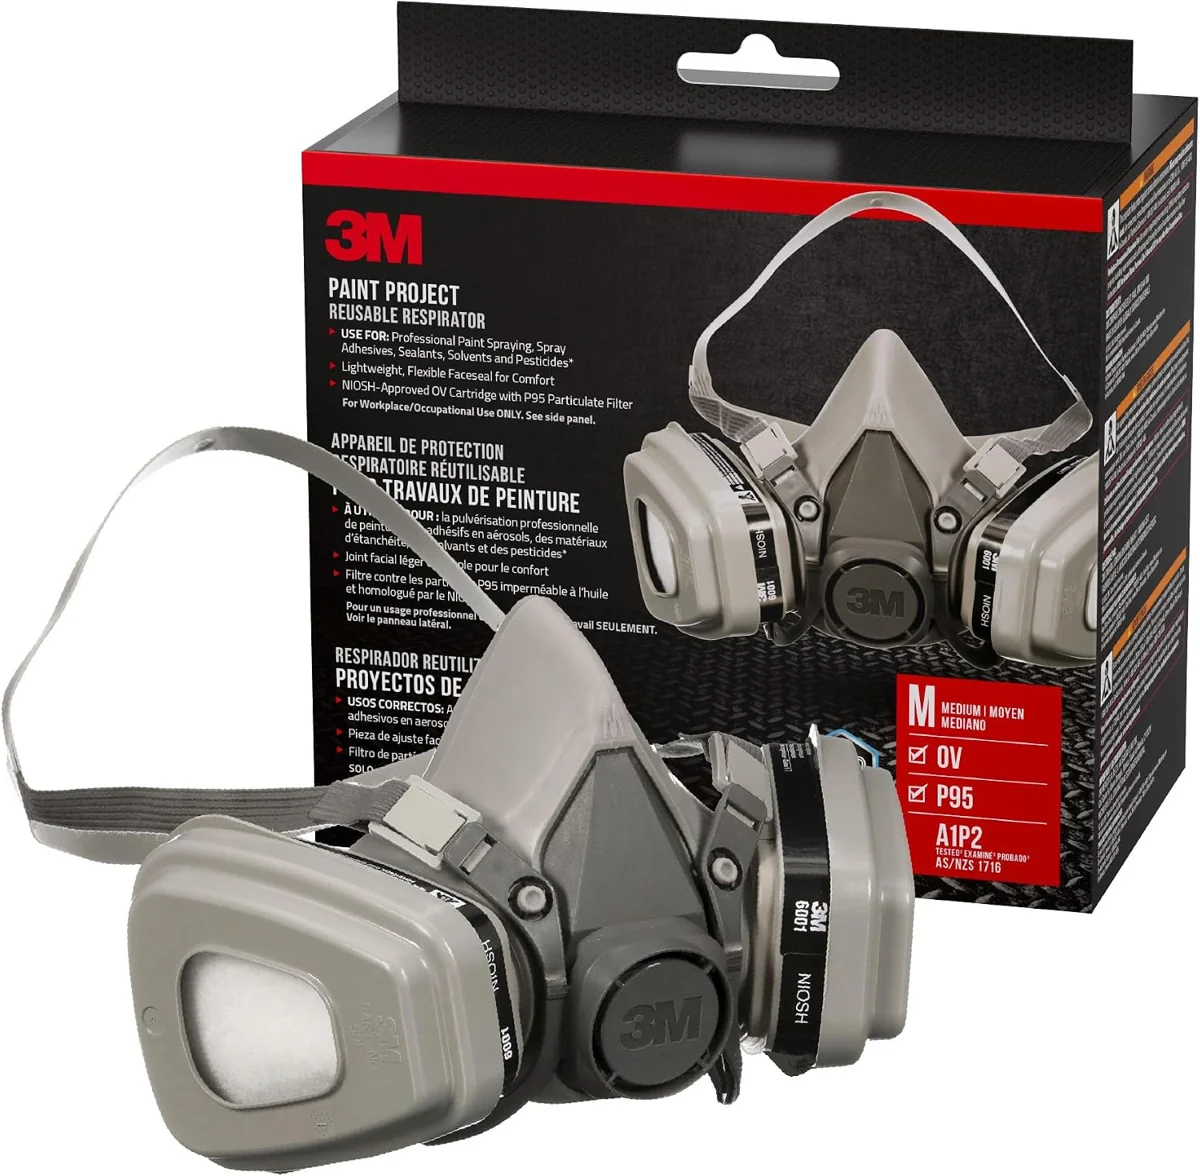
3M Paint Project Reusable Respirator
This Paint Project assembly combines a reusable half-facepiece with cartridges and filters. The facepiece has adjustable straps and replaceable filtration components.
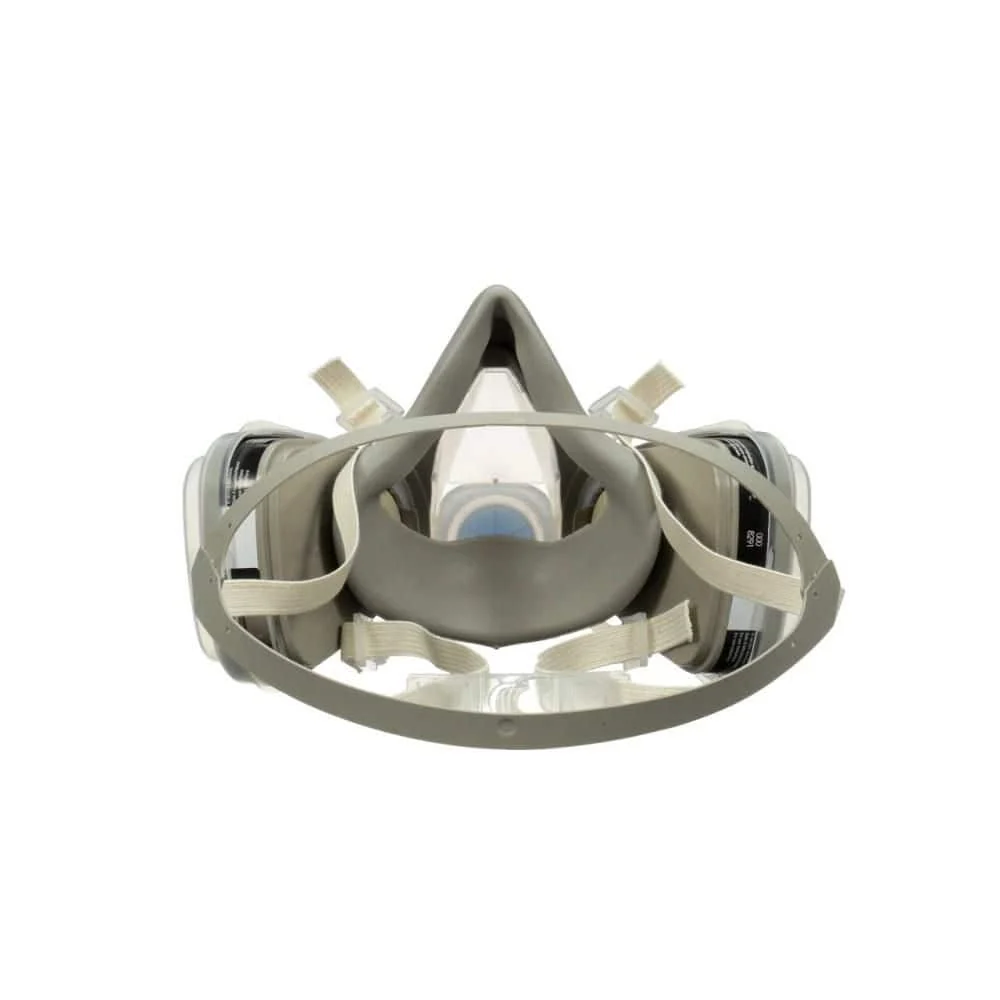
This reusable half-facepiece has a silicone face seal and connections for replaceable filters or cartridges. Its quick-latch mechanism lowers the facepiece without removing the head harness.