Sanding sponges are among the abrasives in my finishing purchases.
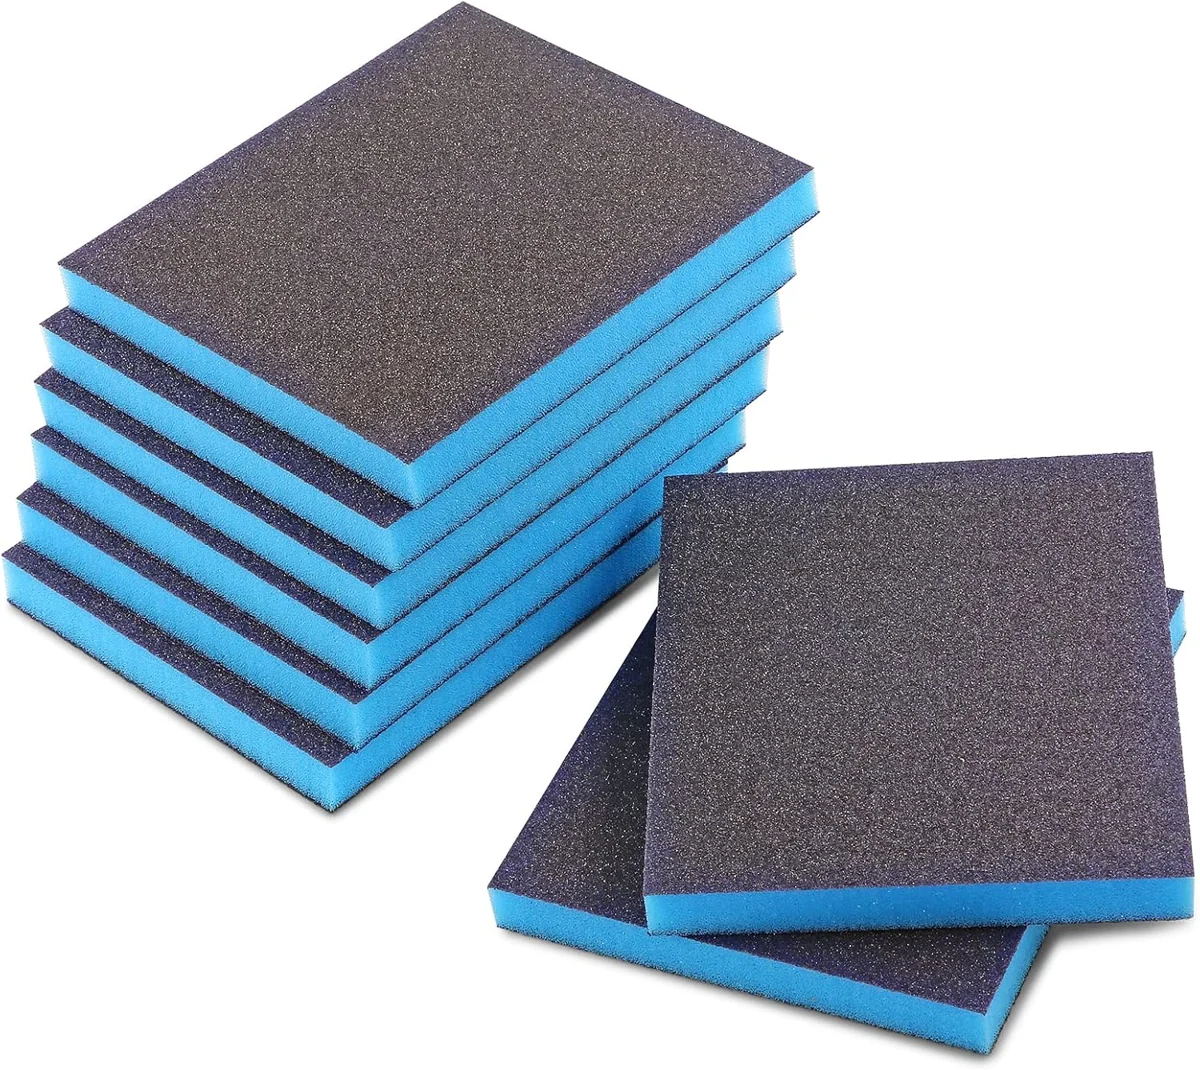
The featured Amazon option is Jamiikury 80-Grit Sanding Sponges.
Abrasive Sponges or a Separate Backing Block
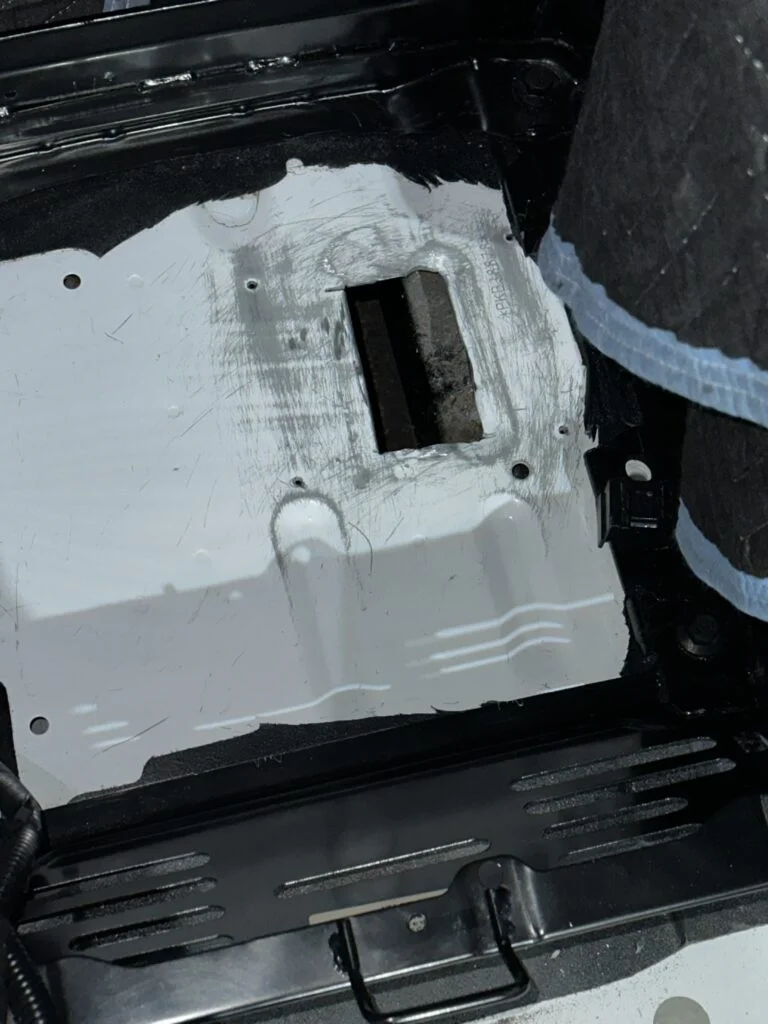
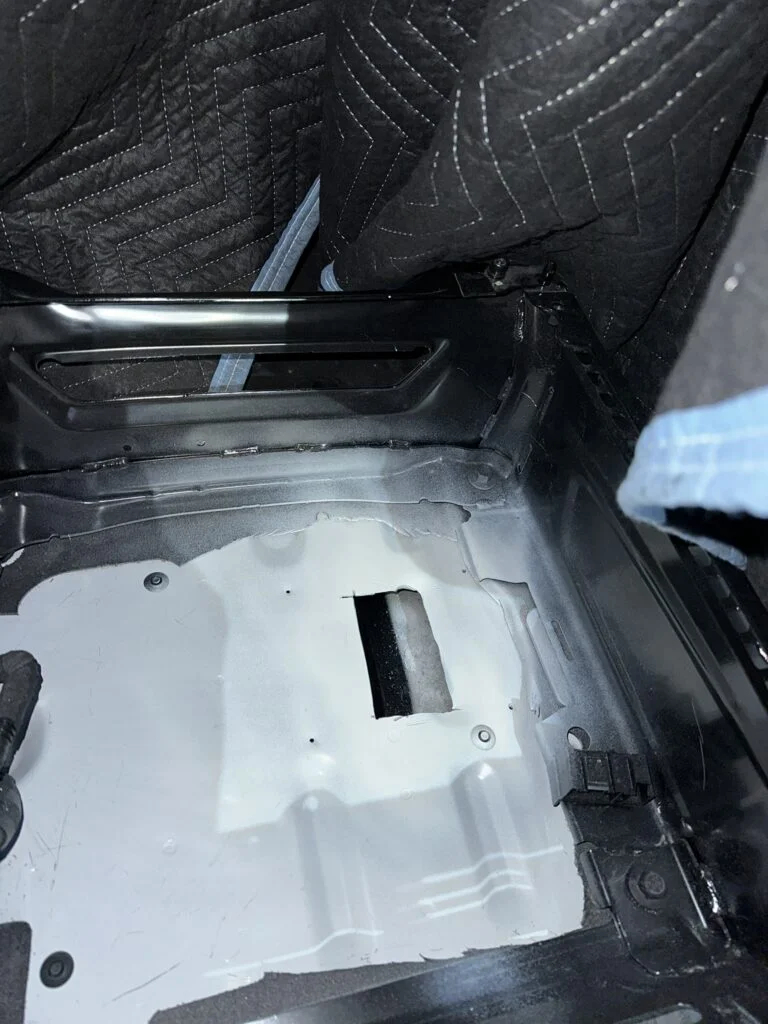
I removed the passenger seat and set it aside to reach the heater location beneath it.
I marked and cut the floor opening, then drilled the mounting holes and sanded the surrounding area.
I applied primer and white paint around the opening before bringing the heater pipes through the floor.
The cut heater-opening area during finishing work.White paint around the heater mounting opening after preparation.
My Takeaway for the Build
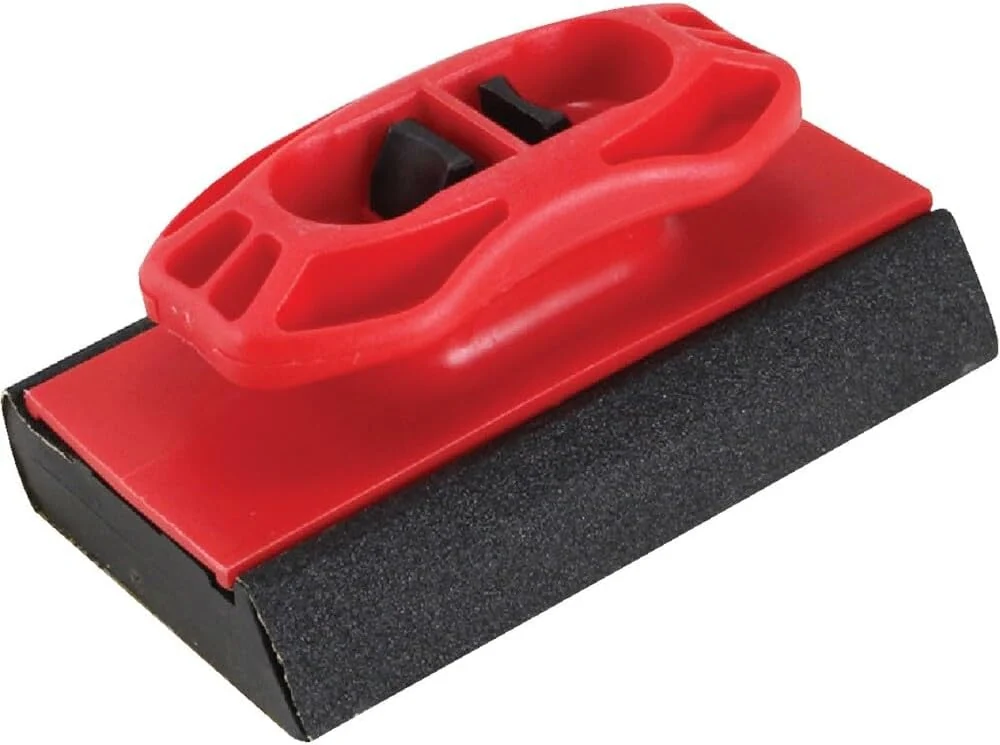
The heater mounting area was sanded before primer and white paint. For the sanding-sponge purchase, the key difference is whether the abrasive comes attached to its support. Jamiikury and 3M provide coated foam blocks, while Warner holds a separate sheet, changing how the abrasive is replaced during preparation.
Product Details And Van-Build Uses
Specification
Product Detail
Current Option
Jamiikury sanding sponge pack
Backing
Flexible foam
Working Shape
Hand-held abrasive block
A sanding sponge puts a flexible backing behind the abrasive, which changes how it follows a curved edge or a shallow recess. A separate rigid block gives a different feel on a broad flat panel. For van trim and small cabinet pieces, compare those two shapes on an offcut before choosing the finish sequence. Keep used sponges grouped by the surface they worked on so coarse debris is not carried into a later finishing stage.
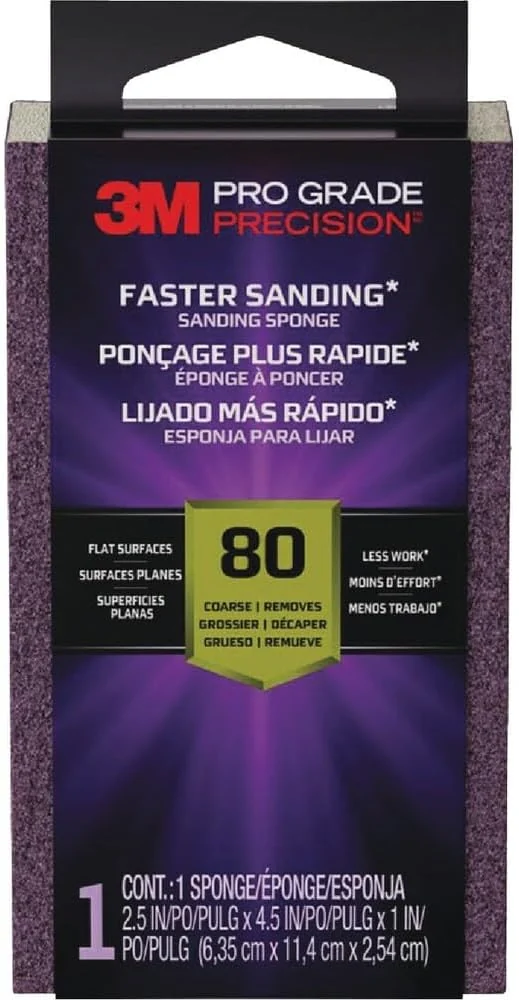
This 3M sanding sponge combines an eighty-grit abrasive surface with a foam block. Its block shape provides a hand-held abrasive for edges and surfaces.