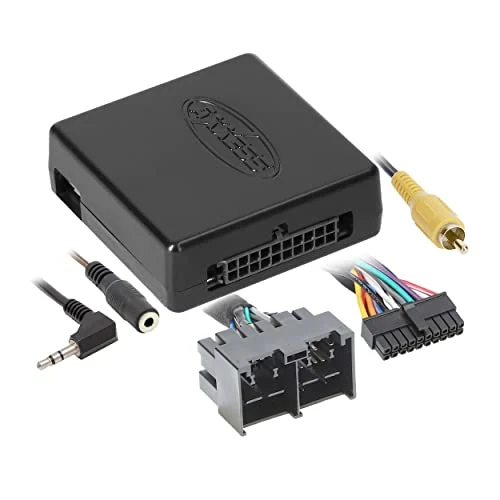
My Transit electronics purchases include the AXXESS AXTC-FD3 steering-wheel-control and data interface. It is the connection hardware for an aftermarket-radio project, alongside the separate dash-fitting parts in my build kit.
My Transit electronics purchases include the AXXESS AXTC-FD3 steering-wheel-control and data interface. It is the connection hardware for an aftermarket-radio project, alongside the separate dash-fitting parts in my build kit.
The stereo interface handles electrical integration. The dash kit is a separate part of physically fitting the radio into the Transit dashboard.
Where it fits my build
The AXTC-FD3 is part of my radio-integration purchases. I keep its model information alongside the dash-fitting hardware because the electrical interface and the radio mounting solve different parts of that project.
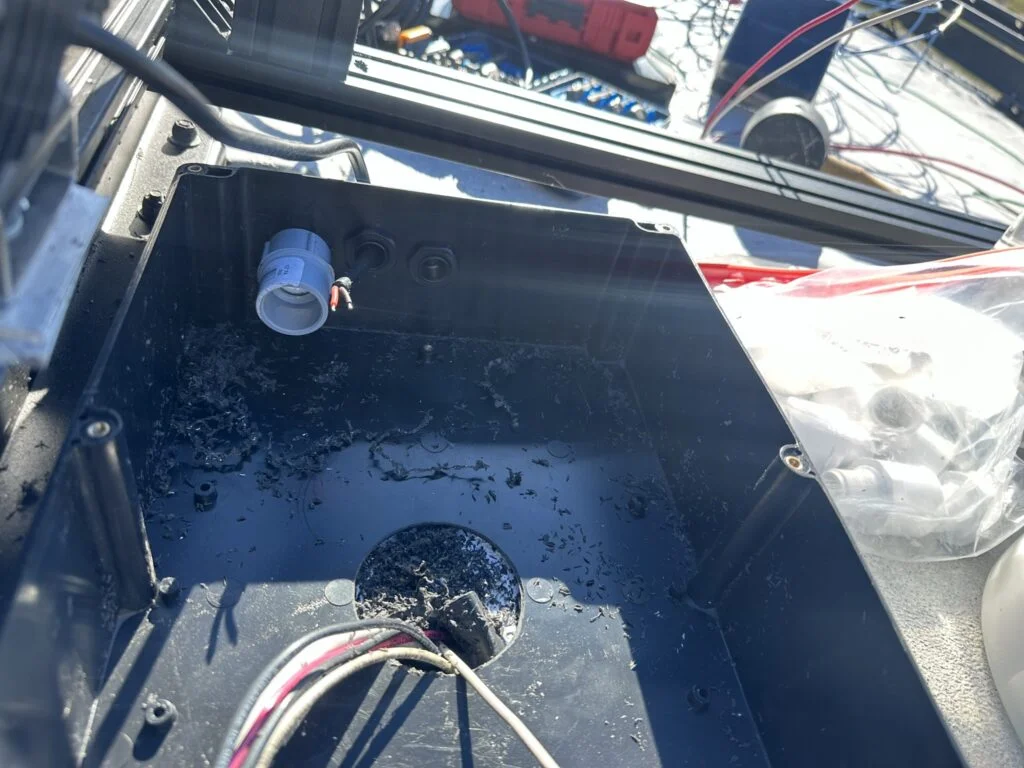
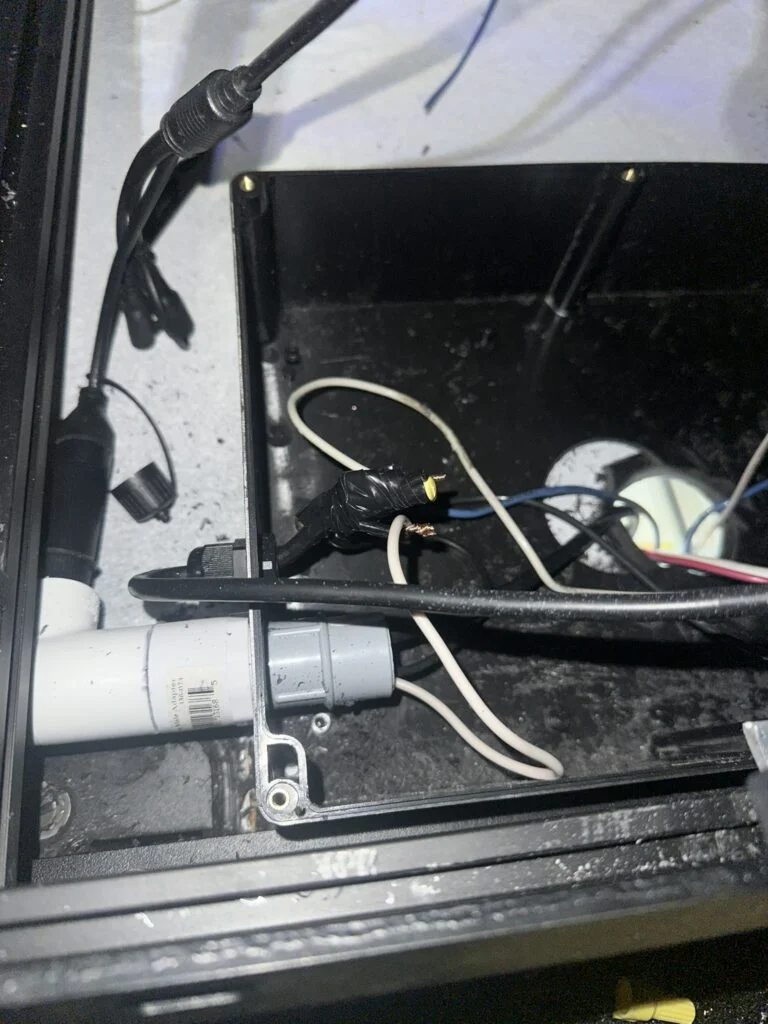
My recorded electrical build work also includes the roof cameras and lights. The photographs here show that separate cable-routing project: I brought camera and light wiring through boxes, glands and PVC conduit toward the van entry.
The larger roof enclosure during my cable-entry work.A grouped roof-wire connection before the final conduit work.
My build notes
My build diary makes the value of planning connections visible. On the roof project, the wiring came together through individual boxes and cable routes before reaching the entry into the van.
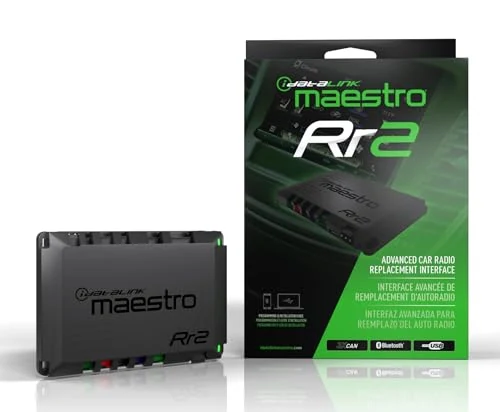
For the stereo purchase, the comparison turns on the interface system and the parts that accompany it. AXXESS and Maestro use different harness and configuration arrangements, while the physical dash installation remains another component of the project.
The electrical interface, radio connections and dash mounting each have their own role in the stereo project.
Alternative products
Two alternatives to compare
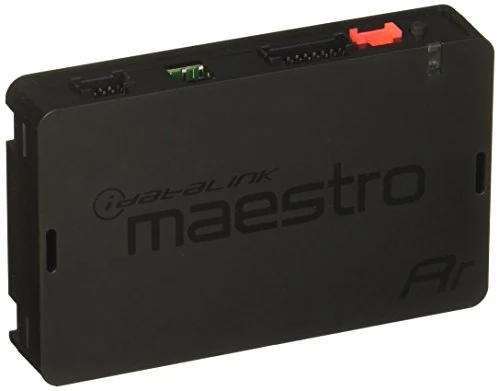
The AXXESS is the interface in my purchase record. Maestro RR and RR2 are alternative interface platforms with their own TRA1 dash/wiring kit and vehicle-specific programming; the published 2020–2022 Transit guide covers factory four-inch and eight-inch radio configurations, and RR2 adds programmable outputs.
iDatalink Maestro RR Interface
The Maestro RR is a radio-replacement and steering-wheel-control interface module. Its documented 2020–2022 Transit configuration uses the TRA1 dash and wiring kit, compatible radio connections and vehicle-specific firmware.
The Maestro RR2 is an advanced radio-replacement interface with programmable outputs. Its documented 2020–2022 Transit configuration also uses the TRA1 dash and wiring kit, compatible radio connections and vehicle-specific firmware.