The white cargo-light pods are among my auxiliary-light purchases. My roof-light diary records planning the light positions around cameras, extrusion and wiring, then making the mounting pieces to suit.
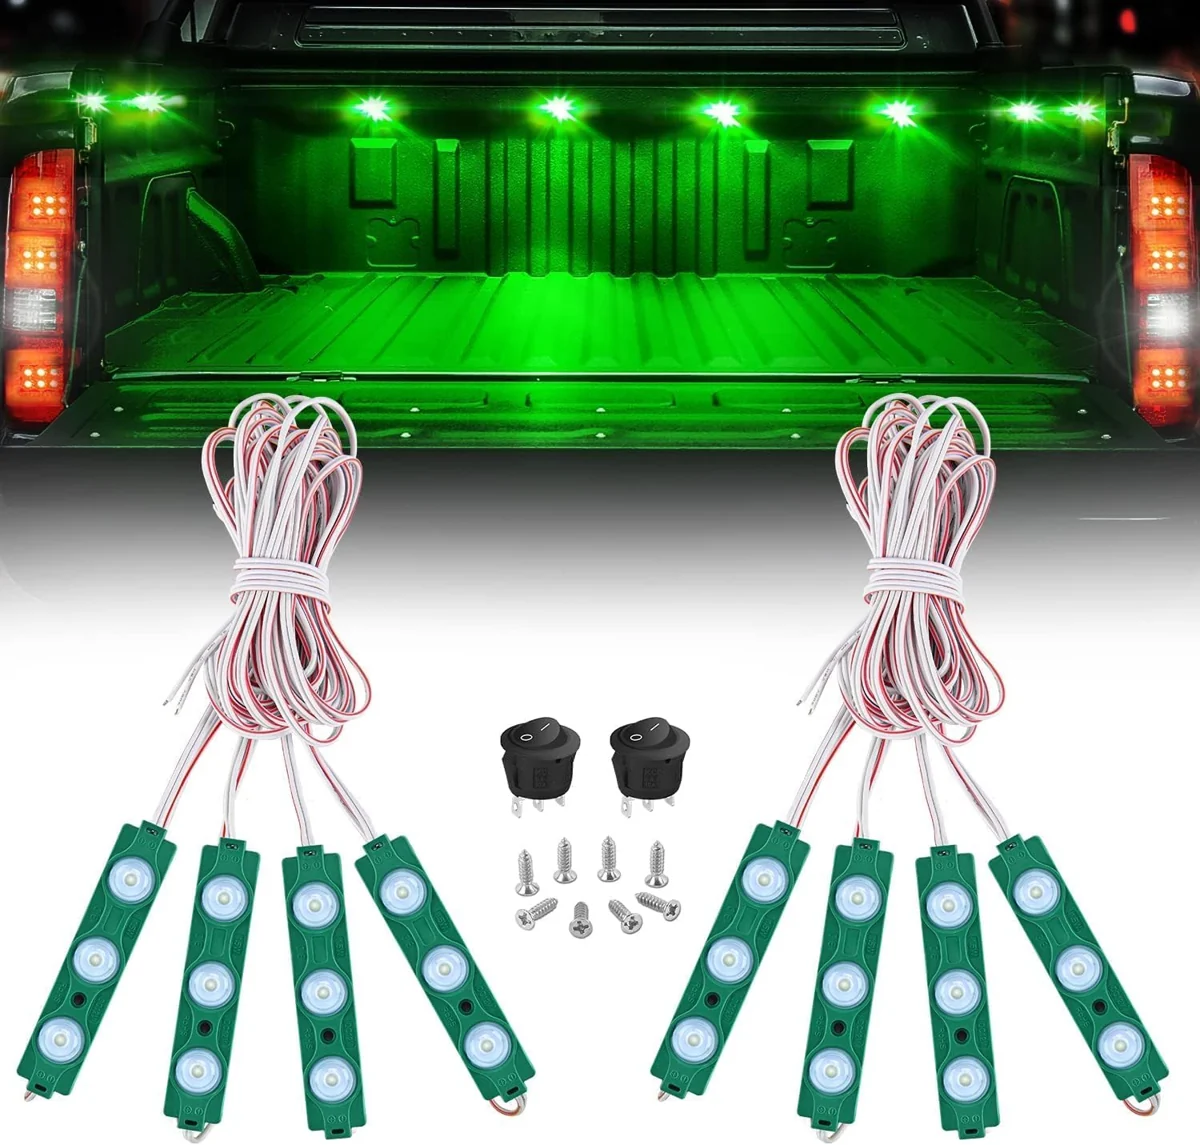
I bought Nilight Eight-Pod White Cargo Lights as part of my camper van equipment.
The white cargo-light pods are among my auxiliary-light purchases. My roof-light diary records planning the light positions around cameras, extrusion and wiring, then making the mounting pieces to suit.
Distributed Lighting in My Roof-Project Context
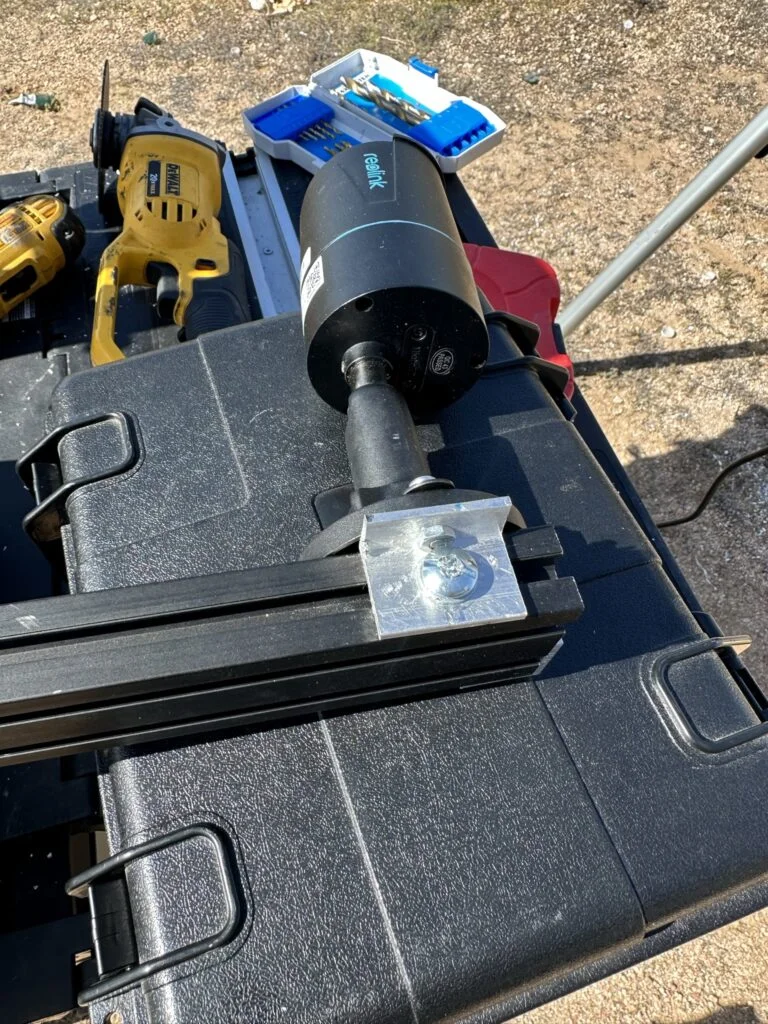
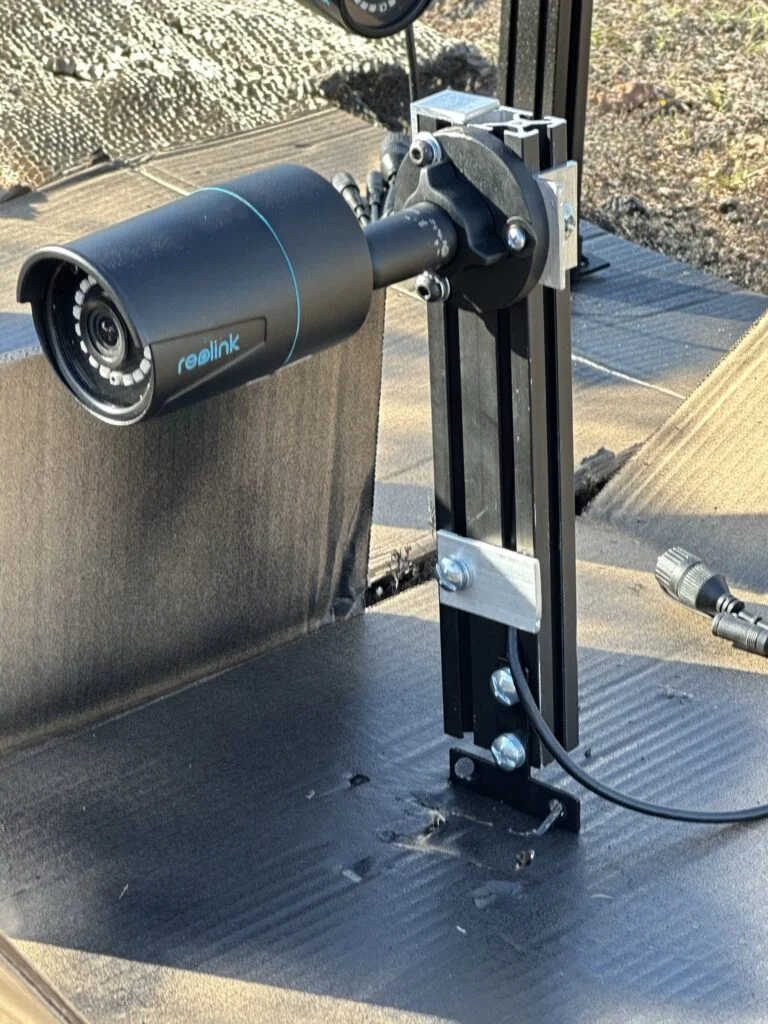
I cut and drilled aluminum pieces for the roof-camera and light mounts.
I adjusted attachment holes while bringing the assemblies together on the profiles.
I coated the camera-mount pieces black during the fabrication sequence.
The camera mounting arrangement with its drilled attachments.A black-coated bracket from my roof camera-mount work.
My Takeaway for the Build
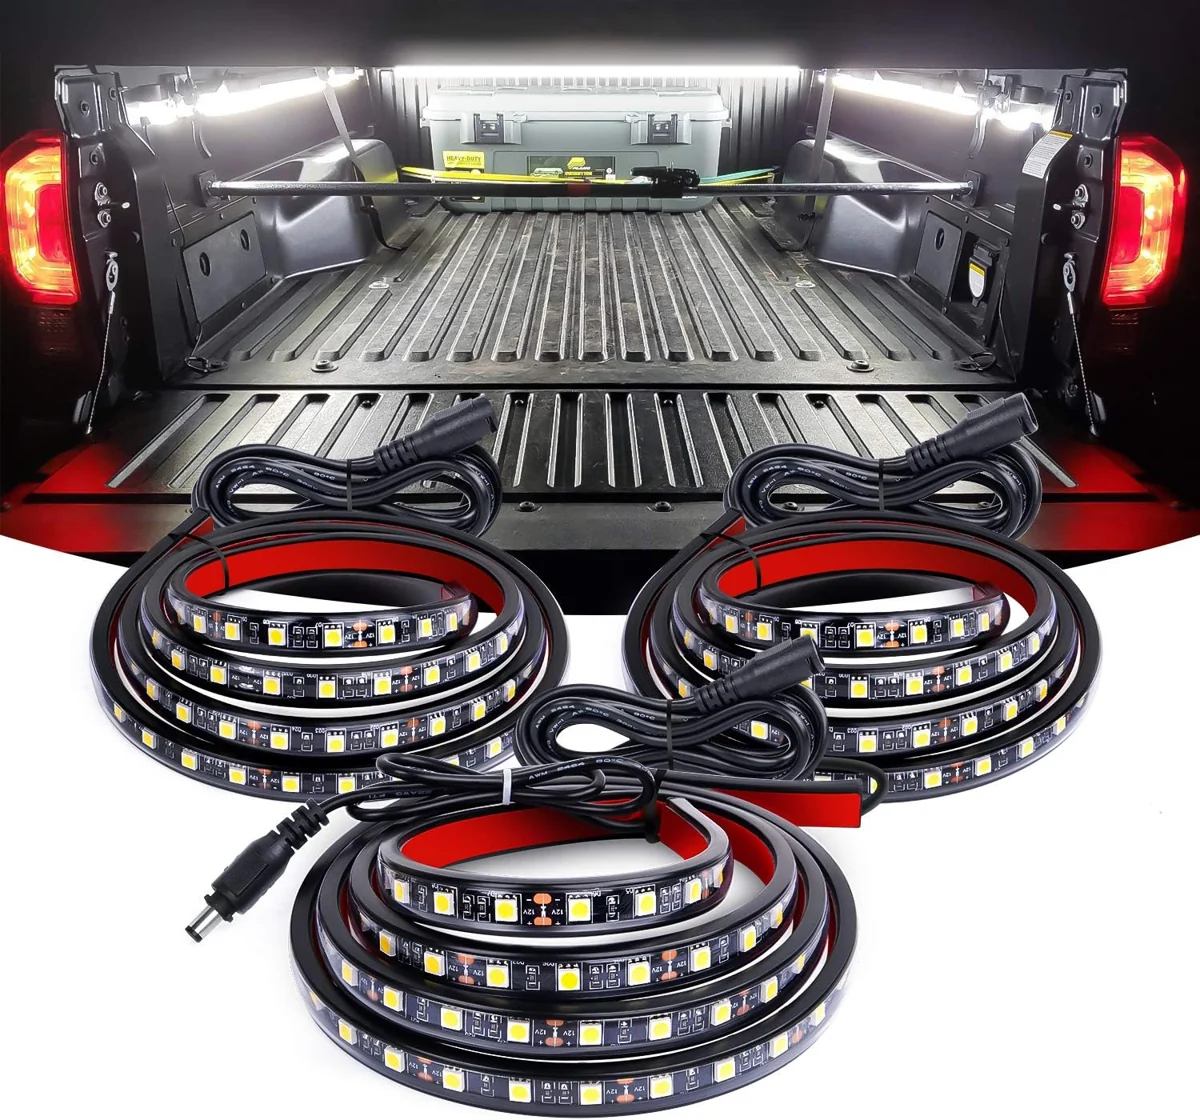
The roof-light project involved making mounts and routing leads between separate positions. Eight individual white pods offer a different layout from three long strips: I would compare the number of mounting points and wire runs first, then choose the light color, rather than treating every cargo-light kit as the same assembly.
Product Details And Van-Build Uses
Specification
Product Detail
Package
Eight white LED pods
Arrangement
Distributed light positions
Companions
Wiring harness and switch
The white cargo-light kit spreads its light positions across several small housings. For a van cabinet or cargo area, lay out those positions with the door openings and stored equipment visible in the plan. The harness route also needs to account for turns between the pods and access to the switch. Keep the white kit identity with the location notes so it remains separate from the green lighting purchases. That makes the lighting inventory easier to follow when changing the storage arrangement.