The Nilight strips are among the lighting supplies I bought. My roof-light diary records how the fixture shape and available mounting space affected bracket positions and wire routing.
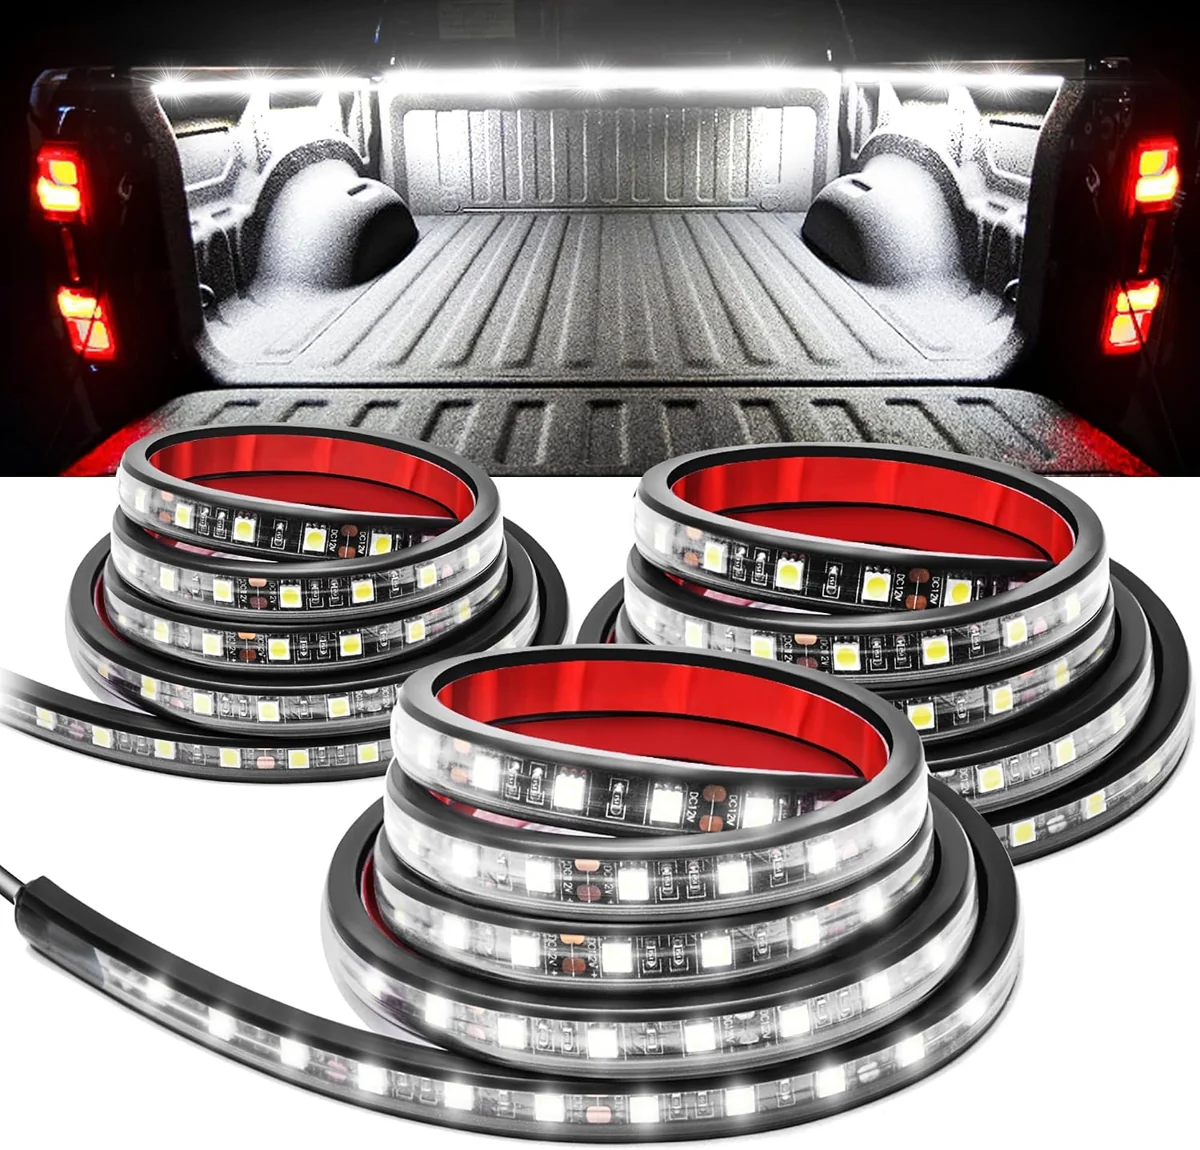
I bought Nilight Three-Strip Cargo Light Kit as part of my camper van equipment.
The Nilight strips are among the lighting supplies I bought. My roof-light diary records how the fixture shape and available mounting space affected bracket positions and wire routing.
Long Strips versus Separate Lighting Points
I cut and drilled aluminum pieces for the roof-camera and light mounts.
I adjusted attachment holes while bringing the assemblies together on the profiles.
I coated the camera-mount pieces black during the fabrication sequence.
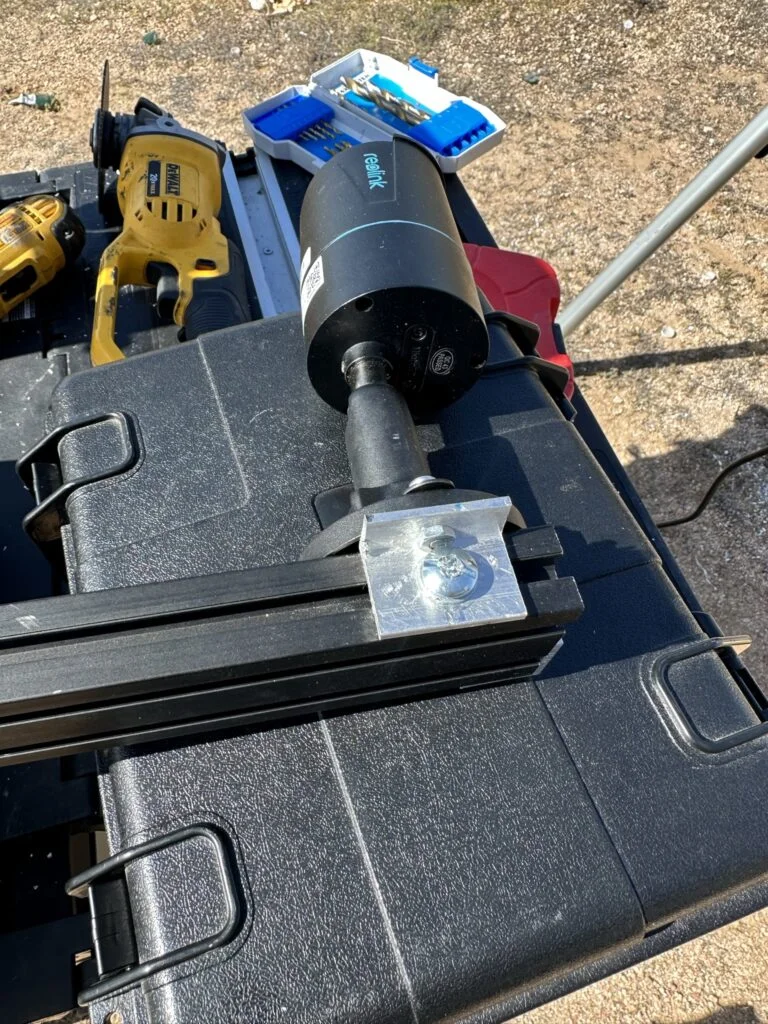
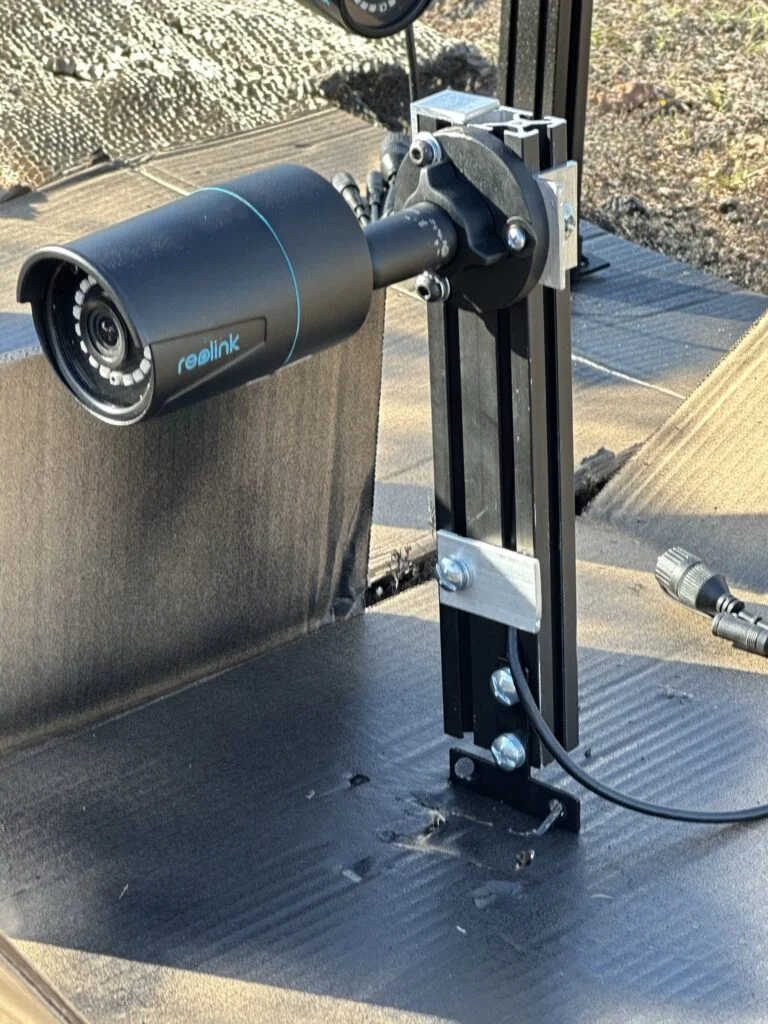
The camera mounting arrangement with its drilled attachments.A black-coated bracket from my roof camera-mount work.
My Takeaway for the Build
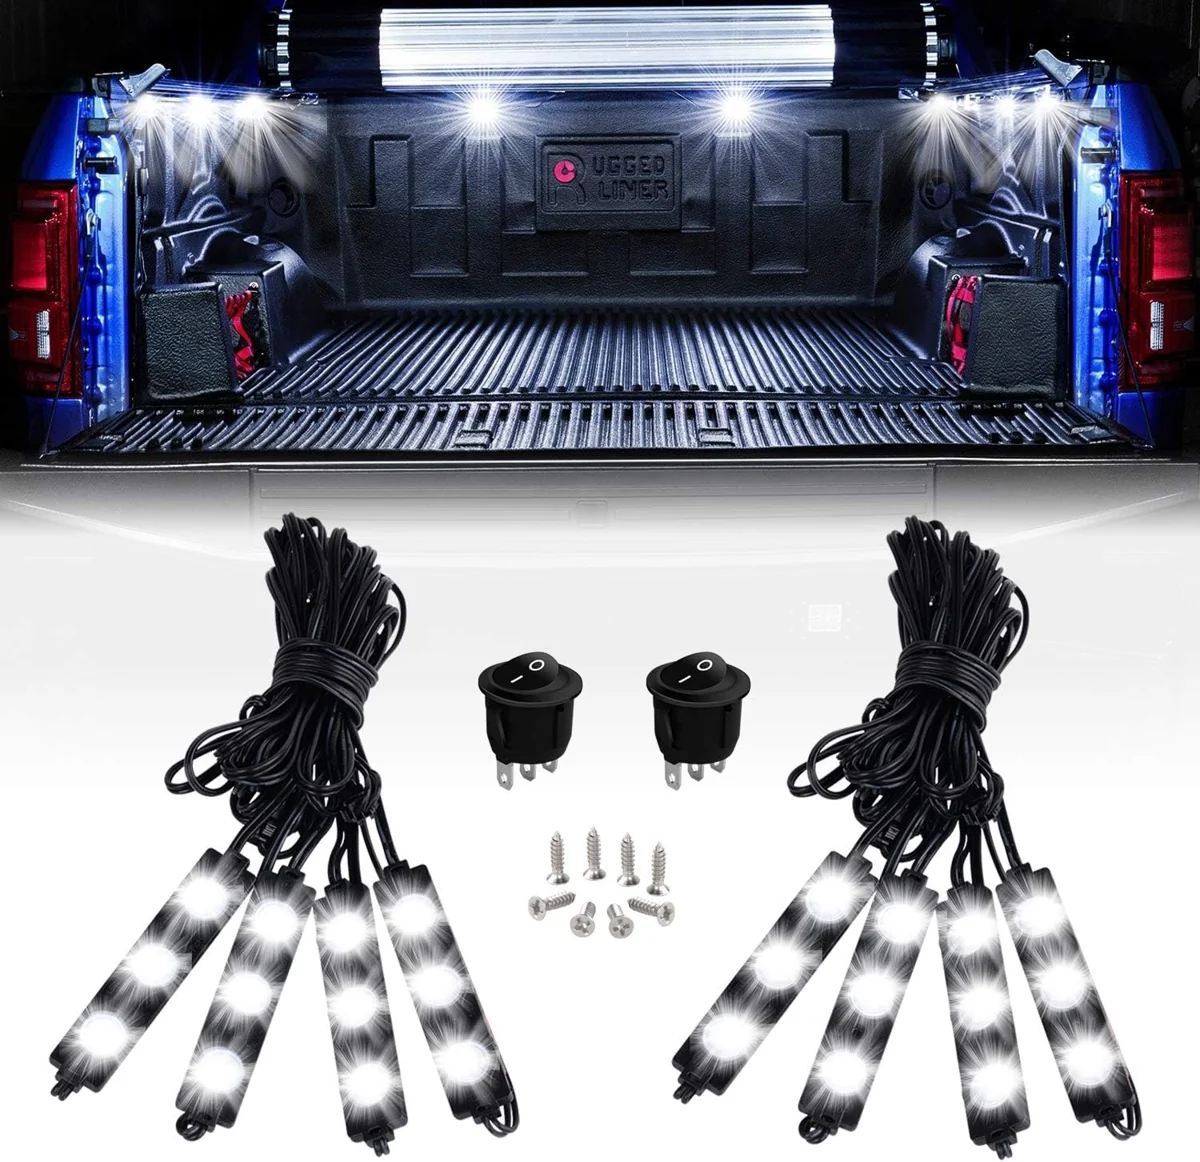
During the roof fabrication I worked on individual camera and light mounts. The Nilight strip purchase presents a different layout question: three long sections need continuous mounting space, whereas pods can be distributed around separate points. That distinction helps me compare the kit before considering its switch and connecting cables.
Product Details And Van-Build Uses
Specification
Product Detail
Model
TR-09
Strips
Three, 60 in each
LED Count
270 total
Control
Included on/off switch
The TR-09 kit divides its lighting across three separate sixty-inch strips. Nilight lists 270 LEDs in total, with a switch, splitter and extension cabling in the kit description. That layout can be useful when planning light along several edges of a van cargo or storage area instead of concentrating it in one fixture. The position of each strip and the joining cables determines how easily the installation can be reached after panels or shelves are added. Keeping the TR-09 model number with the component record also distinguishes this kit from short decorative strips and single-piece work lights.