The pan-and-tilt camera is another security-camera purchase in my catalog. My camera-mount diary records cutting and drilling aluminum brackets, then coating them before positioning devices on the van.
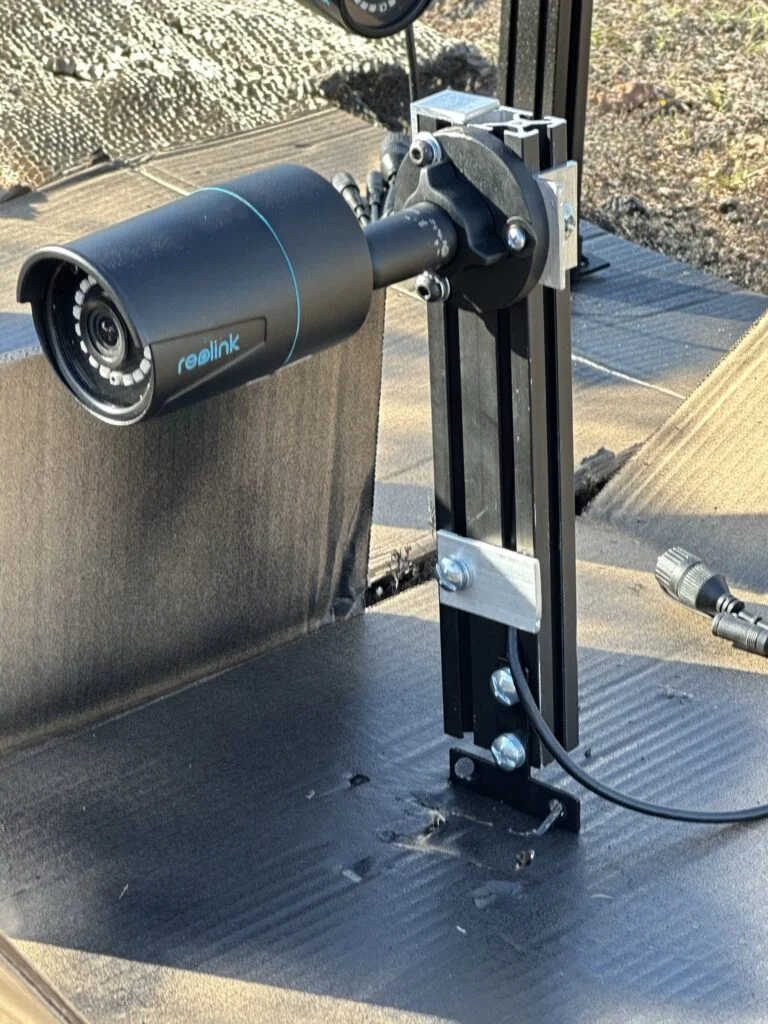
A black-coated bracket from my roof camera-mount work.
The item in my kit
I bought Pan-and-Tilt Outdoor Wi-Fi Camera as part of my camper van equipment.
The pan-and-tilt camera is another security-camera purchase in my catalog. My camera-mount diary records cutting and drilling aluminum brackets, then coating them before positioning devices on the van.
Where it fits my build
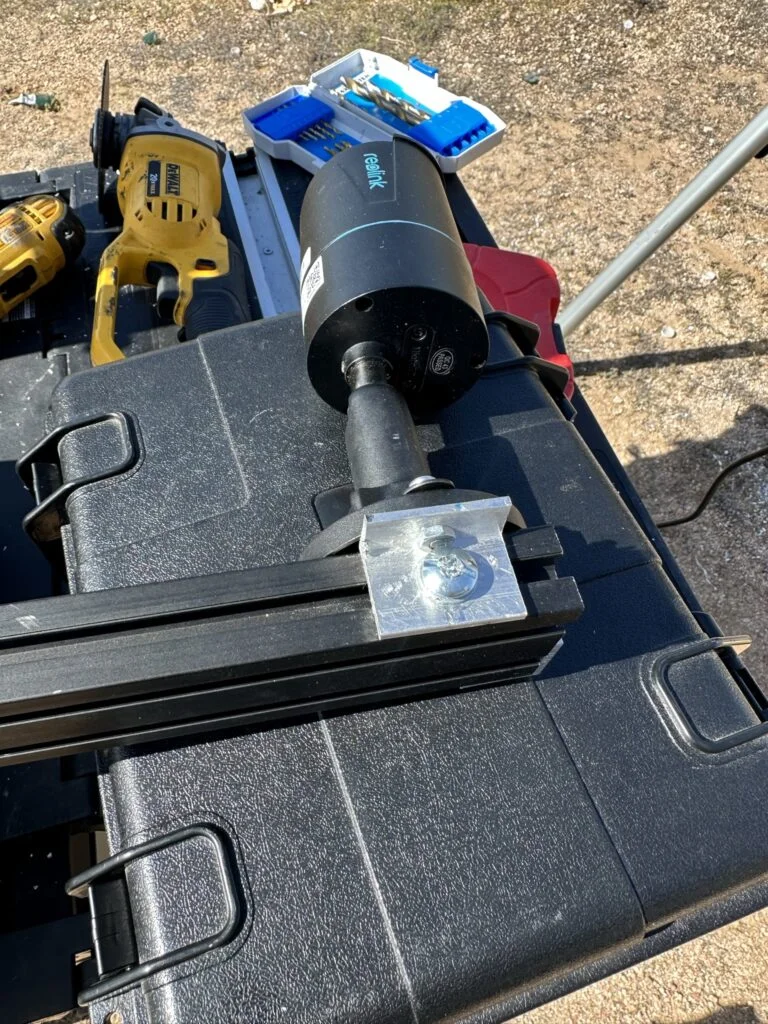
I cut and drilled aluminum bracket pieces for the roof cameras and lights. The camera mounts needed additional holes and adjustments as I brought the assemblies together on the extrusion.
I sprayed the camera-mount pieces with black bedliner during the fabrication sequence. The coated brackets then formed part of the roof camera and light arrangements shown in the diary.
The camera mounting arrangement with its drilled attachments.
My build notes
The black finish was one stage within the mount fabrication. The holes and profile connections still determined where the pieces could sit, so the diary records the drilling and fitting alongside the coating.
The bracket shape, drilled holes and coating were separate parts of finishing the mount.
Alternative products
Two alternatives to compare
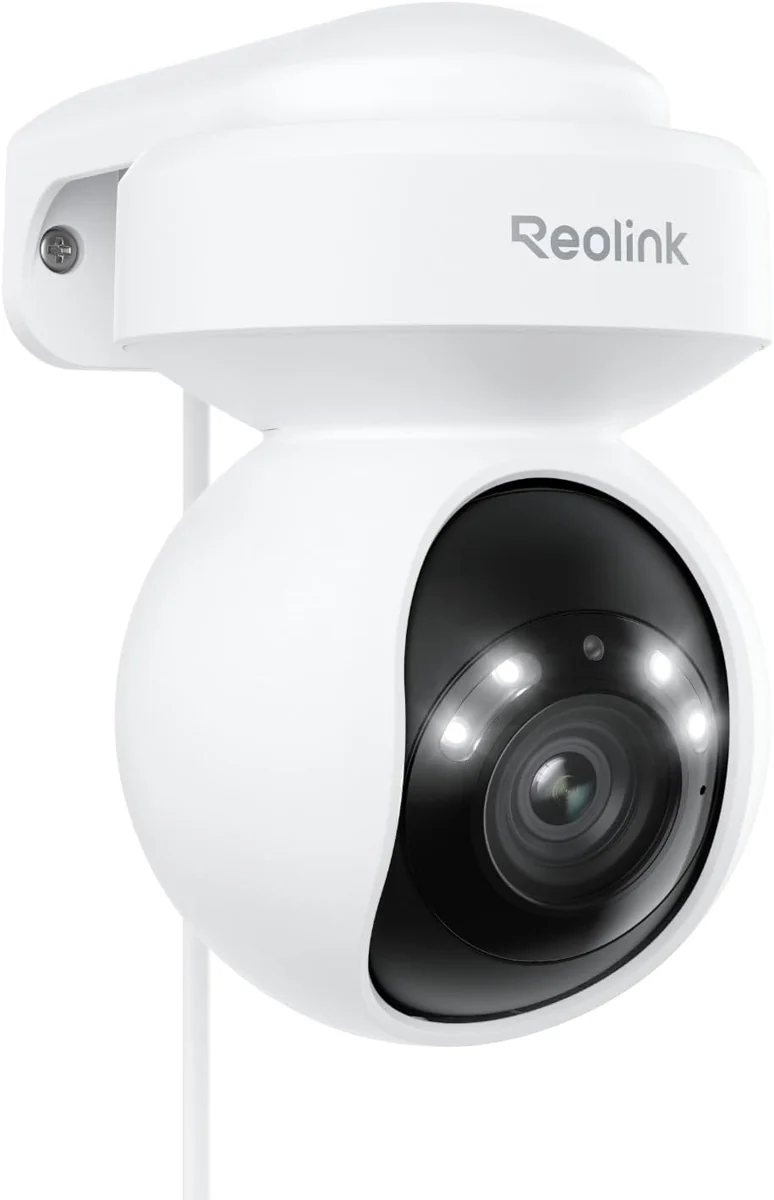
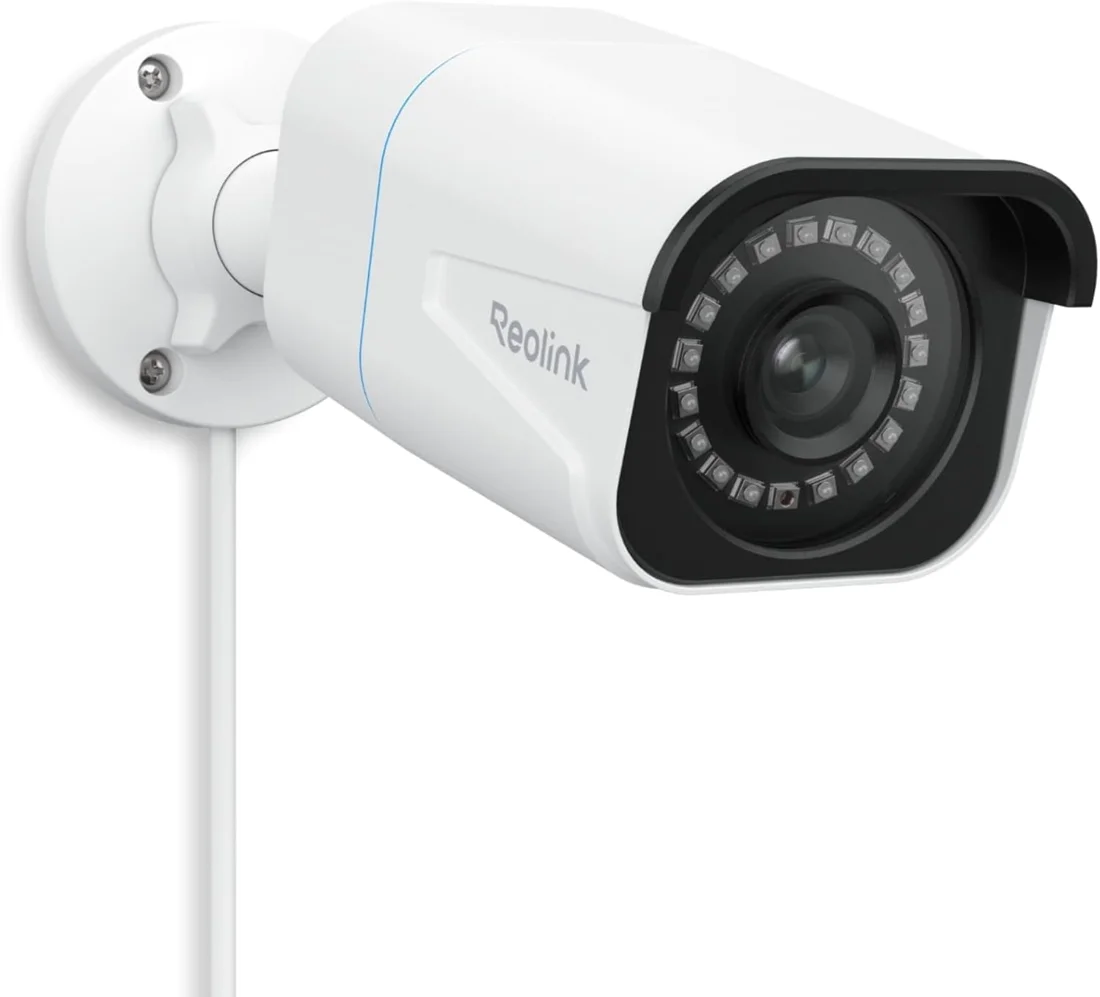
The Reolink E1 Outdoor retains motorized aiming over Wi-Fi, while the RLC-810A uses a fixed camera body and a wired PoE connection.
Reolink E1 Outdoor Camera
This plug-in Wi-Fi camera uses motorized pan and tilt to change its viewing direction. Its housing combines the camera, spotlight and mounting assembly.
This wired PoE camera uses a bullet-style housing with an adjustable mounting base. Its Ethernet connection provides a network-camera format for a camera system.