My electrical purchases included several ways to organize cable terminations. The six-stud RVBOATPAT set sits in that part of the kit, alongside the small wiring supplies documented in my roof project.
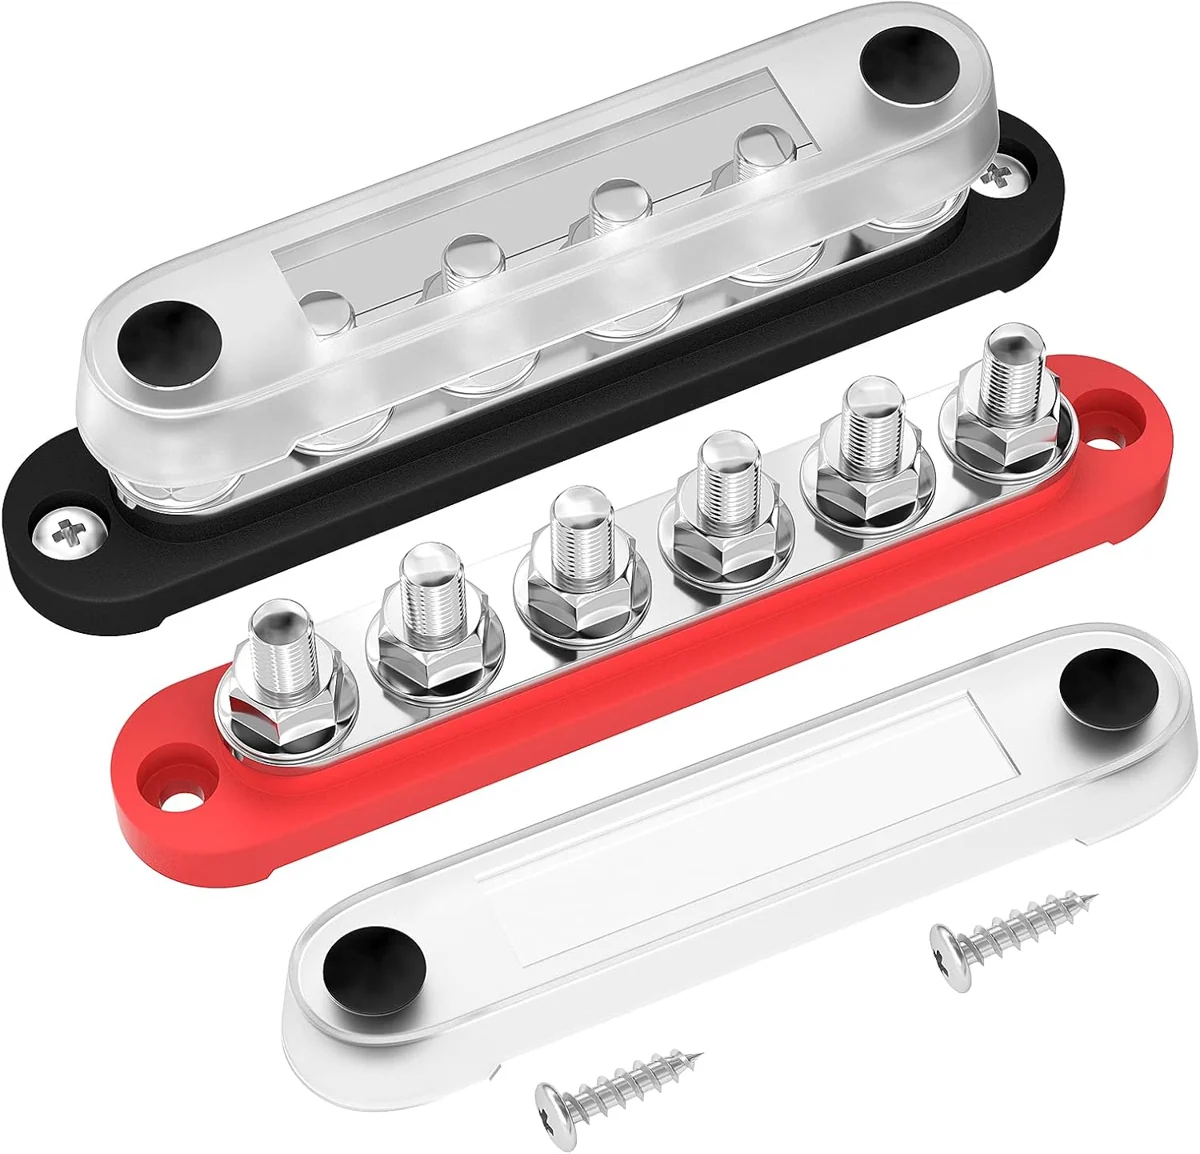
I bought RVBOATPAT Six-Stud Bus Bar Set as part of my camper van equipment.
My electrical purchases included several ways to organize cable terminations. The six-stud RVBOATPAT set sits in that part of the kit, alongside the small wiring supplies documented in my roof project.
Keeping Distribution Hardware Distinct from the Cable Route
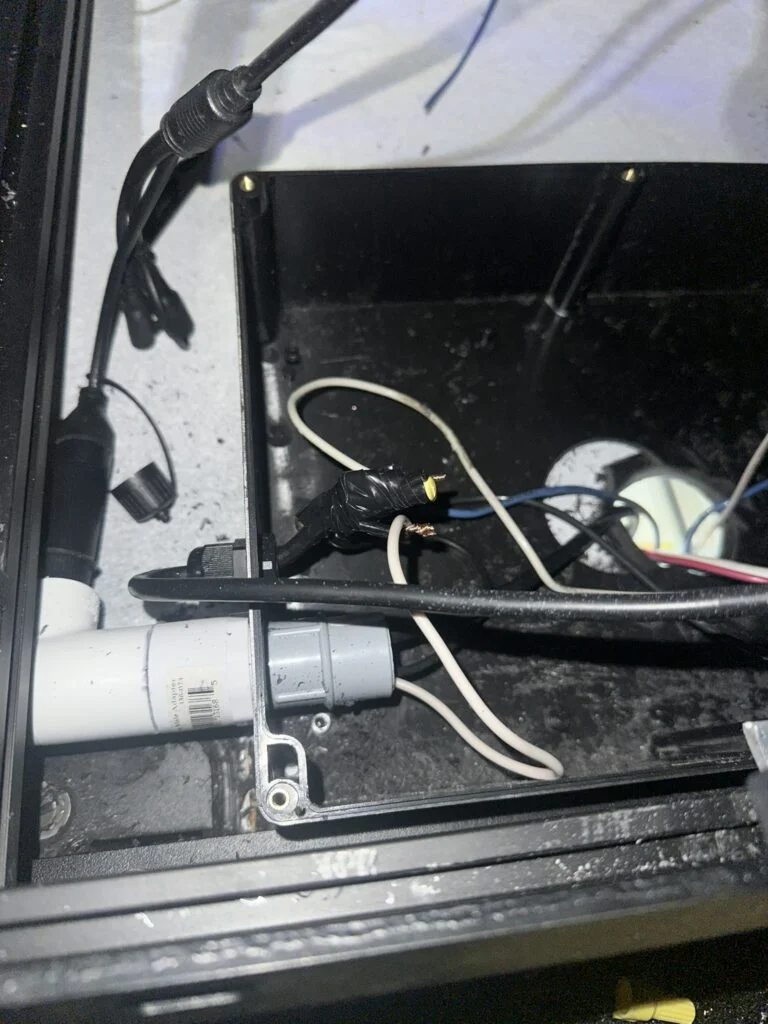
I grouped roof-device leads as they approached the entry enclosure.
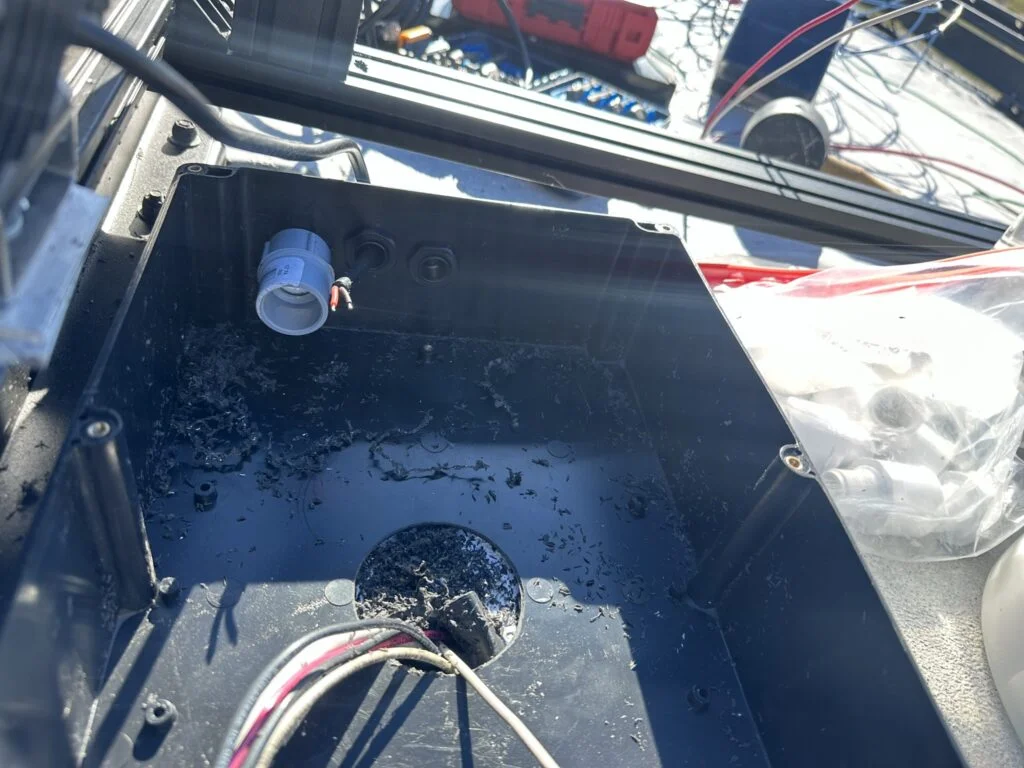
The physical wiring route developed through local boxes and conduit sections.
My separate distribution purchases included covered positive and negative bars with six studs each.
A grouped roof-wire connection before the final conduit work.The larger roof enclosure during my cable-entry work.
My Takeaway from This Job
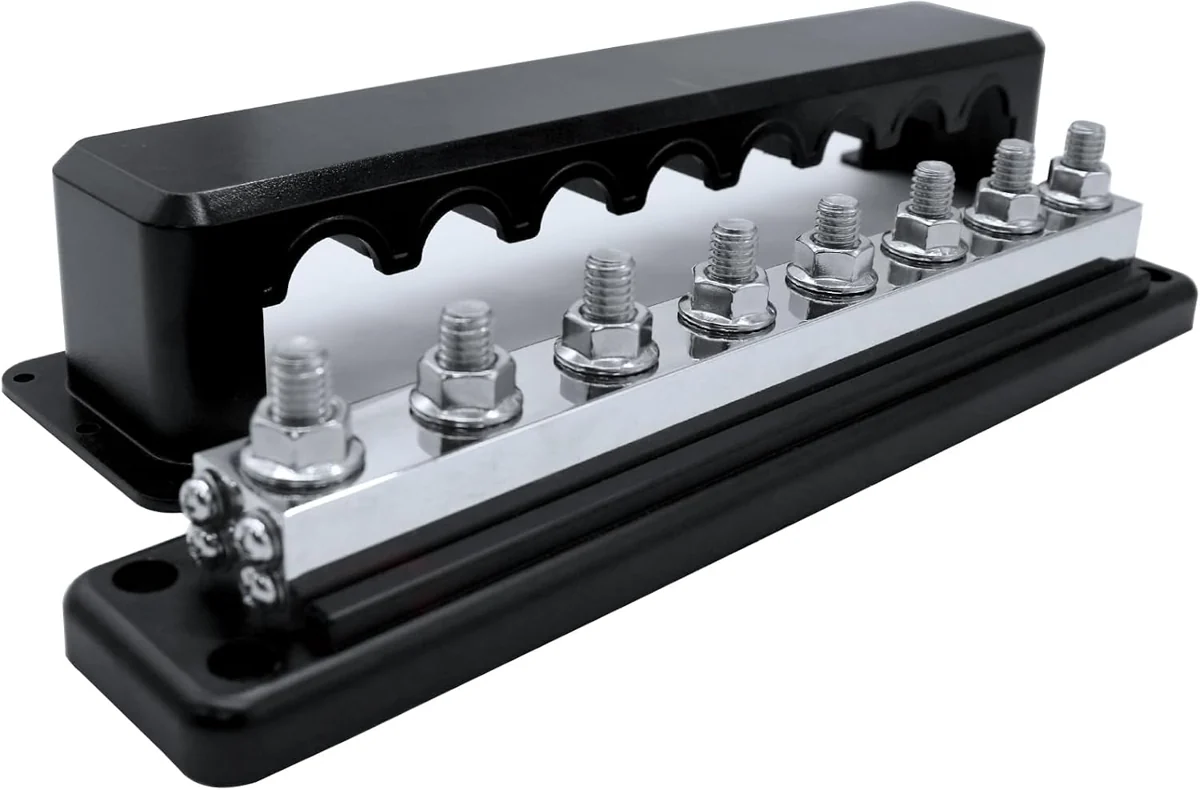
Connection count and stud size are separate attributes in this comparison. The RVBOATPAT and DAIERTEK sets use six-stud rows, while the AMOMD bar changes to eight M10 studs with additional smaller terminals.
Connection count and stud diameter are different bus-bar attributes.
Product Details And Van-Build Uses
Specification
Product Detail
Distribution
Positive and negative pair
Studs
Six per bar
Access
Removable terminal covers
The positive and negative bars need distinct positions in an equipment-board drawing. Give each incoming and outgoing cable a label, then map those labels to the six studs rather than leaving the drawing as an unmarked pair of rectangles. The removable covers also need clearance around the completed lug arrangement. For a van board, include the cable exit directions so adjacent terminals do not require the same physical space for their bends and fasteners.
Identify each bar, the cable at each stud and the direction each cable leaves the assembly.
Alternative products
Two Alternatives to Compare
DAIERTEK offers another six-stud arrangement, while AMOMD uses eight larger M10 studs on its covered bar; connection count and stud diameter distinguish the layouts.
Product
What distinguishes it
Purchase link
RVBOATPAT Six-Stud Bus Bar Set
Covered positive/negative bars with six studs each