I fitted small LED pods around the roof rack alongside the camera mounts. Making their plates and routing the individual leads became separate stages of the roof-equipment project.
The small lamps were distributed around the rack, unlike the long light bar across the front. Each location needed a mounting point and a route for its wire.
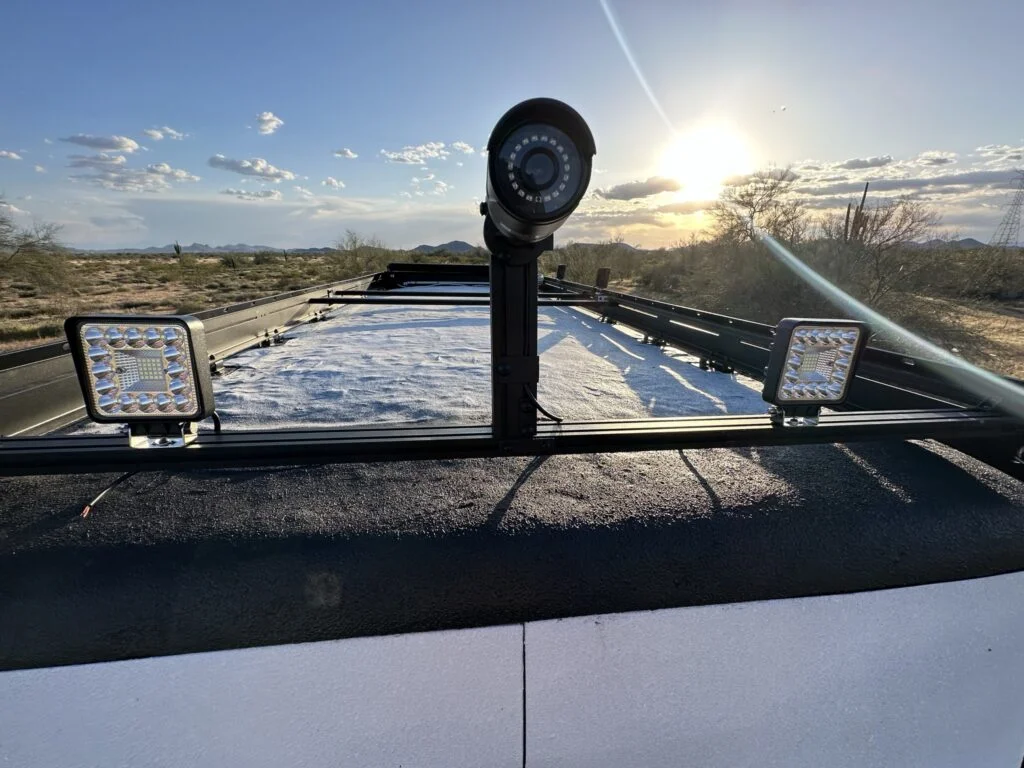
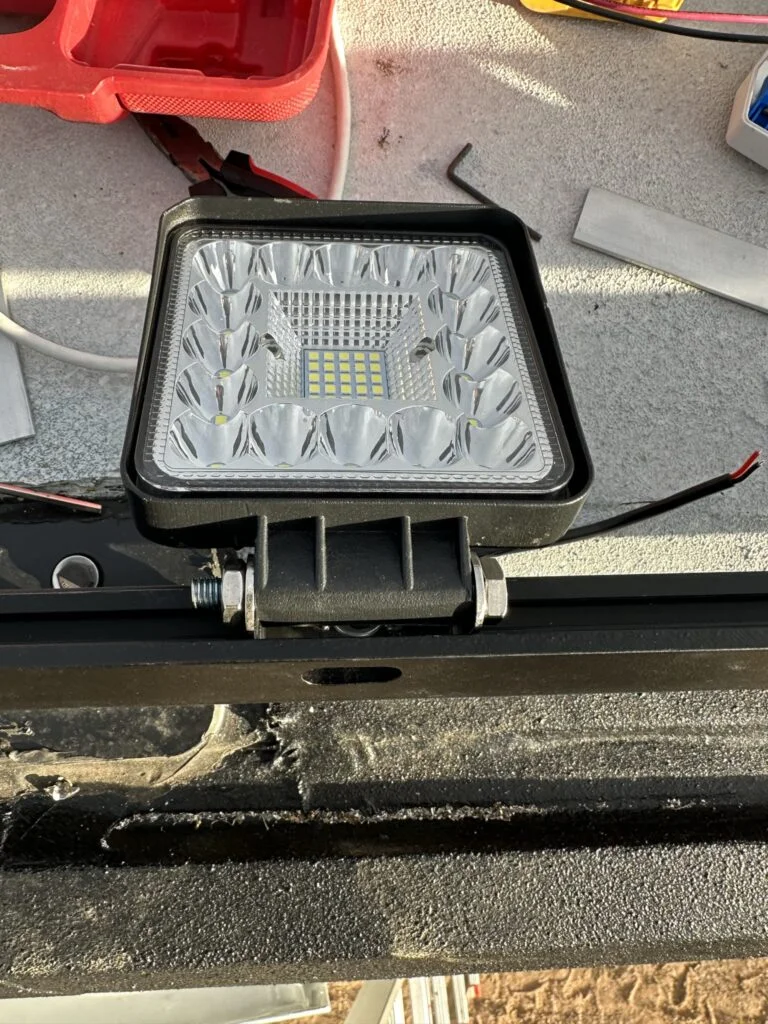
SanYoung LED pods were included in the materials for the roof-wiring sessions. The photos show individual square lamps next to the custom camera assemblies.
Repeating the Mounting and Wiring Work for Each Small Light
I cut and drilled two aluminum plates for each light in the early mounting work.
I fitted the small lights around the rack alongside the camera assemblies.
I brought their leads through glands and conduit and joined the light wires during the wiring stage.
LED pods beside one of my completed camera mounting assemblies.A small LED pod on my custom mounting plates beside the rack.
My Takeaway from This Job
Each small lamp brought another set of plates, fasteners, entries and wire connections. Keeping mounting and wiring as separate stages made the progress easier to see while the roof project continued.
Every small lamp added another mounting position and another wire route to the roof layout.
Product Details And Van-Build Uses
Specification
Product Detail
Type
Auxiliary LED pods
Mount
Individual lamp brackets
Layout
Housing and lead at each lamp
A work-light pod needs space for its bracket, housing and the lead leaving the rear. Put those features on the mounting sketch before choosing the final position on a rack or panel. The direction of the lamp face and the route of its cable are separate choices. For a van project with several lights, label each location and its branch so the mounting drawing can be followed through to the junction box and interior connection.
Include the lamp housing, bracket movement and cable exit, not just the mounting bolt.
Alternative products
Two Alternatives to Compare
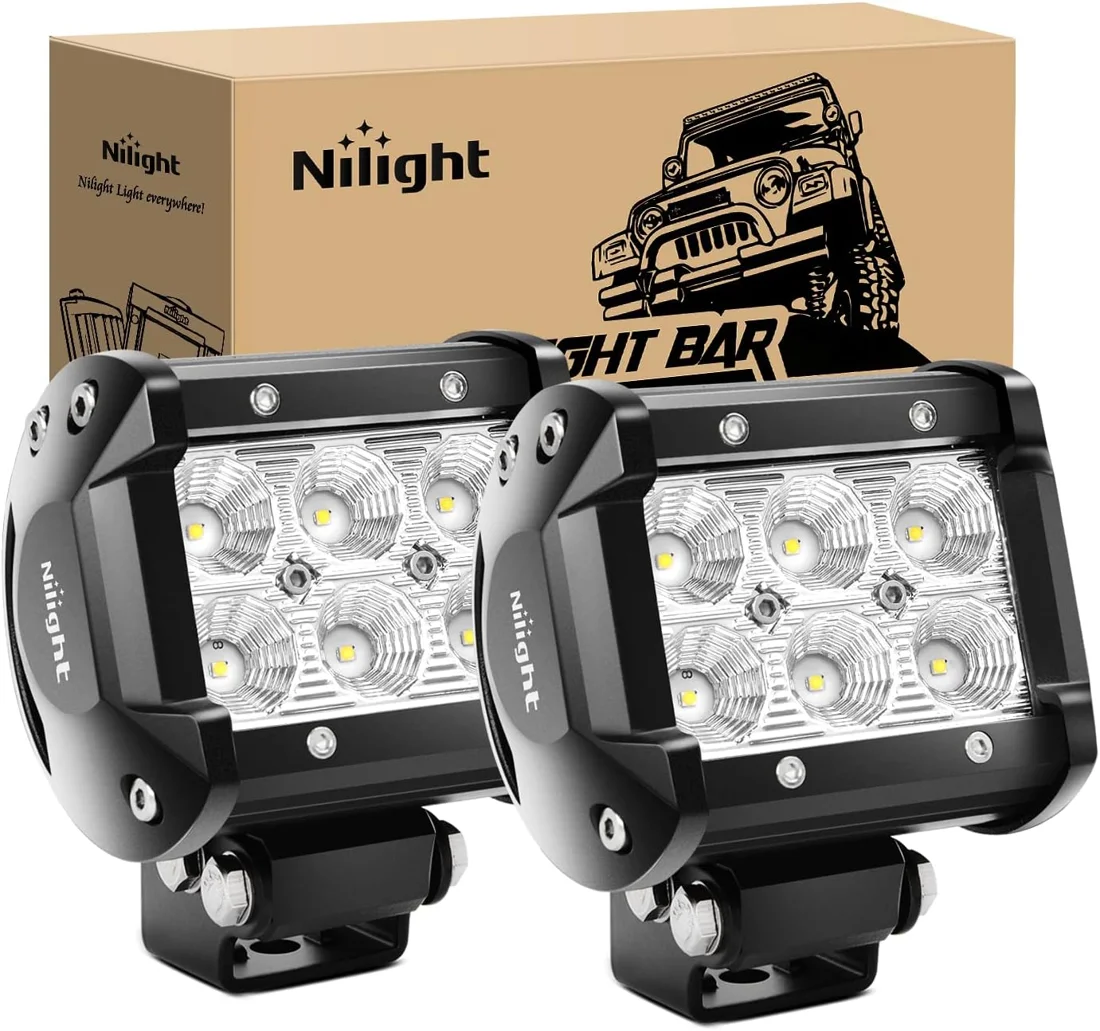
The Nilight flood and spot pods provide two different optical layouts in compact housings. Flood and spot patterns are the main distinction between these alternatives, while their mounting brackets and lead positions are relevant to arranging a small lamp on a rack.
These compact LED pods use spot-pattern optics in individual housings. Their brackets provide another small-lamp mounting arrangement for an auxiliary-light layout.