The Ulincos dimmer belongs to the lighting controls I bought for the van. My electrical diary shows the broader process of grouping wires and arranging entries so that each connection has a defined place.
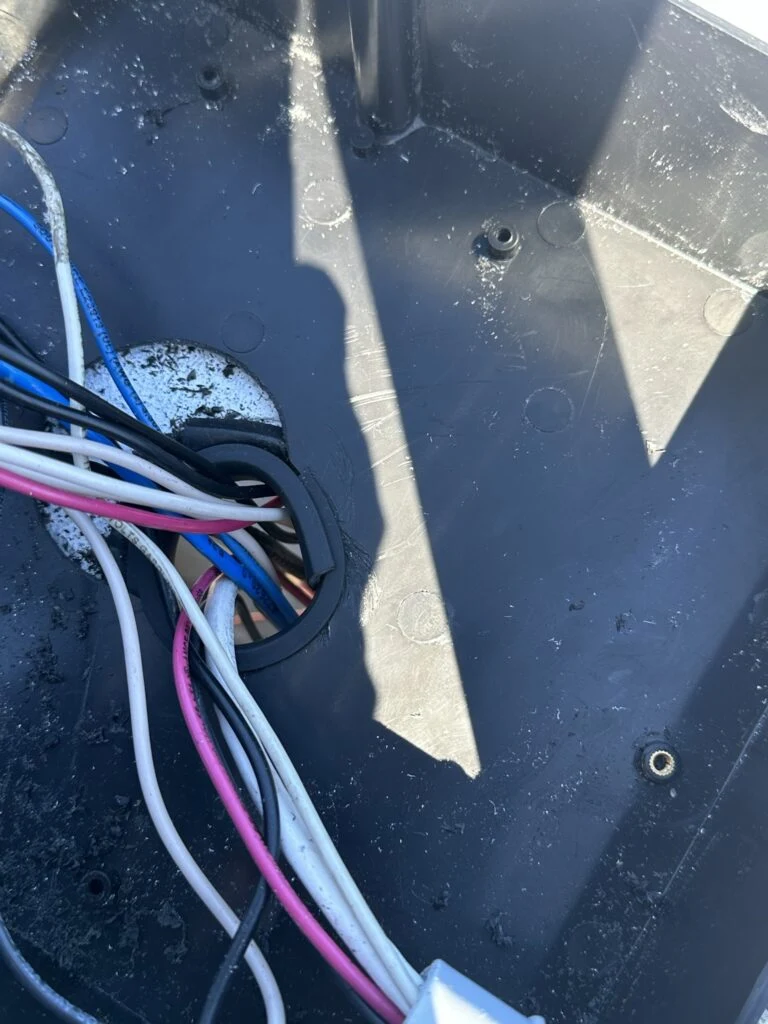
The trimmed roof opening where my cable groups enter the van.
The item in my kit
I bought Ulincos UT19T1 Touch Dimmer Switch as part of my camper van equipment.
The Ulincos dimmer belongs to the lighting controls I bought for the van. My electrical diary shows the broader process of grouping wires and arranging entries so that each connection has a defined place.
Where it fits my build
On Day 104 I pulled the roof wiring through the PVC route with fish tape and brought the cable groups into the van. I fitted plastic trim around the roof opening where the wires passed through.
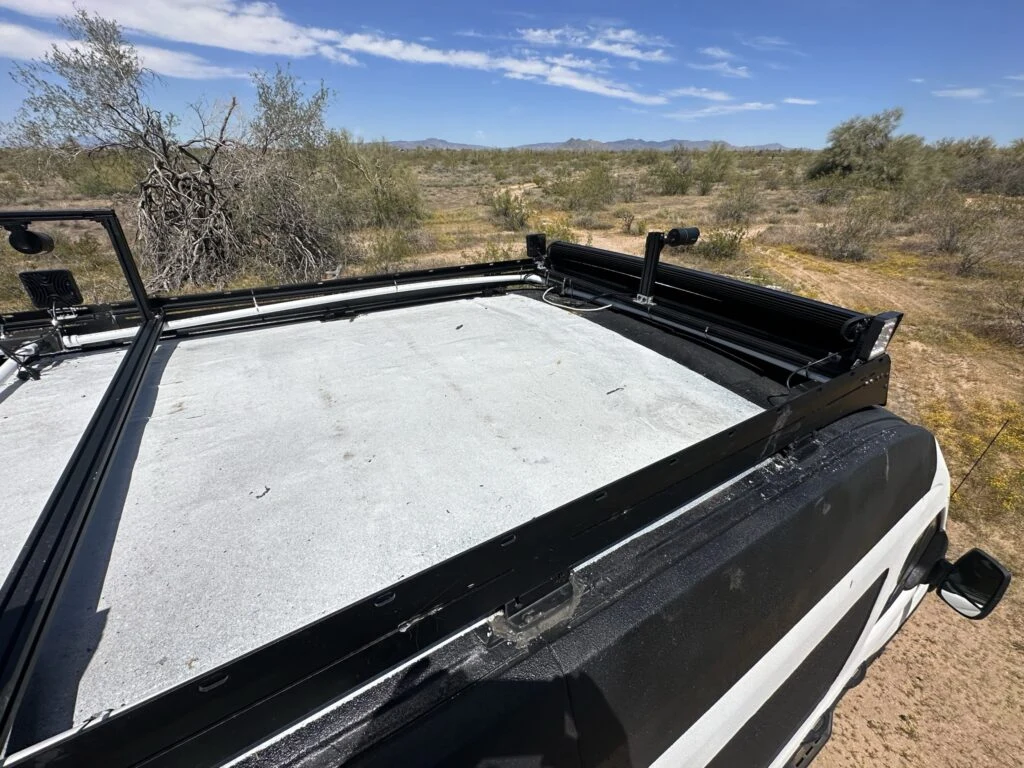
I also finished the remaining light-wire connections, fitted the junction-box covers, joined the remaining PVC sections and tightened the metal ties around the route.
The roof at the end of my Day 104 wiring session.
My build notes
This stage pulled together several earlier sessions of drilling boxes, fitting glands and arranging the roof hardware. The final cable entry was the point where all those separate roof routes met.
My notes show how much of the work was physical organization: pulling cables, keeping entry points accessible and closing boxes after the connections were finished.
The route into the van was a layout problem as much as a wiring task.
Alternative products
Two alternatives to compare
HAMRVL uses a smaller touch-panel format, while the aluminum-housed controller uses a rotary knob rather than a touch face.
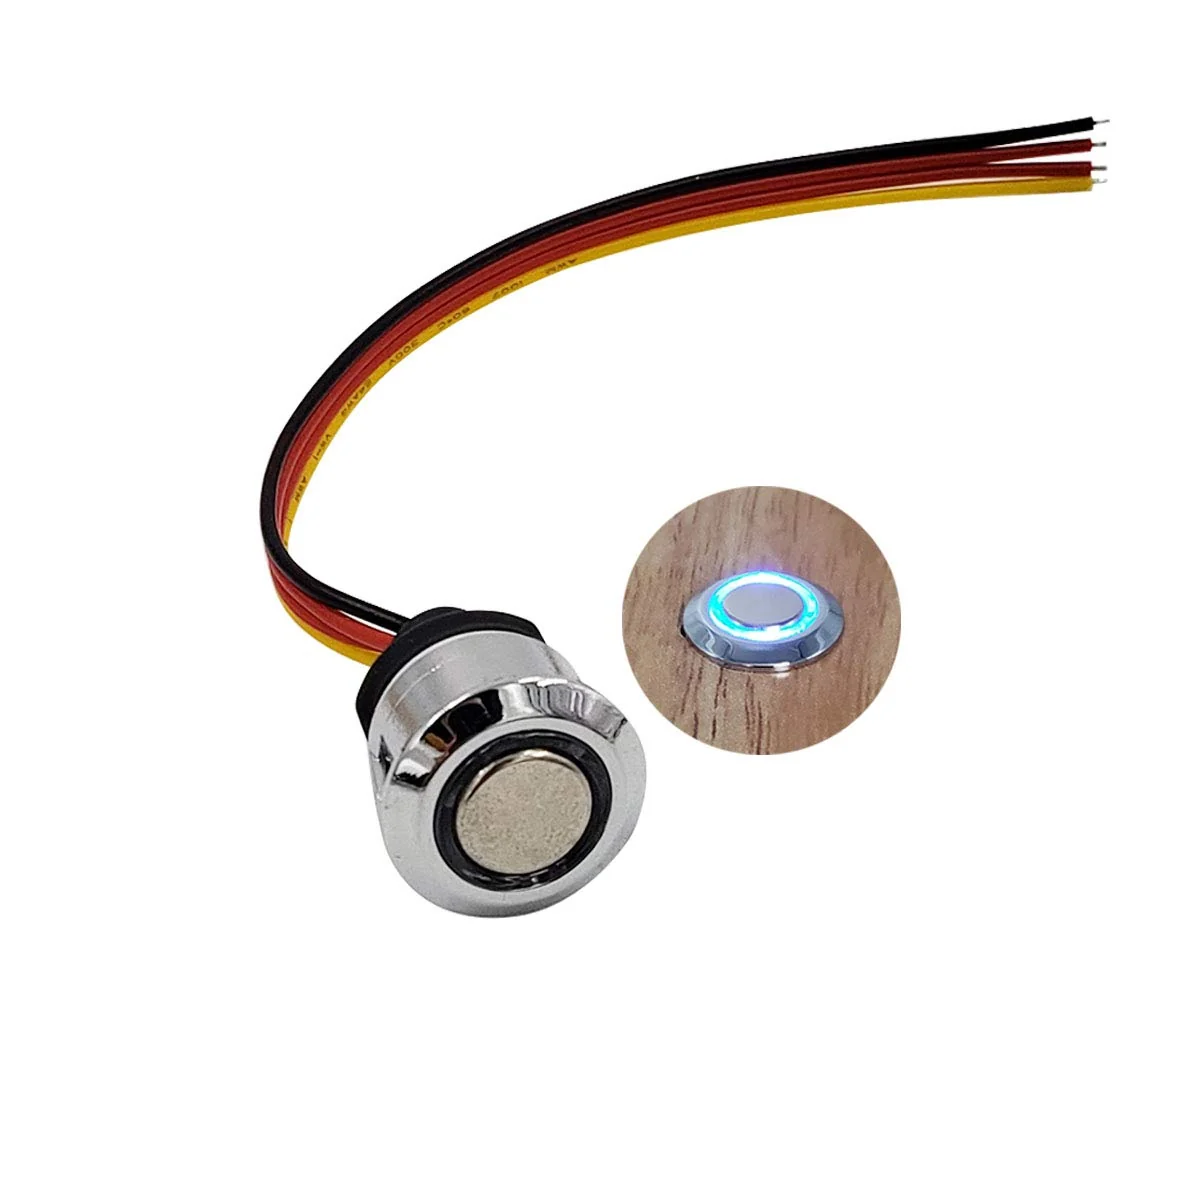
HAMRVL Touch LED Dimmer
This small round panel switch provides touch-operated on-off and dimming control. Its body uses a 17mm mounting-hole format for single-color DC lighting.
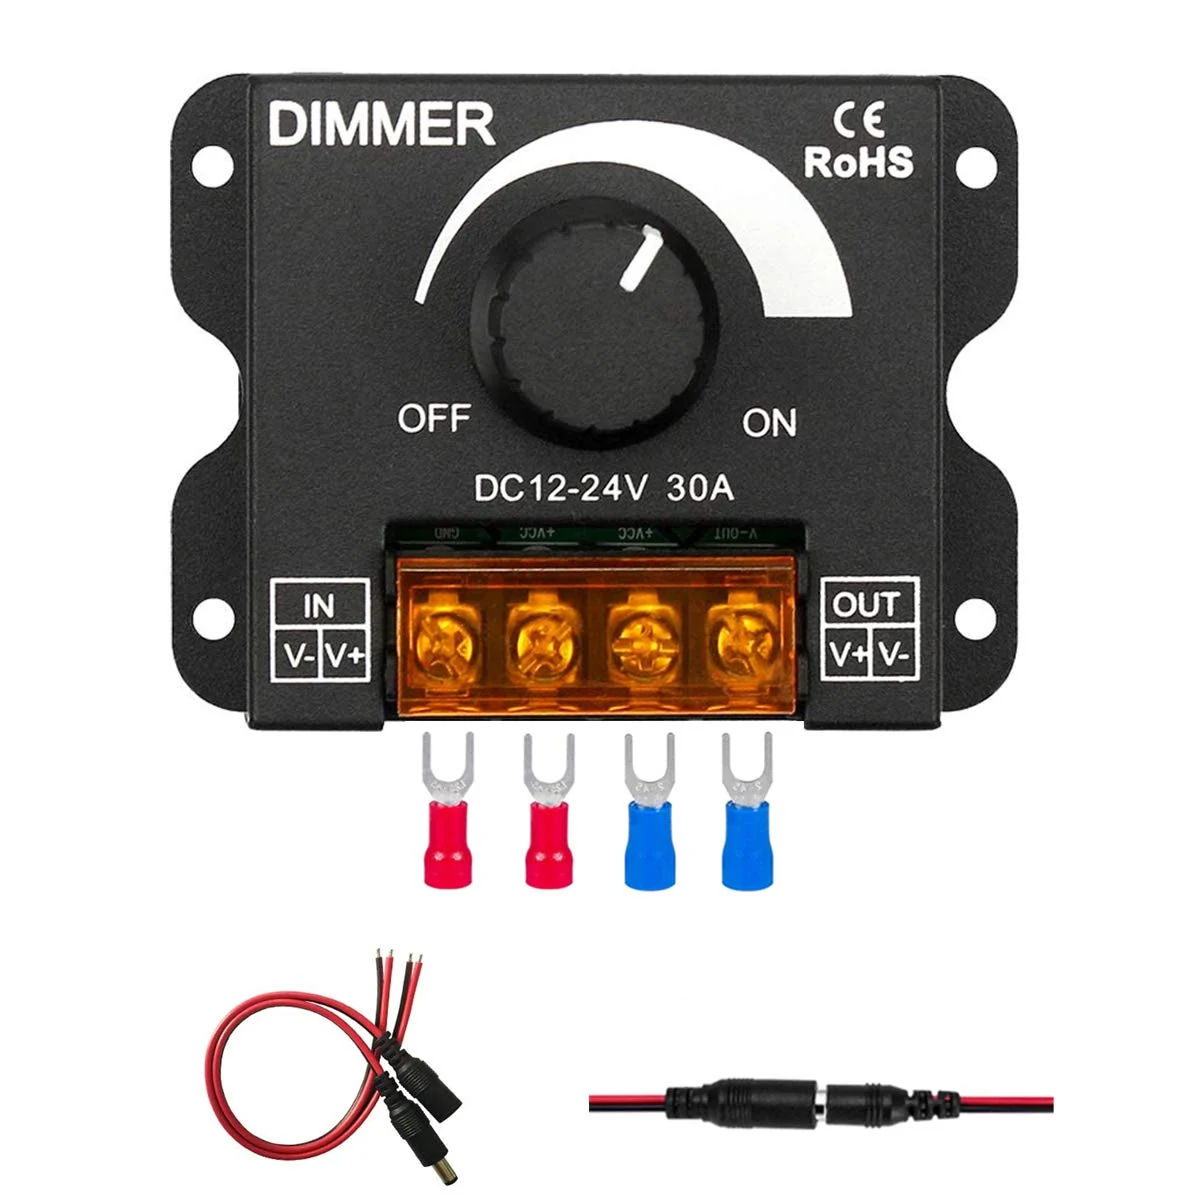
This single-channel lighting controller uses a rotary knob for brightness and on-off control. Screw terminals sit in an aluminum housing for connecting the supply and light circuit.