My Starlink equipment purchases included a Standard Pipe Adapter and a Standard Mobility Mount. They belong together in the mounting part of my van kit.
My Starlink equipment purchases included a Standard Pipe Adapter and a Standard Mobility Mount. They belong together in the mounting part of my van kit.
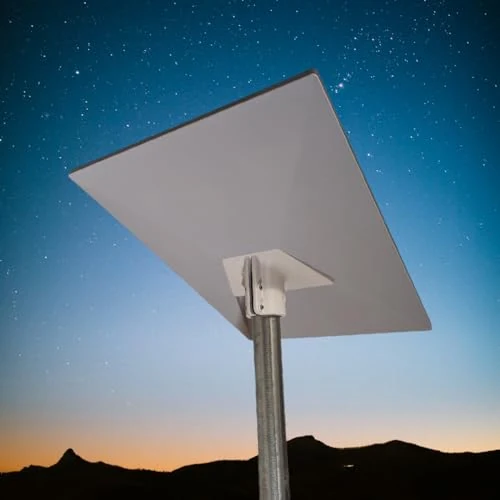
The featured Amazon option is Starlink Gen 3 Pipe Adapter.
Where it fits my build
I removed the factory roof covers, widened the mounting holes and scraped the paint and adhesive from the landing-pad areas. I then fitted the landing pads and assembled the side rails, crossbars and fairing.
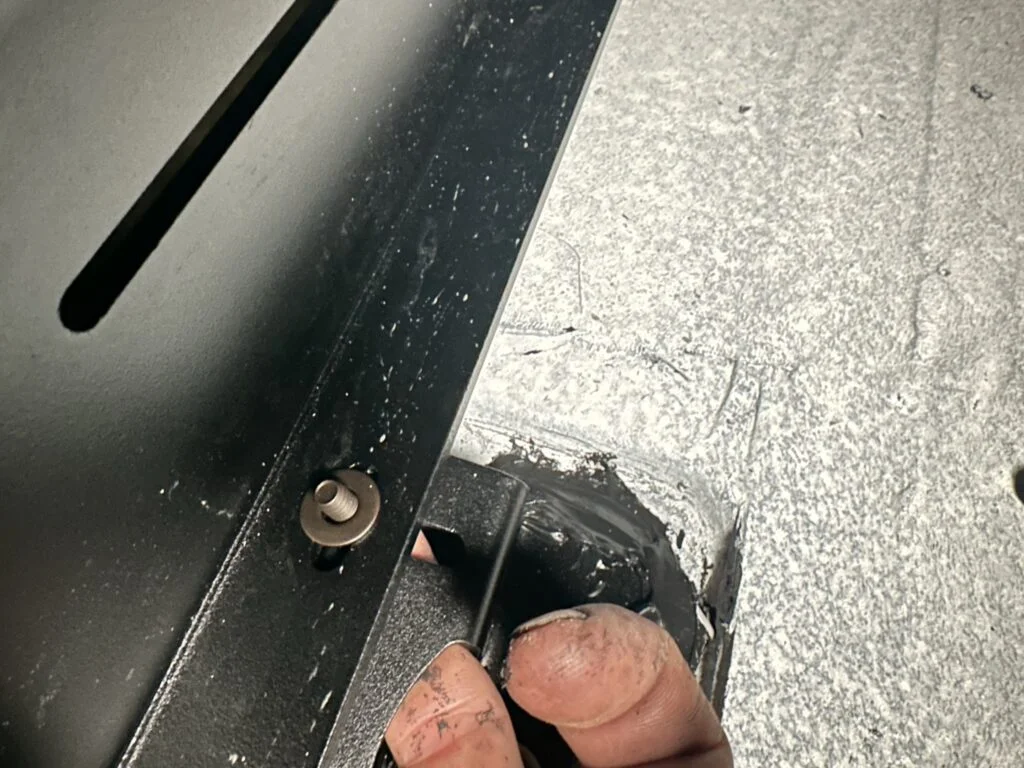
The sealant timing made the assembly messy. I applied it early and got it on my hands and parts, while the installed pads left little space for reaching underneath with the nozzle.
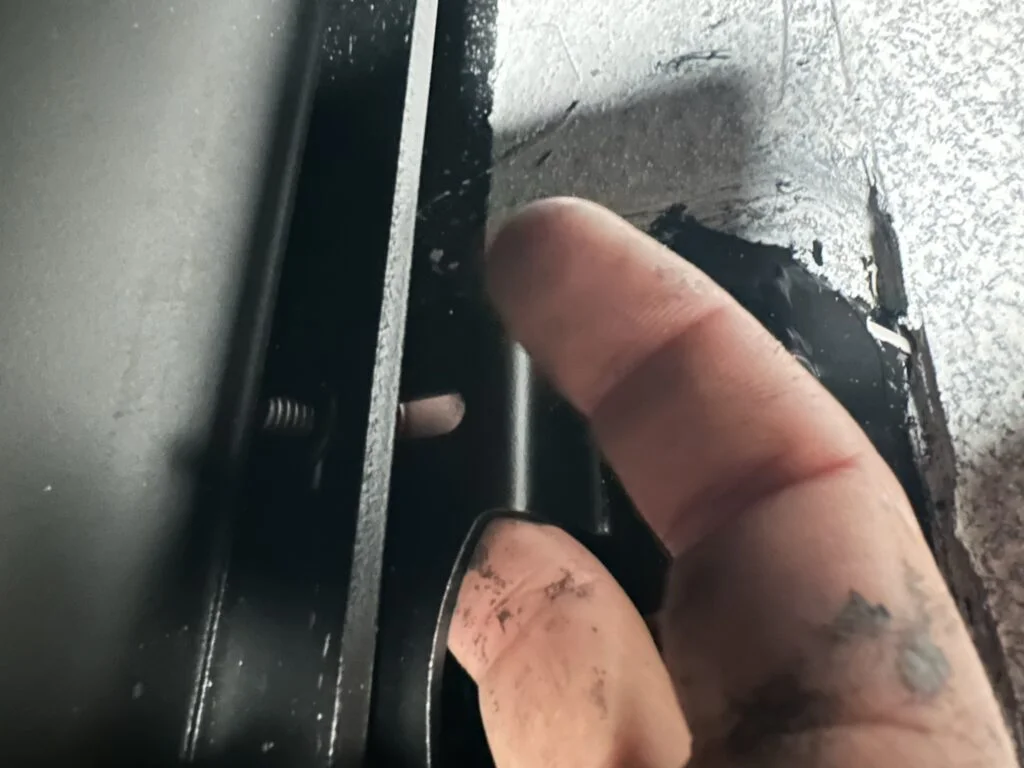
Black sealant around a roof-rack landing pad during my installation.The close working space around one of the rack attachments.
My build notes
The access around the pad was the memorable part of this job. Small spaces between the roof, pad and rail affected how I could position the sealant and tighten the hardware.
The order of assembly changed which parts of the joint I could reach.
Alternative products
Two alternatives to compare
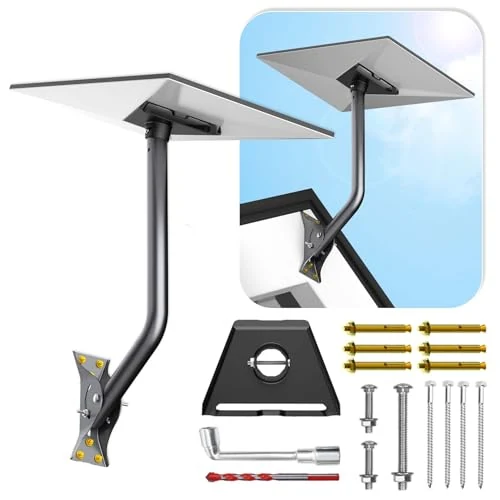
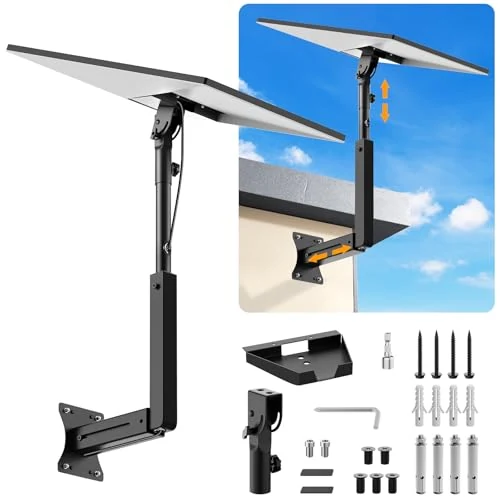
The featured adapter connects a Gen 3 dish to a pole. The two alternatives combine adapters with wall or roof mounting arms; their arm geometry and mounting bases offer different ways to position a dish.
Adjustable Starlink Wall and Roof Mount
This mounting kit combines an adjustable arm with a pipe adapter for a Starlink Gen 3 dish. The base provides a wall or roof attachment point for positioning the arm.
This Bloazzup mount uses a telescoping arm to position a Starlink Standard Gen 3 dish away from a wall. Its adjustable layout offers another mounting geometry to compare with a simple pipe adapter.