My weideer M6 insert purchase belongs to the threaded-fastener kit for the van. In the interior-preparation diary, I installed the remaining M6 rivet nuts while the cargo-area mounting points were accessible.
My weideer M6 insert purchase belongs to the threaded-fastener kit for the van. In the interior-preparation diary, I installed the remaining M6 rivet nuts while the cargo-area mounting points were accessible.
Preparing the attachment points was part of the interior work before framing, flooring and panels.
Preparing the M6 Attachment Points Before Framing
I installed the remaining M6 rivet nuts inside the cargo area.
I prepared likely mounting holes before the framing, floor and panel work began.
The inserts created threaded attachment points in prepared holes, a different arrangement from the roof extrusion slot nuts.
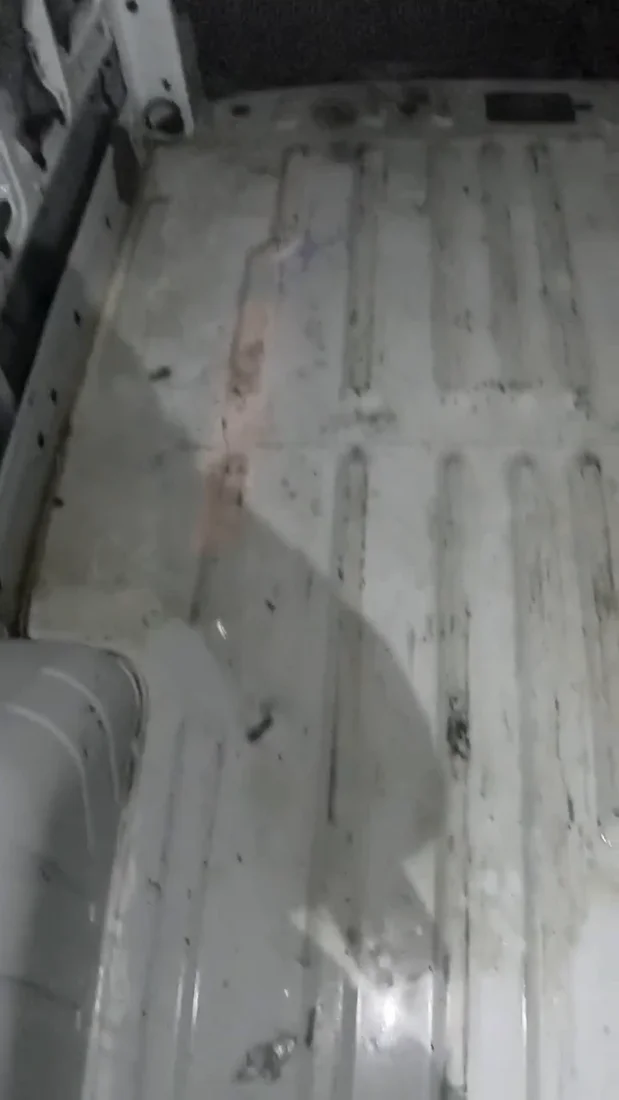
My cargo floor during interior preparation, shown in a still from my build footage.
My Takeaway from This Job
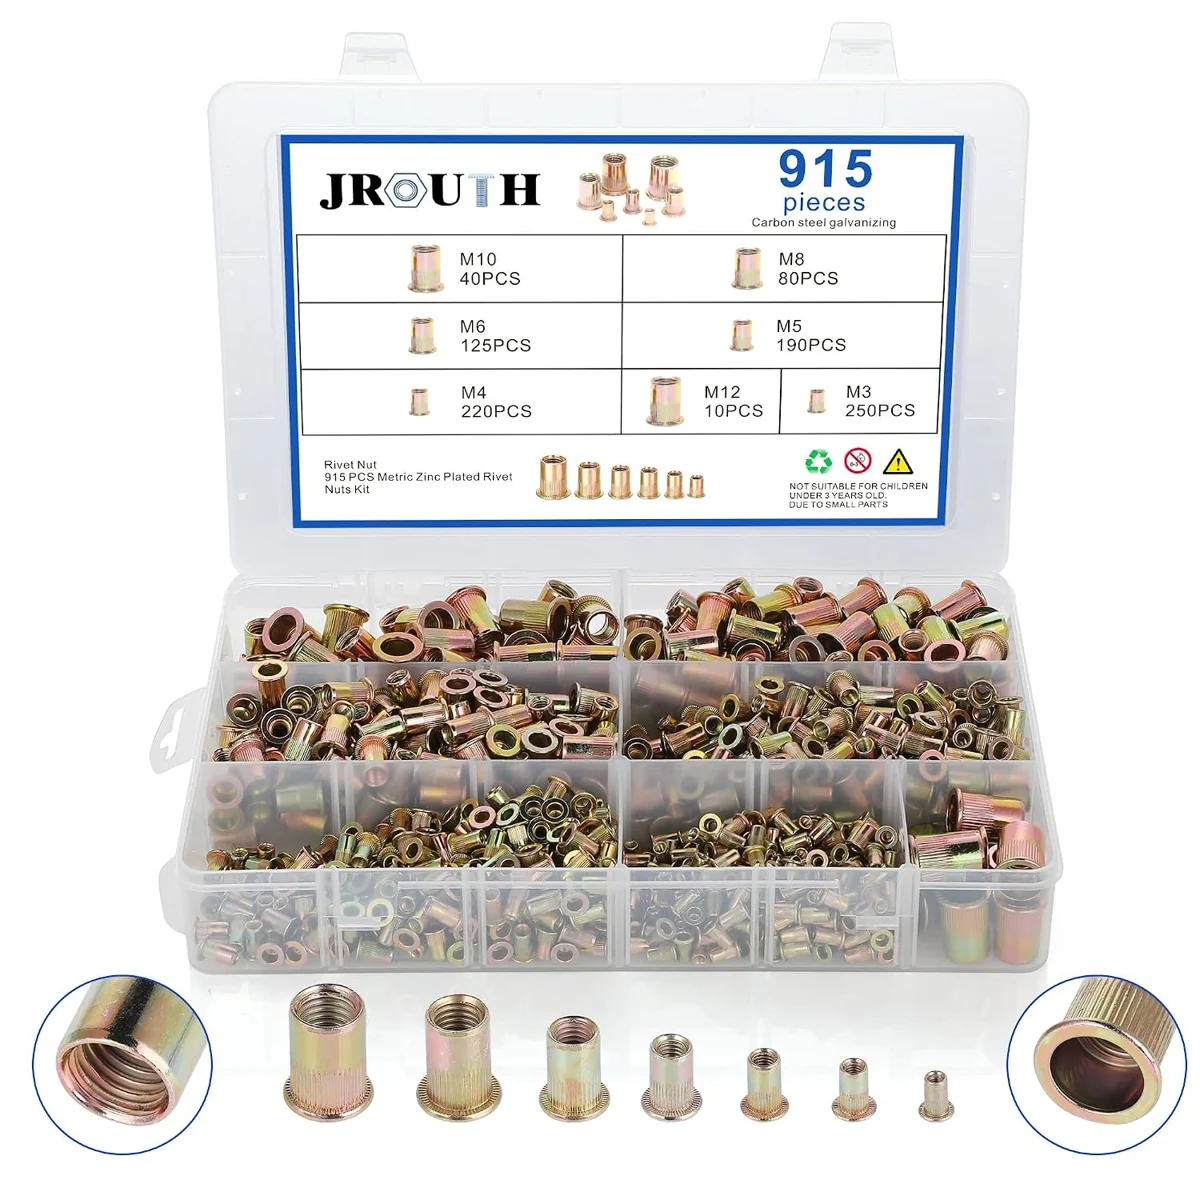
Preparing the holes early was the useful build decision. For replenishing this type of hardware, the choice below is a focused M6 pack or an assortment that also brings other metric thread sizes into the kit.
I prepared the interior attachment points before the framing, floor and panels limited access.
Product Details And Van-Build Uses
Specification
Product Detail
Brand
Weideer
Thread
M6
Material
Zinc-plated carbon steel
Pack
100
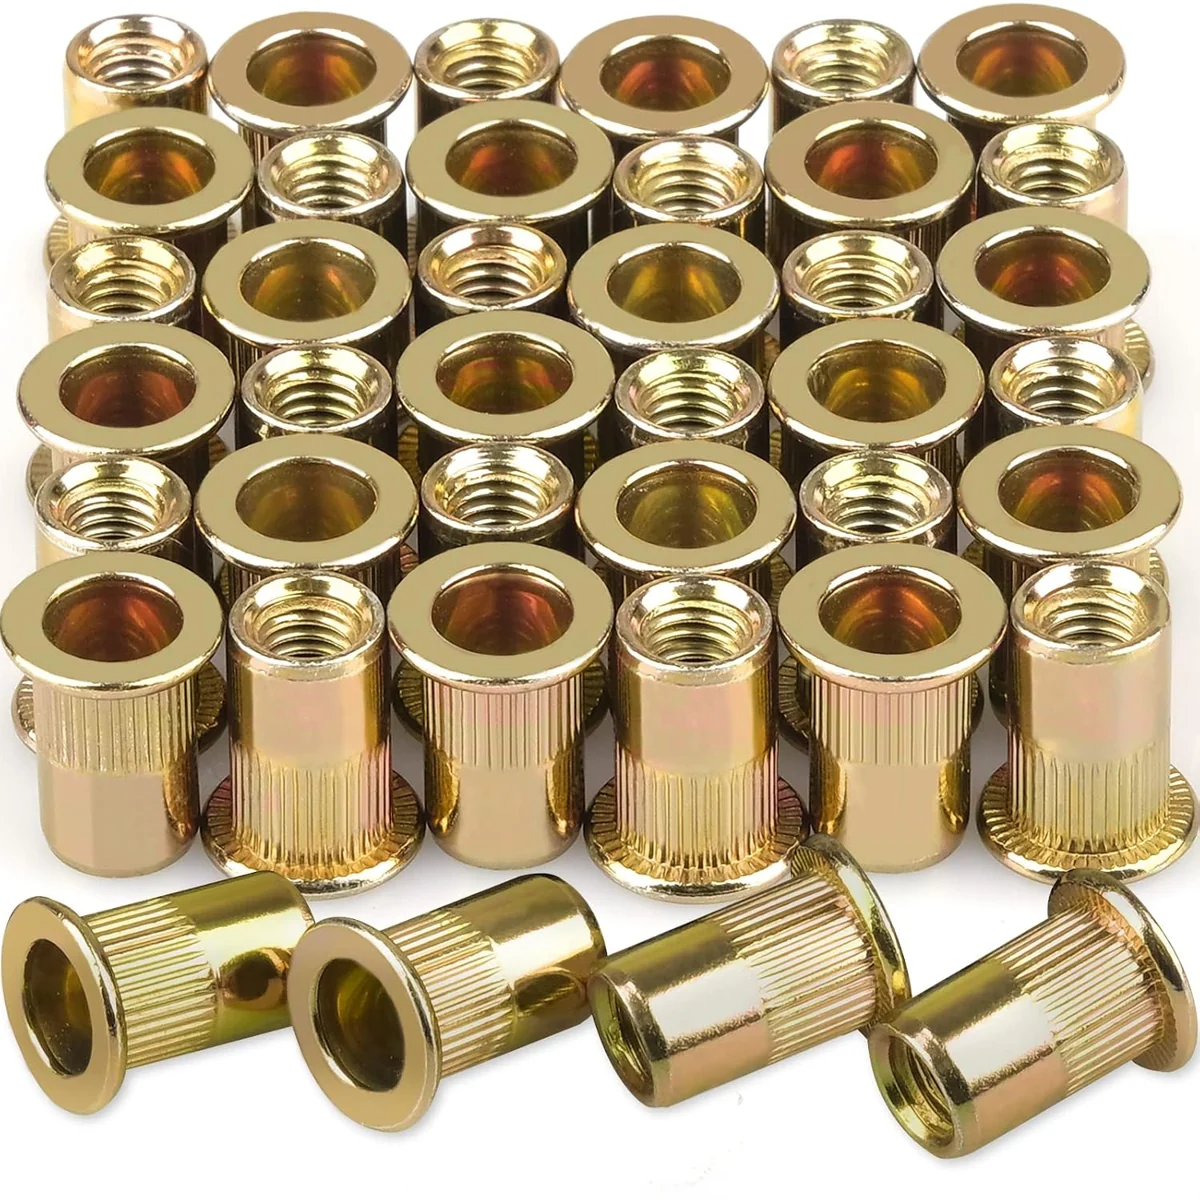
An M6 rivet nut creates an internal metric thread in a prepared hole. Setting the body with a rivet-nut tool is a separate operation from fastening an M6 bolt into the finished insert. For a van panel, the insert body, hole preparation and material thickness need to work together. Keep the insert specification beside the setting-tool setup and bolt size. Rivet nuts also differ from extrusion T-nuts: the former are set in holes, while the latter sit inside a slot.
These rivet nuts provide an M6 internal thread in a flanged insert body. Their knurled outer surface is set into a prepared hole with a rivet-nut tool.