I bought this curtain with my interior equipment. Removing door trim ahead of insulation and panels is part of my recorded build sequence, and it frames the later decisions about soft interior coverings.
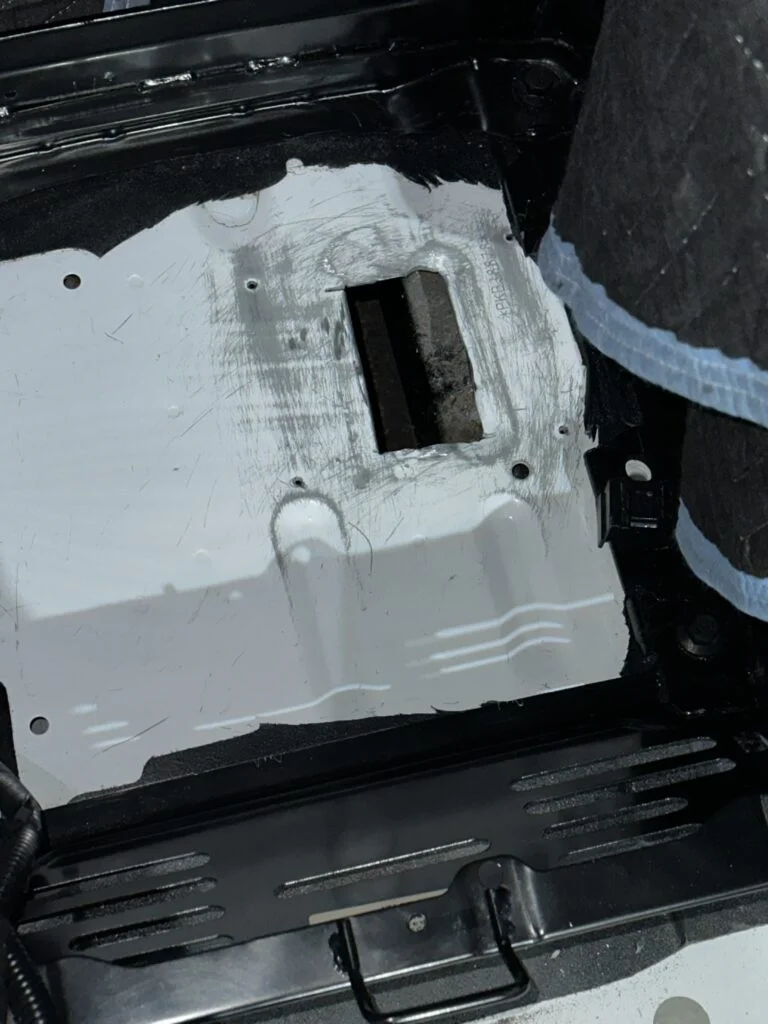
The cut heater-opening area during finishing work.
The item in my kit
I bought MAGZO Magnetic Insulated Door Curtain as part of my camper van equipment.
I bought this curtain with my interior equipment. Removing door trim ahead of insulation and panels is part of my recorded build sequence, and it frames the later decisions about soft interior coverings.
Where it fits my build
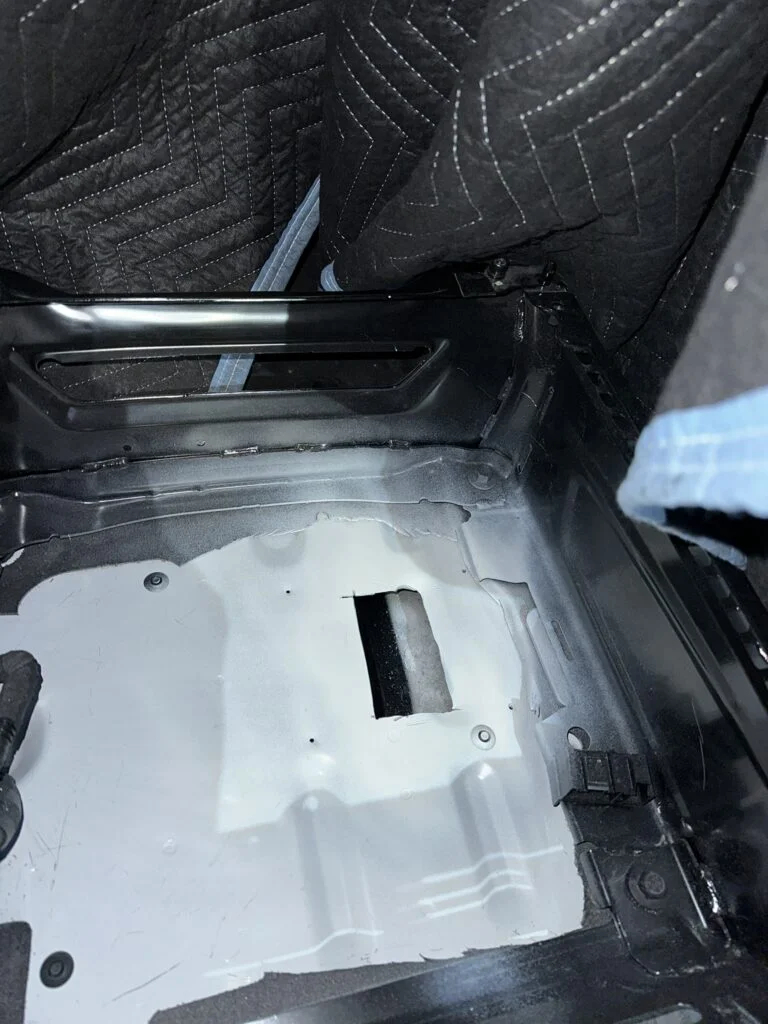
I marked the opening beneath the passenger seat and used a drill, reciprocating saw and grinder to make it. I then drilled the mounting holes and sanded the cut area.
The finishing sequence included two coats of primer and two coats of white paint. That put the cutting, abrasive preparation and coating into distinct steps before the heater mounting continued.
White paint around the heater mounting opening after preparation.
My build notes
The opening changed from marked sheet metal to a cut edge and then to a painted mounting area. The sequence in the photos explains the role of the finishing supplies alongside the cutting tools.
Cutting the opening was followed by abrasive preparation and coating before assembly continued.
Alternative products
Two alternatives to compare
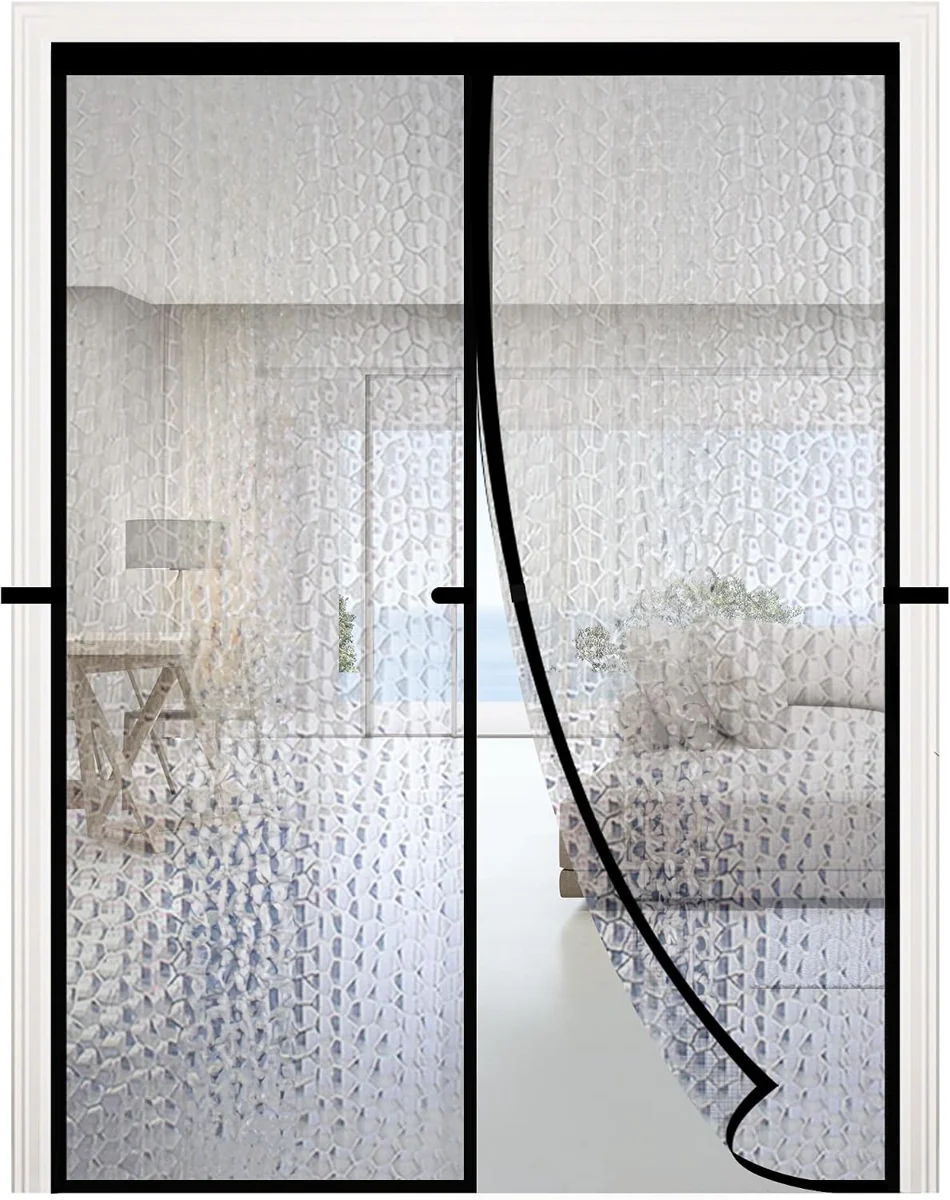
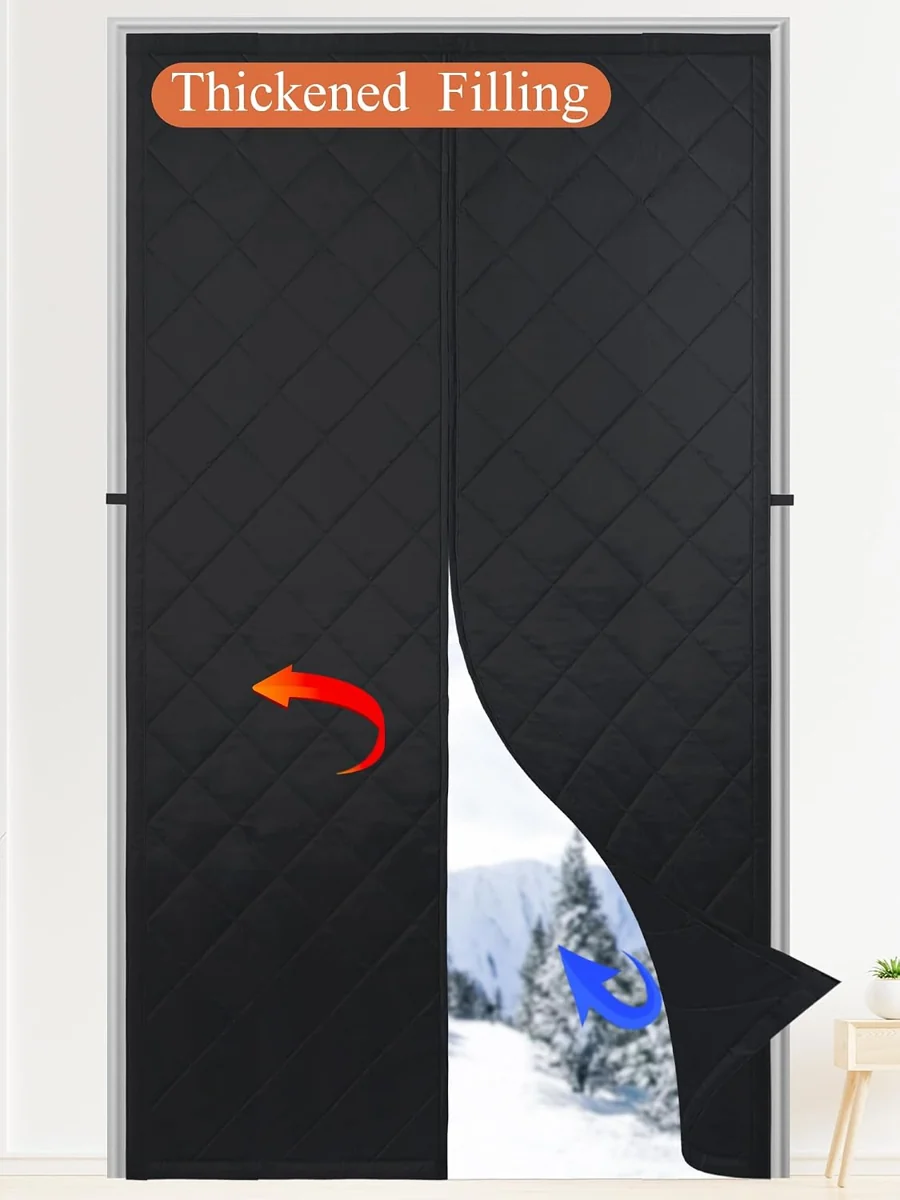
RELIANCER uses an EVA covering in a smaller doorway format. The Oxford-fabric alternative uses a different outer material and filling, so fabric, opening size and attachment layout distinguish the options.
RELIANCER Magnetic Insulated Curtain
This insulated doorway curtain uses an EVA outer covering. A magnetic center opening lets the two sides separate and close again.
This doorway curtain combines an Oxford-fabric cover with insulating fill. Magnets along the center opening bring the two sides together after passage.