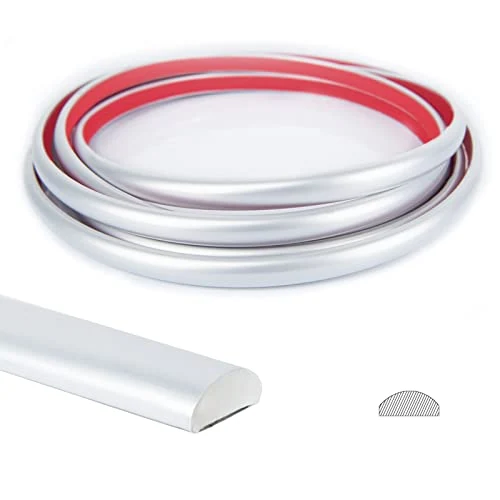
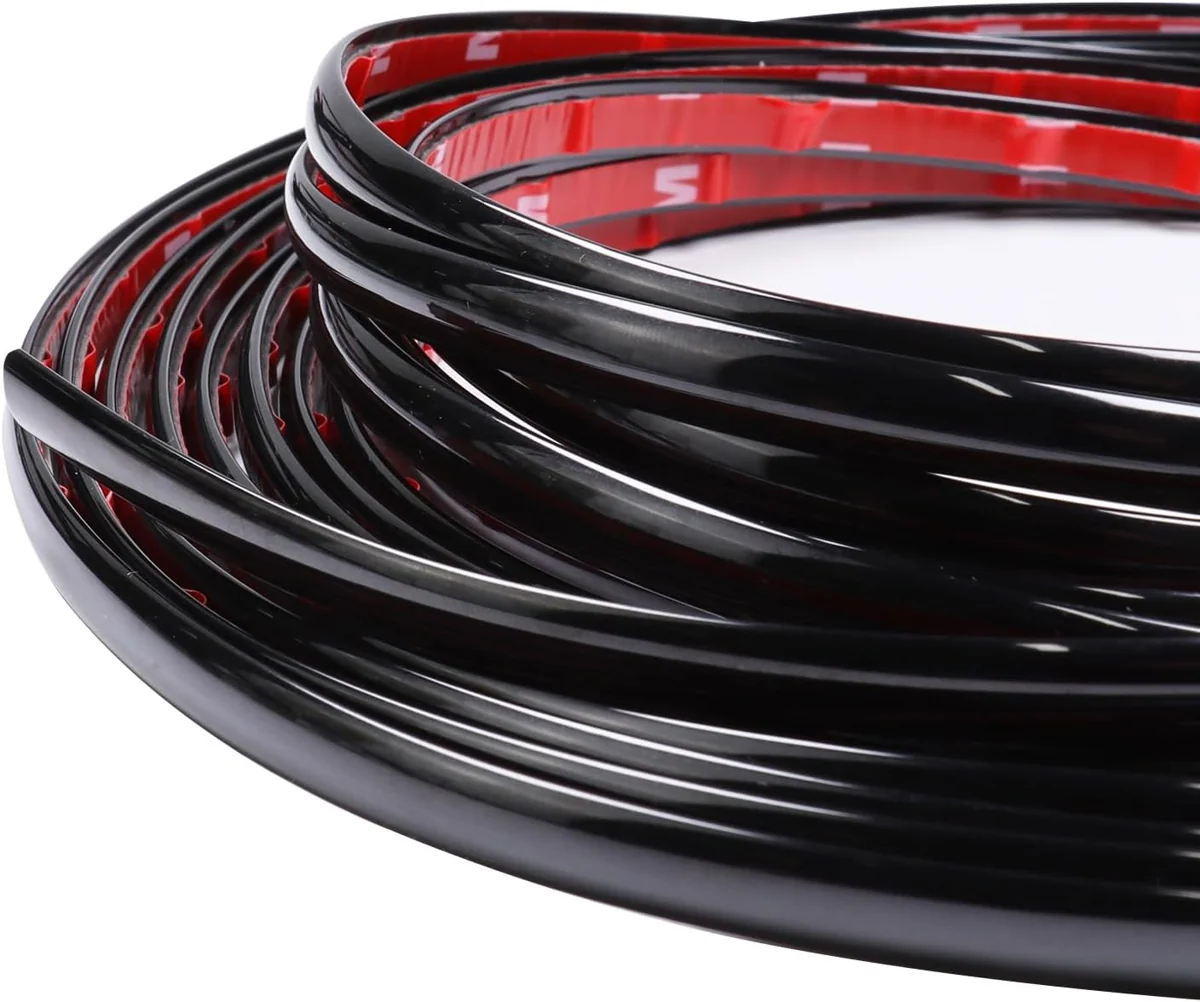
Adhesive-backed decorative trim was part of my interior-finishing purchases.
The featured Amazon option is Art3d Silver Peel-and-Stick Trim.
Where it fits my build
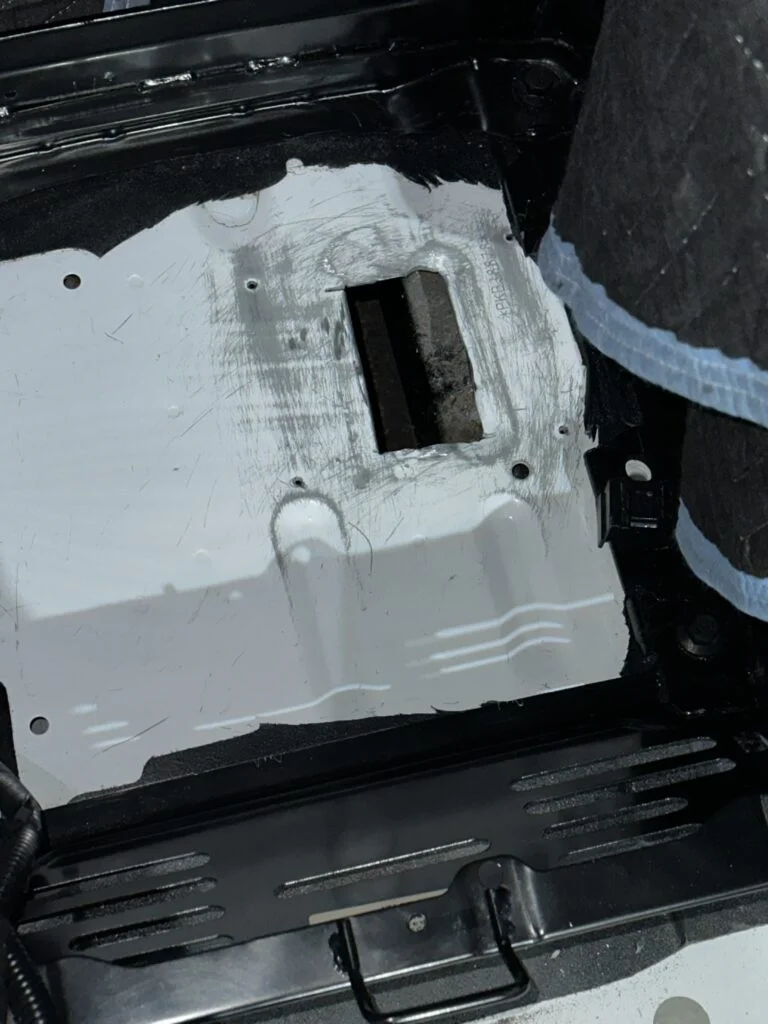
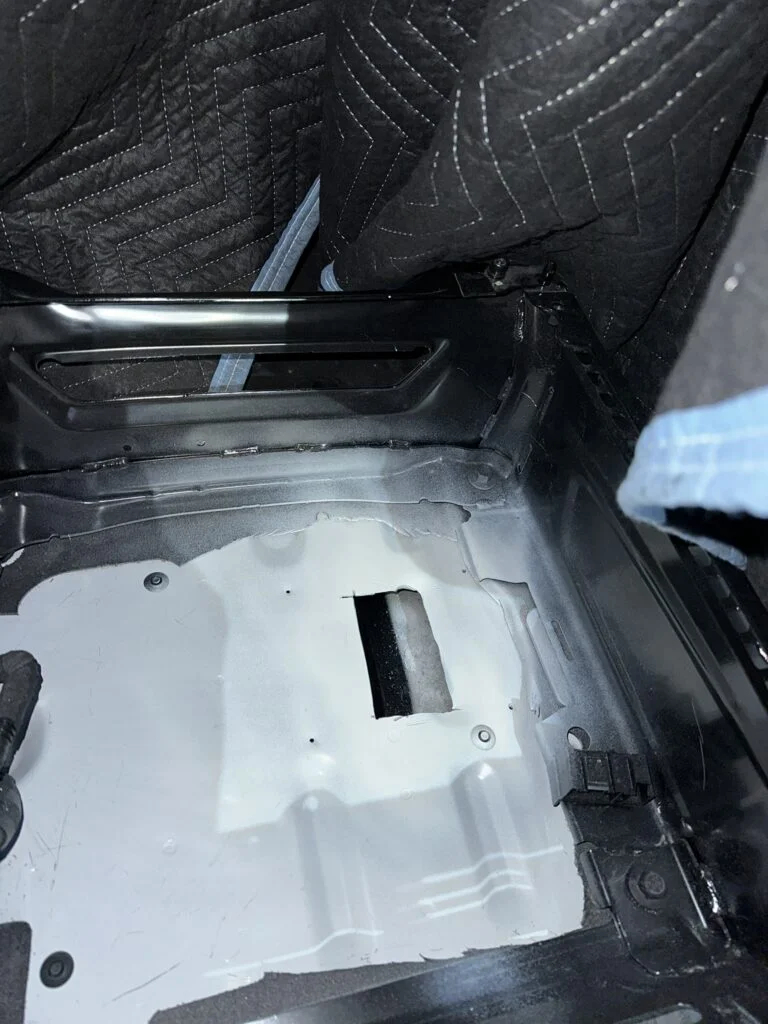
I marked the opening beneath the passenger seat and used a drill, reciprocating saw and grinder to make it. I then drilled the mounting holes and sanded the cut area.
The finishing sequence included two coats of primer and two coats of white paint. That put the cutting, abrasive preparation and coating into distinct steps before the heater mounting continued.
The cut heater-opening area during finishing work.White paint around the heater mounting opening after preparation.
My build notes
The opening changed from marked sheet metal to a cut edge and then to a painted mounting area. The sequence in the photos explains the role of the finishing supplies alongside the cutting tools.
Cutting the opening was followed by abrasive preparation and coating before assembly continued.
Alternative products
Two alternatives to compare
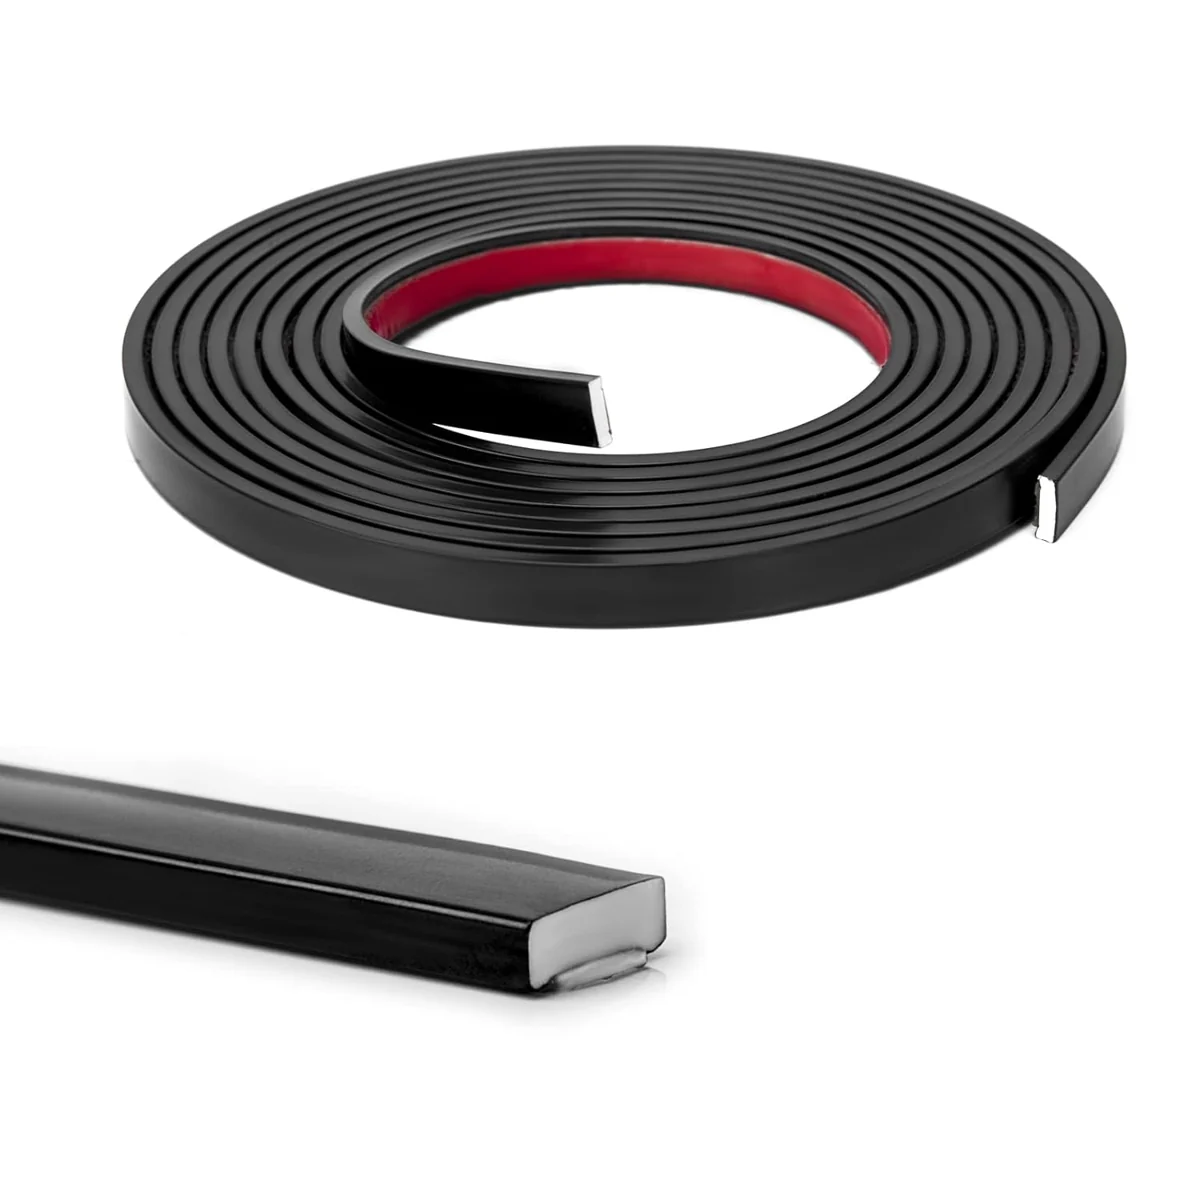
Art3d provides a flexible silver trim. The black Art3d and automotive molding options change the color and profile, giving three different edge treatments to compare.
Art3d Black Flexible Molding Trim
This Art3d molding combines a flexible decorative profile with adhesive backing. The narrow black strip follows a border around a panel or edge.