I bought the CERAKOTE kit with the van's exterior-care supplies. My exterior diary documents how much of a finishing job happened before the final coating went on.
I bought CERAKOTE Headlight Restoration Kit as part of my camper van equipment.
I bought the CERAKOTE kit with the van's exterior-care supplies. My exterior diary documents how much of a finishing job happened before the final coating went on.
Separate Finishing Jobs on the Exterior
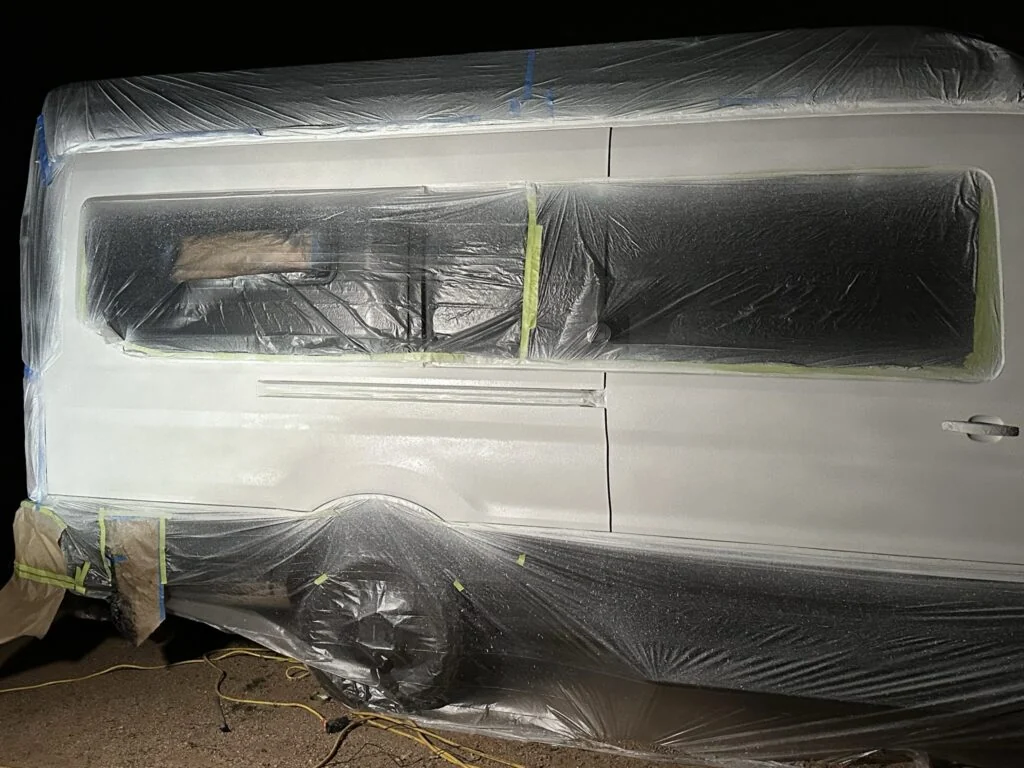
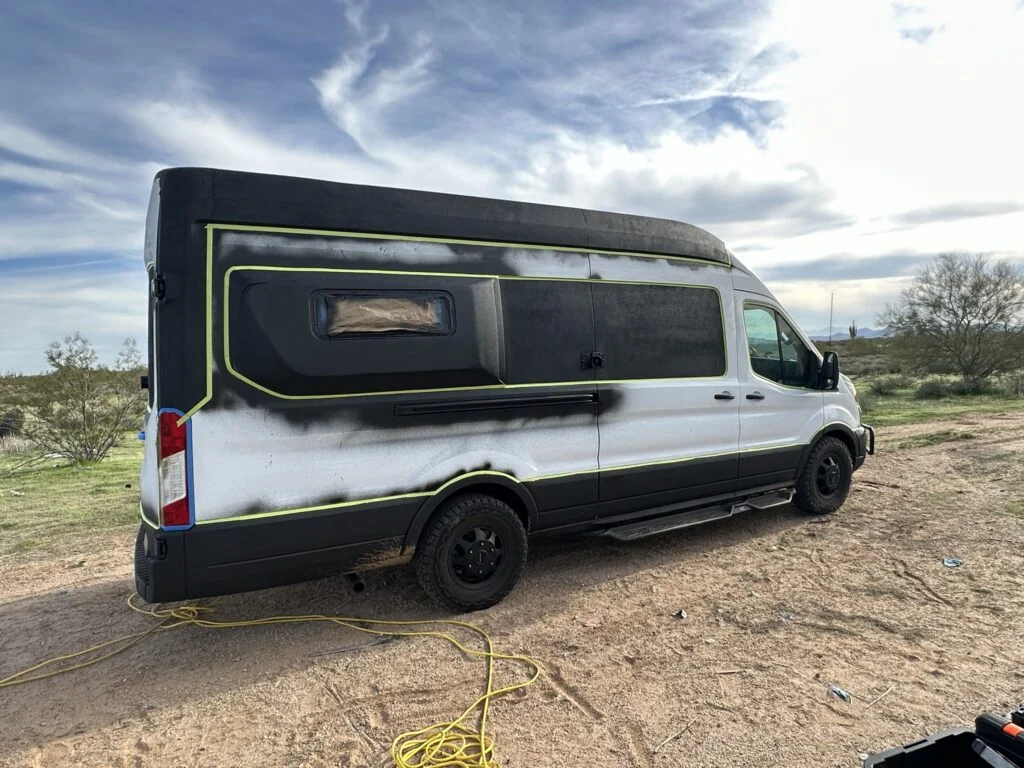
I spent around eight hours masking the van and covering the unpainted areas.
I sanded, blew away dust and cleaned the exposed bodywork before spraying white-tinted bedliner.
I removed the masking after drying and inspected the uneven areas and edges for touch-up.
The side of the van during the white-bedliner project.My van with masking around the exterior areas prepared for coating.
My Takeaway for the Build
My exterior diary records how much preparation preceded the white bedliner application. The CERAKOTE purchase belongs to a separate lens-finishing task within the vehicle supplies. Comparing wipe-based stages with the 3M drill-mounted abrasives makes the required application tools clearer without confusing headlight work with the body coating in the photos.
Product Details And Van-Build Uses
Specification
Product Detail
Product
Ceramic Headlight Restoration Kit
Process
Oxidation removal, sanding and coating
Application
Hand-applied kit
CERAKOTE’s application sheet lays out the headlight-restoration process in stages. Oxidation-remover wipes prepare the lens, the supplied abrasives address the remaining surface layer, and the ceramic-coating step follows preparation. The sequence is useful when planning exterior maintenance alongside other van jobs, because each stage uses different materials. The original instructions also identify the additional water and towels needed for the process. This reference gives the kit an accessible preparation guide without changing my purchase history or attributing a restoration result to my van. The manufacturer’s illustrated instructions are linked below.
The CERAKOTE instruction sheet separates oxidation removal, sanding and the final coating stage.
Alternative products
Two Alternatives to Compare
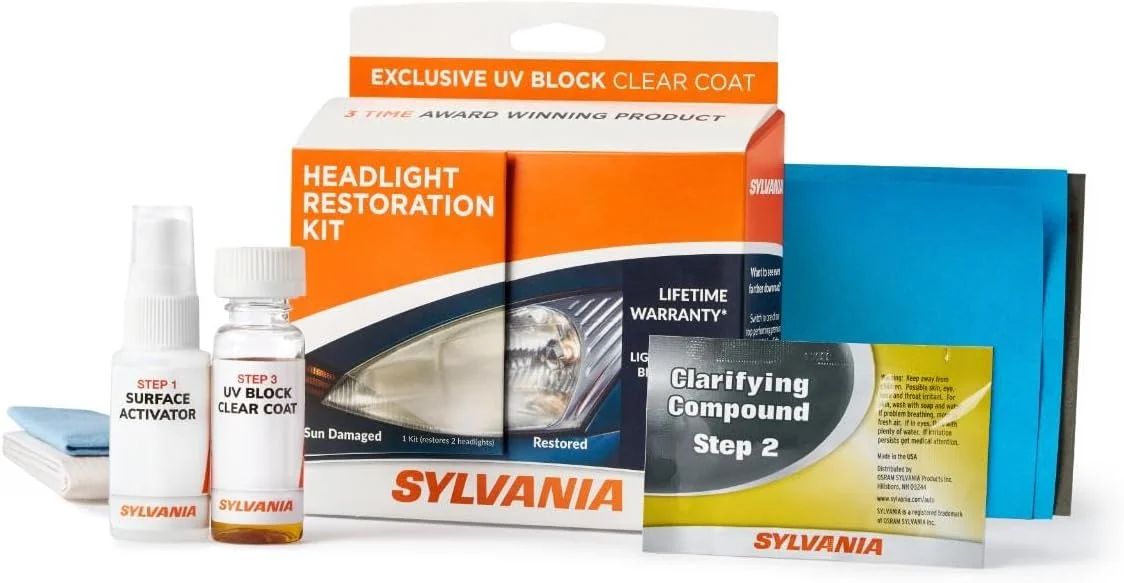
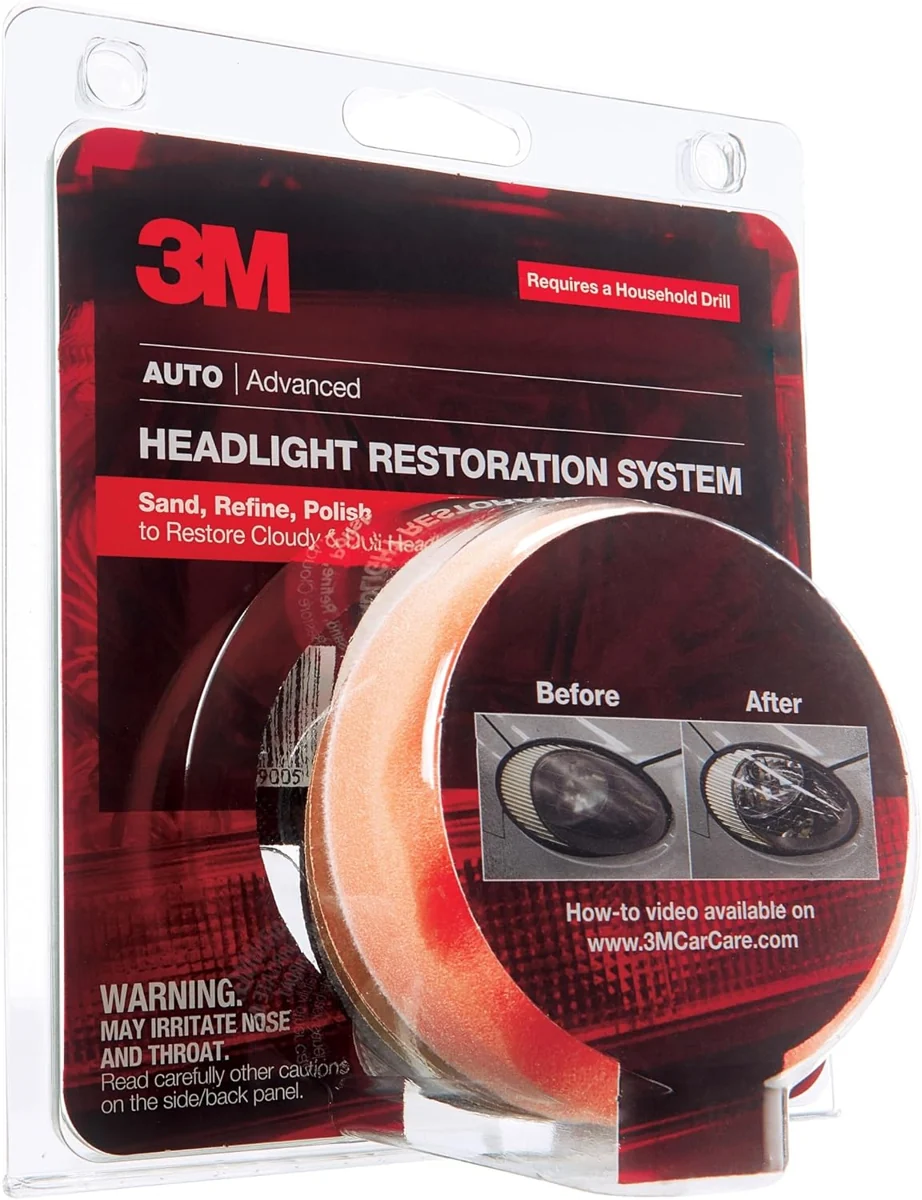
Sylvania and 3M package their own abrasive and finishing stages for headlight lenses. The 3M 39008 system uses a drill-driven sanding setup, making the application tools a clear difference from the CERAKOTE wipe kit.
Product
What distinguishes it
Purchase link
CERAKOTE Headlight Restoration Kit
Headlight preparation and coating supplies in wipe-based stages.
This kit supplies abrasive and finishing materials for headlight-lens restoration. Its drill-mounted sanding arrangement differs from a wipe-based restoration kit.