I bought this MAXXAIR fan as part of the van equipment. My roof diary shows why the physical layout mattered: rack cross beams, panel positions and cable entries all competed for space.
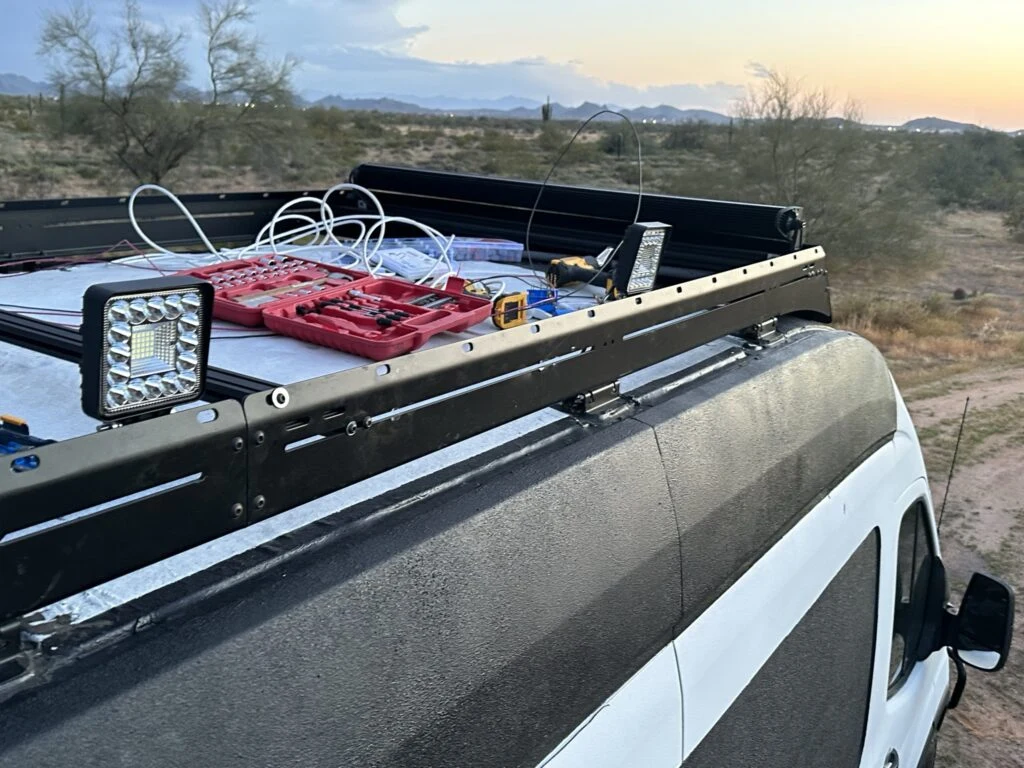
Lights, cables and tools laid out during my roof work.
The item in my kit
I bought MAXXAIR 6200K Manual-Opening Roof Fan as part of my camper van equipment.
I bought this MAXXAIR fan as part of the van equipment. My roof diary shows why the physical layout mattered: rack cross beams, panel positions and cable entries all competed for space.
Where it fits my build
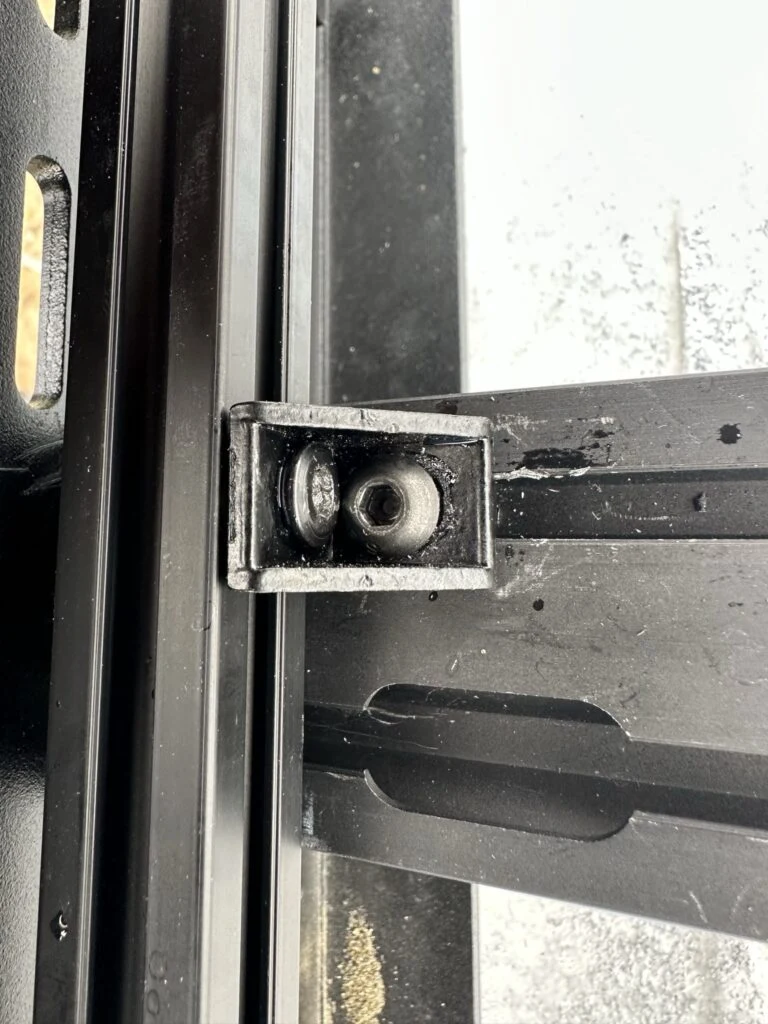
On Day 95 I moved the Flatline rack cross beams to suit the solar-panel length, then added 2020 extrusion above the existing rack extrusion. I brought two solar panels onto the roof to work through the fit.
That same session included junction-box assembly, cable glands and routing power and Ethernet cables. The physical layout of the rack and the cable routes developed together.
Rack extrusion and mounting hardware during the fitting stage.
My build notes
The roof session took twelve hours, and fitting the panels was only one part of it. Cutting extrusion, positioning brackets and organizing the cables all used the same limited working area.
My useful takeaway from that day is the value of laying out the real parts before settling their positions. Moving a cross beam and checking the panel fit gave me a concrete reference for the next stage.
I worked through panel position, rack spacing and cable routes together on the roof.
Alternative products
Two alternatives to compare
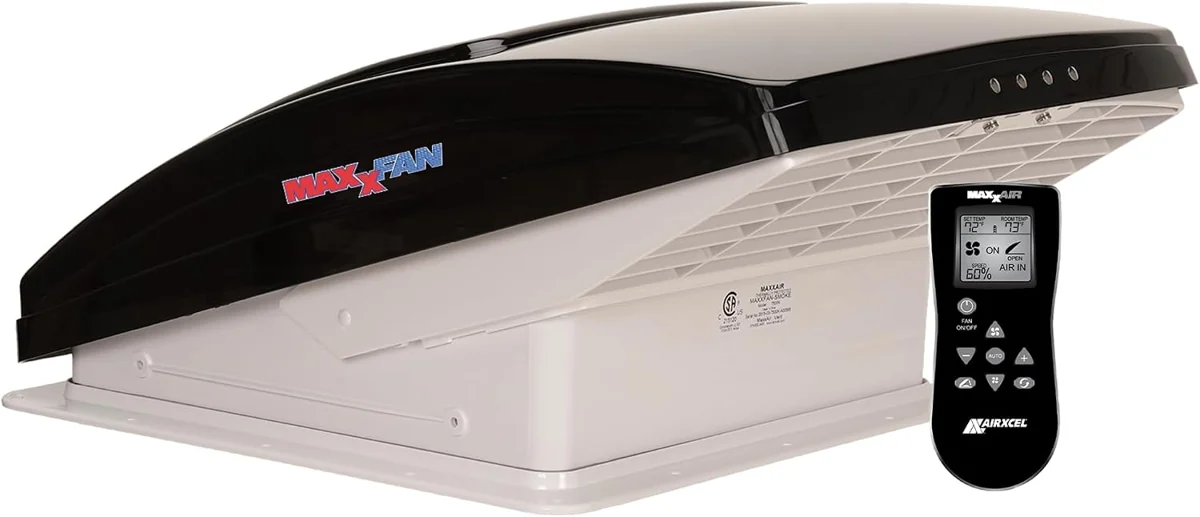
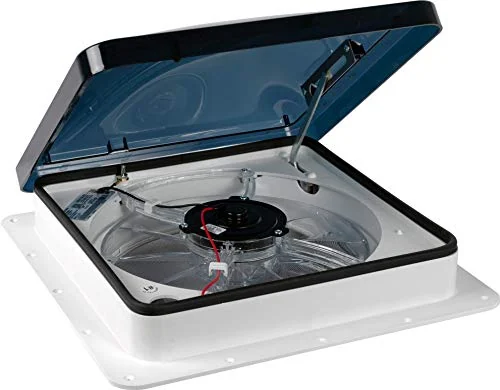
The MAXXAIR 7500K adds remote control to the roof-fan format. The Fan-Tastic 1200 uses a manual crank and three-speed controls, providing a simpler alternative control arrangement.
MAXXAIR 7500K Roof Fan
This roof fan combines a vent opening with a reversible electric fan. Remote control and thermostat functions provide another way to adjust the airflow.