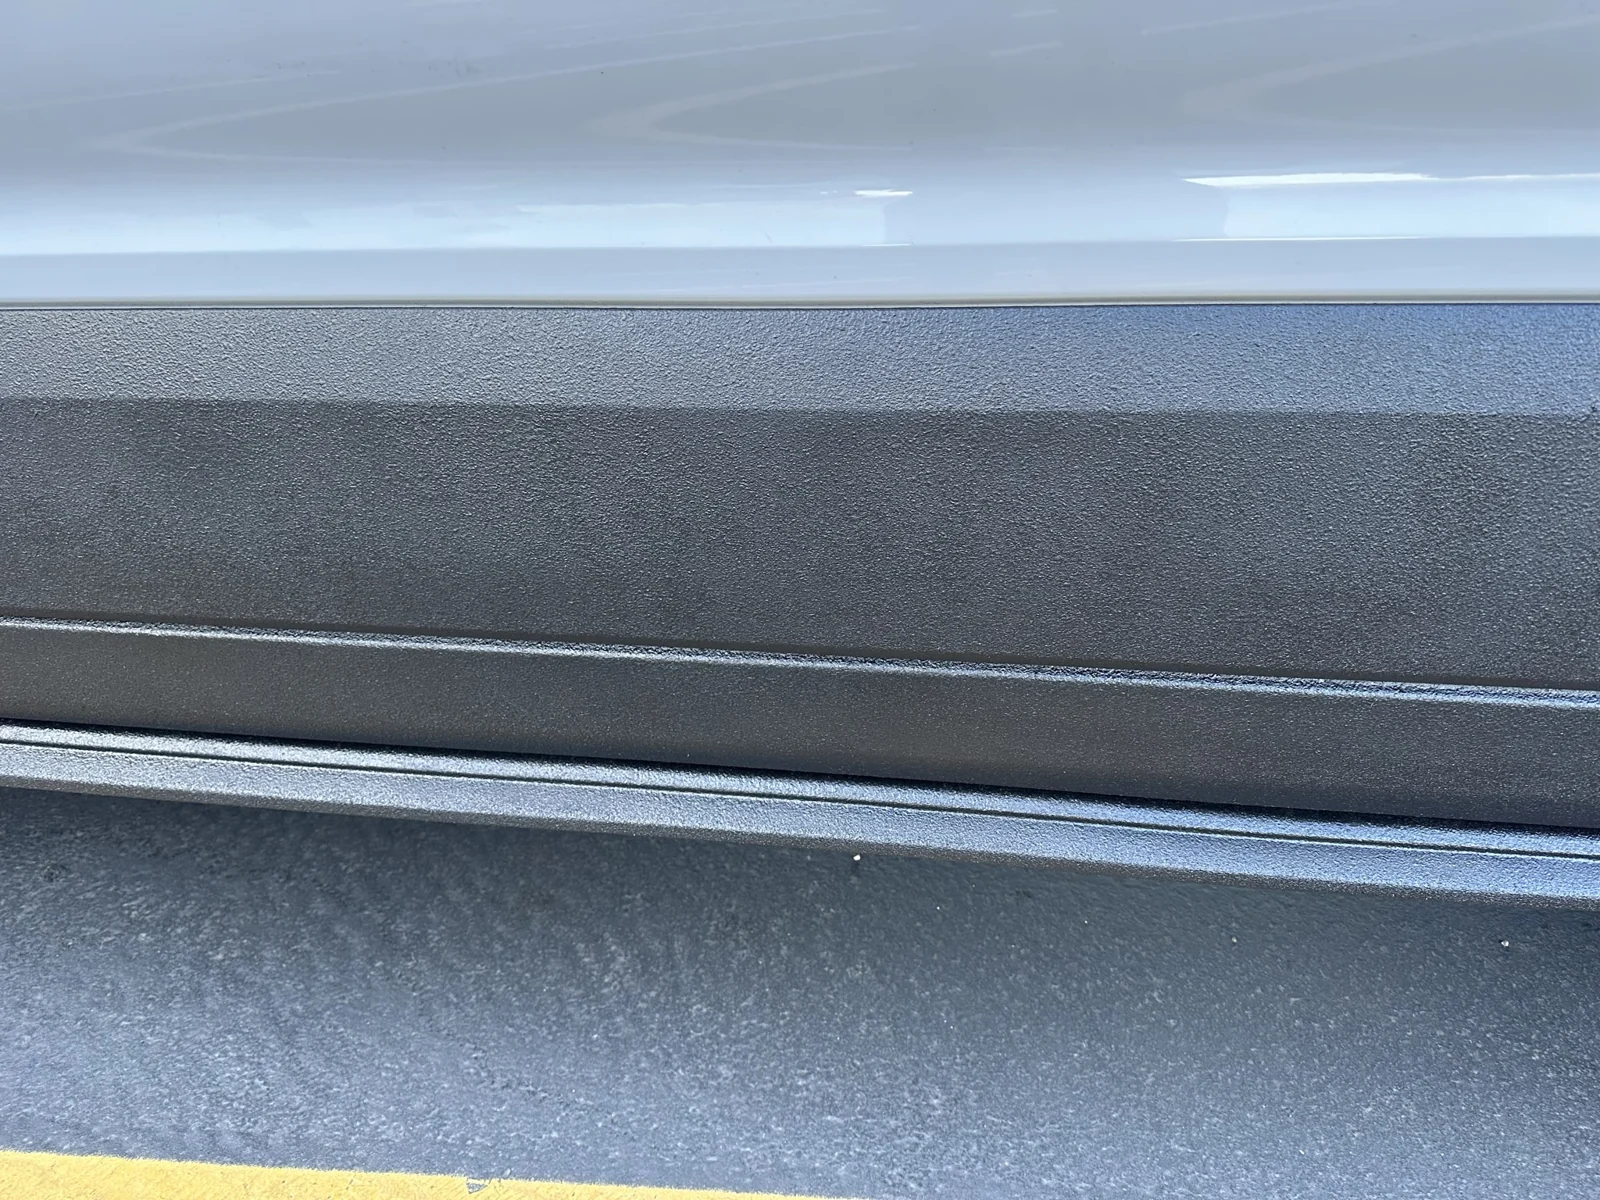
Checking the side finish again
I returned to the lower side trim for another close look. In this update I described the sides as two sprayed coats followed by two rolled coats. I was pleased with how even the appearance had become across the panel.
The close photograph is useful because it puts the black texture directly beneath the white body, without the masking paper or a running board in the way. It records the side finish before the next equipment project.
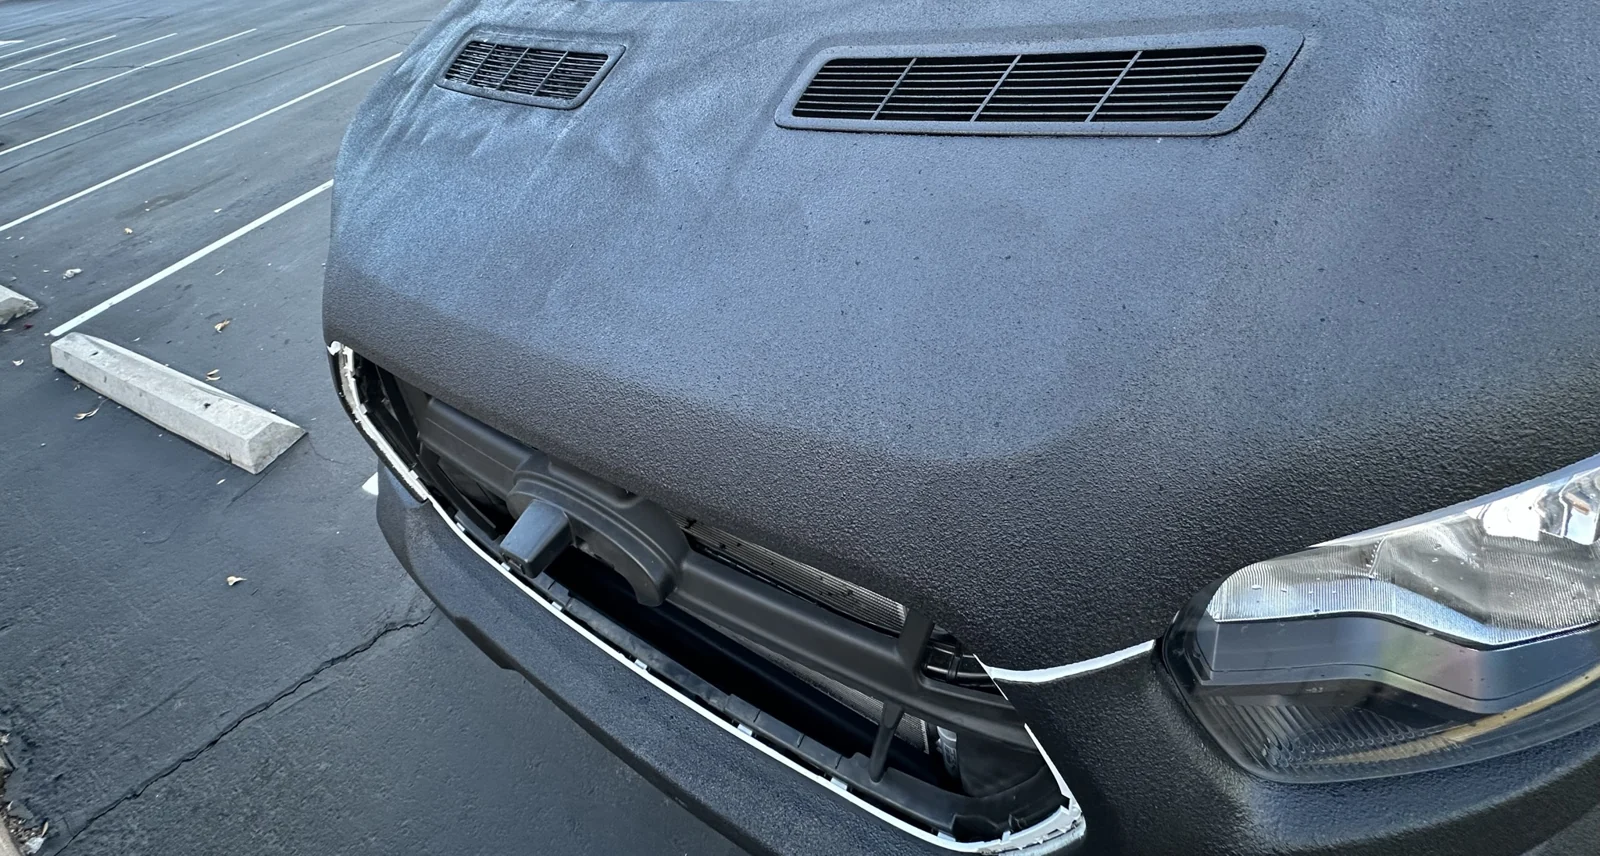
A different finish on the vent inserts
At the front, the grille was removed and I showed the hood-vent inserts. I explained that I had used an aerosol RAPTOR product on those pieces and that its finish looked different from the hood around them.
My front photograph shows the exposed front structure, the black hood and the vent inserts together. There was also water around the vents during the update. The difference I was talking about was the appearance of the finish across those adjoining areas.
The hood coat was still a plan
I said I wanted to roll another coat over the hood to bring its appearance together with the vent area. That was where I left the follow-up in this recording.
For the side panels, the change from spraying to rolling had given me the consistency I wanted. At the hood, I was still working through how to make the different finishes look more alike. This later update sits alongside the follow-up section of my RAPTOR project article.
Watch the session
Where I finished
I liked the even finish on the sides. The front follow-up showed a different finish on the aerosol-coated inserts, and another hood roller coat was still on my list.
Read the complete project story for the wider sequence and related product notes.