Projects
- Installing remaining M6 rivet nuts
- Removing excess fiber glass in bed capsules with grinder
- Sanding down metal and and fiber glass at bed capsule opening
- Applying sealant at bed capsule joints due to rain leakage observed
- Removing cargo tie down loops and hardware to be used later as mounting points for aluminum extrusion framing
- Removing plastic trim panels and sliding and rear doors for later installation of Kilmat sound deadening mats, 3M Thinsulate insulation, foam insulation, and wood paneling
- Removal of foam piece at passenger A Pillar
Project Status
Interior Preparation In Progress
Time Spent
11 Hours
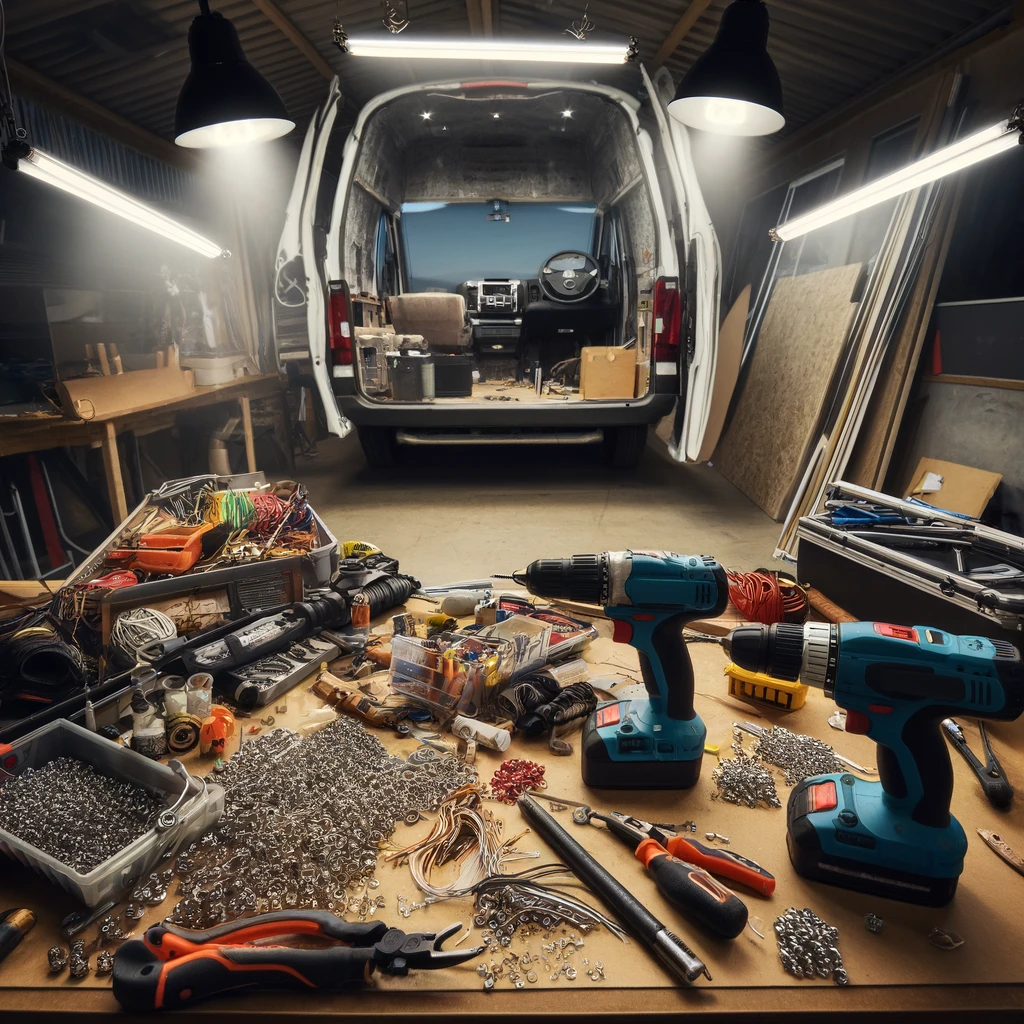
Tools and Materials Used
Notes
I will be installing all components and drilling all necessary holes into the van body prior to installing anything on the van floor, ceiling, or walls.
Short Video
Plans For Tomorrow
Installation of diesel heater under passenger seat
Long Form Video
Long Form Diary Summary
Stephen Smith from Project Freedom shares an update on day 87 of his camper van conversion, highlighting the preparation work done on the van’s interior before proceeding with major installations. He discusses drilling holes for wiring solar panels, LED lights, cameras, and other equipment. Key installations include a diesel heater under the passenger seat, and the logistics of insulating and flooring the van. Stephen emphasizes the importance of a logical build sequence, using SketchUp for planning, and shares his experiences with installing rivet nuts and dealing with various modifications, such as cutting fiberglass for van speed capsules. Additionally, he touches on plans for sound insulation, electrical system setup, and the strategy for installing an elevating bed system, demonstrating a thorough and detailed approach to van conversion.
Long Form Diary Entry
Stephen Smith here with Project Freedom. This is my build diary for day 87. Mostly today I prepared the interior for build out.
Planning and Preparing for Installations
Drilling Before Framing
I’m doing this now before installing the aluminum extrusion framing, the flooring, and the wall paneling. I want to install the things that will need holes drilled in the body first. This includes the wires coming from the roof, LED lights, solar panels, and cameras. The design for routing the wires into the camper van to the area where all the electrical equipment will be in the garage on the passenger side has been laid out.
Diesel Heater and More
I’m planning to put a diesel heater under the passenger seat, requiring a hole drilled to the diesel gas tank. There are also the shower drain and various holes for the three water tanks I have. It’s essential to get all this drilling done before starting to lay things down on the floor and paneling on the roof.
Logical Steps in Conversion
Avoiding Future Hassles
I’ve seen others do the drilling after installing other components, which gets everything dirty and requires drilling through those newly installed items. My approach is to get this all done while the metal is bare inside and then install things over that. This way, I won’t have to go back and do all the drilling through the body of the camper van after things are done.
Rust Prevention Measures
When drilling through the van, it’s crucial to file down the metal, sand it, and then apply some primer and paint to prevent rusting. If there are already installed components near where you need to drill, it can complicate access for proper rust prevention treatment.
Using Technology for Planning
Designing with SketchUp
I’ve designed everything using SketchUp, a CAD program. This is to ensure that the build process is logical, even though I’m getting impatient and want to start installing the exciting parts, like the solar panels and the aluminum extrusion framing. However, I’m forcing myself to follow these logical steps first.
Installations and Adjustments Made Today
Rivet Nuts Installation
Today, I installed the remaining M6 size rivet nuts in the interior cargo area of the van. I’ve probably installed over 200, maybe 300, rivet nuts. I wanted to install rivet nuts in every hole that I might use so that I don’t have to go back later and install them with the rivet nut tool.
Challenges with Installation
I encountered challenges, especially with M12 rivet nuts, and ended up getting two rivet nut tools because the first one failed. The M12 is a pretty big rivet nut and didn’t work out as planned. However, other sizes, including M3, which had a mandrel snap during installation, were successfully installed.
Looking Ahead
Diesel Heater Installation
Tomorrow, I’ll be working on installing the diesel gas heater underneath the passenger seat. This includes figuring out where to place the diesel tank outside the van and routing any necessary exhaust. I’ll also need to decide if I need to remove the passenger seat to install the heater, which could also be an opportunity to install a swivel seat at the same time.
Long-Term Planning and Documentation
This diary entry, my first, is part of a series I plan to do every day to document my process. While these are long-form diary entries mostly for my use, I’ll also be making shorter videos for those who prefer quick summaries. My aim is to document everything as thoroughly as possible for future reference and to help others who might be undertaking similar projects.
Final Thoughts
I’ll see you guys next time with more updates and progress on my camper van conversion journey.