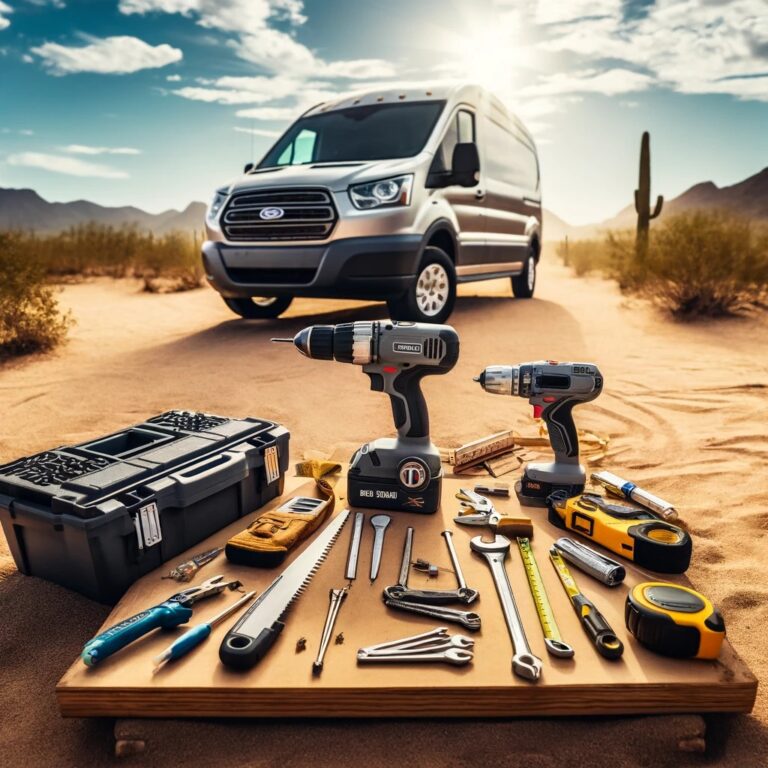
Start your van-conversion tool kit with measuring tools, basic hand tools, a drill/driver and accessories matched to the first job. Add cutting tools and specialist equipment when your build plan needs them. This guide combines the original build experience and product links with a task-based checklist.
For the equipment used on a particular job, open Tools And Materials By Build Project. For purchase choices and battery-platform considerations, see Entry-Level Vs. Professional Power Tools.
Basic Hand Tools
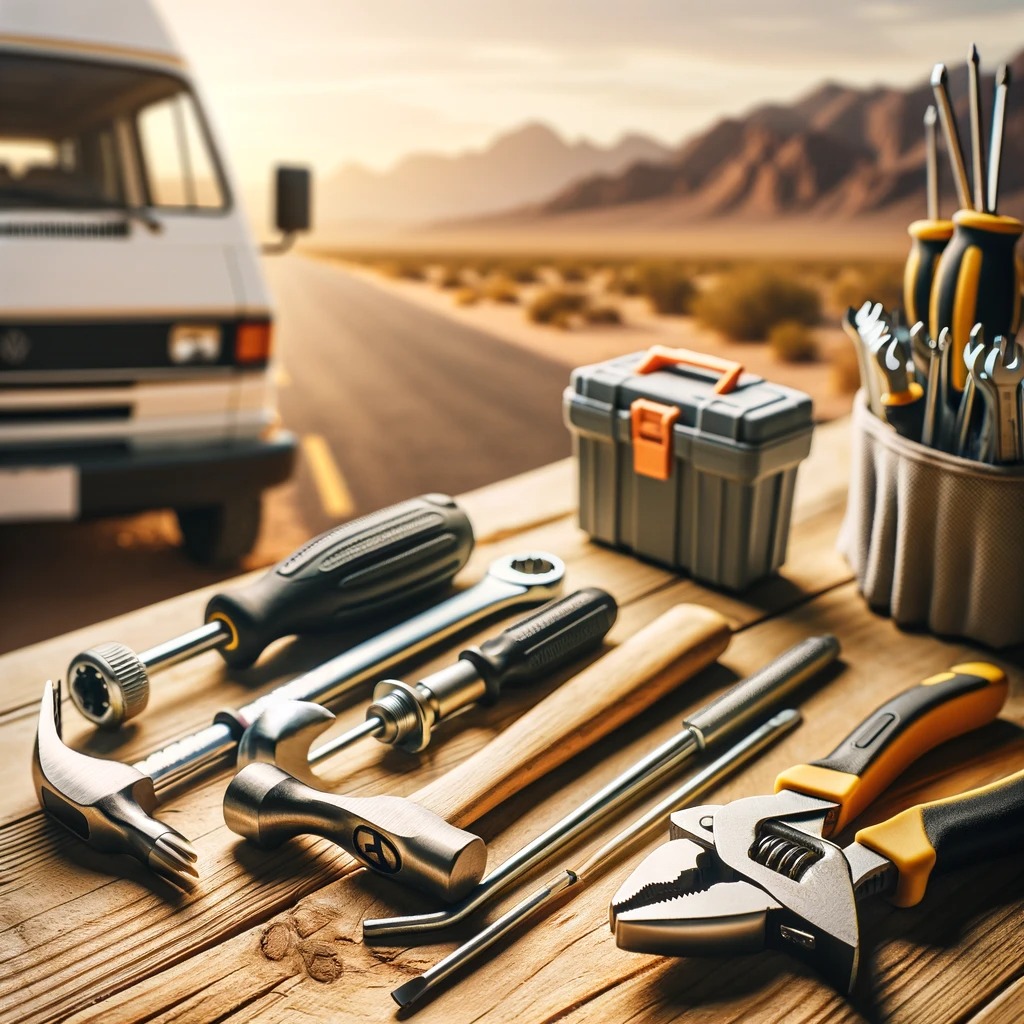
Before you start your van conversion, make sure you have a good set of basic hand tools. These tools will come in handy for a variety of tasks, from measuring and cutting to drilling and screwing.
Use this basic hand-tool checklist before adding power tools:
- Measure And Mark: Tape measure, square, pencil or marker and a straightedge.
- Hold The Work: Clamps and a stable support appropriate to the material and operation.
- Fit And Fasten: Screwdrivers or driver bits, sockets or wrenches matched to your fasteners, pliers and a deburring tool or file for finished edges.
- Cut And Prepare: A utility knife for suitable sheet materials, plus the cutting tool and blade specified for the job.
- Inspect Before Buying: List what you already own, the fastener sizes and materials you will use, and the consumables needed for the first project.
Having these tools readily available will save you time and frustration during your conversion project.
Power Tool Brands
While hand tools are essential, power tools can make your conversion project much more efficient.
Other Tool Ranges
Compare the actual tool model, its supported applications, available service and the complete kit cost. A less expensive or corded model may suit a limited job; the brand name alone does not establish its capability or durability.
For cordless tools, check whether the listing includes a compatible battery and charger. For cutting and drilling tools, include the required blades, bits and accessories in the comparison. Avoid treating the following brand lists as universal performance tiers.
I had a set of Ryobi tools for many years that I completed DIY jobs with. They lasted through the years, but they didn't have enough power for heavy-duty projects. Also, I drop my tools a lot, and the Ryobi did not hold up well to drops.
The original comparison included these ranges:
More Tool Ranges To Compare
My original build experience was mainly with DeWalt tools. Other manufacturers offer different models and systems to compare; this article is not a controlled test of every tool range.
I am rough on my possessions, and I drop my Dewalt power tools on a regular basis. Sometimes I drop them from the top of the van to the ground. None of them have cracked plastic like my Ryobi tools did. This level of robust construction is very important to me.
DeWalt was my preferred tool platform during this build. Choose the model for the actual task and consider future projects, compatible batteries and total setup cost rather than assuming one range suits every job.
Additional ranges listed in the original guide:
For more information on the differences between budget and professional power tools, see Power Tools Comparison: Budget vs Professional.
Essential Van Conversion Power Tools
Here are some power tools that will come in handy during your van conversion:
Circular Saw
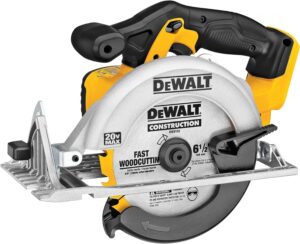
A circular saw can help with straight cuts in sheet material. Match the saw, blade and supported material to the manufacturer instructions; one blade or saw setup does not cover every material in a van build.
- Option 1: Skil 5080-01 13-Amp 7-1/4" Circular Saw
- Option 2: DEWALT 20V MAX Circular Saw, 6-1/2-Inch
In my camper van conversion, I've used my DeWalt circular saw for many cutting applications. I like that I can bring the circular saw anywhere to cut, like when I'm on a ladder working on the roof. I only use my larger table saw or miter saw for materials that the circular saw, jigsaw, and reciprocating saw cannot cut.
- Aluminum Extrusion
- Aluminum Bars
- PVC
- Wood
- Plastic
Jigsaw
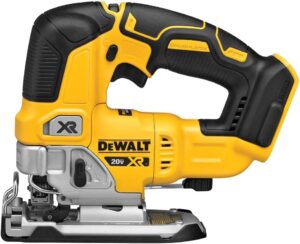
A jigsaw can be useful for curved cuts and openings when the tool and blade are suitable for the material. Whether you need one depends on your layout and cutting plan.
- Option 1: SKIL 5 Amp Corded Jig Saw
- Option 2: DEWALT 20V MAX XR Jig Saw
I'm not a big fan of using the jig saw for anything but wood. When I use it on metal or plastic, the jig saw blades tend to break, and I find my reciprocating saw or grinder to be easier to use. Getting the jig saw blade into the cutting channel, and keeping it there, can be challenging. However, for cutting wood it is one of the only tools that will give you precise non-straight cuts.
Power Drill
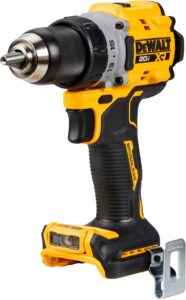
A power drill is an essential tool for any construction project, and a van conversion is no exception. It will come in handy for drilling holes and driving screws.
- Option 1: SKIL PWR CORE 12 Brushless Motor 12V 1/2 In. Drill
- Option 2: DEWALT 20V MAX XR Cordless Drill/Driver, 1/2-in
I used my DeWalt drill frequently during the original build. Select drill bits, speed and tool capacity for the material; do not assume thicker metal requires hammer mode. See DeWalt’s drilling instructions, which distinguish metal drilling from masonry hammer drilling.
Impact Driver
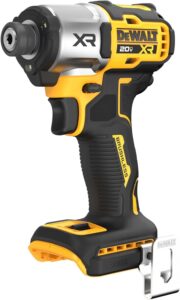
An impact driver is useful for driving suitable fasteners. A drill/driver and an impact driver perform different jobs; use the fastener and tool instructions rather than treating high torque as a substitute for controlled tightening.
- Option 1: SKIL PWR CORE 12 Brushless 12V 1/4 In. Impact Driver
- Option 2: DEWALT 20V MAX XR Impact Driver, Brushless, 1/4"
I definitely use my DeWalt Impact Driver every single day that I work on the van. It is the tool that I use the most by far. Having just a drill is not enough. The impact driver is much better suited for driving screws and bolts in. And you will be often switching back and forth between the drill and the impact driver as you drill holes and then drive a screw into them.
Angle Grinder
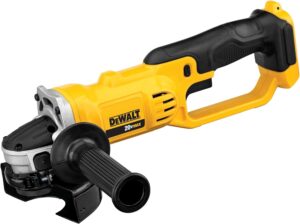
An angle grinder may suit specified grinding or cutting work when equipped with the correct accessory and guard. Check the material, wheel type, wheel speed rating and tool instructions before selecting the setup.
- Option 1: SKIL 9295-01 6.0 Amp 4-1/2-Inch Angle Grinder
- Option 2: DEWALT DCG412B 20V MAX Angle Grinder, 4-1/2”
I used a grinder frequently in the build, but that experience is not a reason to remove its guard. The DeWalt DCG412 manual specifies guards and accessories for different operations; use the correct configuration for your tool and task.
Keep the work supported, follow the tool’s handling instructions and use the eye, face and other protection specified for the operation. Direct sparks away from combustible material and keep loose clothing and gloves away from moving parts.
The grinder is my primary cutting tool because it's small, light weight, and it cuts through material fast.
Specialty Tools
In addition to basic hand tools and power tools, there are some specialty tools that can make your van conversion project easier and more efficient.
Rivet Gun
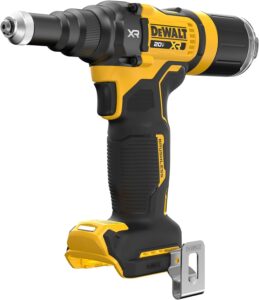
A riveter is useful when your design calls for compatible rivets. Check the rivet material, size, nosepiece and joint design before choosing a hand or powered tool; it is not required for every van conversion.
- Hand Riveter: Dewalt Heavy Duty Swivel Head Riveter
- Electric Rivet Tool: DEWALT 20V MAX XR Cordless Rivet Tool
I chose a hand riveter for attaching steel sheets during the original roof project because I did not expect frequent future riveting. Hand riveting was demanding and time consuming. Compare the current total cost and your expected workload before choosing a powered tool.
Heat Gun
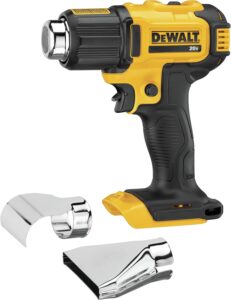
A heat gun is a versatile tool that can be used for a variety of tasks, from stripping paint to bending plastic. It's perfect for shaping materials for your van conversion.
- Option 1: Stanley BLACK+DECKER Heat Gun, Corded
- Option 2: DEWALT 20V MAX Heat Gun
I used a heat gun for wiring-related work and other preparation tasks in this build. The heat source and temperature must match the connector, sleeve or material instructions; a heat gun is not a substitute for a correctly specified electrical connection.
Air Compressor And Nail Guns
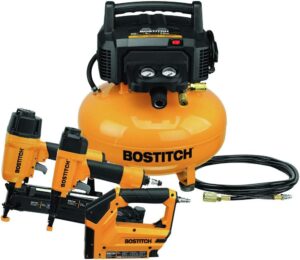
A compressor can power compatible pneumatic tools when its pressure and air-delivery capability meet their requirements. Consider it only if your chosen projects need pneumatic equipment.
The is one of the non-DeWalt Power Tools that I have. I bought a DeWalt compressor and I was not satisfied with it, so I returned it and bought this Bostitch compressor and nail gun set that works great.
When I'm working with wood, I prefer to use the nail guns instead of screws and bolts. Nail guns are much faster than drilling holes and driving screws into wood.
Tools For Electrical Preparation
For a planned electrical project, list the wire sizes, terminals and connectors first. Common preparation tasks use wire cutters and strippers matched to those wires, the crimping tool and die specified for the chosen terminals, and heat-shrink equipment where the connector instructions call for it. A meter’s ratings and use must match the circuit being checked. A general tool kit does not establish a safe electrical-system design.
See the actual equipment lists in Day 95: Roof Wiring Materials and Day 104: Tools Used. Match tools to the connector manufacturer’s instructions before purchase.
Safety Equipment
Safety should always be a top priority when working on any construction project, and a van conversion is no exception. Here are some essential safety equipment to have on hand:
Safety Glasses
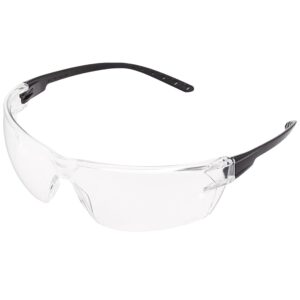
Safety glasses are a must-have when working with power tools. They protect your eyes from flying debris and other hazards.
- Safety Glasses: Amazon Basics Safety Glasses (Clear/Black), Anti-Fog
Protecting your eyes is extremely important. I find that I have to do several things to ensure that I wear these while I am working:
- If they fog up, I am less likely to wear them. So I have to buy anti-fog glasses. It's also impossible to keep them from fogging while wearing my respirator.
- If they become scratched, I am less likely to wear them because I can't see through them well. So I bought 12 pairs from Amazon to easily discard scratched ones for new ones.
- If they're not comfortable, I am less likely to wear them. So I've tried several types of safety glasses to find ones that are comfortable.
- If I don't have them on me in my work belt, I am not going to wear them. So I have to make sure they are always in my work belt.
The other day I was cutting aluminum with my miter saw and a piece flew up into my eye while I wasn't wearing safety glasses. I was lucky that it did not permanently damage my eye, and it was a reminder to always wear my safety glasses.
Respirator

Choose respiratory protection for the material and exposure involved. A particulate filter and a gas/vapor cartridge serve different purposes; a reusable facepiece alone does not specify the protection or mean cartridges are included. See 3M’s 6500QL facepiece information and the coating or material instructions before buying.
- Option 1: 3M Personal Protective Equipment Particulate Respirator 8210
- Option 2: 3M Rugged Comfort Quick Latch Half Facepiece Reusable Respirator 6502QL
The original build used a reusable respirator during painting, sanding and cutting. That history does not establish the right filter or cartridge for a new material. The recovered linked product title and image name disagree on facepiece size; check the exact model, size and included filters on the listing.
Use the quick latch only after leaving the contaminated area, as described in 3M’s product information. Follow the fit, seal-check and replacement instructions; do not loosen the seal while exposure continues.
Work Gloves
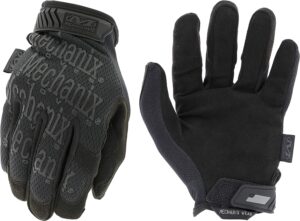
Select hand protection for the task and follow the tool instructions. General work gloves do not cover every chemical, heat or cut hazard; keep gloves and other loose items away from moving machinery.
- Option 1: 5-Pair Pack Wells Lamont Nitrile Work Gloves
- Option 2: Mechanix Wear: The Original Covert Tactical Work Gloves
I really don't like wearing gloves, which means my hands are always cut and bleeding. I have never found a glove that gives me anything close to the dexterity that my bare hands have. Since you're usually working with small items like bolts and screws in the camper van conversion, the gloves really get in the way.
Consider both protection and dexterity when choosing gloves for handling materials. For powered operations, follow the tool’s specific clothing and hand-protection instructions instead of a blanket rule to wear gloves at all times.
Conclusion
Build your shopping list around the next project: measure and plan first, identify suitable hand and power tools, then account for accessories and protective equipment. Reuse what you already own and compare borrowing or renting for occasional specialist tasks. The project equipment lists show the original tools and materials used, while the power-tool comparison helps you weigh the complete setup cost.