Scotch 2060 Tape: the Eight-Hour Masking Job on My Van
Taping the van’s paint boundaries and covering the areas left unpainted took about eight hours. Scotch 2060 is one of my masking purchases for that kind of detailed preparation.
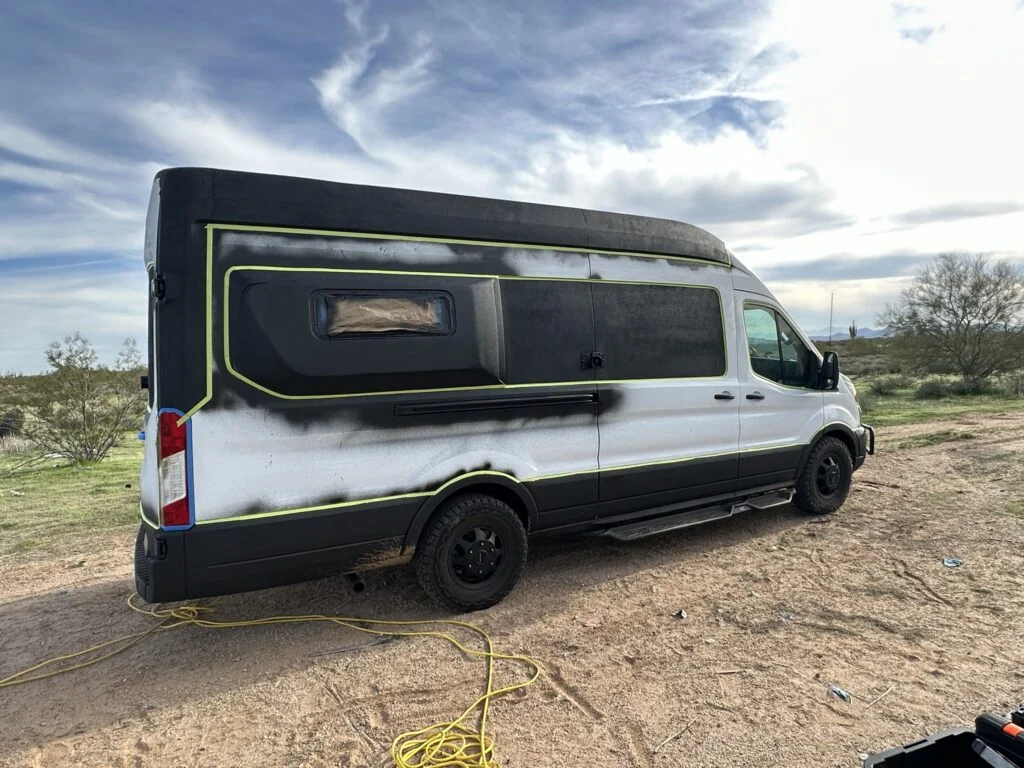
The large side panels were only part of the masking work. I had to follow the borders of all the areas that would remain unpainted and cover those surfaces before the sanding and spray-coating stages.
After sanding, dust removal, cleaning and spraying came drying and removal of the masking. The boundary lines did not all come out as I wanted, adding touch-up work at the end of an already long day.
My van with masking around the exterior areas prepared for coating.
The Eight-Hour Masking Stage Before Spraying
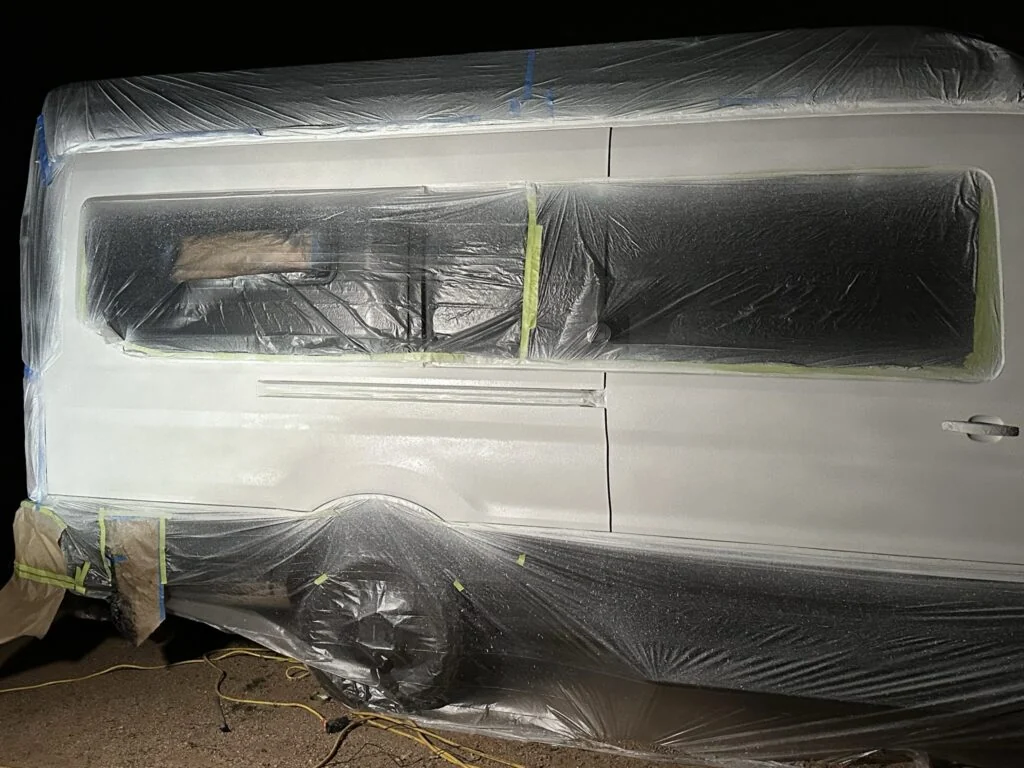
I taped the paint boundaries and covered the areas I was leaving unpainted with plastic sheeting.
I sanded the exposed areas, blew away the dust and cleaned and degreased the surface.
After spraying and drying, I removed the masking and inspected the edges for touch-up.
The side of the van during the white-bedliner project.
My Takeaway for Choosing the Kit
I would allow time for the edges and the broad covering as two parts of the same task. Scotch 2060 and FrogTape supply tape rolls; MyLifeUNIT combines the taped edge with folded film. That changes the handling of the covering material. My actual result is a reminder that completing the masking did not mean every finished line would be perfect.
Product Details And Van-Build Uses
Specification
Product Detail
Product
Scotch 2060
Color
Green
Adhesion
Strong rough-surface adhesive
Scotch 2060 uses a strong adhesive for rough-surface masking, with brick, concrete, stucco and rough wood among 3M’s listed applications. The current US product information gives separate indoor and outdoor removal periods. Clean and dry the receiving surface, then press the tape along the intended boundary before adding the covering film. On a large van masking job, plan the reachable sections and overlap points together. Steven’s existing page records the time spent covering his van rather than treating tape placement as a minor final step.
Is Rough-Surface Tape The Same As Original Blue Tape?
No. The products have different adhesion levels and removal instructions; 2060 is the strong-adhesion rough-surface range.
Alternative products
Two Alternatives to Compare
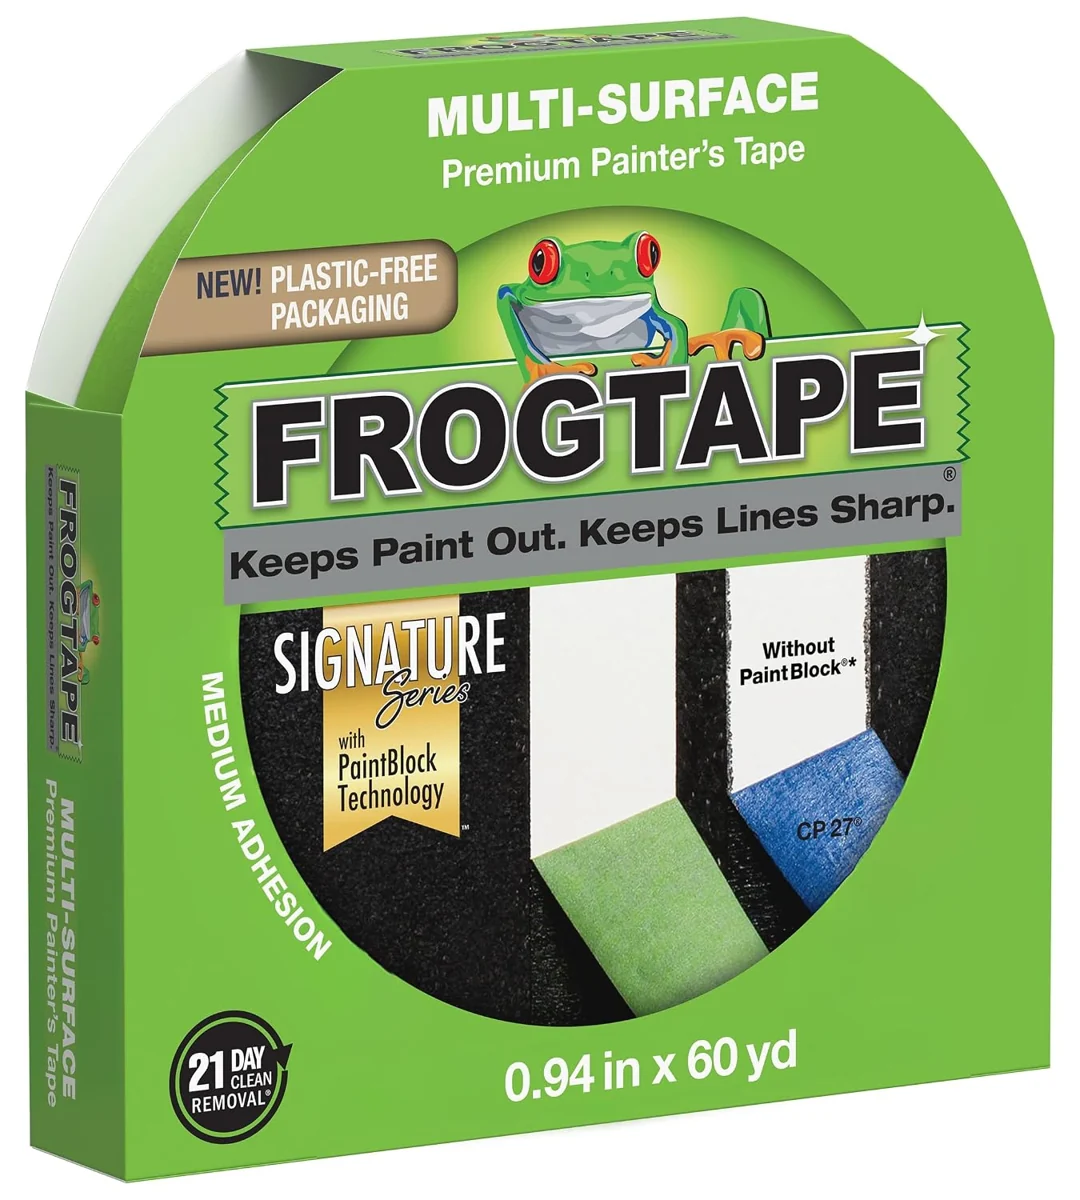
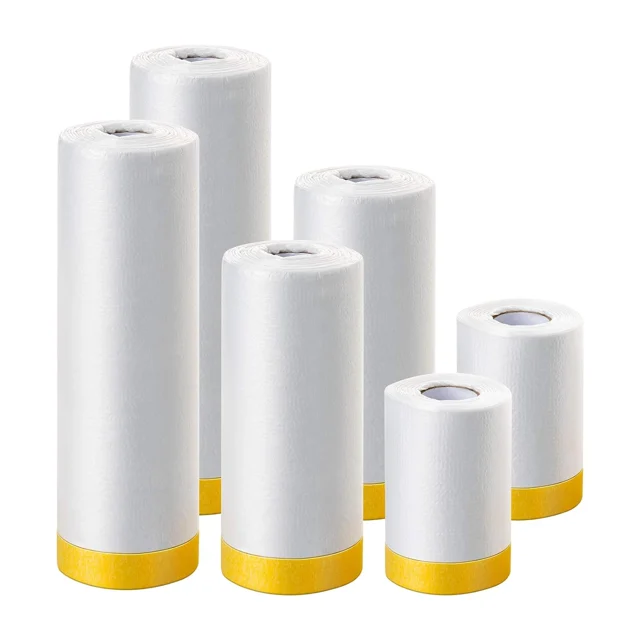
FrogTape is another masking-tape option. MyLifeUNIT combines a taped edge with covering film, changing the workflow from placing tape and separate sheeting to using an integrated covering product.
Product
Why compare this option
Purchase link
Scotch 2060 Rough-Surface Masking Tape
Purchased rough-surface masking tape for setting an edge.