Cleaning & Preparation · My build kit

ScotchBlue Original Painter's Tape

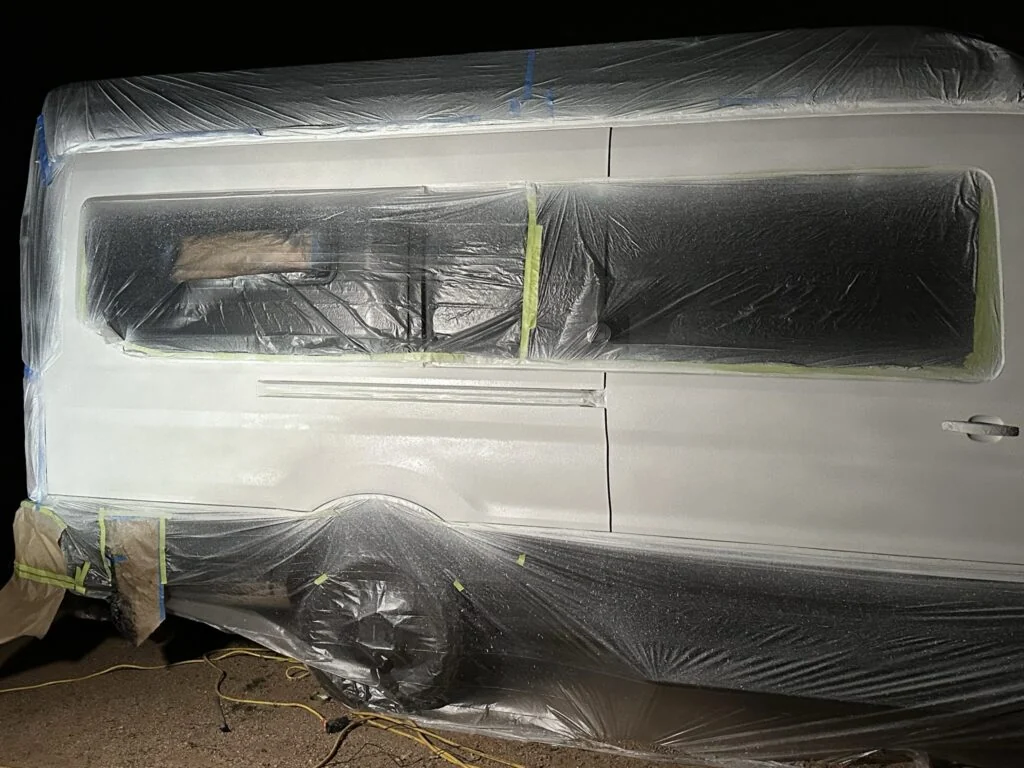
I spent around eight hours taping and covering areas before the exterior coating work. This blue tape is one of my masking purchases for that preparation stage.

By · Camper Van Freedom

Read my build notes ↓

The Item in My Kit

I bought ScotchBlue Original Painter's Tape as part of my camper van equipment.

I spent around eight hours taping and covering areas before the exterior coating work. This blue tape is one of my masking purchases for that preparation stage.

The Masking Stage That Took Around Eight Hours

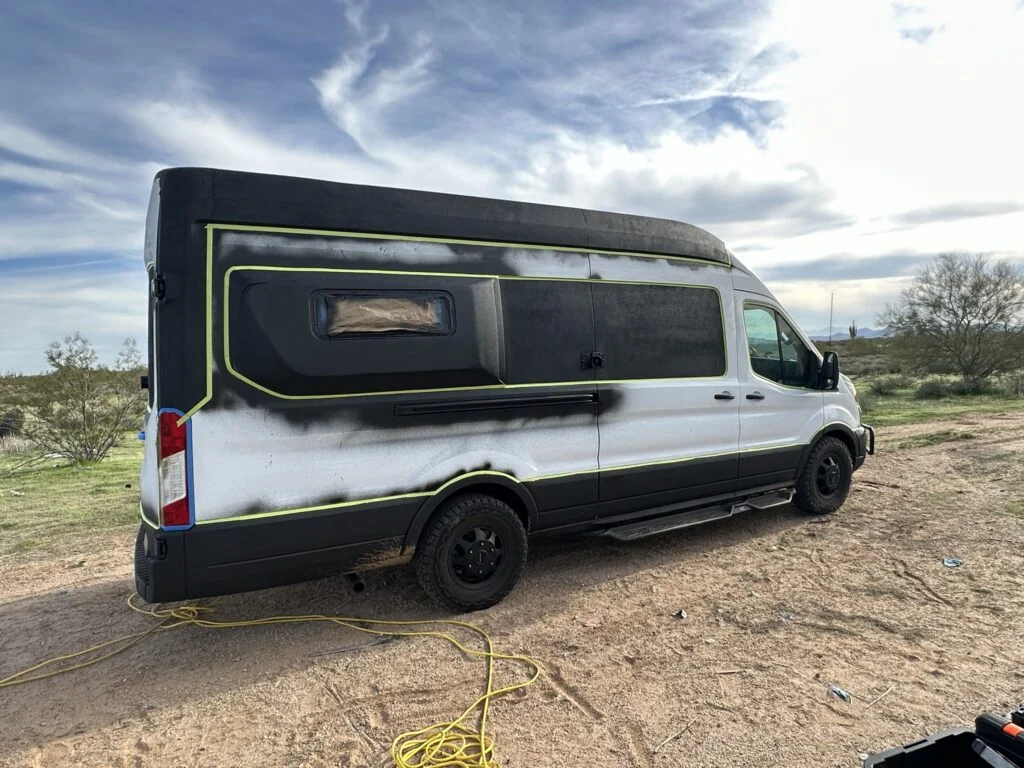
  1. I taped the boundaries of the areas I was leaving unpainted.
  2. I covered those areas with plastic sheeting before sanding and cleaning the exposed bodywork.
  3. I removed the masking after spraying and drying, then checked the edges for touch-up.
The side of the van during the white-bedliner project.
My van with masking around the exterior areas prepared for coating.

My Takeaway from This Job

Getting the lines aligned took a substantial share of the coating job, and the edges still needed attention afterward. My ScotchBlue purchase compares with another multi-surface tape and a rough-surface format, keeping the tape category distinct from the coating choice.

Masking time and the finished edge both mattered in my coating notes.

Product Details And Van-Build Uses

SpecificationProduct Detail
RangeScotchBlue Original 2090
ColorBlue
AdhesionMedium strength

ScotchBlue Original uses medium-strength adhesive for smooth or lightly textured surfaces. The current 3M product information describes its application and slow pull-back removal method. Mark the intended boundary, apply the tape to a clean and dry surface, then press the edge before attaching larger masking sheets. Keep the masking line and the broad covering job as separate parts of the layout. That makes it easier to inspect the paint boundary without disturbing the plastic over the surrounding panels.
Read 3M ScotchBlue Original Application Information

Related: Scotch 2060 Rough-Surface Tape: Masking Layout

Why Inspect The Tape Edge Before Adding More Covering?

The tape defines the coating boundary. Inspecting it first keeps a small alignment problem from being hidden beneath larger sheets.

Alternative products

Two Alternatives to Compare

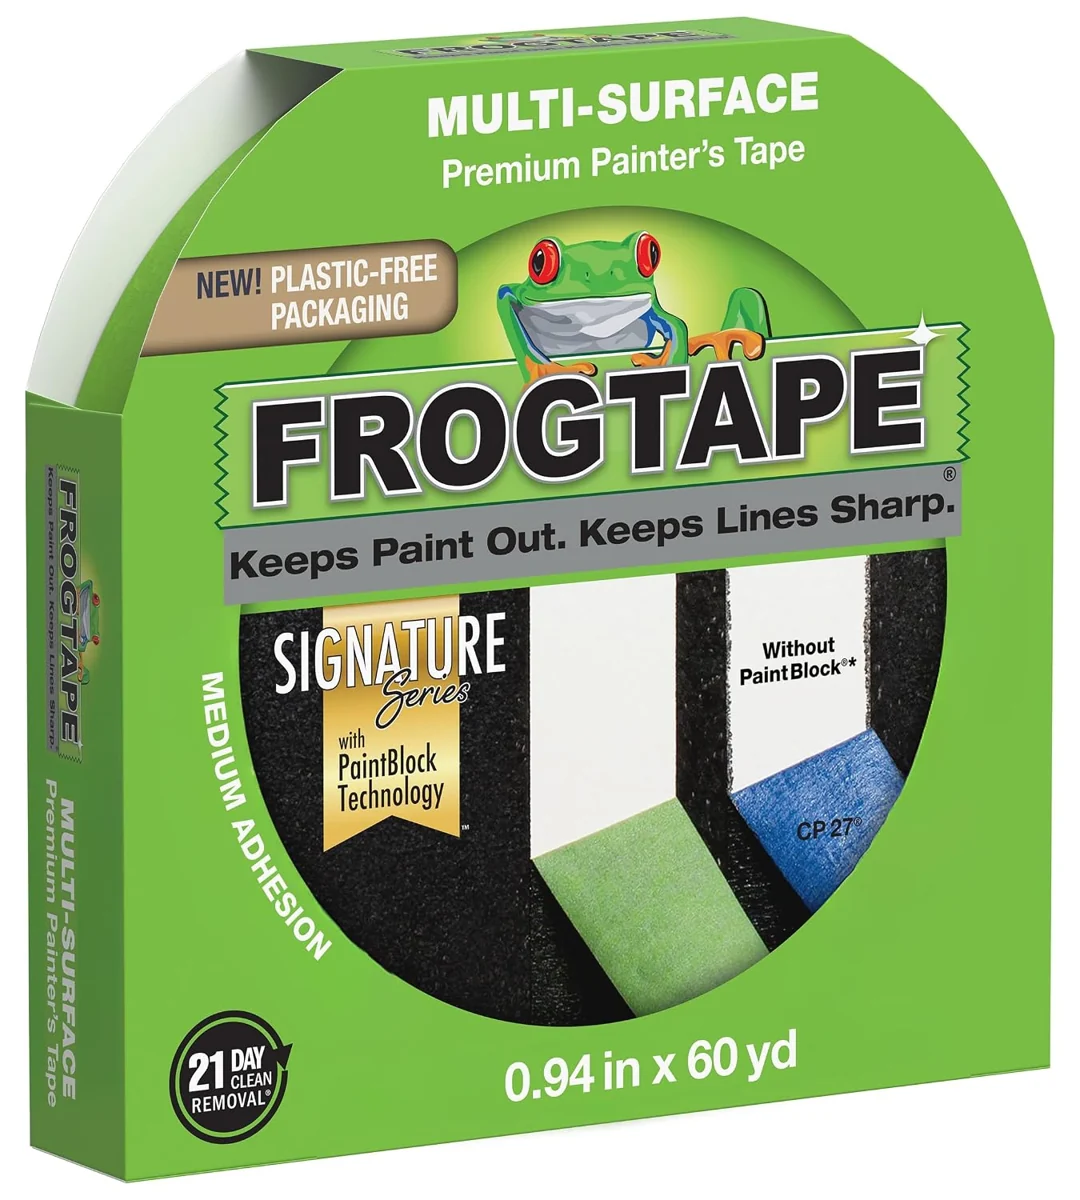
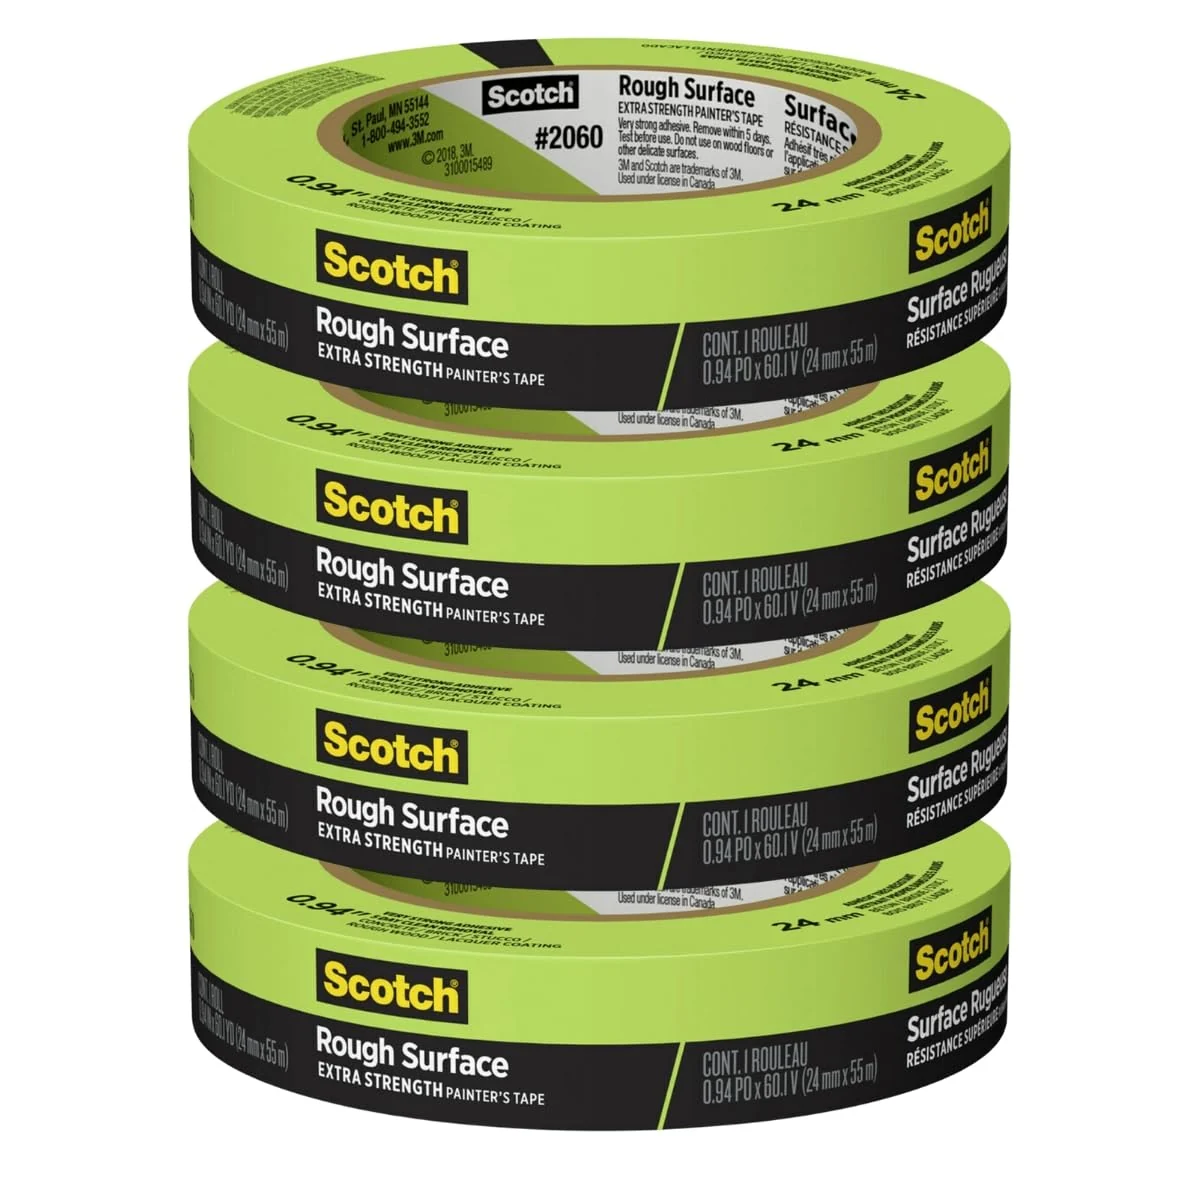
FrogTape offers another general masking approach. Scotch rough-surface tape changes the surface category within the masking-tape range.

ProductWhat distinguishes itPurchase link
ScotchBlue Original Painter's TapeBlue paper-backed removable masking tapeView on Amazon
FrogTape Multi-Surface Masking Tape (alternative)Multi-surface masking tapeView on Amazon
Scotch 2060 Rough-Surface Masking Tape (alternative)Green rough-surface masking tapeView on Amazon
FrogTape Multi-Surface Masking Tape

FrogTape Multi-Surface Masking Tape

This masking tape is supplied on a narrow roll. The adhesive strip forms a removable boundary for painting work.

View on Amazon
Scotch 2060 Rough-Surface Masking Tape

Scotch 2060 Rough-Surface Masking Tape

This green masking tape is supplied on narrow rolls. Its rough-surface format provides a taped edge for painting and masking work.

View on Amazon

Questions from My Build

What Took the Longest Before Painting?

Taping the edges and covering the areas I was not painting took around eight hours.

What Problem Did I Record with the Bedliner?

The Rust-Oleum pooled and dripped in some areas, leaving an uneven finish that needed touch-up.

← All cleaning & preparation