The SmartShunt was part of my electrical equipment purchases for the van. It represents the monitoring side of the kit, alongside the cable, switching and distribution components listed separately in the hub.
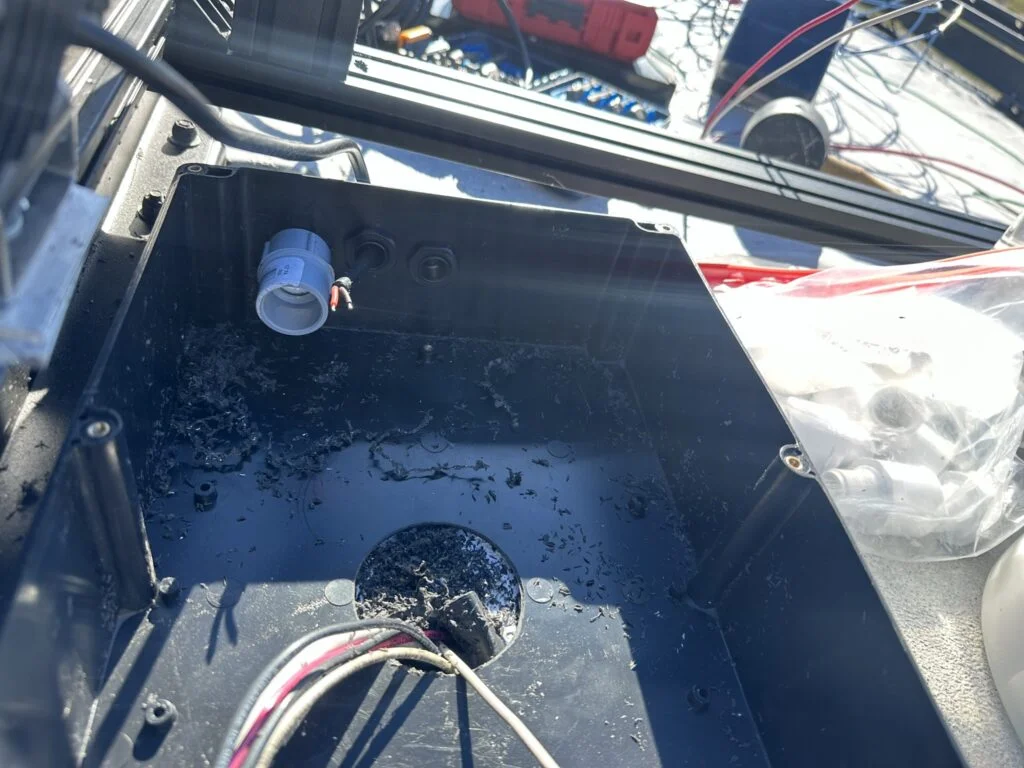
The larger roof enclosure during my cable-entry work.
The item in my kit
I bought Victron SmartShunt 500A Battery Monitor as part of my camper van equipment.
The SmartShunt was part of my electrical equipment purchases for the van. It represents the monitoring side of the kit, alongside the cable, switching and distribution components listed separately in the hub.
Where it fits my build
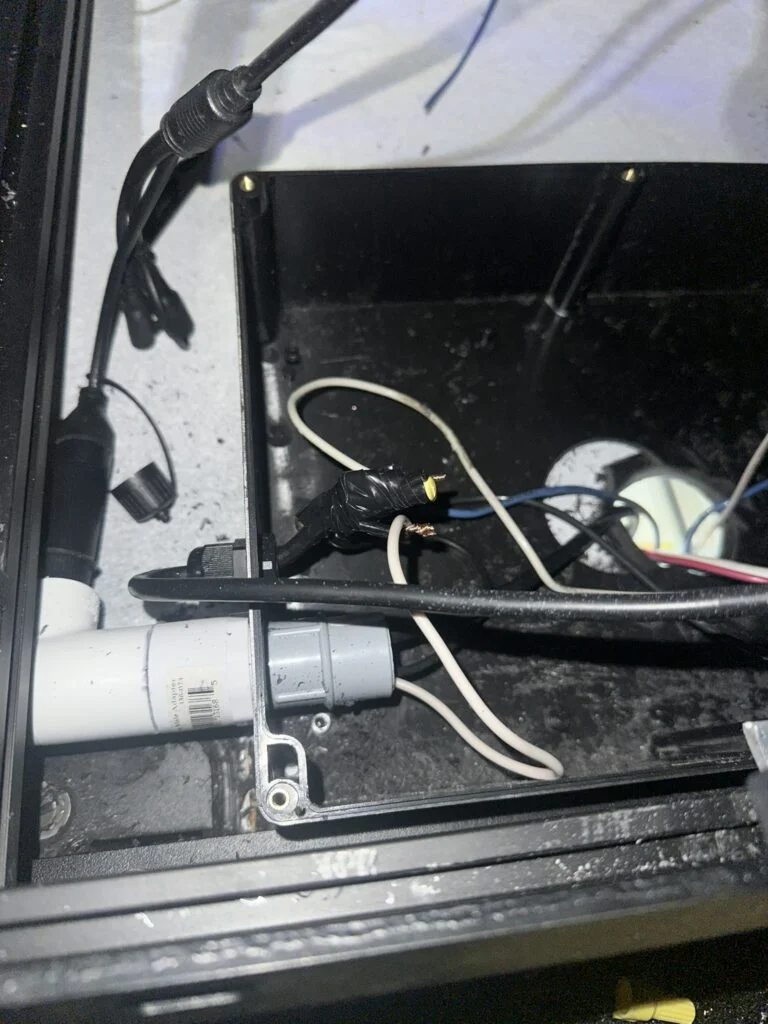
I brought the roof light wires and camera cables into a PVC conduit layout. That work included drilled enclosures, threaded fittings, cable glands, solder-seal splices and grouped wiring.
During the small-box stage, I drilled for a male PVC fitting and used a fitting inside as a retaining nut. I routed the camera cable through a gland into a tee and brought the light-wire groups toward the van entry.
A grouped roof-wire connection before the final conduit work.
My build notes
The wiring project was a sequence of individual connections and routes. The photographs show the intermediate stages, including open boxes and wrapped wire groups, before the remaining covers and conduit joints were finished.
I built the cable route a section at a time, bringing local connections into the larger conduit system.
Alternative products
Two alternatives to compare
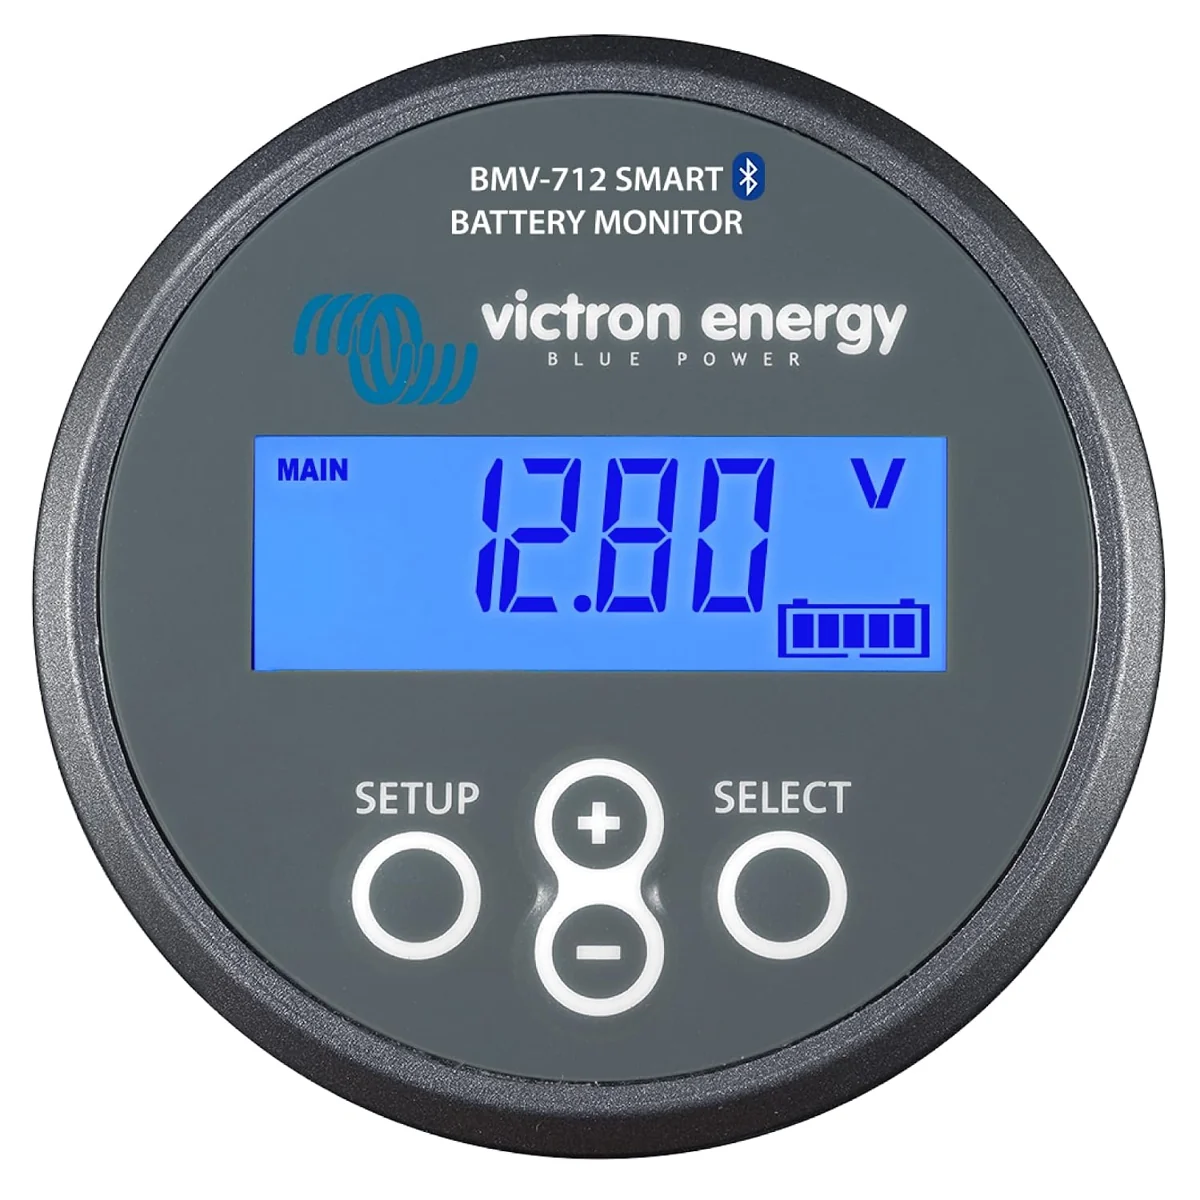
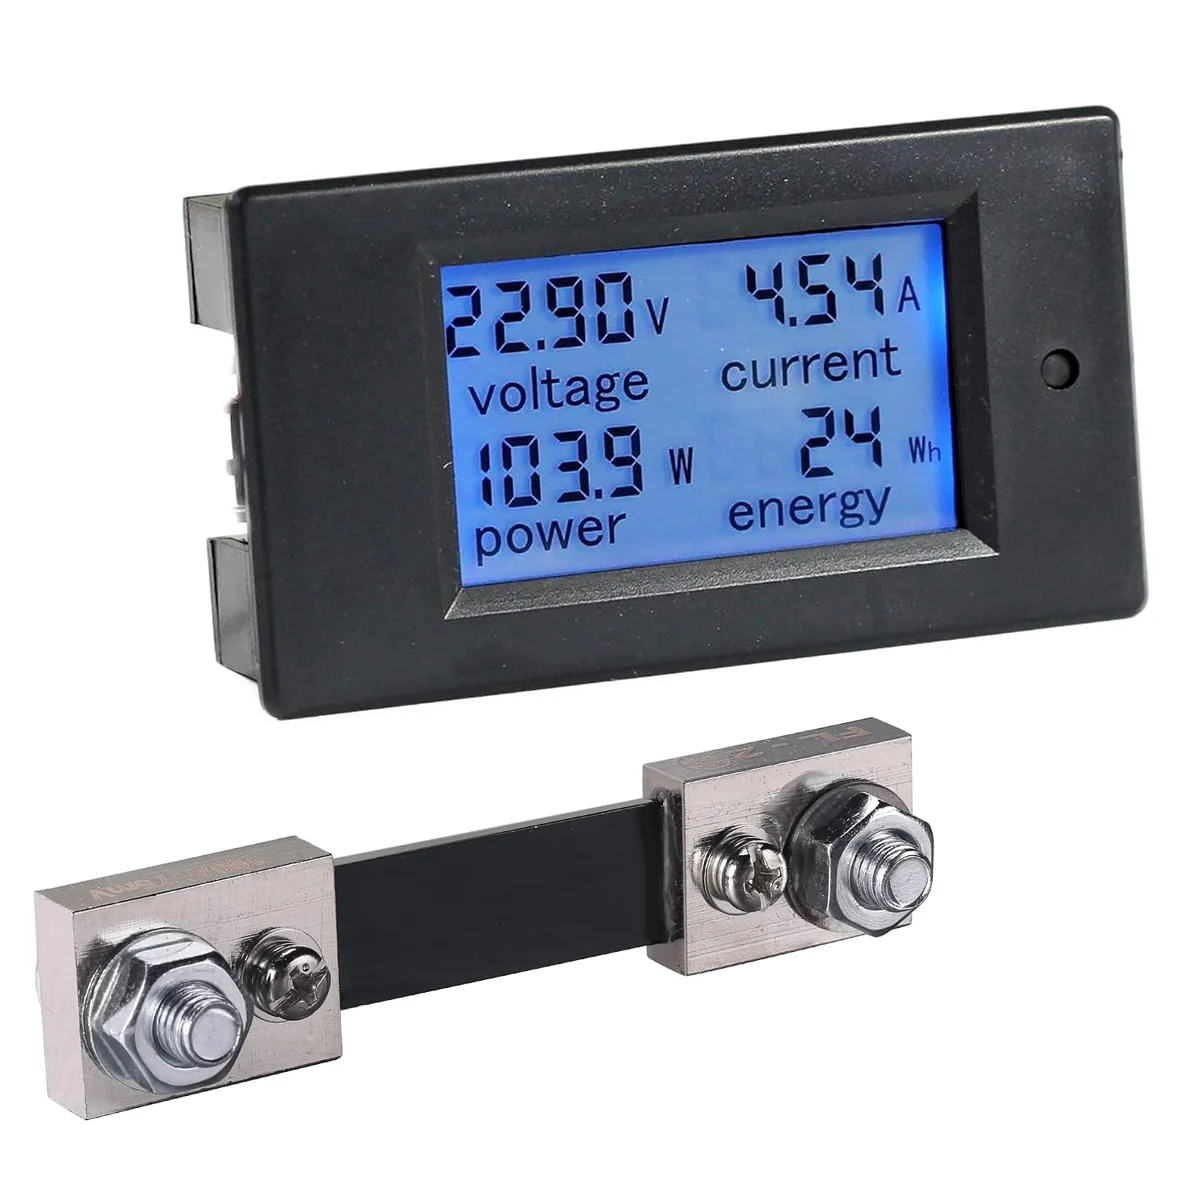
The BMV-712 adds a dedicated display alongside Bluetooth, while the bayite monitor uses a wired LCD and a 100-amp shunt with a different measurement range.
Victron BMV-712 Battery Monitor
This battery monitor combines a shunt with a dedicated round display. Bluetooth connectivity also provides access to readings through VictronConnect.