Why It’s in My Fastening Kit
I bought the HARDELL rivet-nut tool as part of my fastening kit. My interior-preparation diary records installing the remaining M6 rivet nuts before the framing, flooring and panels went in.
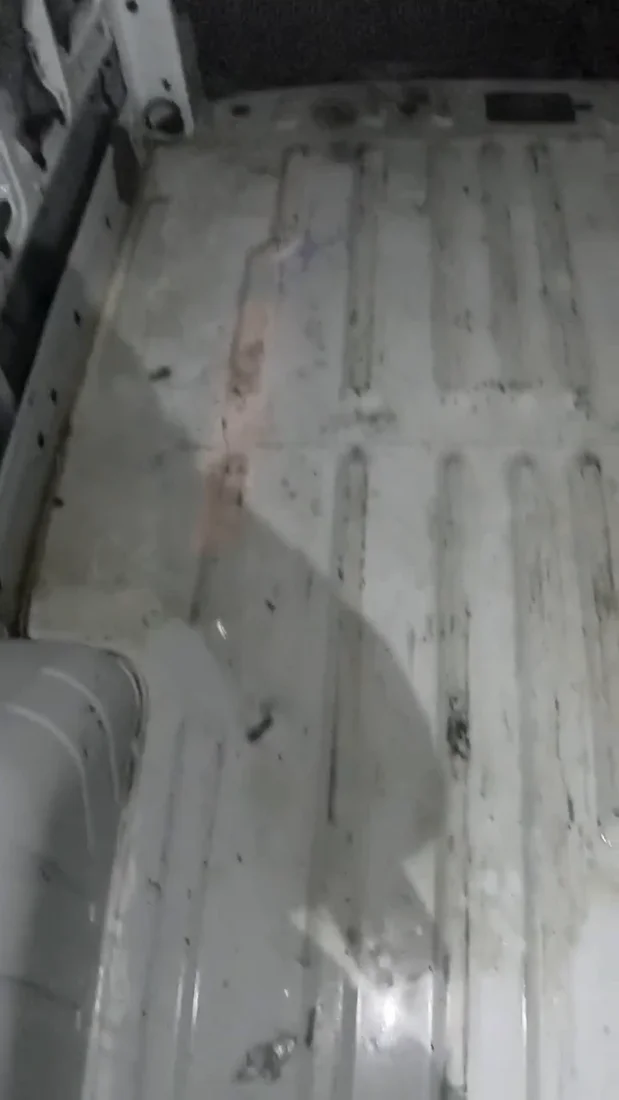
Preparing the attachment points was part of the interior work before framing, flooring and panels.
Preparing Threaded Attachment Points Before Covering the Interior
- I installed the remaining M6 rivet nuts in the cargo interior during the preparation stage.
- I wanted the likely attachment holes ready before framing, flooring and panels restricted access.
- I treated this preparation as a separate task from the slot-nut assembly used on the roof rack.
Camper Van Project Applications
A rivet-nut setter needs the correct mandrel for the insert thread. Tool reach and leverage affect repeated installations inside a cargo area, especially as other parts of the build reduce access. Steven's successful replacement of the broken WETOLS tool is the direct owner comparison here.
For a wider view of the build kit, see my van conversion tool checklist and budget versus professional tool comparisons.
Manufacturer Specifications And Instructions
| Specification | Manufacturer Detail |
|---|---|
| Reviewed Kit | 14-inch manual rivet-nut tool |
| Mandrels In Original Manual | M6, M8, M10, 10-24, 1/4-20, 5/16-18 and 3/8-16 |
| Original Kit Fasteners | 100 rivet nuts |
| Included Storage And Tools | Carrying case and spanner |
| Manual Reference Sections | Mandrel replacement, travel adjustment, rivet-nut chart and illustrated installation sequence |
HARDELL’s original manual shows the seven-mandrel, 100-rivet-nut kit named in my purchase record. It includes metric and inch threads, so the mandrel and rivet nut are paired by thread rather than by the overall size of the tool. The illustrated mandrel-change page shows the removable nosepiece and cross pin; a separate chart groups the nuts by thread and workpiece thickness. These references help when changing from one attachment size to another during interior panel and bracket work. This was the replacement tool I used to finish the van’s rivet-nut work after my earlier tool broke. My review below preserves that comparison.
My Experience with This Tool
I bought this HARDELL tool after the WETOLS rivet-nut tool I reviewed earlier stopped working. It felt sturdier and better made, and it got me through the rest of the rivet-nut work in the van.
This replacement finished the rivet-nut work my first tool couldn't. Of the two, it's the one I recommend.
Watch My HARDELL Rivet-Nut Tool Review
My narrated review covers the sturdier replacement that finished my remaining rivet-nut work after my original WETOLS tool stopped working.
Press Play To Start The Video.
Read The Video Transcript
Hi, I'm Steve Smith with Camper Van Freedom. This is my HARDELL rivet-nut tool. I bought it after my earlier WETOLS tool stopped working. The HARDELL felt sturdier and better made, and it got me through the rest of the rivet-nut work in the van. Of the two, it is the one I recommend.
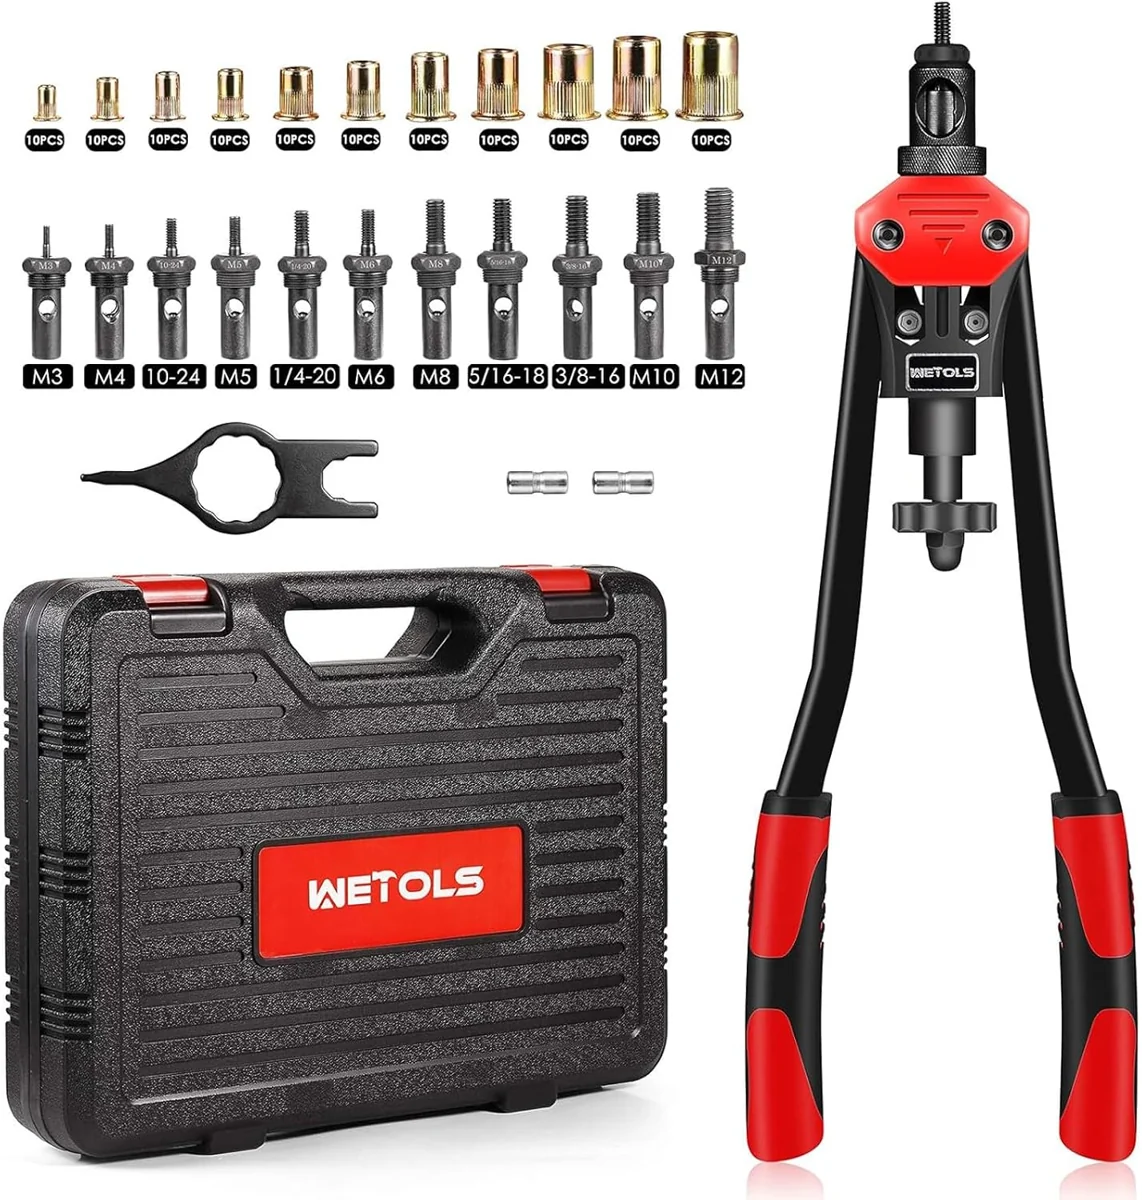
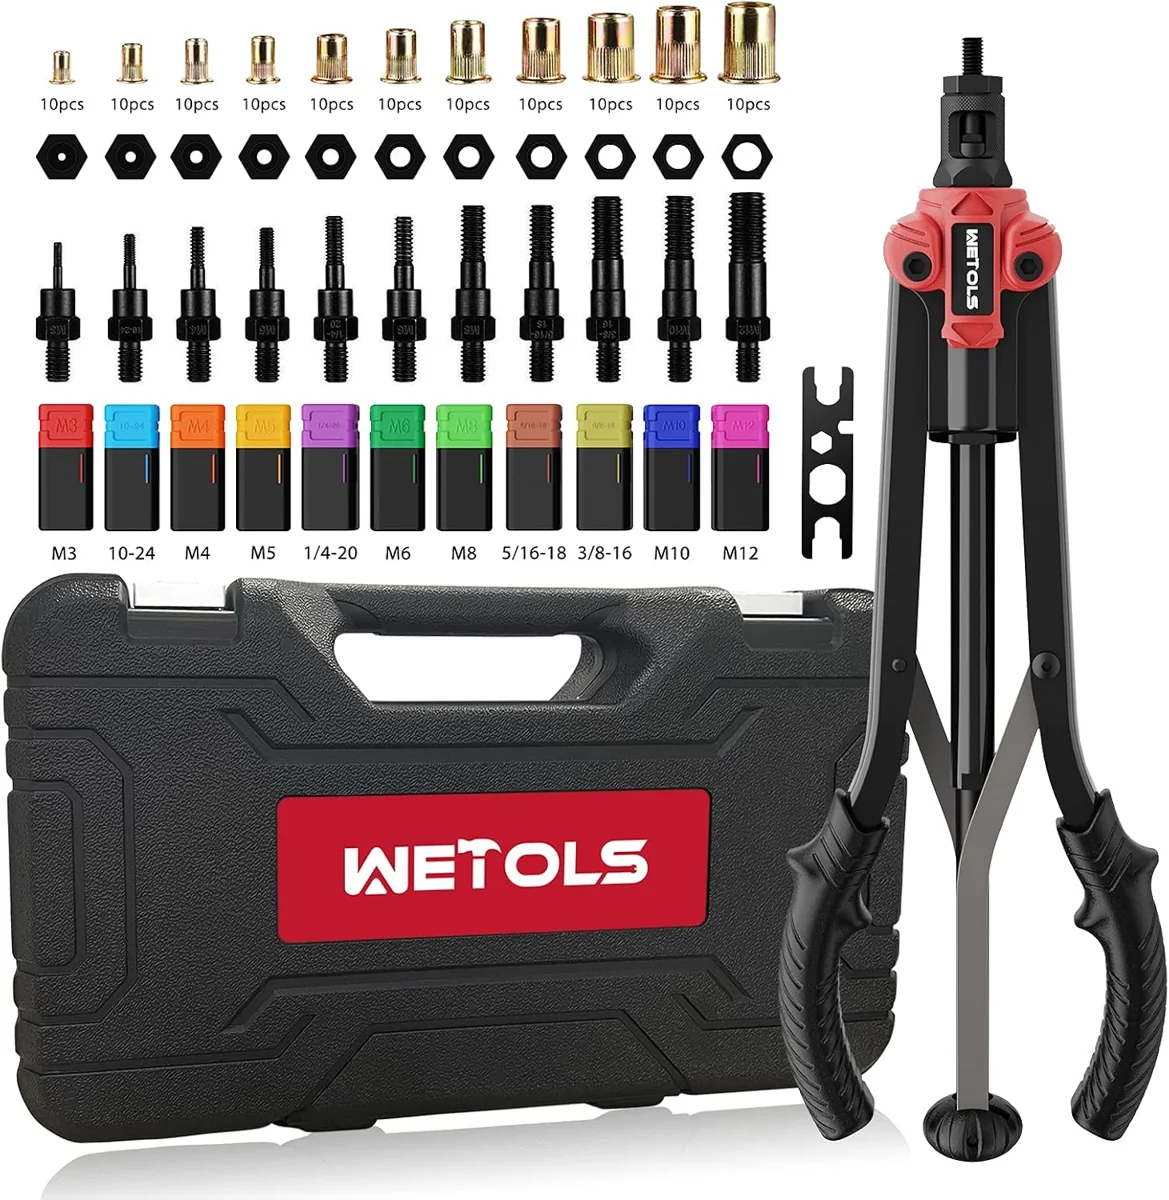
The matching product picture shows the long handles, interchangeable mandrels and storage case. The mandrel connects the tool to the threaded insert. The insert provides the threaded attachment point after setting. The tool, its mandrel and the fastener have different roles in that arrangement.
My cargo-floor picture comes from the interior-preparation stage. I installed the remaining M six rivet nuts while I could still reach the cargo-area metal. I wanted likely attachment points ready before framing, flooring and panels limited access. The workshop footage illustrates general measuring and holding work.
Planning access came before covering the interior. A tool needs room at the attachment point as well as the correct thread connection to the insert. The diagram separates the prepared hole, the threaded insert and the setting tool. It explains that sequence without treating a rivet nut as an extrusion slot nut.
My experience with this replacement was positive. It felt sturdier and better made than the earlier tool, and it finished the remaining work. The important result for me was getting through that part of the van build after the original setting tool had stopped working.
The matching WETOLS picture shows the earlier tool from the same ownership story. That manual work took elbow grease, and eventually the tool broke and would no longer set the fasteners. I chose another inexpensive tool because I did not expect much rivet-tool use after finishing the van. The HARDELL was that replacement.
My page compares the original WETOLS kit and the separate WETOLS W E eight-nine-six kit. All use long handles and interchangeable mandrels, but the kit assortment and case layout differ. The original WETOLS is a tool I actually used. The other kit is a researched comparison option, rather than my replacement.
Thanks for watching. I'm Steve Smith with Camper Van Freedom. The HARDELL finished the rivet-nut work that my first tool could not, and it is my recommendation of those two. The full review, related original-tool account, build picture and current buying options are linked below. Until next time.
Watch This Review On YouTube · English Captions (VTT) · Download The Transcript
My Takeaway from This Job
The lasting decision was to prepare the attachment points while I could still reach the metal. The HARDELL purchase and both WETOLS alternatives use long handles and interchangeable mandrels, so the kit contents and storage arrangement are the comparison points here.