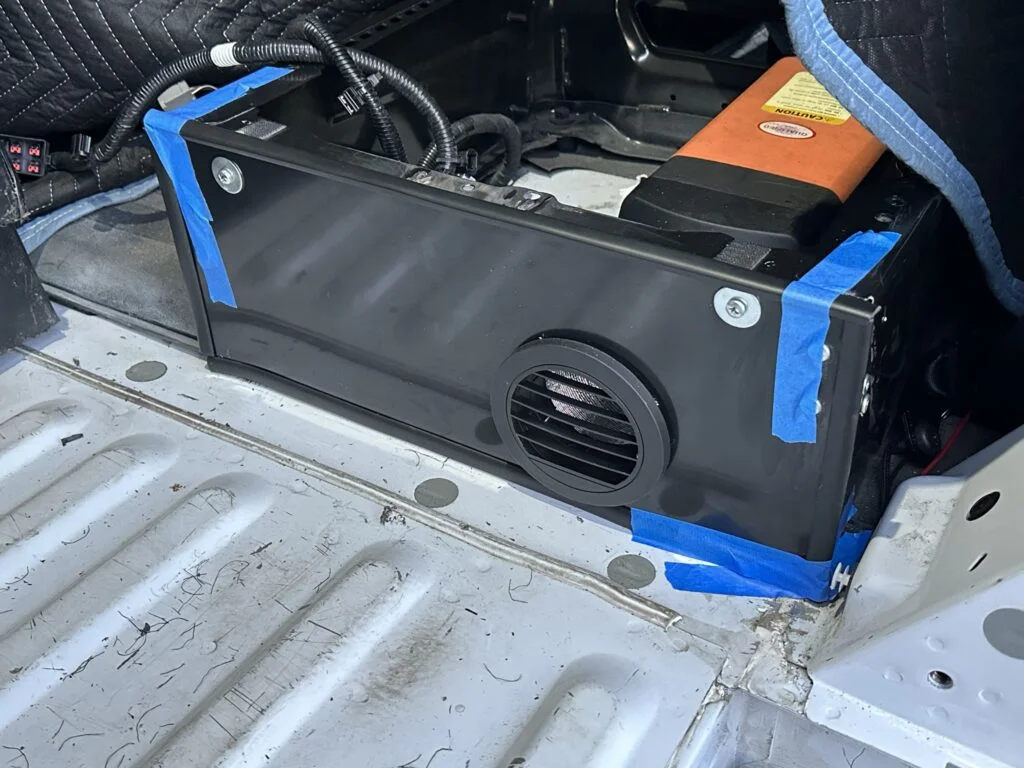
The adhesive on my L-shaped trim did not stick to the cover. I finished the edge treatment using super glue and blue painter’s tape to hold the trim in place.
After making the black cover, I wanted to finish its exposed panel edges. The Tintvent L-shaped trim provided the black border I used for that stage.
This was a finishing detail on a cover I had already cut, fitted and attached. The edge treatment followed the panel and bracket work rather than being part of making the main opening.
Finishing the Cover When the Adhesive Did Not Stick
I fitted the L-shaped trim along the cover edges.
I switched to super glue when the trim adhesive did not stick.
I held the trim against the panels with blue painter’s tape.
Blue painter’s tape holding the edge trim after I switched to super glue.
My Takeaway from This Job
The adhesive backing did not stick to my cover. My finished edge treatment depended on super glue and blue tape, and that extra work is the main point of my experience.
The tape backing failed on my cover, and I switched to glue and temporary tape.
Product Details And Van-Build Uses
Specification
Product Detail
Brand
Tintvent
Profile
L-shaped lip
Color
Black
An L-shaped trim has one leg along the face and another over the edge, so the panel thickness and corner shape affect its fit. Position a sample at the most visible corner before cutting the long run. Keep the strip relaxed while measuring, then work along the edge in short sections. Steven’s existing review records the adhesive problem and the glue-and-tape solution used on his cover. The fitting plan can retain that experience while keeping the trim profile distinct from a push-on U-channel.
No. An L-profile covers a face and edge; a U-channel wraps around both sides of the edge.
Alternative products
Two Alternatives to Compare
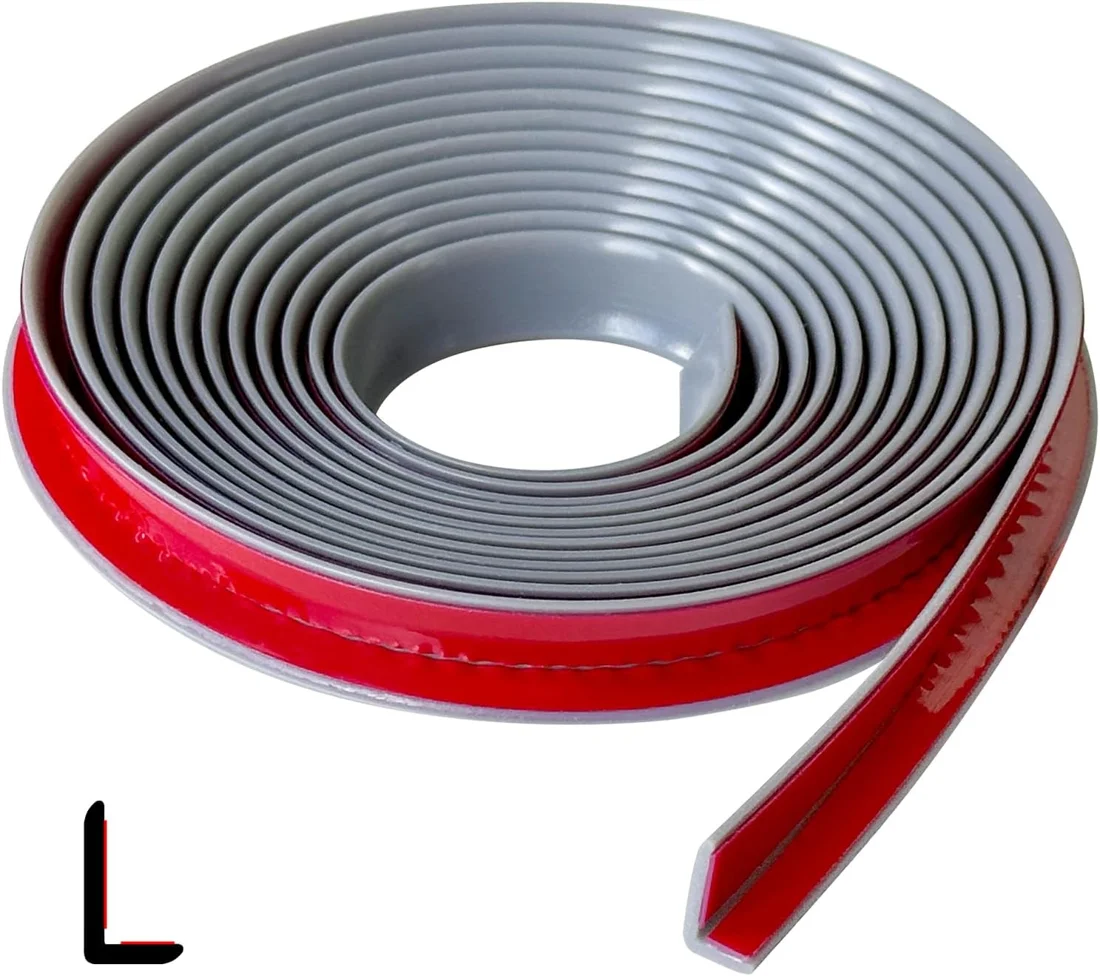
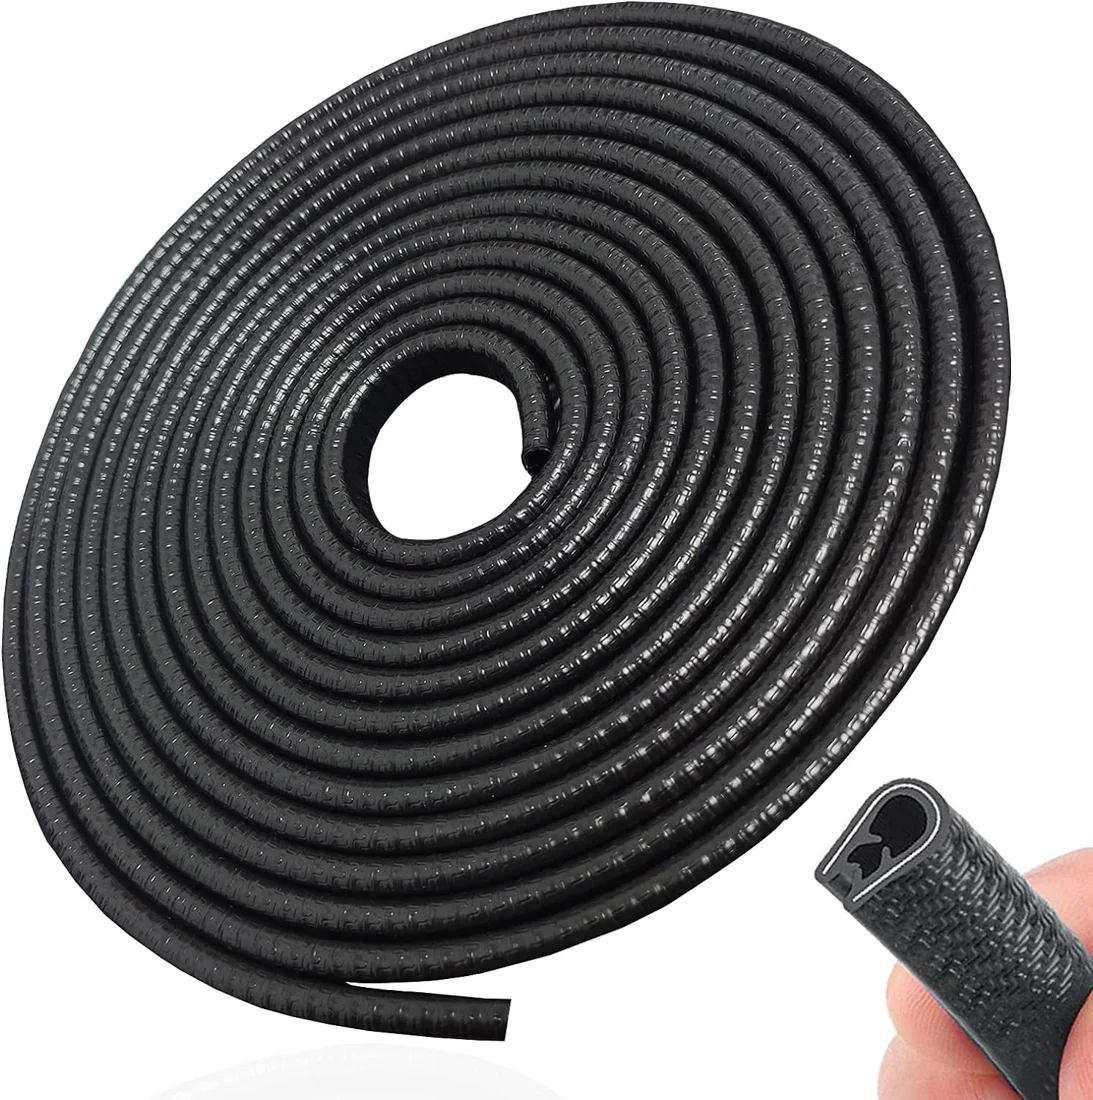
The Protalwell trim keeps an adhesive-backed L-shaped approach, with a gray small-profile border. The SYOAUTO guard wraps around an edge with a U-shaped metal-reinforced grip. That difference in attachment is especially relevant to the adhesive problem I had with my Tintvent trim.
This gray L-shaped rubber trim uses a peel-and-stick backing along an exposed edge. Its small profile offers another adhesive-backed approach to finishing a panel border.
This black U-shaped edge guard grips around an edge with an internal metal reinforcement. Its wraparound profile provides a different attachment approach from adhesive-backed L-shaped trim.