The best solar panels for a van conversion have to fit the roof you are actually building. I used four RICH SOLAR 200W panels on my Transit, but getting from a product listing to an arrangement on the van involved more than adding up watts. During my recorded roof work, I moved rack crossbeams to suit panel length, added another layer of aluminum extrusion, and brought two panels onto the roof for fitting. Lights, junction boxes and cable routes were part of that same work area.
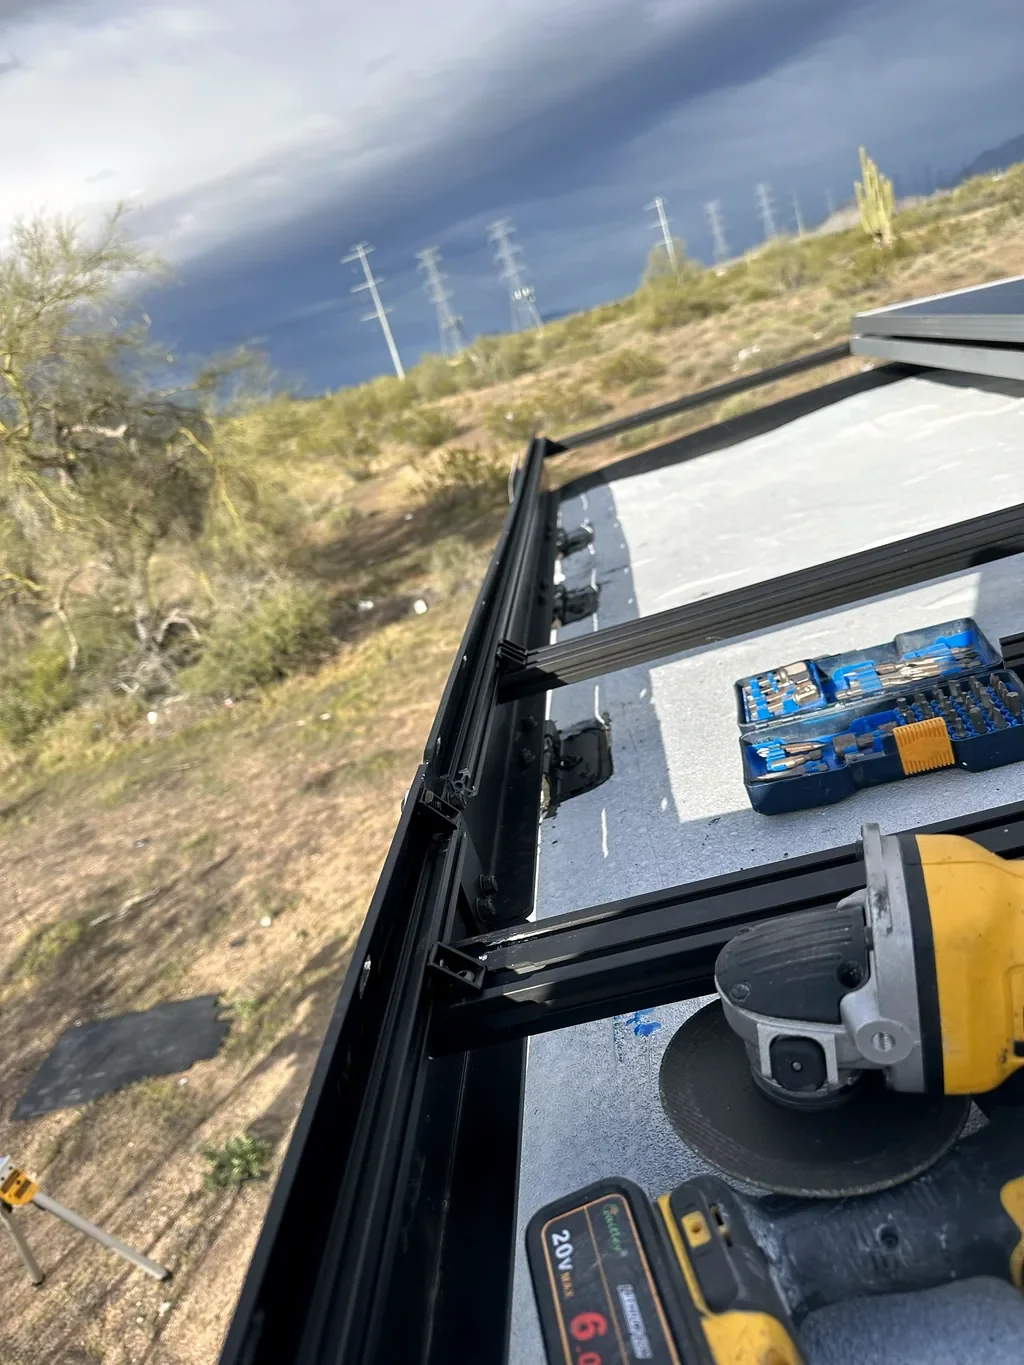
That experience is why I would compare the physical package before deciding which panel to buy. One nominal 200W module, a package containing two 100W modules, and a single 100W module are three different layout decisions. The first two have the same combined nameplate power, but they divide it across the roof differently. The third starts with half that nominal power. I want those differences clear before a shopping comparison becomes an installation plan.
Here is how I work through the choice, using my roof-fitting notes and the three panel options already documented in my build catalog. Start with the shape of the available space, then connect that choice to mounting, cable access and the rest of your system plan.
Start With The Roof You Have
I would begin with a complete roof inventory. Write down the items already installed, the openings that already exist, and the equipment that still needs a place. The roof does not become an empty rectangle because a panel listing includes an attractive installation photograph. On my van, the rack, added rails, small lights and wiring all belonged to the same physical arrangement. A panel position needed to work with those parts rather than hide them behind a clean-looking sketch.
Keep the fixed and adjustable parts separate. A roof opening is a different constraint from a crossbeam that can be repositioned. An existing cable entry is different from a proposed route. I moved rack crossbeams during fitting; that documented adjustment is useful context when looking at module length. It does not mean every rack offers the same adjustment or that any panel will fit after moving a rail.
My roof-rack fitting story shows the stage behind this comparison. Use it to see the relationship between existing rails and added extrusion. Then make your own roof record with the actual clear spaces between obstacles. Include places you need to reach later, not just the areas that appear available from above. A panel that occupies an opening completely may leave a different problem underneath it.
Compare The Module Count And The Package Total
The first comparison I would make is deliberately simple: how many physical modules arrive, and what is each module's nominal rating? A single 200W panel is one module. A two-panel package containing 100W modules is two modules totaling 200W. A single 100W panel is one module totaling 100W. Keeping those statements together avoids comparing a package title with an individual-panel title as though both described the same thing.
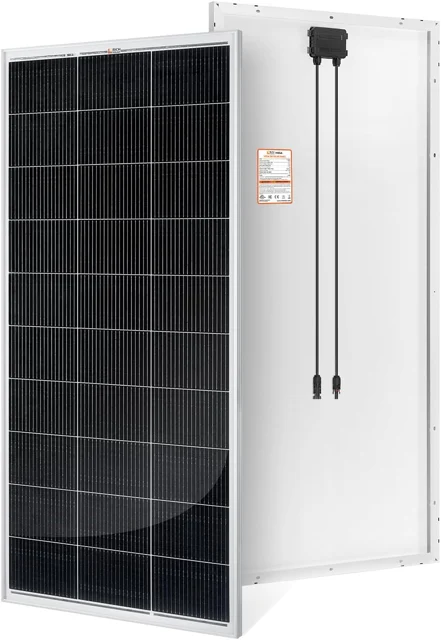
Current RICH SOLAR 200W Option
This rigid solar panel has a framed rectangular module and rear cable connections. Its nominal 200-watt format provides a larger individual panel than a 100-watt module.
View On Amazon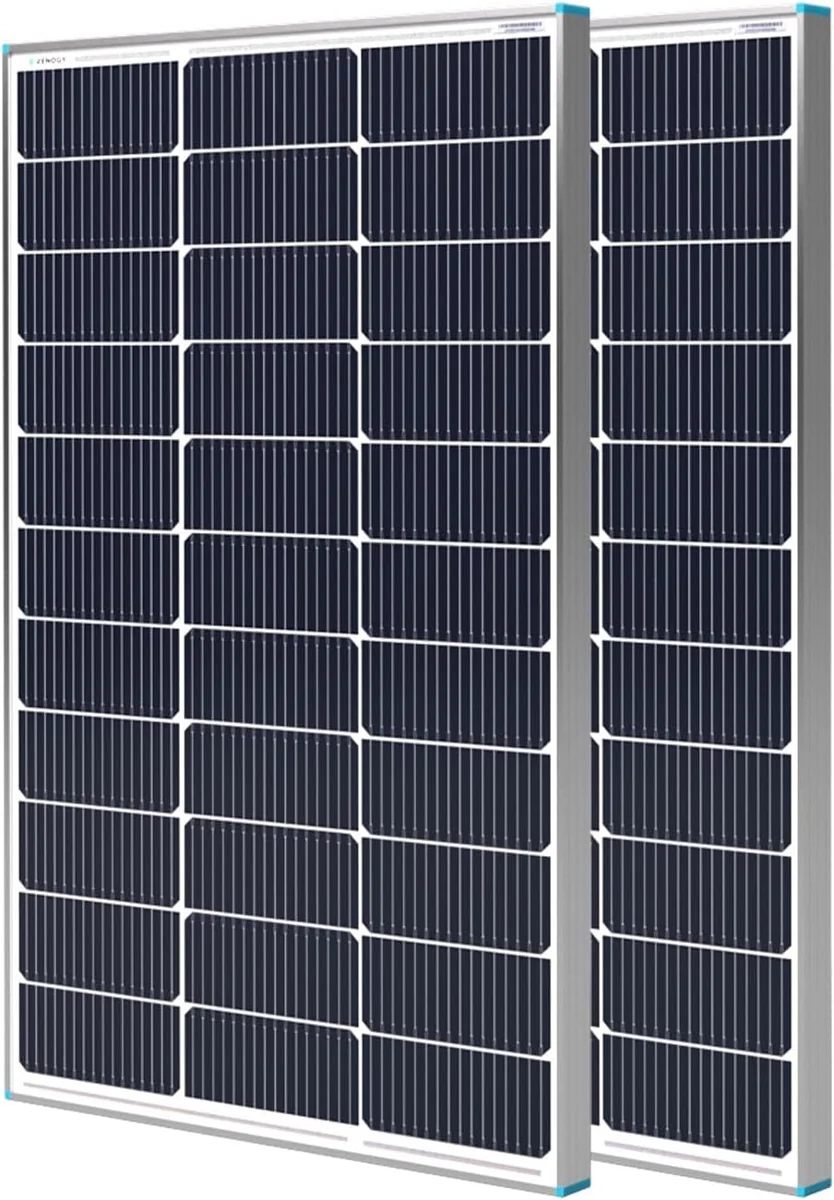
Alternative: Renogy Two-Panel 200W Package
This package supplies two rigid 100-watt solar modules. Each panel has its own frame and rear cable connections for arranging the pair.
View On Amazon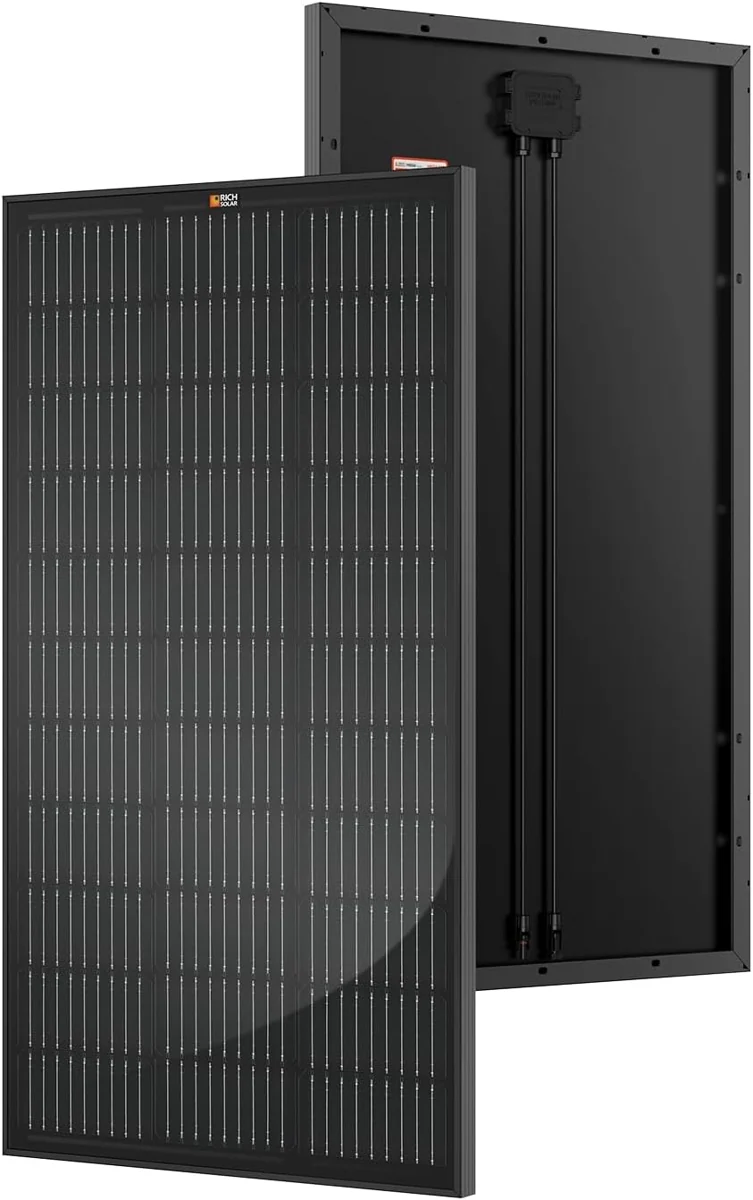
Alternative: RICH SOLAR 100W Black Panel
This rigid monocrystalline solar panel uses a black frame around a rectangular module. The nominal 100-watt panel has rear cable connections for an array layout.
View On AmazonThe RICH SOLAR 200W panel is the reference from my build. The Renogy comparison in my catalog is a pair of 100W panels. The other comparison is a RICH SOLAR 100W black panel. The smaller RICH SOLAR panel also appears among my purchases, but this comparison does not turn that purchase record into evidence that it formed part of my installed four-panel array. My published system record identifies four 200W panels.
For the two nominal 200W choices, the buying question is how to divide the available space. For the single 100W choice, both space and total nameplate power change. I would write those differences beside the price rather than bury them in a description. A lower package total is not automatically better value, and a matching watt total is not proof of matching dimensions, mounting points or electrical characteristics.
What My Panel-Fitting Session Actually Shows
The useful part of my diary is the fitting sequence. I moved the existing crossbeams to fit the solar-panel length, installed 2020 extrusion above the rack extrusion, and brought two panels onto the roof. That same session included junction boxes, wire glands, conduit, power and Ethernet routing, plus mounts for two small lights. The notes record twelve hours and describe the wider project as still in progress.
I would use those photographs to understand the physical work area. They show rails, brackets, leads and nearby equipment while the arrangement was developing. They do not provide a measured comparison between panel brands. They also do not turn the two panels brought up for fitting into the final installed count. The fitting session and the later four-panel system description answer different questions, so I keep both parts of the story intact.
Read Roof Wiring And Devices Project Day 1 for the complete original sequence. When comparing panels for another van, I would take the practical lesson from that sequence: bring the real module dimensions into the roof plan early. Check the rails, equipment and cable routes together. The point of the trial is to discover the awkward interaction while you can still revise the arrangement, rather than discover it after treating the panel order as the finished design.
When One 200W Module Makes Sense To Compare
I would put a single 200W module on the shortlist when the roof offers a useful uninterrupted area and the mounting arrangement can support that particular module. The attraction is the way the package occupies the space: one frame, one rectangular footprint and one panel's rear cable exits. That can be a straightforward shape to compare with a clear rack bay. The actual mounting design still comes from the module and rack details.
A larger individual rectangle also makes the location of an obstacle more important. A vent, light mount or reserved opening in the middle of that rectangle can rule out a position even when there appears to be plenty of total unused roof area. I would check both orientations on paper before choosing the arrangement. Rotating a rectangle changes which obstacles it approaches; it does not create more roof space.
My RICH SOLAR 200W product page keeps the purchase context, matching product imagery and existing Amazon comparison links together. The historical purchase title refers to 9BB construction; the current Amazon offer describes an 18BB N-type panel. I keep current-offer details separate from the historical panel record. For choosing a physical arrangement, read the exact offered module's drawing rather than assuming that a familiar product family guarantees the same revision.
When Two 100W Modules Deserve A Look
Two smaller modules create two separate placement decisions. That is useful to investigate when the roof has divided spaces rather than one clear area. You might be able to compare a module ahead of an obstacle with another behind it, or place the pair in a different orientation from one larger panel. Whether that works depends on the dimensions of the actual modules, the available mounting locations and the cable route between them.
I would not assume that two 100W panels necessarily occupy less total area than one 200W panel. There are two frames, space between modules, separate attachments and cable connections to account for. A comparison needs the complete arrangement, including the gaps your mounting and access plan requires. Two small rectangles can fit a divided space well while still creating more edges and interfaces to organize.
The Renogy two-panel 200W package is an alternative in my existing catalog, not a panel pair I am presenting as installed on my Transit. Its useful comparison point is the division into two nominal 100W modules. I would consider it when that division solves a real layout problem. If it does not, the additional module does not become an advantage simply because the package lists the same combined watts as a single 200W panel. Decide what the second frame helps you accomplish before treating it as a benefit.
Where A Single 100W Panel Fits The Comparison
A single 100W module belongs in the comparison for a different reason. It lets you investigate a smaller individual addition or a position that cannot accept the larger candidate. It also changes the nominal power total. One 100W panel is not a like-for-like power replacement for one 200W panel, even when the smaller frame fits an awkward opening more comfortably.
The RICH SOLAR black 100W panel in my catalog provides that smaller-module comparison. I would look at its actual frame dimensions and cable exits, then compare the completed arrangement rather than focusing only on the black finish. Appearance can matter on a visible roof, but color does not answer whether the module fits the available supports or whether its electrical characteristics belong in a proposed array.
For someone planning several modules, keep the panel count visible throughout the exercise. Four 100W ratings add to 400W; four 200W ratings add to 800W. Those are nameplate arithmetic examples, not predictions of daily energy. The number of modules, the combined rating and the layout all change together. My 100W panel page provides the existing item record and comparison destinations. Use the smaller module to solve a defined space or system requirement, then check the consequences of that choice across the complete plan.
Read The Drawing Before Comparing The Roof Arrangement
A product photograph is useful for recognizing the frame and rear connections. A dimensioned drawing is what I would use to compare the offered module with the roof. Record length, width and thickness from the same identified revision, then mark the mounting features and cable exits. Keep the source link beside those numbers so a later listing change does not silently change the basis of the layout.
I would also write down which side each measurement describes. The full frame dimensions are different from a distance between mounting holes. A clear gap between rack rails is different from the distance between their outer edges. Mixing those reference points can make a layout appear to fit until the actual brackets are included. A short note identifying each measurement is more useful than a page full of unexplained numbers.
The current RICH SOLAR manufacturer reference and its linked specification material are useful starting points for that model family. I would match the drawing to the offered revision and the delivered label before carrying dimensions into a final parts plan. For my historical build, the evidence stays with the original purchase record and fitting photographs. Current manufacturer material helps explain a current choice; it does not rewrite which version I bought years earlier.
Count The Mounting And Access Work
Once the rectangles fit, I would compare the work around them. Identify the proposed supports, the frame attachment locations and the route for reaching those locations during assembly. A panel arrangement can look tidy from above while putting a fastener where it is difficult to approach. The fitting record should show where a hand and the relevant tool need to go, as well as where the finished frame will sit.
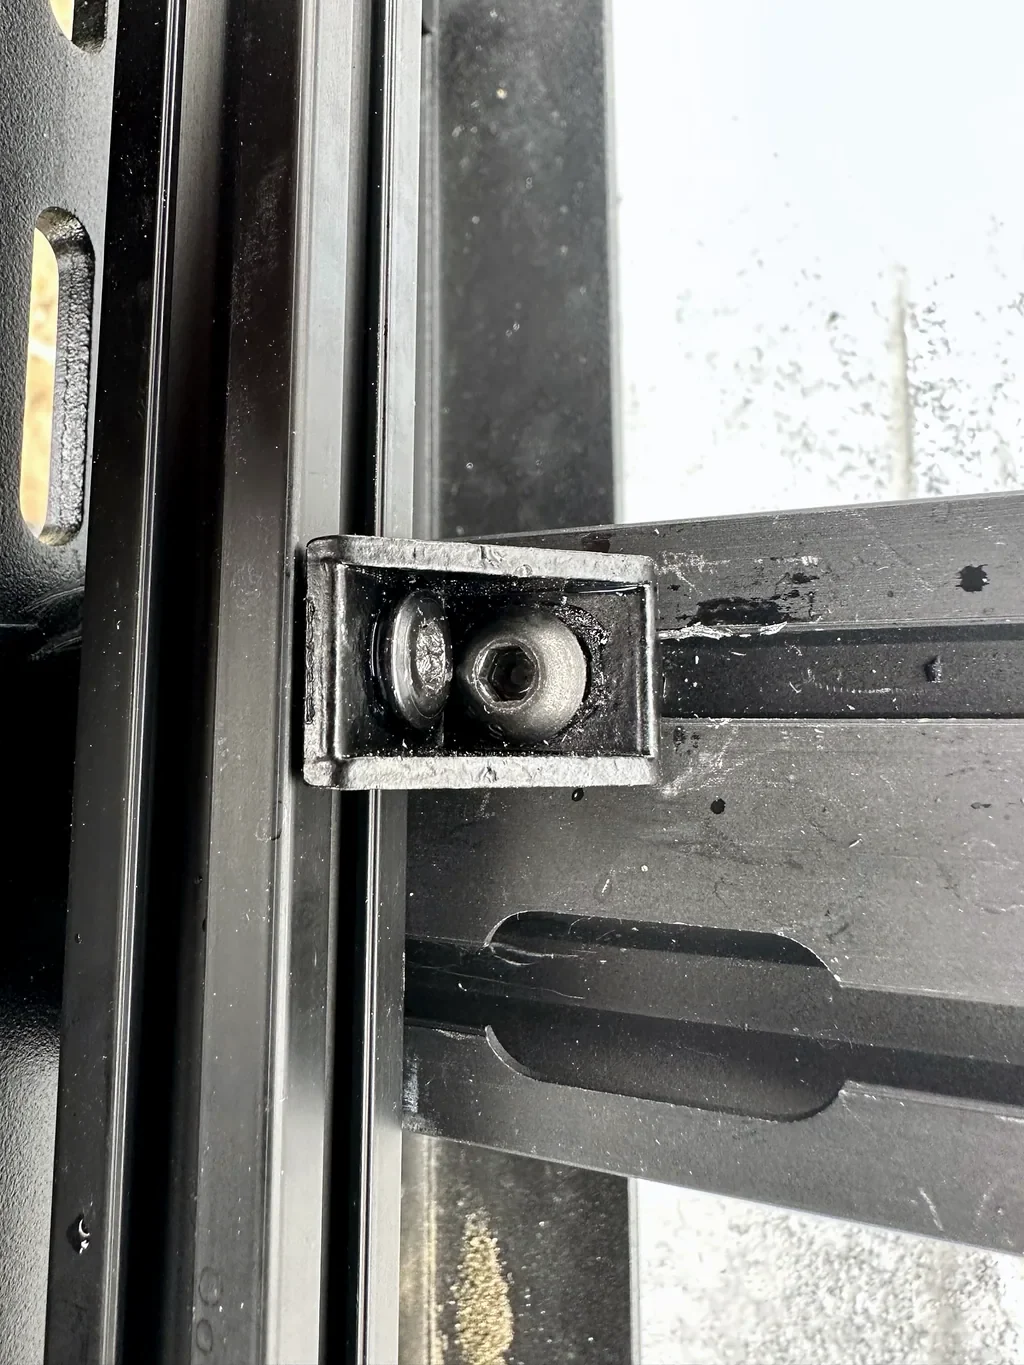
My added extrusion and small-light brackets are useful examples of nearby work that competed for attention. The mounting parts were not isolated from the panel layout. I would keep a view of those interfaces in the comparison so that choosing a module does not create an unexpected need to move another item. If a candidate depends on relocating existing equipment, that relocation belongs in its work scope.
Future access matters as well. Think through which part would be reached first if you needed to inspect a connection or remove a module. Record which neighboring piece would have to move and whether its cable route allows that movement. This is a planning sequence, not a claim that my panels needed a particular repair. Comparing the removal route while choosing equipment helps keep the finished arrangement understandable. It also gives you a practical reason to favor one module layout over another beyond a headline specification.
Plan The Cable Space As Part Of The Footprint
I would reserve space for the rear junction box, attached leads and the connections between modules. The visible top surface of a panel is only part of its physical package. A lead leaving the back of the frame has to reach a planned connection without being treated as an invisible line through a solid rail. Keep the actual connection locations in the layout record, especially when a smaller-panel arrangement places modules on opposite sides of another roof item.
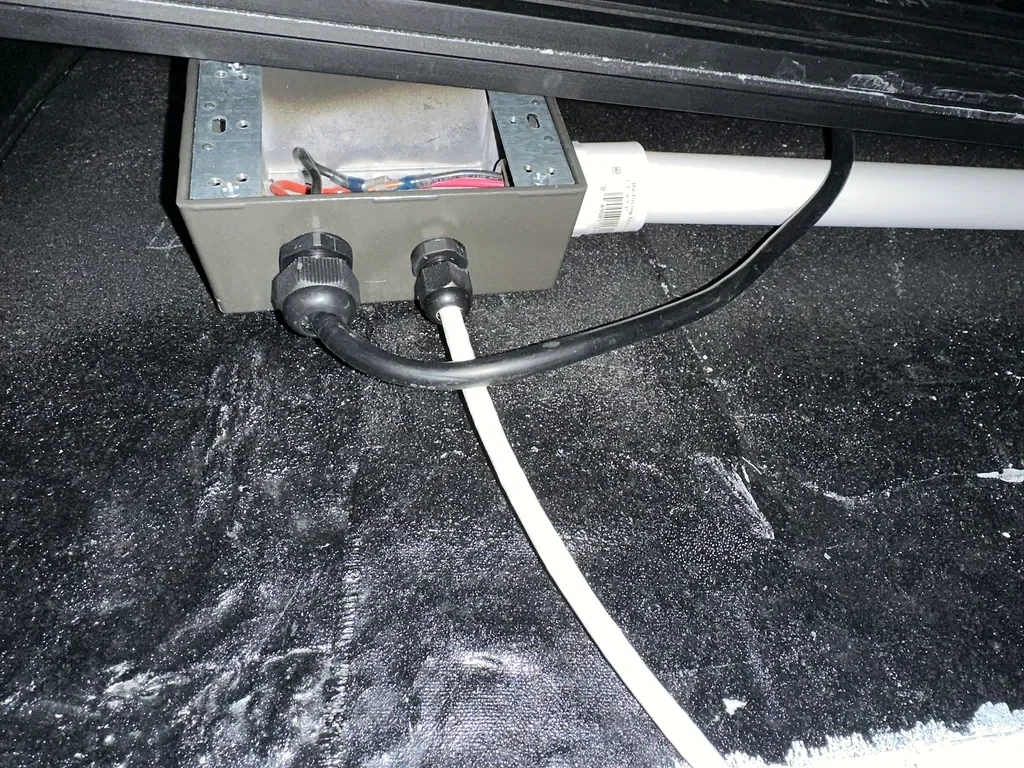
The roof photographs from my fitting session show why this belongs in the same conversation. Loose leads, junction boxes and conduit were present alongside the rails and lights. I was developing those routes while fitting the equipment. For another build, I would identify the roof entry and trace the proposed path toward it before comparing the panel arrangement as complete.
Module count also changes the set of connections you need to account for. Two modules have separate leads and a relationship between them; one larger module occupies one physical package. That is a reason to draw out the connection plan, not a reason to assume one choice is electrically interchangeable with another. My existing roof-solar system page explains the equipment context in my build. Keep the buying comparison focused on how each candidate joins that larger plan, rather than treating a panel as an independent finished charging system.
Keep Watts And Daily Energy In Separate Columns
Panel shopping often starts with watts, while the trip plan depends on energy over time. I would keep those as separate columns in the comparison. The module rating identifies a nameplate power value under specified conditions. A daily energy record adds up production across the day. Changing the wording from watts to watt-hours without changing the underlying observation does not make a valid energy estimate.
For my installed array, four nominal 200W panels add to 800W of nameplate capacity. That arithmetic explains the panel count; it is not a statement that the roof continuously produces 800W or that it delivers a particular daily total. The buying choice still needs to connect with the places and times you expect to use the van, the equipment drawing power and the charging sources in the overall design.
Use the existing solar-sizing guide when the question is how much array capacity your plan needs. This page addresses the next decision: how to compare physical panel packages after establishing a requirement. Keeping those questions separate makes the shortlist more useful. A module can be an excellent fit for a roof bay while the proposed number of modules still fails to meet the energy plan. Equally, a persuasive total on a listing does not establish that the equipment will fit on the roof.
Compare The Complete Purchase Scope
I would compare each candidate as a complete scope, using a consistent list of included and separate items. Record module count, exact variant, mounting components supplied, connections supplied and anything still to be selected. A panel listing and a complete charging kit are different packages. The comparison should show that difference before a low headline amount drives the decision.
Keep existing equipment in its own column. If you already own a rack or have established a cable entry, note which candidate works with that plan and which requires new work. Do not make the existing equipment disappear from the estimate because it was purchased earlier. Its position and interfaces still affect what you need to do now. In my fitting notes, the rack was already there, but its crossbeams still needed adjustment.
I would also preserve the exact offer being compared. A package title can combine several power options, panel counts or finishes under one listing family. Record the selected option and the date privately with your research, then check it again before ordering. This gives you a way to distinguish a changed offer from a changed plan. My product pages keep canonical item references and purchase history together; the current buying decision should remain clear about what is being offered today and what was part of my earlier build.
Make A Shortlist You Can Actually Decide Between
I would reduce the shortlist to candidates that solve a specific problem. One larger panel might use a clear rack bay. Two smaller panels might work around a divided space. One smaller panel might suit a limited addition. Write that reason beside each candidate. If the only difference you have recorded is the brand name, the comparison is not ready to answer the roof question.
Next, state what would eliminate each option. A frame that crosses a reserved opening, an attachment arrangement that does not match the supports, or an unresolved connection route can be a practical reason to stop considering a candidate. That is more useful than assigning points to features that never affect your build. Keep an unresolved question as a question in your private notes until the source or measurement answers it.
My own takeaway is to select the module arrangement and the surrounding work together. The roof-fitting photographs are a reminder that the panel, rails, lights and cables formed one job site. I would rather compare two fully described arrangements than ten product titles. Once the physical choice is clear, return to the complete system plan and check that the exact electrical configuration follows from the selected modules. That is the point at which a shopping shortlist becomes a coherent parts decision instead of a collection of individually appealing purchases.
Questions I Would Answer Before Ordering
Is One 200W Panel Better Than Two 100W Panels?
I would decide from the roof arrangement and the exact electrical plan. The nameplate totals match, but the physical packages do not. Compare the individual drawings, supports, cable exits and clearances. Two smaller modules are useful when their separate placement solves a problem; one larger module is useful when its single footprint works well. Neither description establishes which arrangement will generate more energy in your actual parking conditions.
Are These The Panels In My Installed Array?
My system record identifies four RICH SOLAR 200W panels. The diary describes bringing two panels up for fitting during the earlier roof-work session. The Renogy pair is a researched alternative. The RICH SOLAR 100W item appears in my purchase catalog and is used here as the smaller-module comparison; it is not substituted for the documented four-panel array. Keep those roles clear when following the related product links.
What Would I Check First If Starting Again?
I would put the exact module footprint into the complete roof arrangement before ordering the remaining mounting parts. Then I would check the cable route and the access needed around the supports. My fitting sequence involved moving existing crossbeams, adding rails and arranging other roof equipment at the same time. That is the practical experience behind this guide: compare the equipment in the space where it has to work, and keep the purchase decision connected to the rest of the build.
Use the panel comparison above, then follow the linked product records for the existing purchase context and Amazon options. For the finished system's component relationships, continue to my camper van electrical system. For the physical work that shaped my decision, return to the roof-fitting diary and photographs.