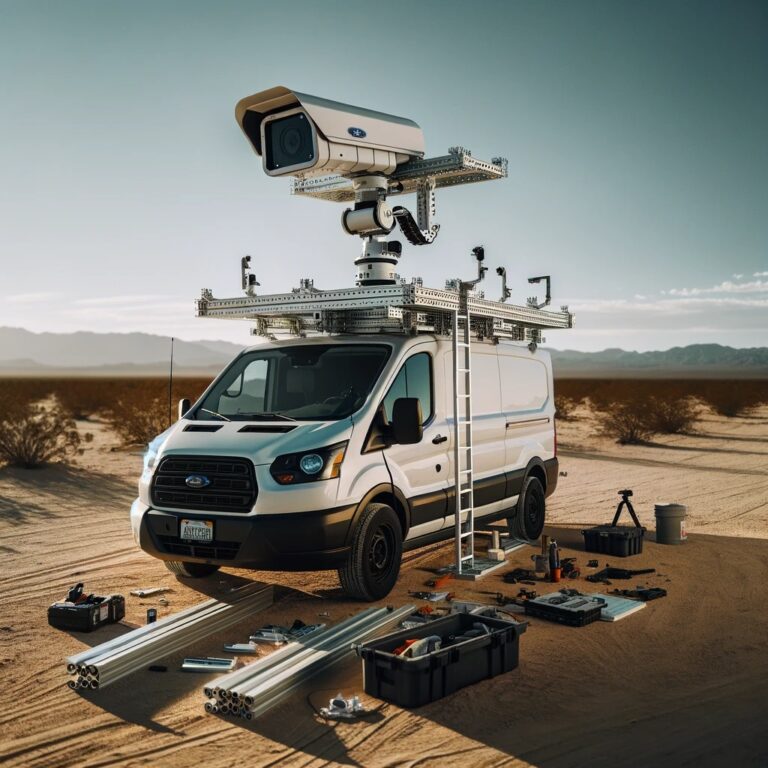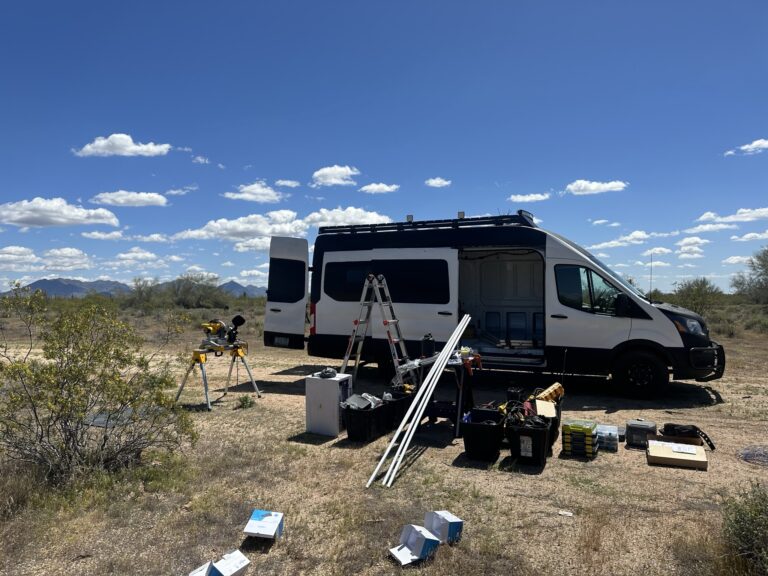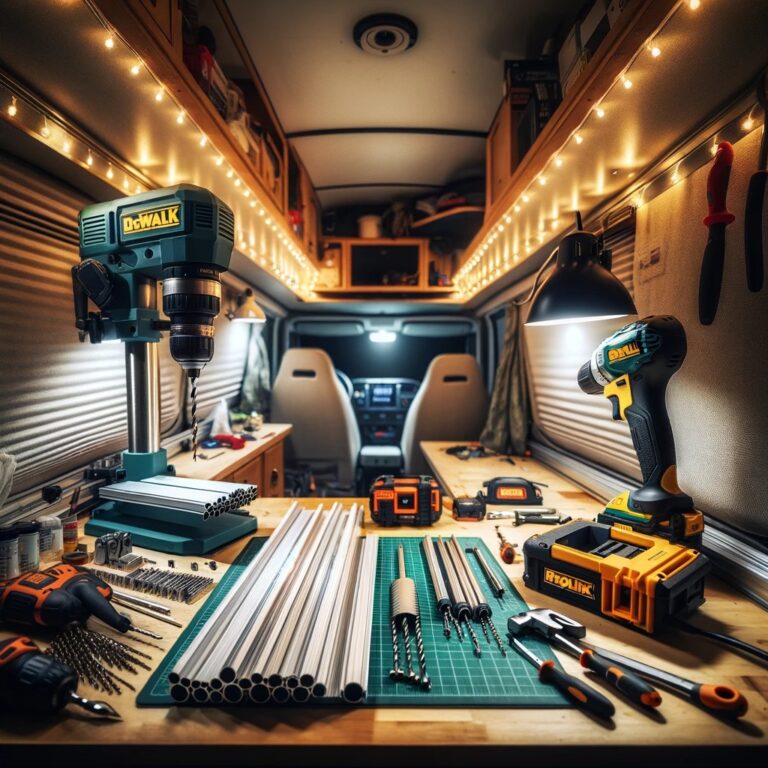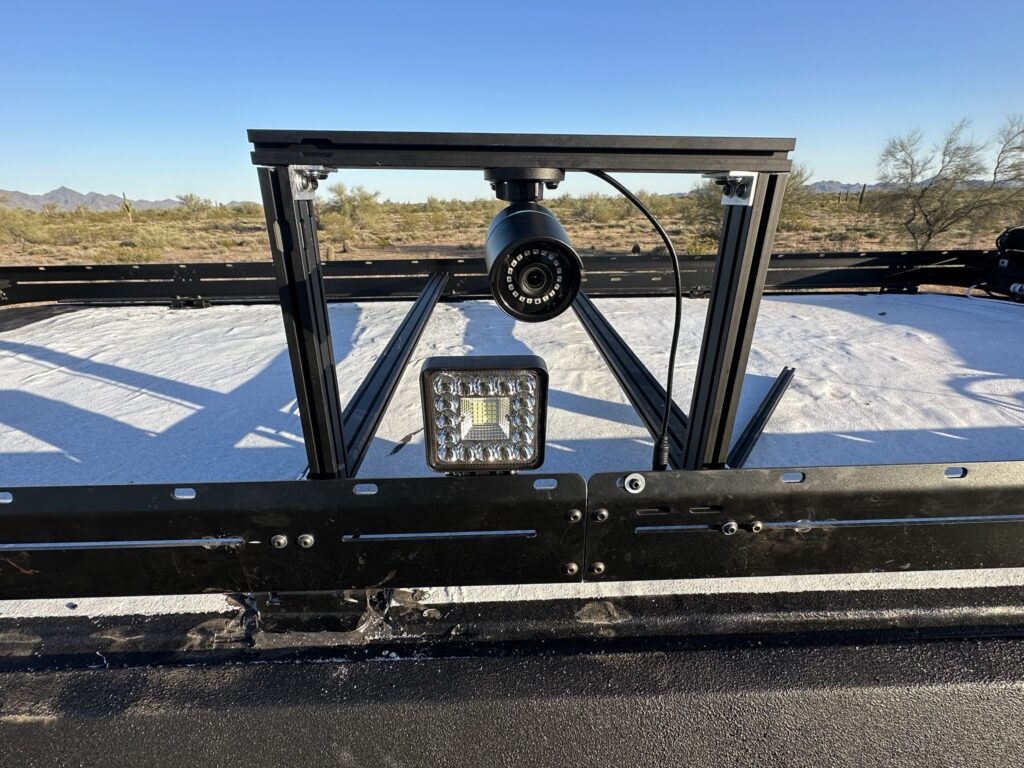
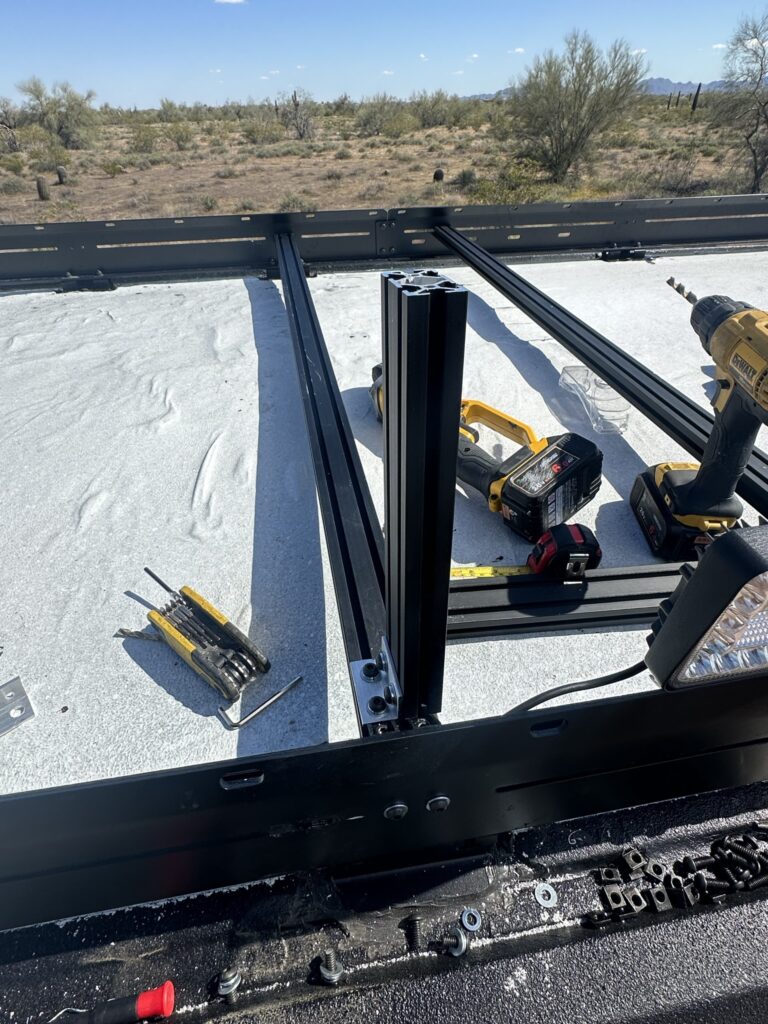
Roof Wiring and Devices Project Day 2 records six hours making a passenger-side roof camera mount on the Ford Transit. I fabricated aluminum-angle brackets, drilled their holes, joined the extrusion and mounted the camera on the assembly.
The project was not complete. My next-day plan was to continue mounting the small LED lights and security cameras. Roof Wiring and Devices Project Day 1 covers the preceding roof work; Roof Wiring and Devices Project Day 3 records the next bracket and mount changes.
See The Materials Used See The Tools Used
Projects
- Creating DIY security camera roof mount for passenger side security camera
Project Status
- Not complete
Time Spent
- 6 Hours
Steps Taken
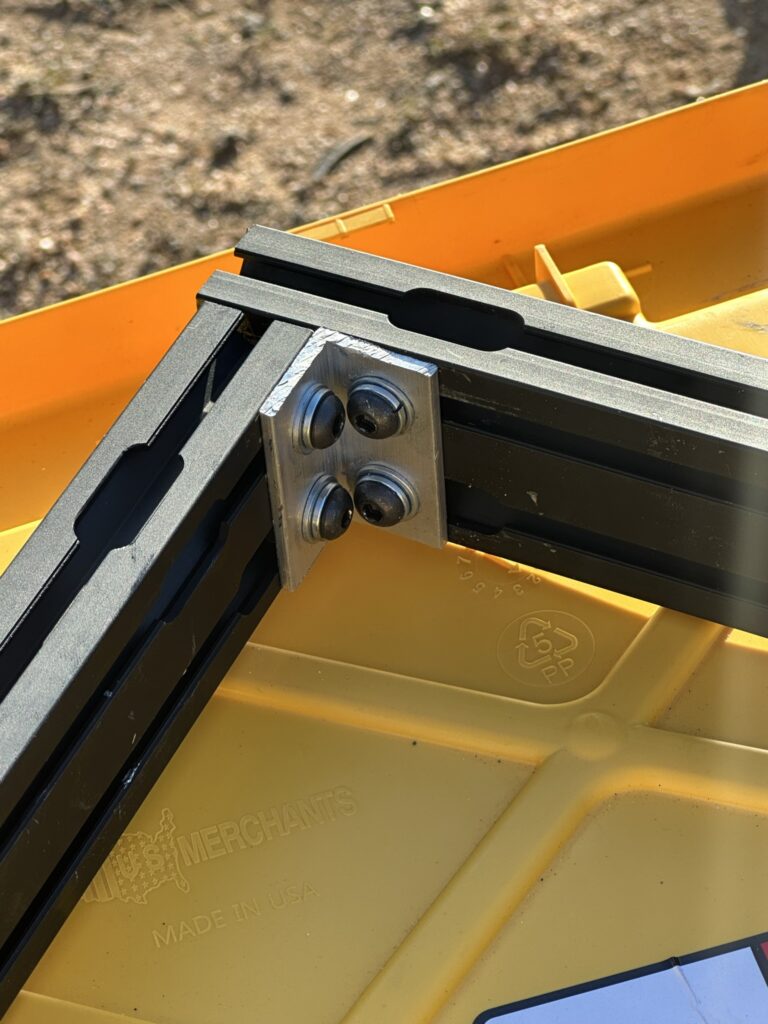
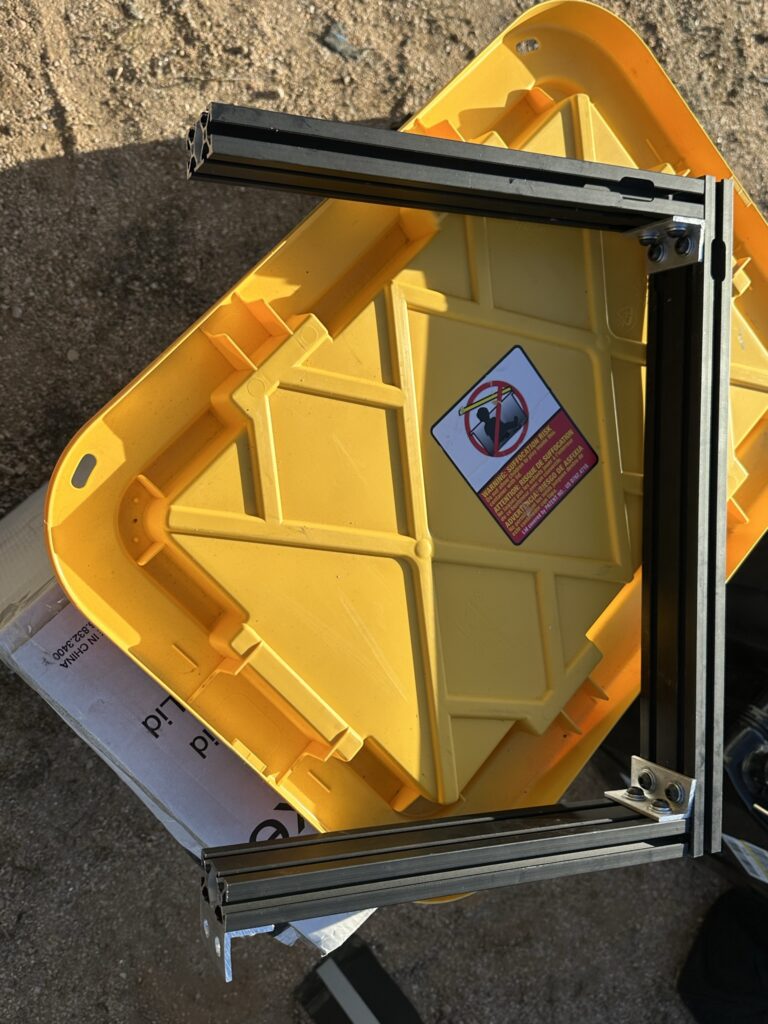
- Fabricate angle aluminum brackets to bind 80/20 extrusion together
- Drill holes through brackets
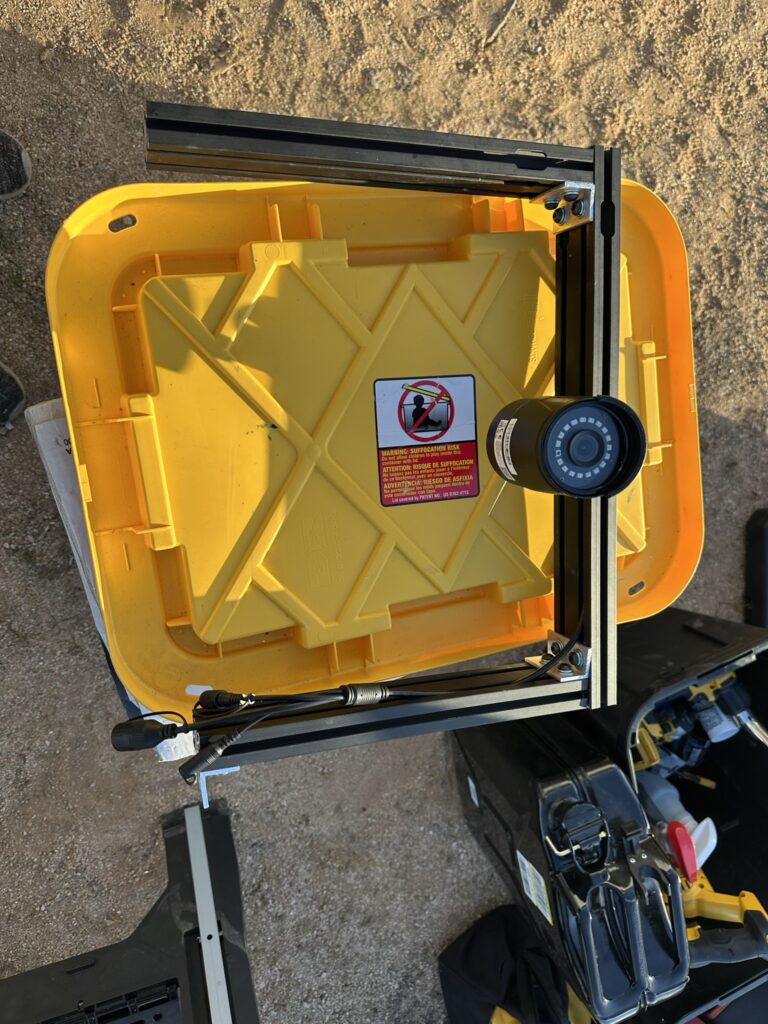
- Attach extrusion together
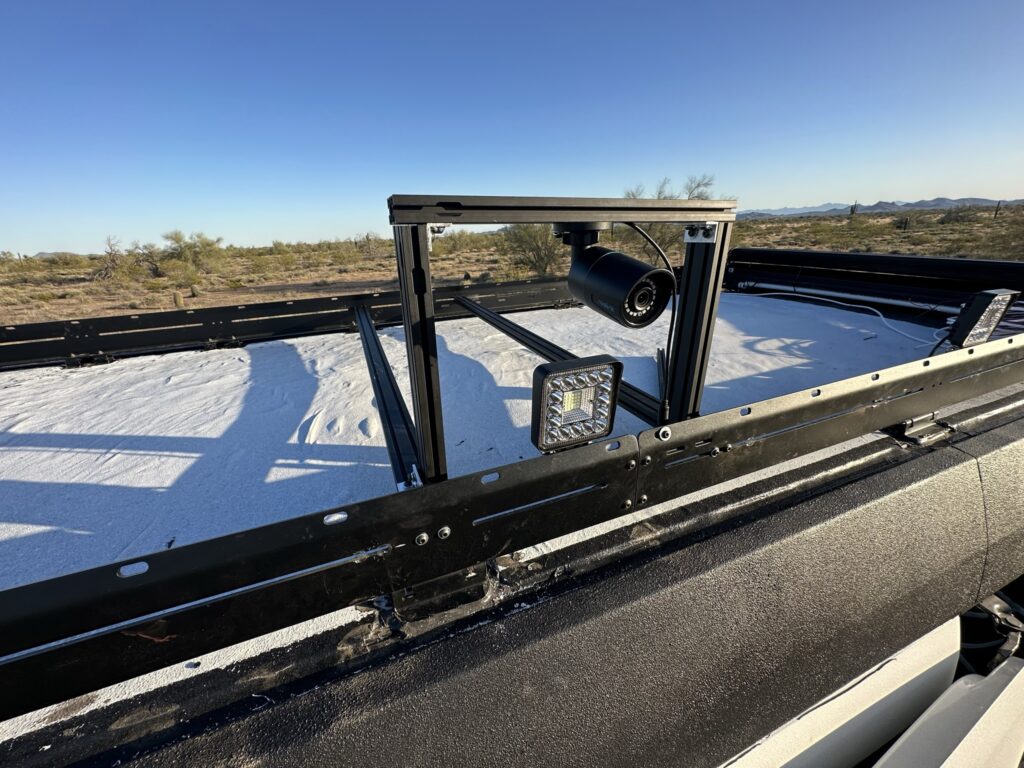
- Mount security camera on extrusion
Plans For Tomorrow
- Continue work on mounting small LED lights and security cameras
Materials Used
- Keep in mind that prices frequently fluctuate.
- It's common for products to be delisted on Amazon. If you find a delisted product, please Email Me at steve@campervanfreedom.com and I will fix it.
Transit Van Low Pro Roof Rack | 148" High Roof Extended
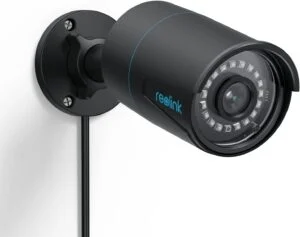
REOLINK IP Security Camera Outdoor, 5 MP Home Surveillance Outdoor Indoor PoE Camera, Human/Vehicle Detection, 100Ft IR Night Vision, Work with Smart Home, Up to 256GB microSD Card, RLC-510A (Black)
This wired security camera uses onboard detection to distinguish people, vehicles and other supported events. It can help monitor a parked camper van when suitable power, networking and a secure mounting position are available.
View On Amazon: REOLINK IP Security Camera Outdoor, 5 MP Home Surveillance Outdoor Indoor PoE Camera, Human/Vehicle Detection, 100Ft IR Night Vision, Work with Smart Home, Up to 256GB microSD Card, RLC-510A (Black)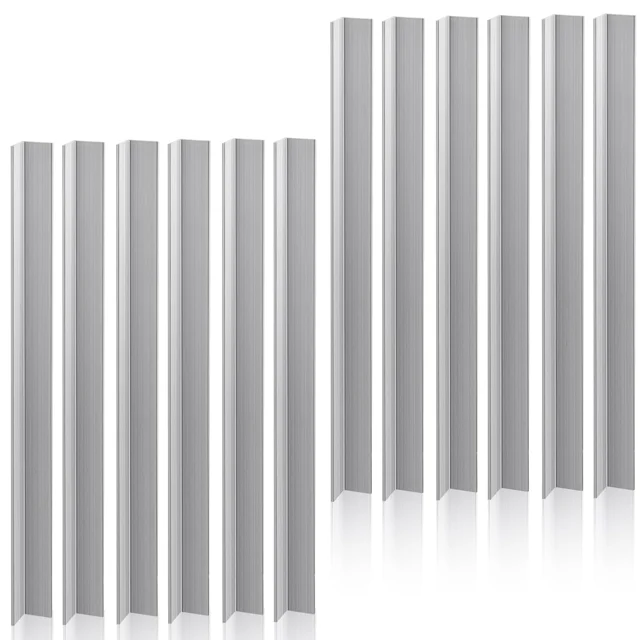
Blulu 12 Pcs 1" x 1"x 1/8" Aluminum Angle 6063 Aluminum Angle Stock Angle Bar Aluminum Corner Trim, 12" Length, 1/8" Thick
These short aluminum-angle sections provide right-angled stock for fabrication and bracing. In a camper-van workshop, they can be cut or drilled for custom supports after the load and attachment method are designed.
View On Amazon: Blulu 12 Pcs 1" x 1"x 1/8" Aluminum Angle 6063 Aluminum Angle Stock Angle Bar Aluminum Corner Trim, 12" Length, 1/8" Thick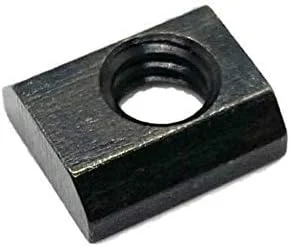
Slide-In Quarter-Twenty T-Nuts
These slide-in T-nuts provide threaded attachment points within an extrusion slot. A matching bolt fastens a bracket or accessory to the profile.
View On Amazon: Slide-In Quarter-Twenty T-Nuts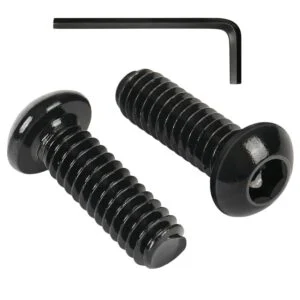
Quarter-Twenty Button-Head Bolts
These machine screws have a rounded button head with a hex-socket drive. Their threaded shanks attach parts through matching nuts or threaded holes.
View On Amazon: Quarter-Twenty Button-Head Bolts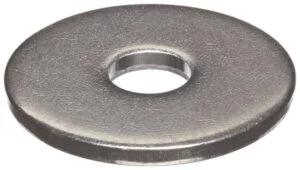
Small Parts 18-8 Stainless Steel Flat Washer, Plain Finish, Meets ANSI B18.22.1, 1/4" Hole Size, 5/16" ID, 3/4" OD, 0.065" Nominal Thickness (Pack of 100)
These flat washers distribute a fastener load over the surrounding surface. They sit between a screw head or nut and the part being fastened.
View On Amazon: Small Parts 18-8 Stainless Steel Flat Washer, Plain Finish, Meets ANSI B18.22.1, 1/4" Hole Size, 5/16" ID, 3/4" OD, 0.065" Nominal Thickness (Pack of 100)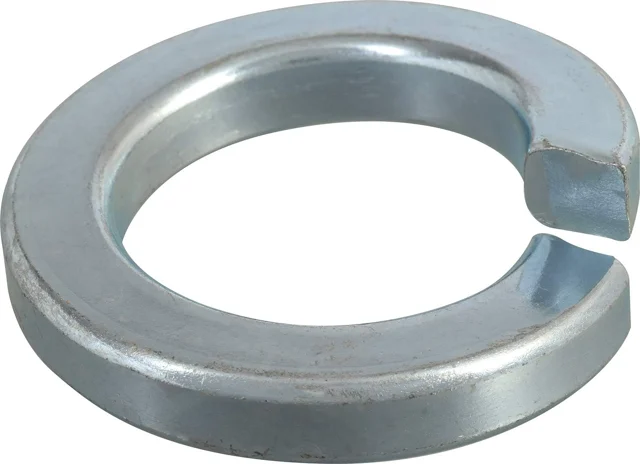
The Hillman Group 300018 1/4" Split Lock Washer, Steel, 100 Pieces
These quarter-inch split washers are listed for matching hardware assemblies. They may be useful when servicing van fittings that specify this size and washer type.
View On Amazon: The Hillman Group 300018 1/4" Split Lock Washer, Steel, 100 Pieces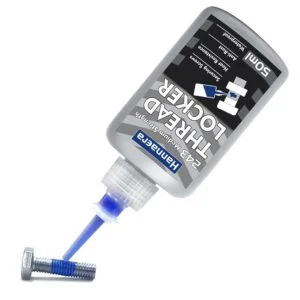
Medium Strength Thread Locker 243, Locktight & Seal Nuts, Bolts, Fasteners and Metals, Blue Threadlocker Against Losening and Leakage(50ml) (50)
This medium-strength threadlocker is intended to help retain threaded fasteners. It could be used on suitable camper-van hardware when the component instructions allow that type of compound.
View On Amazon: Medium Strength Thread Locker 243, Locktight & Seal Nuts, Bolts, Fasteners and Metals, Blue Threadlocker Against Losening and Leakage(50ml) (50)Tools Used
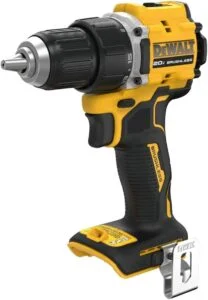
DEWALT DCD794B Compact Drill/Driver
This compact cordless drill/driver holds drilling and driving accessories in its chuck. Its brushless motor and short body provide a handheld tool for drilling and fastening jobs.
View On Amazon: DEWALT DCD794B Compact Drill/Driver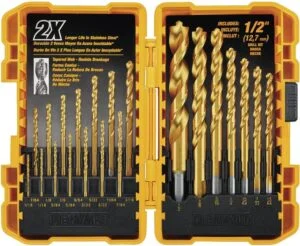
DEWALT DW1361 titanium pilot-point drill set, 21 pieces
This drill-bit set covers a range of hole sizes for compatible camper fabrication materials. Select the bit, speed and cutting method for each material and inspect concealed areas before drilling.
View On Amazon: DEWALT DW1361 titanium pilot-point drill set, 21 pieces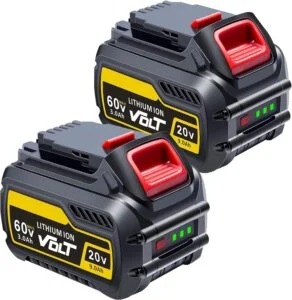
Moticett Replacement Tool Batteries
These rechargeable replacement batteries store power for cordless tools. Their removable packs connect at the tool’s battery interface.
View On Amazon: Moticett Replacement Tool Batteries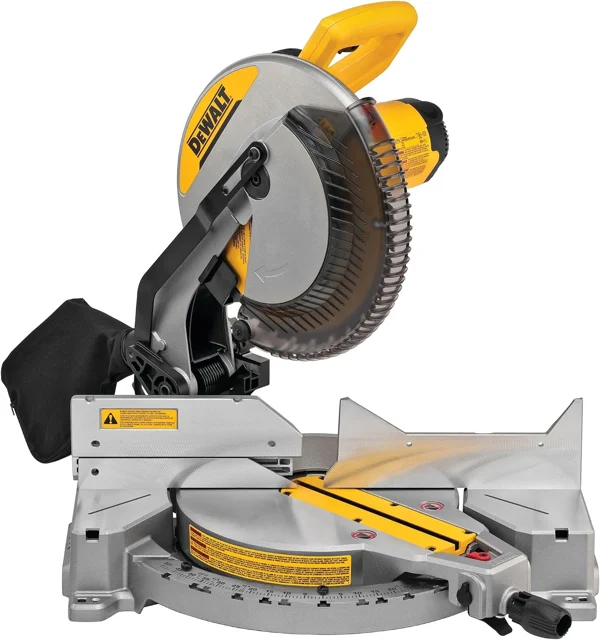
DEWALT 12-Inch Miter Saw, 15-Amp, Single Bevel, Compound (DWS715),Black
This compound miter saw makes repeatable crosscuts and angled cuts for camper-van cabinetry and framing. A stable work area and proper stock support help produce consistent parts before installation.
View On Amazon: DEWALT 12-Inch Miter Saw, 15-Amp, Single Bevel, Compound (DWS715),Black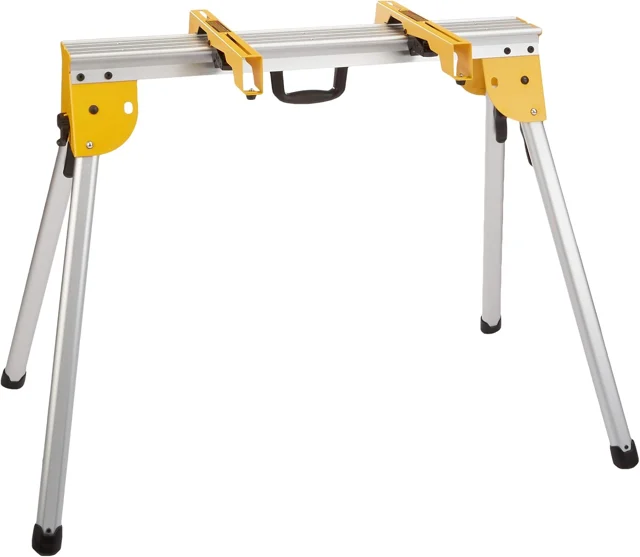
DEWALT Miter Saw Stand, 1,000 lb Capacity, Lightweight and Portable, Leg Locks for Easy Set Up, Mounting Brackets Included (DWX725B)
This portable work stand includes mounting brackets for a compatible miter saw. It provides a dedicated cutting station while building camper-van cabinetry and folds for workshop storage.
View On Amazon: DEWALT Miter Saw Stand, 1,000 lb Capacity, Lightweight and Portable, Leg Locks for Easy Set Up, Mounting Brackets Included (DWX725B)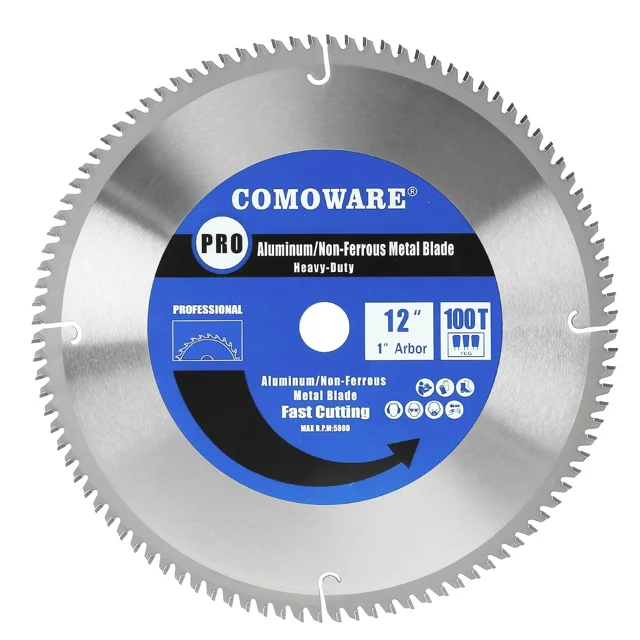
COMOWARE Circular Miter Saw Blade - 12-inch 100 Tooth TCG Metal Saw Blade, 1 inch Arbor Heavy Duty for Aluminum and Non Ferrous Metals
This metal-cutting circular blade is intended for cutting suitable aluminum and other nonferrous stock during a camper-van build. Its tooth geometry differs from a general wood blade, so match it to the saw and work material.
View On Amazon: COMOWARE Circular Miter Saw Blade - 12-inch 100 Tooth TCG Metal Saw Blade, 1 inch Arbor Heavy Duty for Aluminum and Non Ferrous Metals
DEWALT Cordless Impact Driver Kit
This cordless impact-driver kit combines the fastening tool with battery and charging equipment. Its hex-bit holder accepts driver bits for installing and removing screws.
View On Amazon: DEWALT Cordless Impact Driver Kit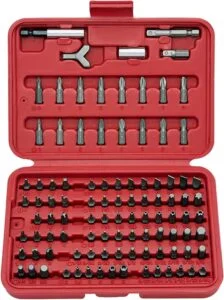
NEIKO 10048A Security Bit Set
This bit set brings several standard and security fastener profiles into one case. It supports removal and installation of the different screw heads encountered in build hardware.
View On Amazon: NEIKO 10048A Security Bit Set
DEWALT Folding Metric Hex Keys
This folding set keeps metric hex keys together in one handle. The individual keys rotate out for turning hex-socket fasteners.
View On Amazon: DEWALT Folding Metric Hex Keys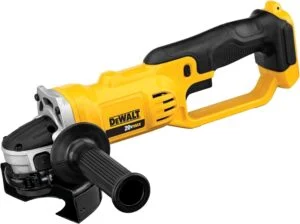
DEWALT Cordless Angle Grinder
This cordless angle grinder runs an abrasive wheel for grinding and surface preparation. The handheld format reaches metal parts during fabrication and finishing work.
View On Amazon: DEWALT Cordless Angle Grinder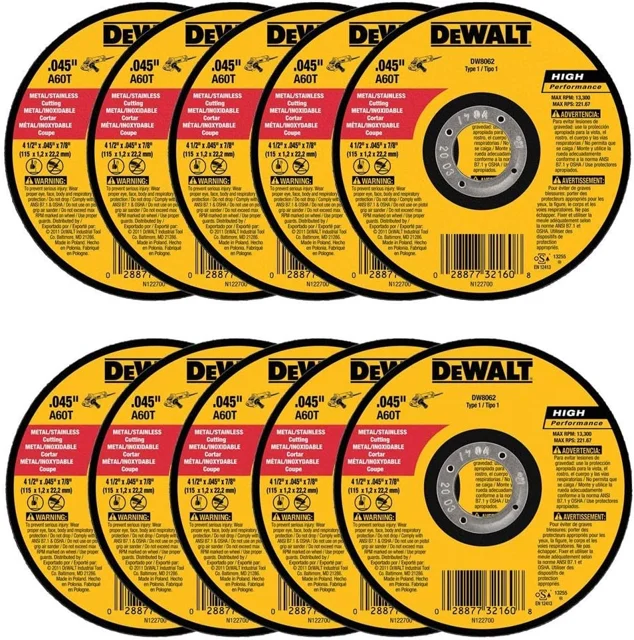
DEWALT - DW8062 - 10,PK DW8062 4-1/2"x.045"x7/8" Metal Angle Grinder Thin Cutoff Wheel, 10 Pack, (Model: DW8062-10,PK)
These DEWALT cutoff discs are intended for cutting metal with a compatible angle grinder. They can help trim suitable brackets and metal stock during a camper-van build.
View On Amazon: DEWALT - DW8062 - 10,PK DW8062 4-1/2"x.045"x7/8" Metal Angle Grinder Thin Cutoff Wheel, 10 Pack, (Model: DW8062-10,PK)Notes
- Working with the aluminum extrusion can be time consuming due to the small pieces and the imperfect design of the T Nuts, when it comes to positioning them and screwing into them.
- I'm bringing my drill press out tomorrow to speed up the drilling of holes into the DIY aluminum brackets.
- I'm buying shorter 1/4-20 bolts so I don't have to grind down every one to fit.
- Grinded into my finger with the grinder but thankfully I did not cut it off.
Pictures
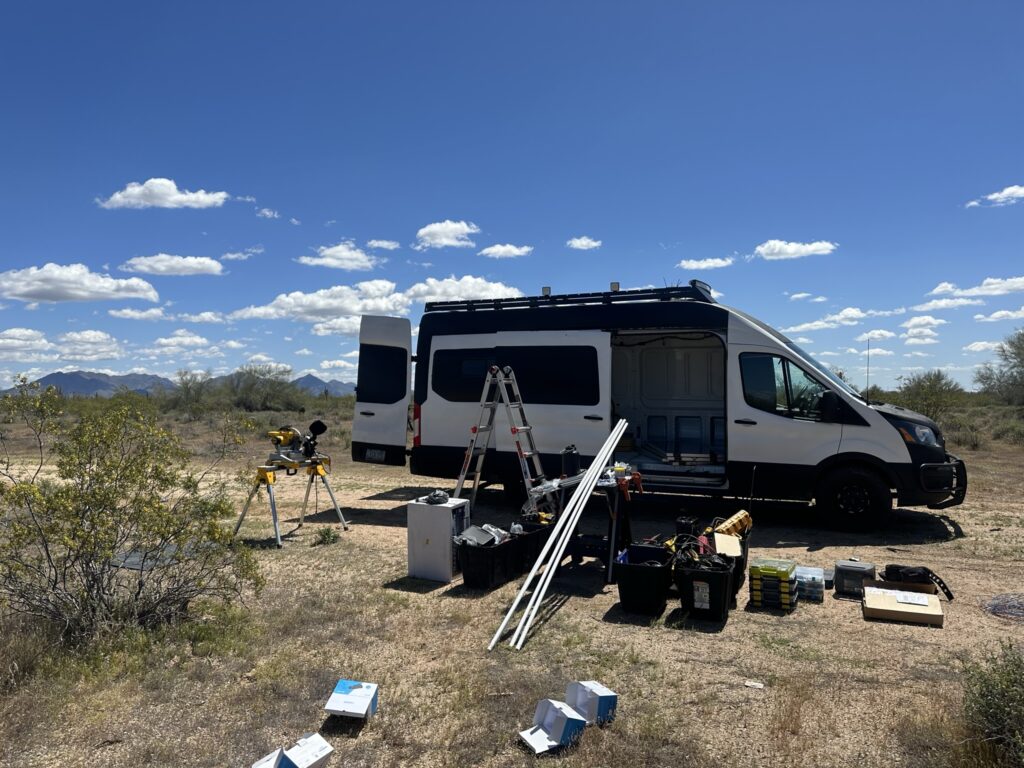
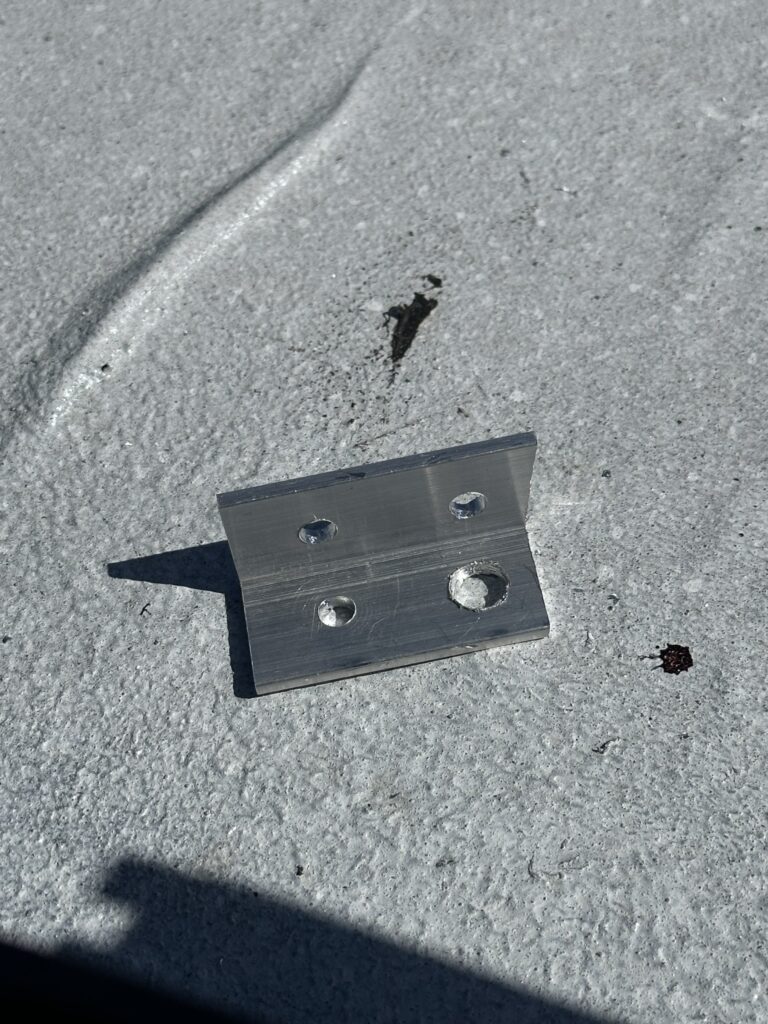
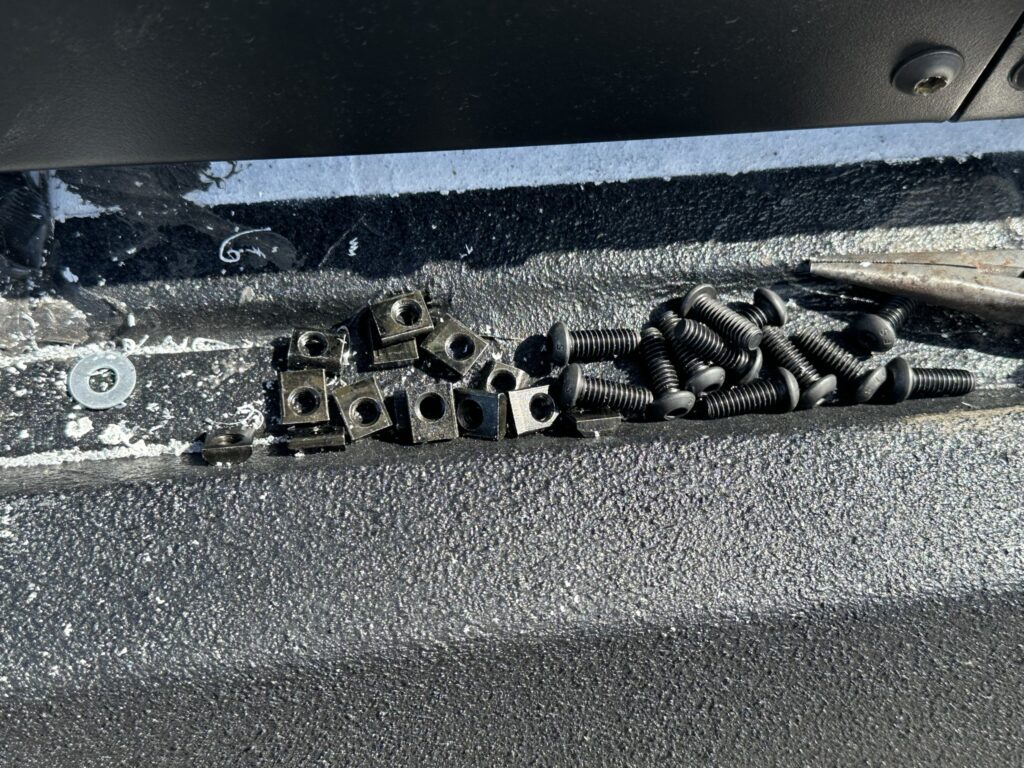
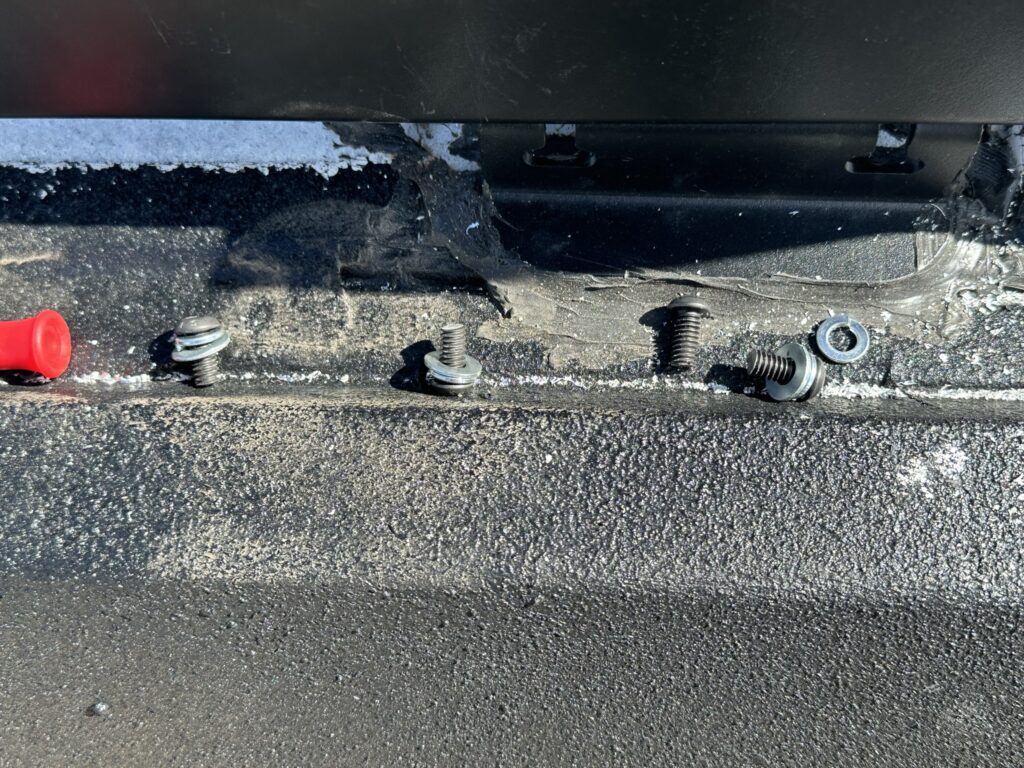
Short Video
Long-Form Article
The Mount Work Recorded during the Roof Wiring and Devices Project Day 2 session
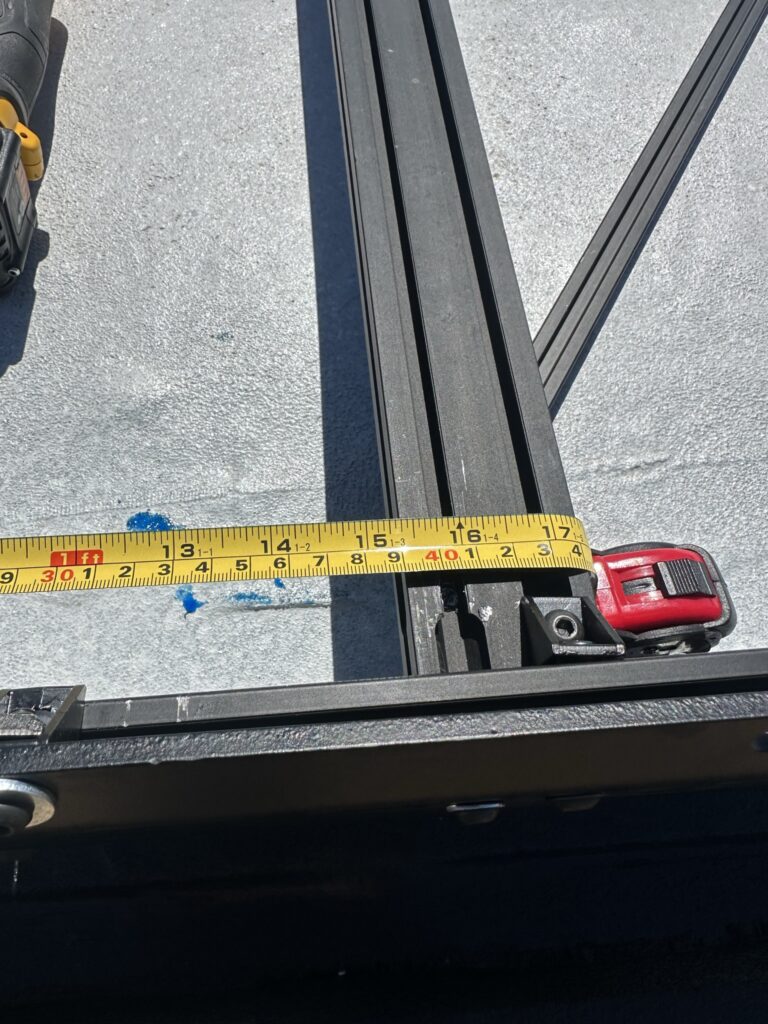
The original steps cover four tasks: fabricating angle-aluminum brackets, drilling holes through them, attaching the extrusion together and mounting the camera. The pictures show the assembly on the roof rack, with a camera above the small LED light and cable still visible around the mount.
My notes describe the time spent positioning T-nuts and screws. I planned to bring out the drill press the next day to speed up bracket drilling and buy shorter 1/4-20 bolts instead of grinding each one down. Those are next-day plans, not tools or improvements already completed during the Roof Wiring and Devices Project Day 2 session.
Find The Parts Used For The Mount
The Materials Used cards show the recovered aluminum-angle stock, bolts, washers, T-nuts, threadlocker, roof rack and Reolink camera. The Tools Used cards include the drill, drill bits, saw, impact driver, hex keys and grinder. Each card keeps the product image and original destination so you can check the current item against the job you are planning.
The camera’s recovered product name identifies a PoE model. The photographs show the mount arrangement made that day.
Continue Through The Actual Build
Read Roof Wiring and Devices Project Day 3 for the drill-press setup and further bracket work. The Build Diary keeps this unfinished stage in sequence with the later roof work. For broader framing choices, see the site's Aluminum Extrusion Comparison.