Before I could start covering the inside of my 2023 Ford Transit 250 High Roof Extended, I had a lot of preparation to get through. The floor and walls had collected dust, dirt, paint and bedliner from working on the van in the desert. I also had rivet nuts to finish, door trim to remove, and openings to plan for the equipment going through the body.
My insulation plan brought together KILMAT sound-deadening mats, 3M Thinsulate, foam insulation and interior paneling. Getting the metal clean and the early fabrication jobs organized was the work immediately in front of me. Here is how I approached that stage of the build.
My Insulation Prep at a Glance
| Build Detail | My Project |
|---|---|
| Van | 2023 Ford Transit 250 High Roof Extended |
| Floor Preparation for Sound Deadening | Seven hours preparing and cleaning the cargo floor and walls |
| Interior Preparation | Rivet nuts, door-trim removal, bed-capsule work and planning body openings |
| Selected materials | KILMAT mats, 3M Thinsulate SM600L and SmartSHIELD reflective foam |
Floor Preparation for Sound Deadening: Cleaning Out the Desert Dust
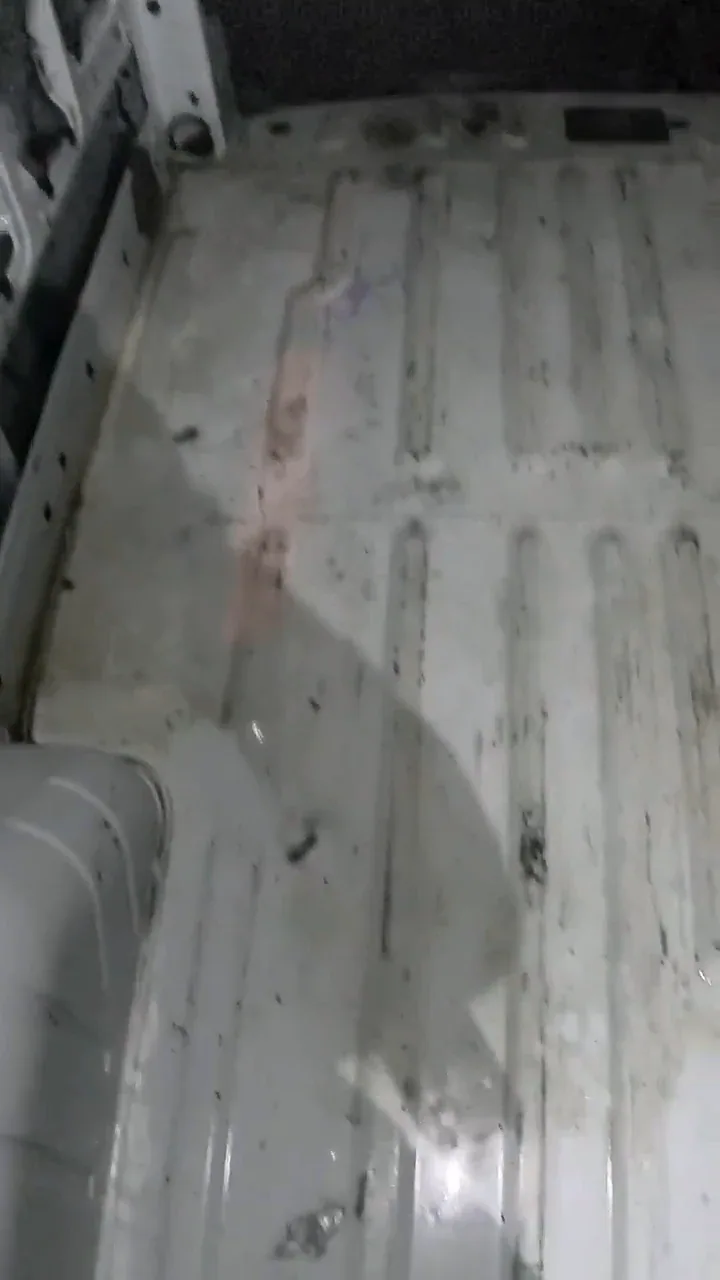
On Floor Preparation for Sound Deadening, I spent seven hours preparing the floor for KILMAT. Up to that point, I had been taking the van into the desert to work on it, packing and unpacking my tools and materials each time. By then, quite a bit of dirt and residue had accumulated inside.
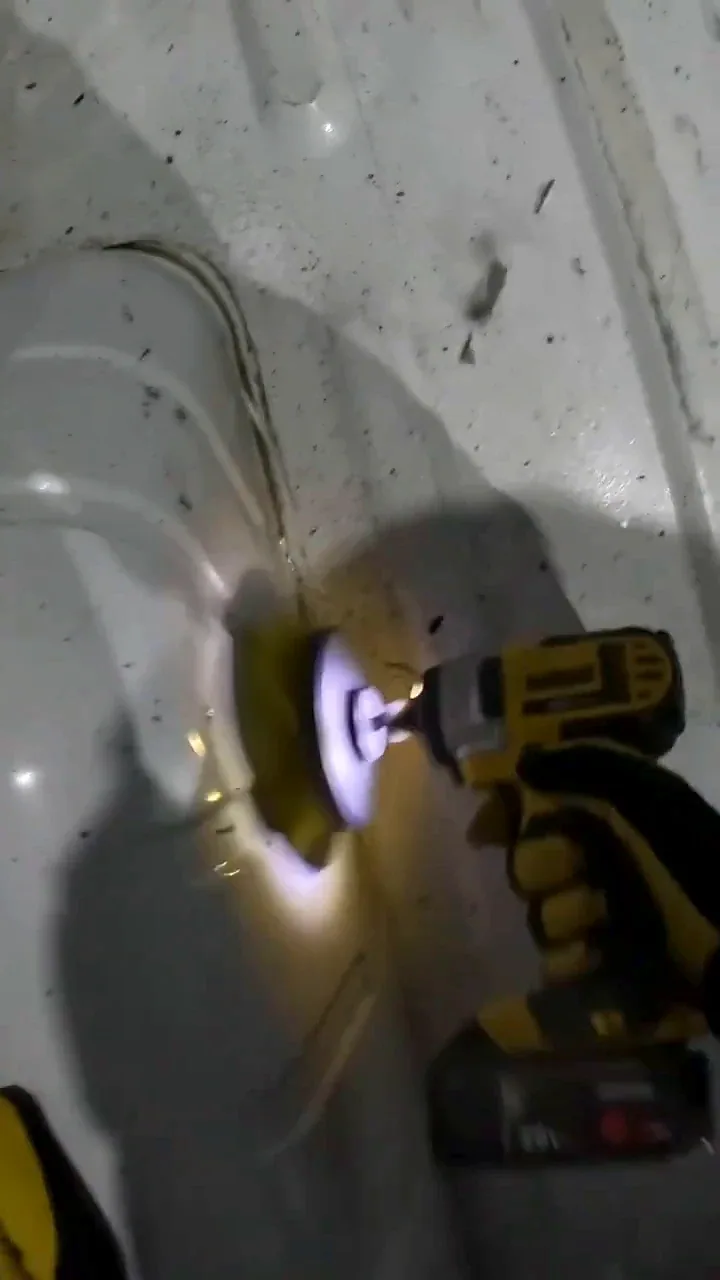
I started by sweeping the cargo area, then used a mop and floor-cleaner spray on the floor. I worked on the cargo walls with a towel and Simple Green. For the stubborn material stuck to the floor, I used a wire-brush attachment on the drill, followed by nylon brush attachments for the remaining dirt and grime. I finished by drying the floor with a towel.
This was one of those days where the progress was mostly preparation. I was waiting for the remaining M6 rivet nuts to arrive, so I used the time to clean the surfaces I would be covering later. The tools in that day's list included a heavy-duty broom, a wire-wheel cup-brush set, drill-brush attachments and Simple Green.
Watch my Floor Preparation for Sound Deadening floor-preparation video.
Interior Preparation: Getting Behind the Trim
On Interior Preparation, I continued preparing the interior. I removed plastic trim from the sliding and rear doors as part of the plan for KILMAT, Thinsulate, foam insulation and wood paneling. I also removed the foam piece at the passenger-side A-pillar.
The remaining M6 rivet nuts went into the cargo area that day. My aim was to prepare potential framing attachment locations while I could still reach the bare body easily. Rivet-nut work had already brought its own frustrations: one tool failed during the larger-size work, and an M3 mandrel snapped during installation.
At the bed capsules, I ground away excess fiberglass and sanded the metal and fiberglass around the openings. I had observed rain leakage at the capsule joints, so applying more sealant was also on the day's project list. Cleaning, attachment preparation and the capsule work were all competing for time before I moved on to the interior layers.
Watch my Interior Preparation build update.
Why I Kept the Metal Accessible
I wanted to finish the jobs that needed holes in the body before installing the framing, flooring and wall panels. My list included roof wiring for solar panels, LED lights and cameras, the heater beneath the passenger seat, and the planned shower and water-tank connections.
In my Interior Preparation update, I talked about how drilling later would get newly installed components dirty and make the surrounding metal harder to reach. Filing, sanding, priming and painting were easier to organize while that area was open. It was tempting to start installing the more exciting parts, but I was trying to keep the sequence logical.
Why I Chose These Insulation Materials
KILMAT: the Biggest Difference I Noticed Was Driving Noise
I chose KILMAT after watching several videos of people installing it in their camper vans and hearing good reviews. It was widely used and one of the less expensive options I found while building my van.
I installed it across the cargo-area floor, walls and ceiling, leaving the front cabin untreated. When the cargo area was empty, it was very loud while driving. After installing KILMAT, the noise coming from that area lessened a lot. That reduction in driving noise has been its most noticeable benefit for me.
Thinsulate: My Main Insulation Layer
Thinsulate wasn’t the cheapest option, but the positive reviews I found online helped convince me to use it. I installed it in the walls and ceiling.
For the warmer-climate travel I do, it seems to insulate the van well. That is the experience behind my choice, rather than measured temperature results or experience in very cold conditions.
SmartSHIELD: a Second Layer over the Thinsulate
I installed SmartSHIELD over the Thinsulate on the walls and ceiling as a second insulation layer. Online recommendations influenced that decision, although there were several similar-looking alternatives on Amazon.
The finished combination seems to work well for my travel. My experience is with the two layers together, so I wouldn’t attribute the insulation results to SmartSHIELD alone.
The Insulation Materials I Selected
I treated sound deadening, insulation and the interior finish as separate parts of the project. My Floor Preparation for Sound Deadening entry focused on preparing for KILMAT, while the Interior Preparation notes named Thinsulate, foam insulation and wood paneling for the doors. My selected materials included the following products.
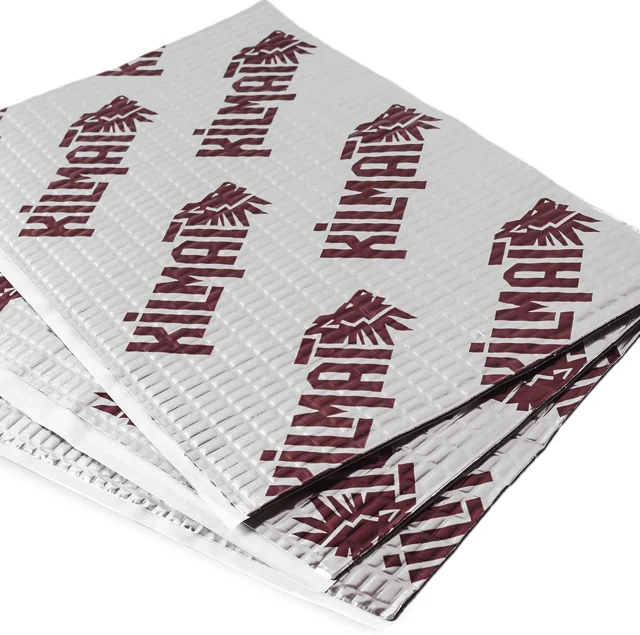
KILMAT 80 Mil 36 Sqft Car Sound Deadening Mat, Butyl Automotive Sound Deadener, Audio Noise Insulation and Dampening
These KILMAT butyl-and-foil mats damp vibration in suitable camper-van body panels. They are a sound-treatment layer rather than a replacement for the van's thermal insulation.
View On Amazon: KILMAT 80 mil 36 sqft Car Sound Deadening Mat, Butyl Automotive Sound Deadener, Audio Noise Insulation and dampening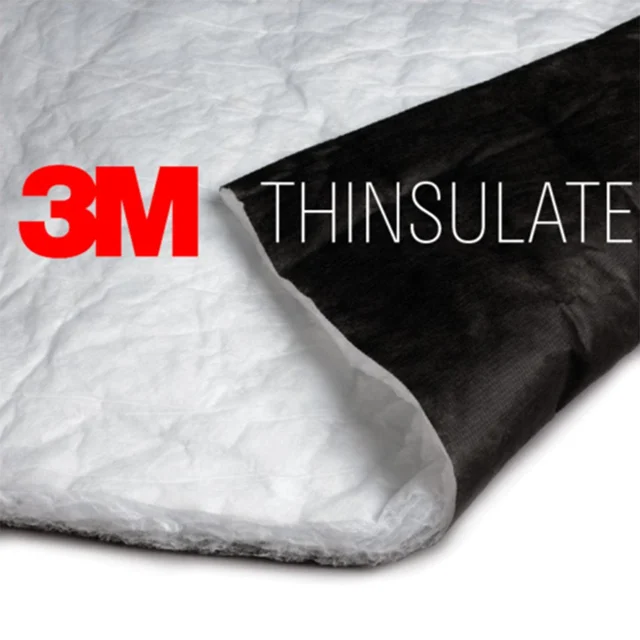
Acoustic/Thermal Camper Van Insulation SM600L, 30-Foot by 60-Inch Listing
This SM600L insulation provides thermal and acoustic lining behind interior panels. Its flexible fibrous sheet can be cut to fit sections of a van interior.
View On Amazon: Acoustic/Thermal Camper Van Insulation SM600L, 30-foot by 60-inch listing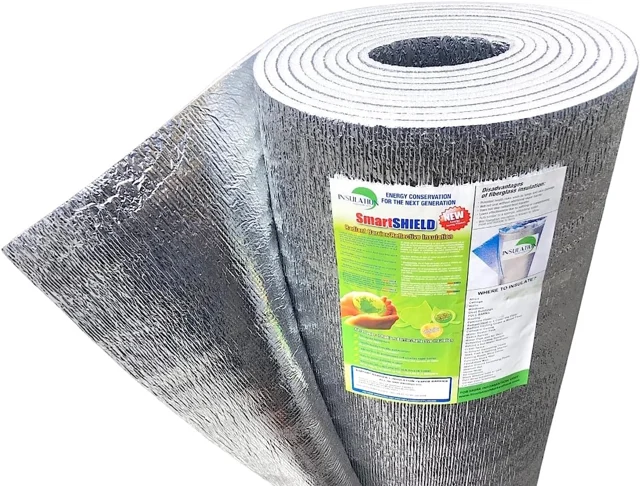
SmartSHIELD -10mm Reflective Insulation Roll, Foam Core Radiant Barrier, Thermal Insulation Shield - Engineered Foil (48" X 50ft)
This reflective insulation roll combines a closed-cell polyethylene foam core with foil faces. It can be cut into sections for a camper-van insulation assembly.
View On Amazon: SmartSHIELD -10mm Reflective Insulation roll, Foam Core Radiant Barrier, Thermal Insulation Shield - Engineered Foil (48" x 50ft)What This Stage Taught Me
The preparation took more time than the finished interior would eventually show. Seven hours went into the Floor Preparation for Sound Deadening cleaning alone, and the following day still involved trim, rivet nuts, fiberglass, sealant and planning. Working in the desert had given me room to tackle the van, but it also meant extra cleaning before I could start covering surfaces.
I used SketchUp to think through where components and framing would go. Keeping that plan in view helped me decide which body openings and attachment jobs to tackle first. The heater was the next major project, and the insulation preparation sat within that larger sequence.
For the original notes and videos, read Floor Preparation for Sound Deadening: Floor Preparation and Interior Preparation: Interior Preparation. You can also follow the build diary or browse tools and materials by project.