Fiberglass repair became an unexpected part of my Transit conversion when my Vanspeed capsules arrived with damaged edges. I used Bondo Glass to rebuild their shape, working through repeated rounds of filling, curing and sanding. That experience taught me to look beyond the word fiberglass on a container. Reinforced filler, liquid resin and separate reinforcing sheets have different roles. This guide explains how I organize those choices before turning a damaged part into another shopping list.
Start With The Part And The Repair Goal
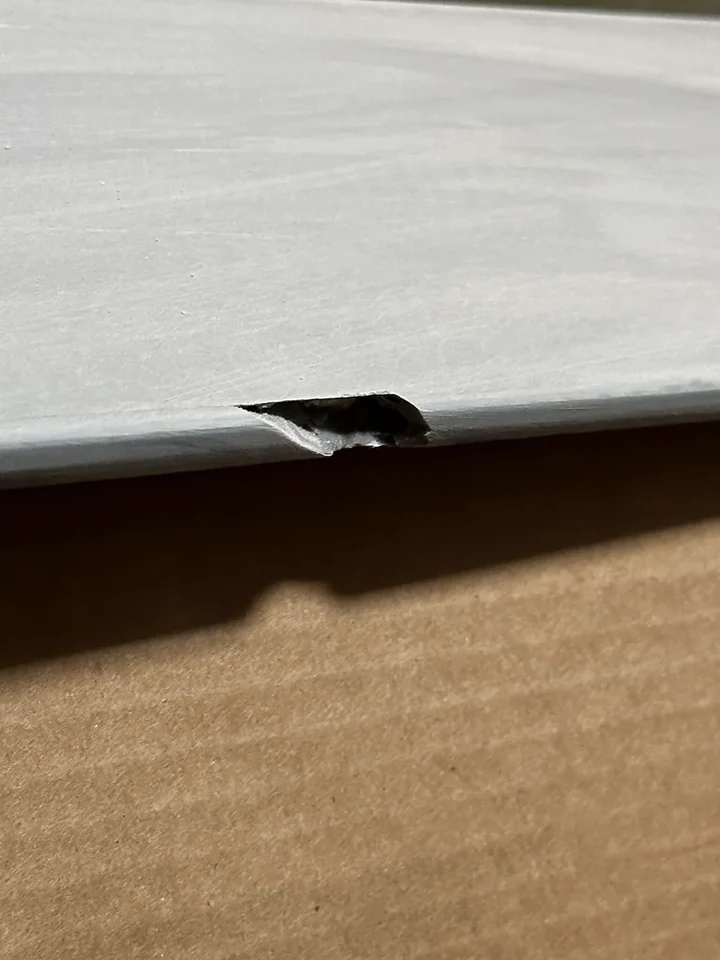
My starting point was a pair of molded fiberglass shells intended to extend the sleeping area of the van. One flange had a substantial piece missing, and other areas needed attention. I had expected a new component ready for the installation project. Instead, I first needed to deal with the condition of the delivered part. The full capsule review preserves that purchase and installation story, including the separate fit problems that followed the damage repairs.
For a materials comparison, I begin with a narrower question: what physical result is the repair intended to produce? Filling an uneven surface, rebuilding an edge contour and forming a reinforced layer are different descriptions. Write the intended result in plain language before comparing products. This keeps the discussion tied to the part instead of treating every can or sheet with fiberglass in its name as another version of the same material.
I would photograph the damaged area from the front, the back and an angle that shows its thickness. A close view identifies the local problem; a wider view shows where that problem sits on the whole component. Those views belong together. It is much easier to understand an edge repair when the photograph also establishes which face is visible, which face meets another part and which surface needs to retain a particular shape.
The repair goal should include the next task. A part that will be trial-fitted needs a clear reference for its mating edge. A part being prepared for a coating needs a defined surface condition. Keeping that next task visible prevents the repair from becoming an isolated exercise in making a photograph look smoother. The useful outcome is a part ready for the next specific stage of the build, with the relevant shape and access still understood.
Reinforced Filler Is A Shaping Material
The Bondo Glass I used is a thick filler containing short fiberglass strands, mixed with its corresponding cream hardener. The 3M product reference identifies it as a reinforced filler. That format explains why it belongs in a different comparison from a can of liquid resin. The fibers are already within the paste; I was spreading and shaping a mixed filler during my documented capsule repairs.
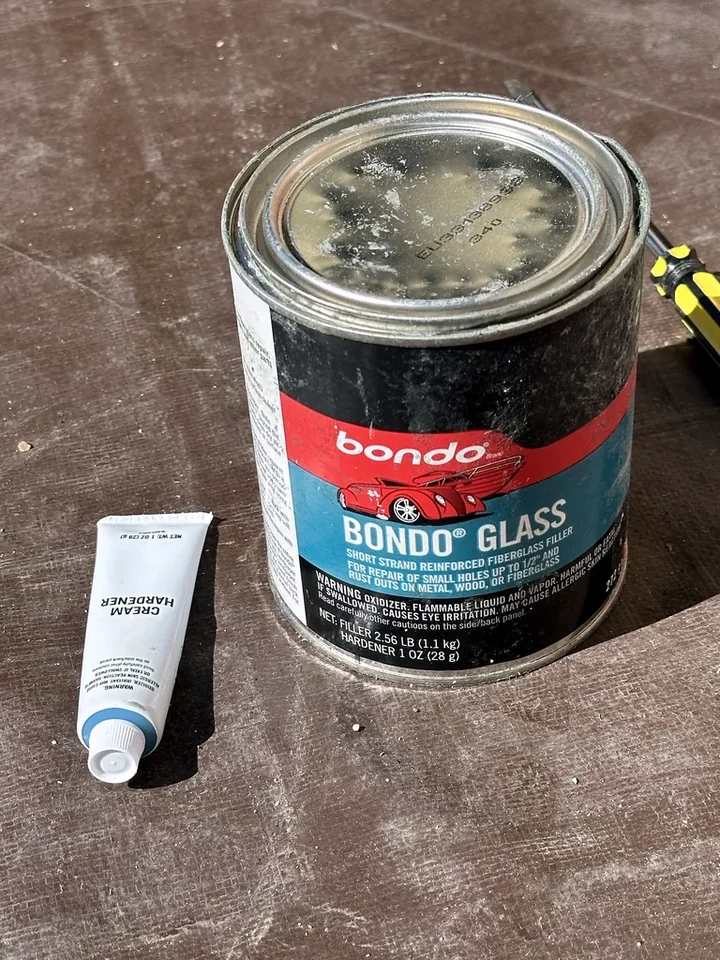
My first experience with Bondo was slow. I would apply material, wait for it to cure and sand it, then find another area that needed work. The damaged edge did not become the desired shape in one pass. I estimate that the shipping-damage repairs added at least eight hours before I could proceed with the capsule installation. That is the practical experience behind my interest in separating the material choice from the time needed to shape the result.
The dedicated Bondo Glass product page keeps my owner account beside the material reference. Here, I use the experience to explain a choice: a reinforced paste is a material for filling and shaping within its documented uses. Its presence in the repair does not make a separate woven sheet, a liquid resin or a finishing compound the same product. The format and the intended stage both matter.
When comparing fillers, I would look at how the product describes its reinforcement and its application stage before comparing package size. A general body filler and a short-strand reinforced filler may both be spread and sanded, but that shared handling does not erase their differences. A useful shortlist identifies the job each candidate is intended to do. Otherwise the comparison can quietly turn into a search for the least expensive container with a familiar brand name.
Liquid Resin And Reinforcement Form A Different Arrangement
Liquid fiberglass resin is used to wet reinforcing material such as cloth or mat. My purchase records include Bondo 404 resin separately from Bondo Glass. The 3M liquid-resin reference identifies the resin and its liquid hardener. The purchased resin is part of my materials record; the documented damaged-capsule work described above is my Bondo Glass filler experience. Keeping those records separate makes the comparison much easier to follow.
With a resin-and-reinforcement arrangement, there are several physical pieces to plan: the prepared part, the reinforcement cut to its intended shape, the mixed resin and the working access. That is a different preparation list from spreading a reinforced paste. I would lay out those items as a group before deciding what a kit needs to contain. A product title that says fiberglass repair can conceal whether reinforcement is included, supplied separately or unnecessary for that particular product's stated application.
Reinforcement also has an orientation and an outline on the part. A flat sheet photographed on a workbench does not show how it will follow a corner or flange. A dry trial gives the planned pieces a physical location before any resin is mixed. For a comparison, I would record where a piece begins and ends, what it meets and which side can be reached. This connects the materials list with the actual geometry of the component.
The Bondo 404 equipment page holds its current product and manufacturer information. I keep the detailed product document there rather than copying a mixing recipe into every general guide. In this comparison, the important distinction is the separate reinforcement-and-resin arrangement. It changes what needs to be selected, prepared and positioned, even when both that arrangement and a reinforced filler eventually sit beneath the same exterior finish.
Compare Cloth, Mat And Premixed Strands By Their Format
Woven cloth has a visible repeating weave. Mat has a different fiber arrangement, while short strands in a filler are already incorporated into a spreadable material. Looking at those physical formats helps explain the choices without reducing them all to a single word. A sheet can be cut and trial-positioned; a paste is mixed and spread. The choice of resin and reinforcement also needs to be considered as a compatible system, not as unrelated purchases.
For a curved component, I would compare the dry material against the actual surface before assuming a sheet will follow it neatly. Note the corners, changes in direction and places where access narrows. Those observations help define the pieces you need to prepare and the questions to resolve from the product information. They also provide a better basis for estimating material than measuring only the overall rectangle surrounding the part and assuming everything inside it behaves the same way.
Keep the cut layout with the repair plan. A large sheet can contain several pieces with different orientations and positions. Marking those pieces before the working stage makes the plan understandable to a future version of yourself returning after a break. It also separates useful material from offcuts. The total area purchased and the usable pieces needed for the job are related numbers, but they are not necessarily identical once the shapes are laid out.
I would choose the reinforcement and resin together using the applicable product information. A familiar-looking sheet is not enough to identify its construction, binder or intended resin relationship. Recording the actual material description makes that relationship traceable. This is especially useful when supplies from different projects share a storage box: the fact that two white reinforcing sheets look similar does not establish that they are interchangeable in the process being planned.
Keep Each Hardener With Its Own Product
Cream hardener and liquid resin hardener belong to different product systems. Their container shapes and application methods are visibly different in the material references, but I would still identify them by the corresponding product rather than relying on appearance alone. The 3M liquid-resin technical sheet describes the liquid product and its own instructions. The Bondo Glass reference describes the reinforced filler and cream-hardener arrangement separately.
For my working notes, I would give every container a complete name and keep the related instruction sheet with it. A note saying add hardener leaves too much out when several two-part products are present. Naming the product avoids carrying a memory from one material into another. It also helps when a package changes appearance or when the same broad product family is sold in different sizes, with different included components.
The useful comparison is the exact system and the stage it serves. I would record the original label, the associated document and the preparation needed before opening the working batch. That makes the next action specific: find the correct document, prepare the part or organize the cut reinforcement. It is more efficient than stopping halfway through a session to discover which instructions belong to an unlabelled small tube among several larger containers.
This organization also helps preserve the build history. My capsule photographs show the materials present during that repair, while my wider purchase list includes other supplies. The two records answer different questions. A photograph of one filler and its hardener identifies that stage; a purchase entry for a resin establishes a separate acquisition. Keeping both prevents a later summary from turning every item in the supplies box into a claimed part of one particular repair.
Plan The Shape Before The Finishing Surface
My capsule work involved an edge that needed to regain its shape. The relevant reference was the surrounding component, not just the appearance of the fresh filler. I would identify the faces and contours that matter to the next fitting stage before beginning a similar planning exercise. A smooth area can still be the wrong shape for the adjoining part. Surface appearance and component geometry deserve separate checks in the work record.
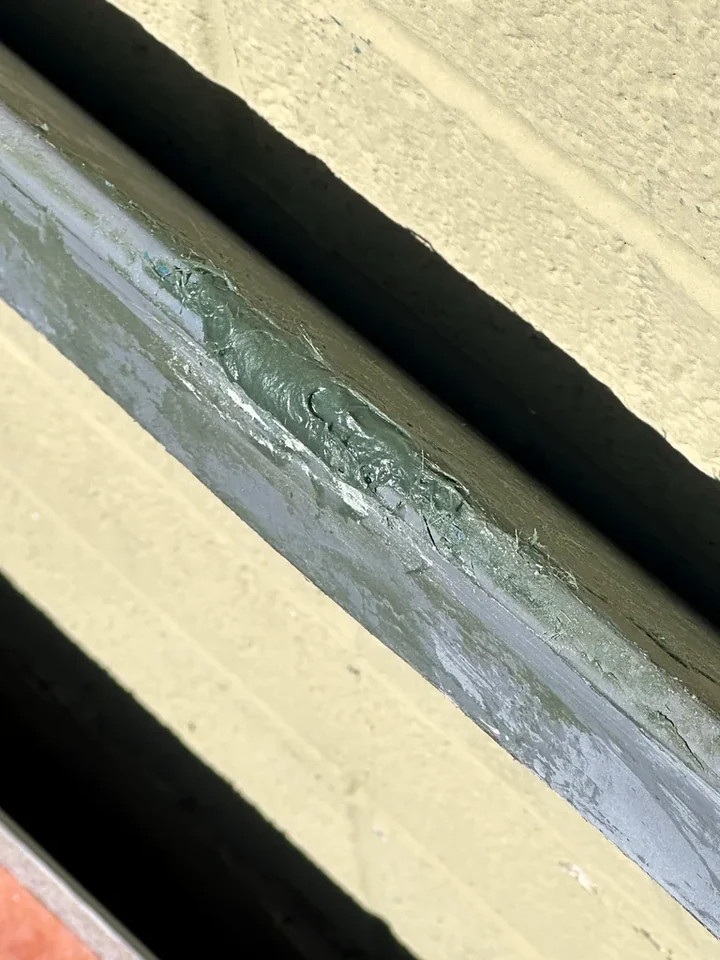
One useful note describes the area being changed and the nearby area being retained as a reference. Add a photograph showing that relationship. This is particularly helpful around a flange, where the front and back surfaces can tell different stories. A wide view shows the component; the close view shows the repair. Together they make it possible to understand what the shaping work was trying to accomplish rather than treating a close-up patch as a complete explanation.
My repeated filler-and-sanding rounds also show why repair time belongs in the plan. The work included waiting between actions and returning to the surface to see what still needed attention. Buying enough filler did not remove that sequence. I would separate the material budget from the work-session budget, especially when a delivered component introduces an unexpected job before the installation can even start. Both affect when the next stage can move forward.
After the damage repair, my capsule project still had its separate body-fit problems. Those later adjustments should not be folded back into a claim about the filler. Repairing shipping damage and adapting the capsule to the van's contours were different sources of work. Keeping them separate is useful for anyone reading the project as a planning example: one material choice did not answer every question about the eventual installation or its relationship with the van body.
Prepare A Session Around A Defined Working Area
I prefer a repair plan that names one area and one intended result. For example, the note might identify a local edge contour that needs shaping before the next trial fit. That is more useful than a broad instruction to finish the fiberglass. It gives the session a boundary and makes it easier to gather the relevant references, materials and photographs without mixing several unfinished tasks into one vague category.
Before the working stage, I would place the part where the relevant faces can be reached and photographed. Consider what has to be supported, where the tools will sit and how the component will be moved afterward. Those are practical workspace questions, separate from the chemistry of the product. A good materials choice can still be awkward to use if the needed edge faces a wall or the part has to be repositioned repeatedly to understand its shape.
For resin-and-reinforcement planning, the cut pieces belong in that preparation. For filler planning, the shape references and the areas to be checked after sanding belong there. Writing those two preparation lists side by side makes their differences obvious. It is a practical way to compare formats without pretending that one is simply a more liquid version of the other. The work being prepared is different as well as the material being purchased.
End the session with a short handover to the next one. Record what changed, what remains and which photograph shows the current condition. This prevents a half-finished component from becoming a memory exercise after several days on other van jobs. My decision-log guide uses the same principle: connect an unresolved question with the next concrete check, while keeping the decisions already made visible and understandable.
Compare The Alternatives Within The Correct Stage
My filler comparison includes Bondo Glass, Bondo Original and Evercoat Pro-Grade. The latter two are general body-filler options; the short-strand reinforcement is a distinguishing feature of the Bondo Glass purchase. I keep that difference explicit. The alternatives are useful to compare when deciding which material format a task calls for, rather than being presented as identical replacements for every repair that might be described under the fiberglass heading.
My resin comparison includes the purchased Bondo 404 and two researched TotalBoat polyester options. TotalBoat distinguishes its wax-free laminating resin from its wax-containing finishing resin in the laminating and finishing reference. That difference concerns the intended layer stage and surface behavior. It is a reason to read the complete product description, rather than selecting a resin solely because its package looks similar to another can.
The alternatives in the cards below are research comparisons, not additional products I used on the damaged capsule edges. I would compare the proposed process, the applicable substrate information and the complete material system before selecting among them. A useful shopping note states the reason for considering each option. If that reason changes from shaping a surface to building up reinforcement, the shortlist should change with it instead of carrying every product forward automatically.
Package quantity comes after that format decision. A larger container does not resolve an unanswered application question, and a compact kit does not necessarily include every part of the process you have drawn. I would list the included components and the separately required items before comparing total cost. That keeps the purchase aligned with the planned session and avoids treating a single headline price as the cost of the complete repair arrangement.
Link The Repair To The Coating And Fitting Plan
The surface after shaping is an intermediate stage. My original capsule plan included black bedliner, followed by fitting the components to the van. That larger sequence helps explain why I wanted the damaged edges back into shape before proceeding. The repair material, the surface preparation and the later coating belong to connected stages, but they remain separate choices. A photograph of the final black part does not show all the earlier decisions hidden beneath it.
For a new plan, I would write down the intended next layer and keep its preparation information beside the repair-material document. This makes the interface between stages visible. It also helps identify which areas need a fitting check before they are coated. The point is to organize the sequence around the actual component and its next use, rather than allowing the order of the supplies on the shelf to determine the order of the work.
Keep trial-fitting notes separate from finishing notes. The former describe the part's relationship to the opening, adjoining surface or fasteners. The latter describe the surface being prepared for its selected coating. A change in one can affect the other, but the records are easier to use when each question is named. My capsule project is a concrete example of why that distinction matters: the later fit work added adjustments beyond the original damage repair.
I would carry those dependencies into the conversion-cost plan. Include the repair materials, the preparation supplies and the time-consuming stages that connect them. An unexpected repair on a new purchase can affect both the budget and the sequence. Recording it as its own task makes the effect visible without losing the original component purchase or quietly treating the additional materials as if they had always belonged to the planned installation.
Build A Materials Record That Answers The Next Question
My practical record would begin with the component, the local problem and the intended result. Next I would list the material format: reinforced filler, liquid resin with reinforcement, or a separate finishing stage. Then I would add the exact product identity, its associated hardener and its current document. This gives the record a readable order, starting with the job and ending with the equipment and information chosen to support it.
The photographs should follow the same logic. Keep a starting-condition view, a material-identity view and a current-condition view. Those three images explain more than several nearly identical close-ups of the finished exterior. They show what introduced the task, what material was present and where the work had reached. My original images below are useful for that reason: the missing edge, the filler and the shaped repair describe different parts of the same documented experience.
For a materials estimate, I would preserve the planned outline or cut layout and note what remains uncertain. That uncertainty should point to a concrete next action, such as checking a product's reinforcement requirements or making a dry trial against the part. A specific missing input is easier to resolve than a general instruction to research fiberglass. It also lets unrelated van work continue while the remaining material question is being answered.
The final comparison should leave a clear distinction between what was purchased, what was actually used and what is merely an alternative under consideration. My Bondo Glass account is hands-on experience with damaged capsule edges. My resin entry is a separate purchase record, and the comparison options have their own descriptions. That organization makes the guide useful without turning a wider supplies list into an invented repair history.
What I Would Take Into The Next Repair Plan
I would start by identifying the physical job, then choose the material format and its complete system. After that come the work-area arrangement, the shape references, the next fitting check and the finishing sequence. This order is more useful to me than beginning with a popular product name. It keeps the material attached to a particular purpose and makes the remaining questions easier to explain before purchasing another box of supplies.
My first Bondo experience also changed how I think about the hidden work in a finished component. Repeated application, curing and sanding took time before the capsule installation could begin. The photographs preserve that effort rather than letting the final exterior appearance stand in for the whole process. For the wider story, return to the capsule review; for the named materials and alternatives, use the comparison cards and their dedicated product pages.
The central distinction is straightforward: a reinforced paste, a liquid resin and a reinforcing sheet are different formats serving different stages. Keep their identities, hardeners and intended roles clear, then connect those choices with the actual part and the next task. That is the materials plan I would want beside a camper-van repair: specific enough to guide the next decision, and organized well enough to remain useful after the project has moved on.
Compare The Catalog Options
Reinforced Filler And General Filler Comparisons
Bondo Glass Short-Strand Filler — Used In My Capsule Repair
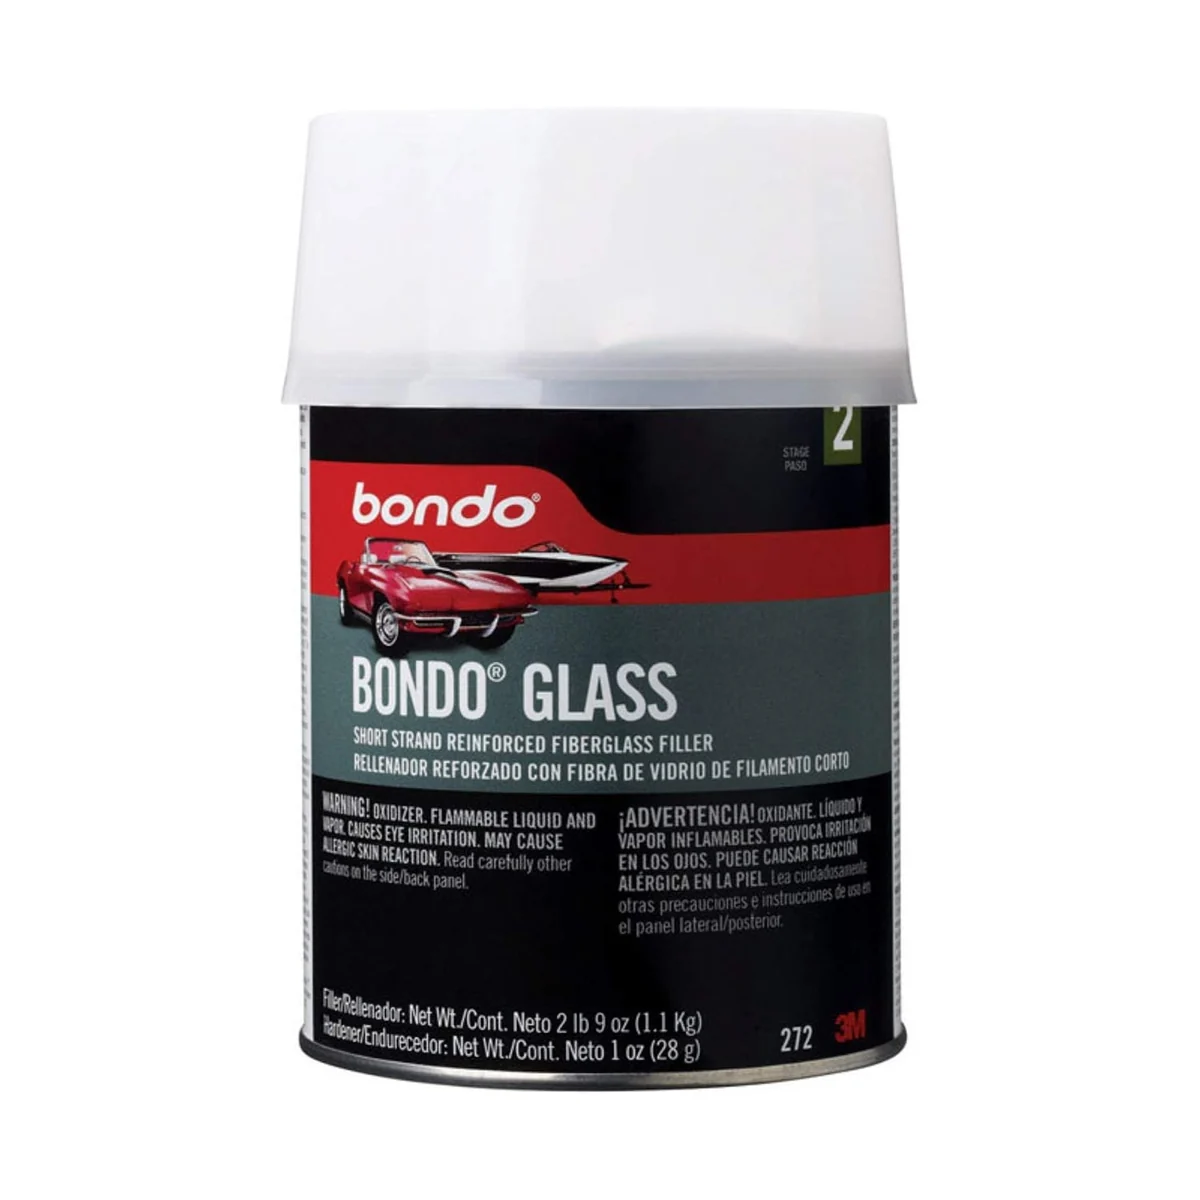
Bondo Glass combines body filler with short fiberglass strands. A separate hardener is mixed into the filler before shaping the repair.
View On AmazonBondo Original Body Filler — Alternative
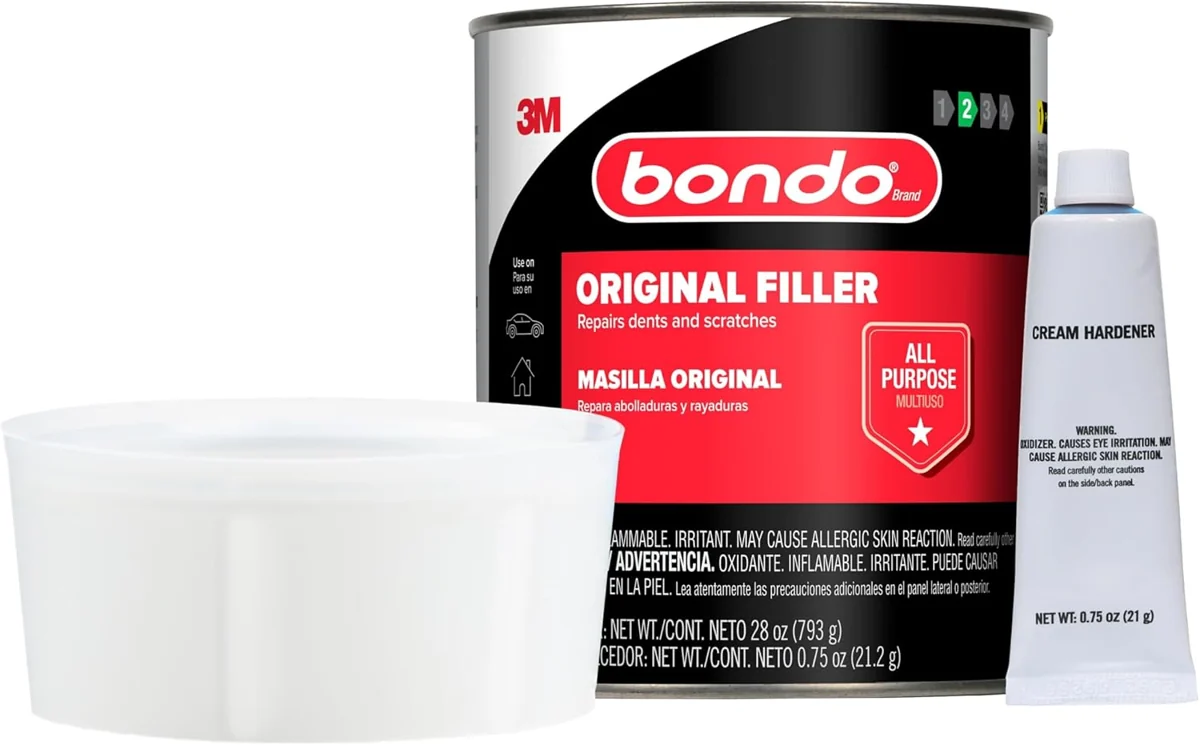
Bondo Original is a two-part body filler supplied with hardener. The mixed material is shaped and sanded during surface repair.
View On AmazonEvercoat Pro-Grade Body Filler — Alternative
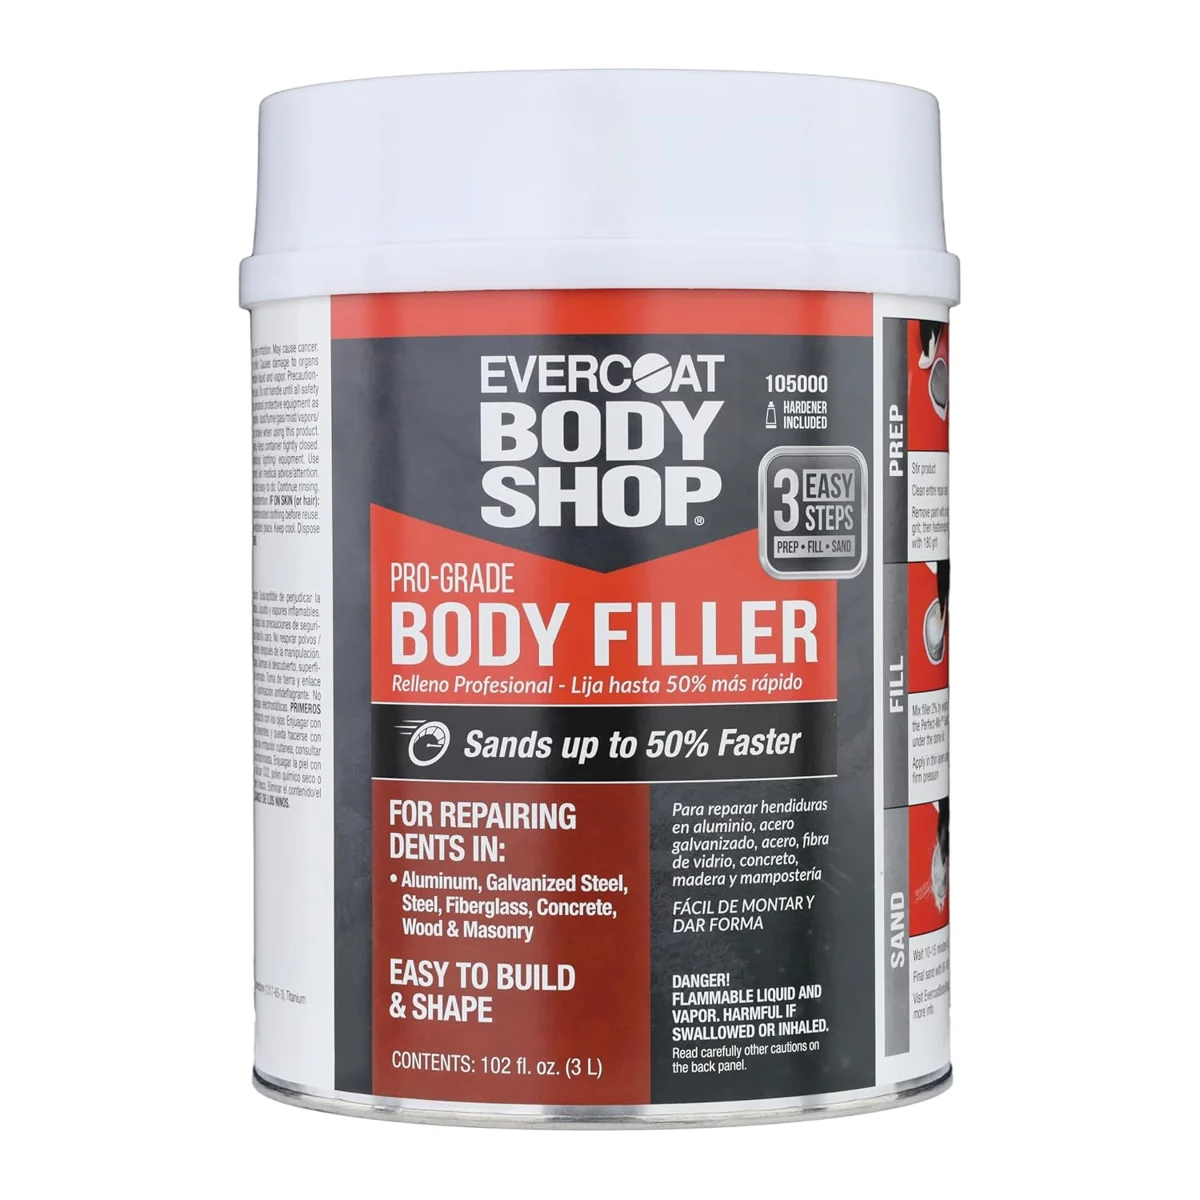
Evercoat Pro-Grade body filler is a two-part material mixed with its hardener. It forms a sandable filler for shaping repaired surfaces.
View On AmazonLiquid Resin And Layer-Stage Comparisons
Bondo 404 Fiberglass Resin — My Purchased Resin
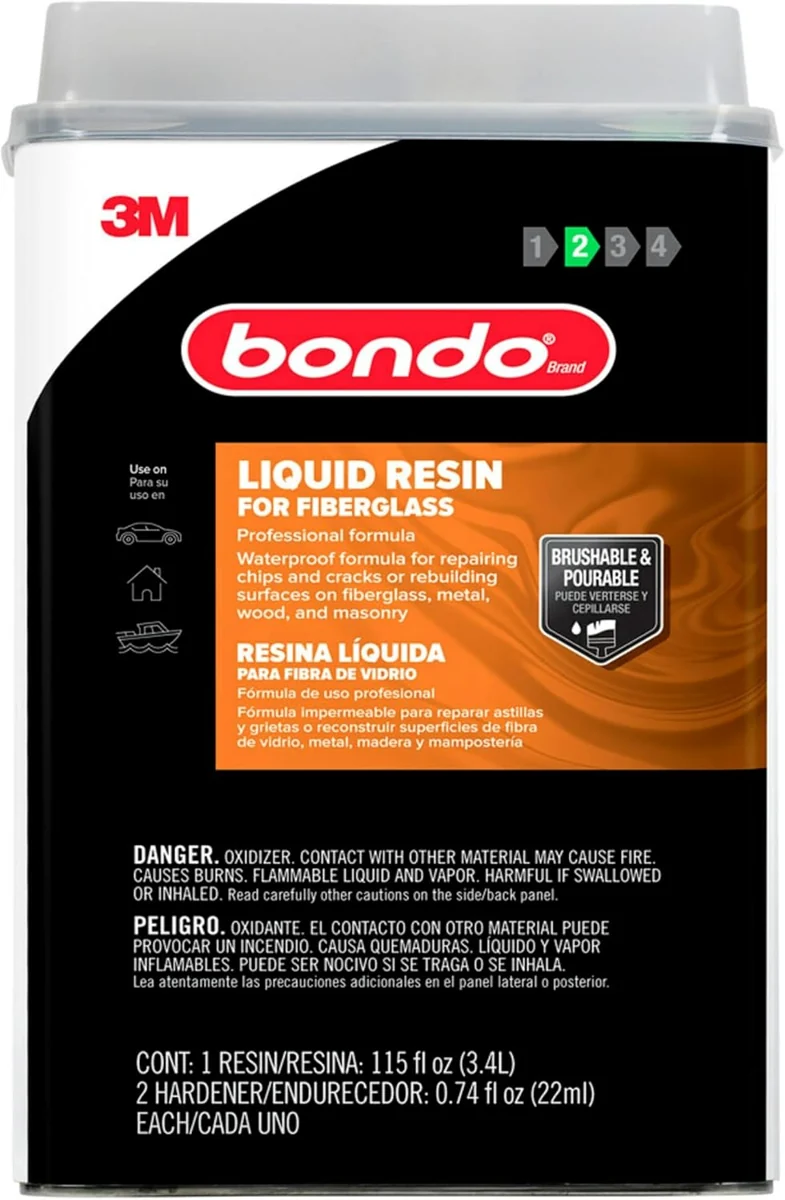
Bondo 404 is a fiberglass resin supplied with a separate hardener. The mixed resin wets reinforcing fiberglass for repair and lay-up work.
View On AmazonTotalBoat Polyester Laminating Resin — Alternative
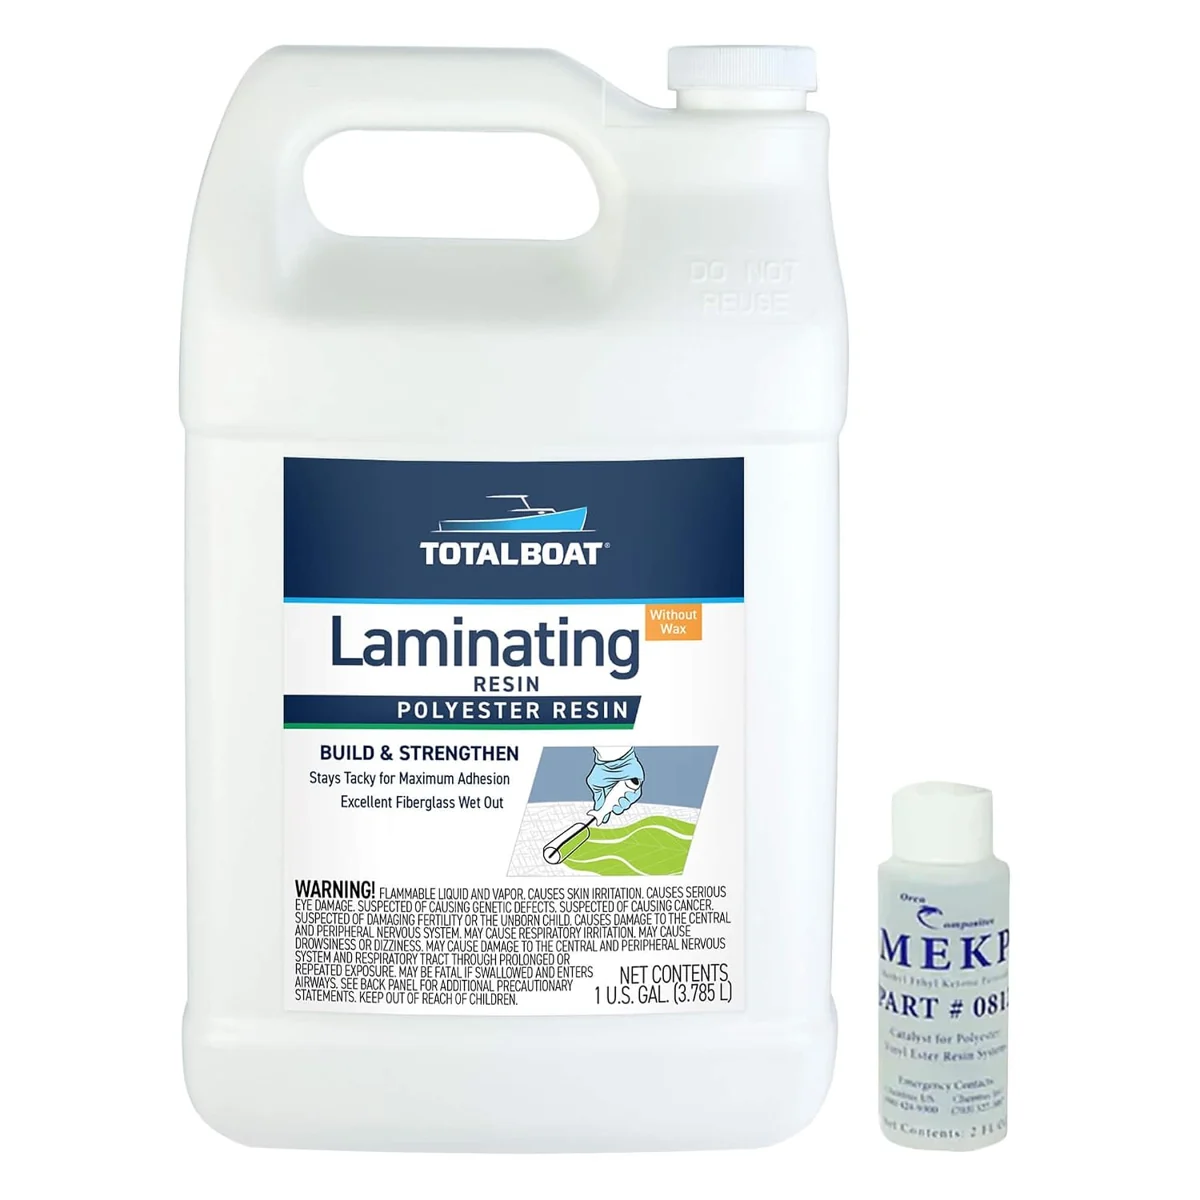
This polyester resin is supplied with MEKP hardener for fiberglass lay-up work. Its wax-free formulation is intended for building successive layers.
View On AmazonTotalBoat Polyester Finishing Resin — Alternative
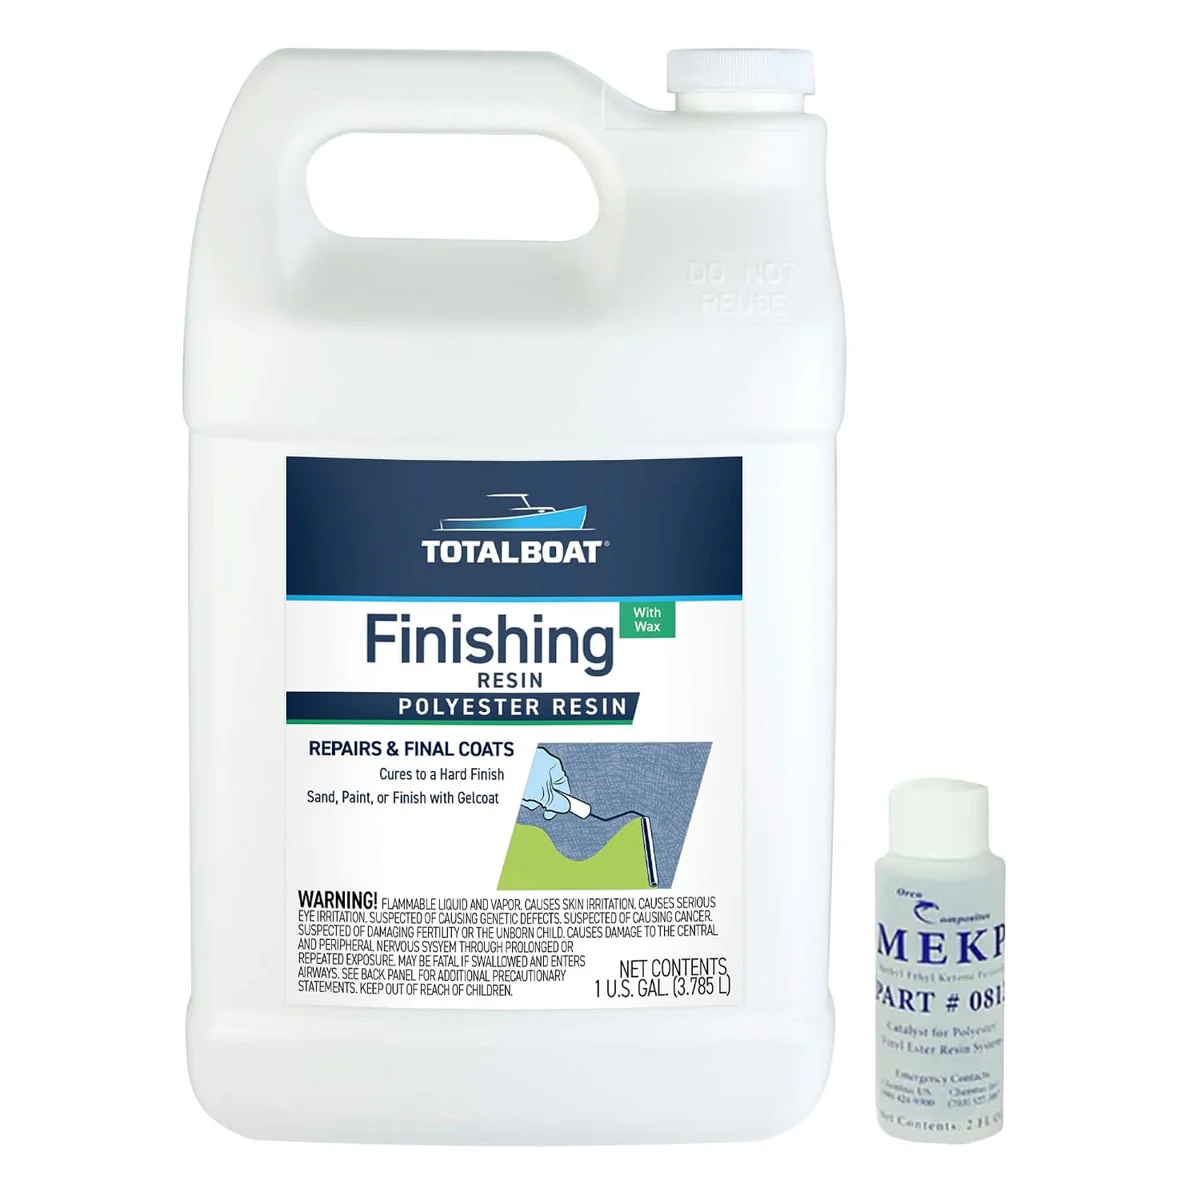
This polyester resin includes wax for the finishing stage of fiberglass work. The package supplies resin and its MEKP hardener.
View On Amazon