The heater opening needed sanding after cutting, followed by primer and white paint. My purchased abrasives include fine Wetordry sheets as well as the coarser materials used elsewhere in the build.
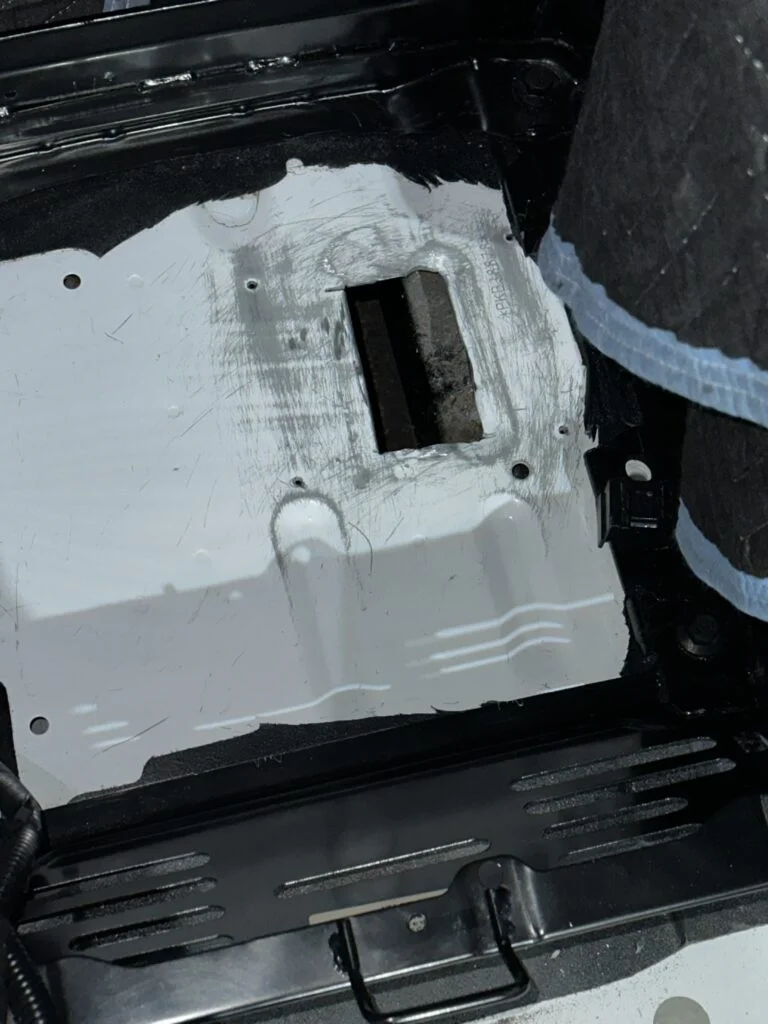
The cut heater-opening area during finishing work.
The item in my kit
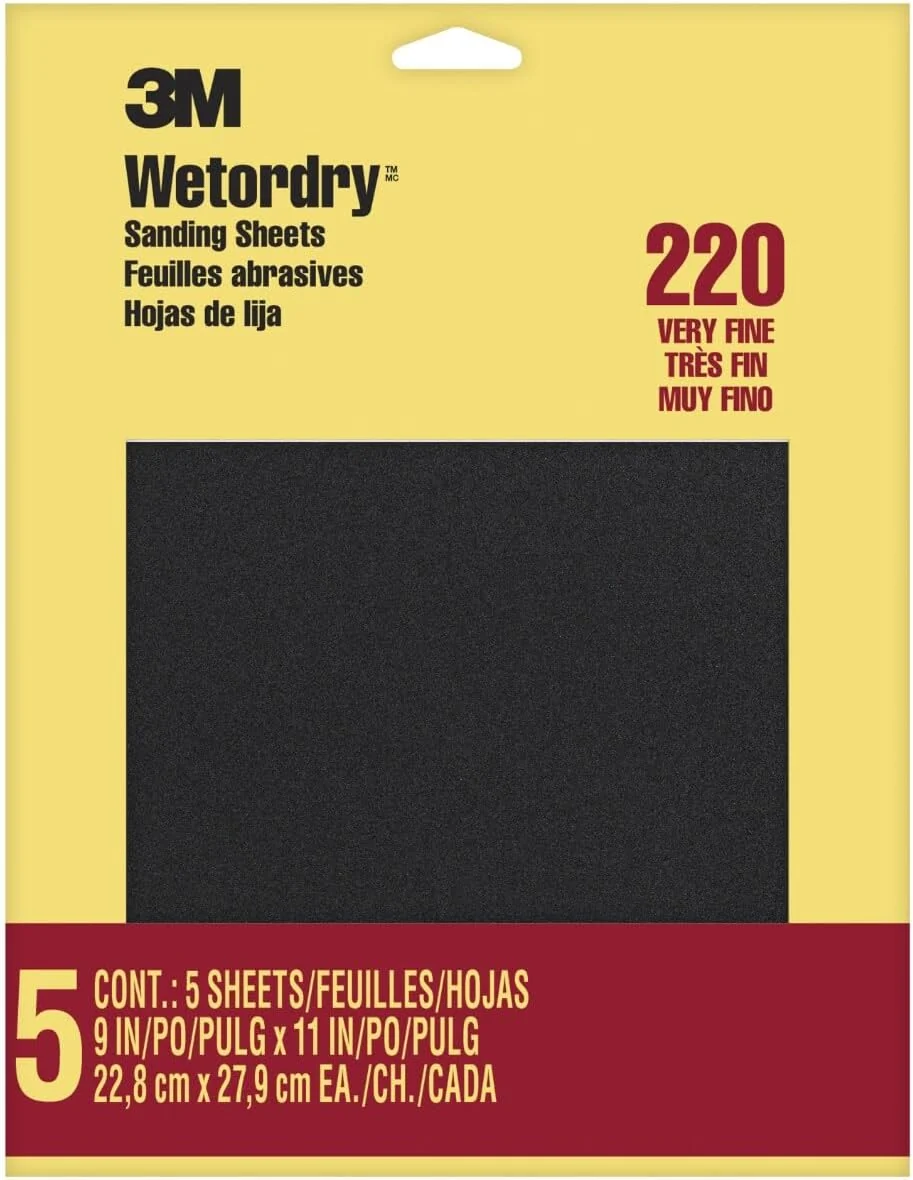
I bought 3M Wetordry 320-Grit Sandpaper as part of my camper van equipment.
The heater opening needed sanding after cutting, followed by primer and white paint. My purchased abrasives include fine Wetordry sheets as well as the coarser materials used elsewhere in the build.
Where it fits my build
I marked the opening beneath the passenger seat and used a drill, reciprocating saw and grinder to make it. I then drilled the mounting holes and sanded the cut area.
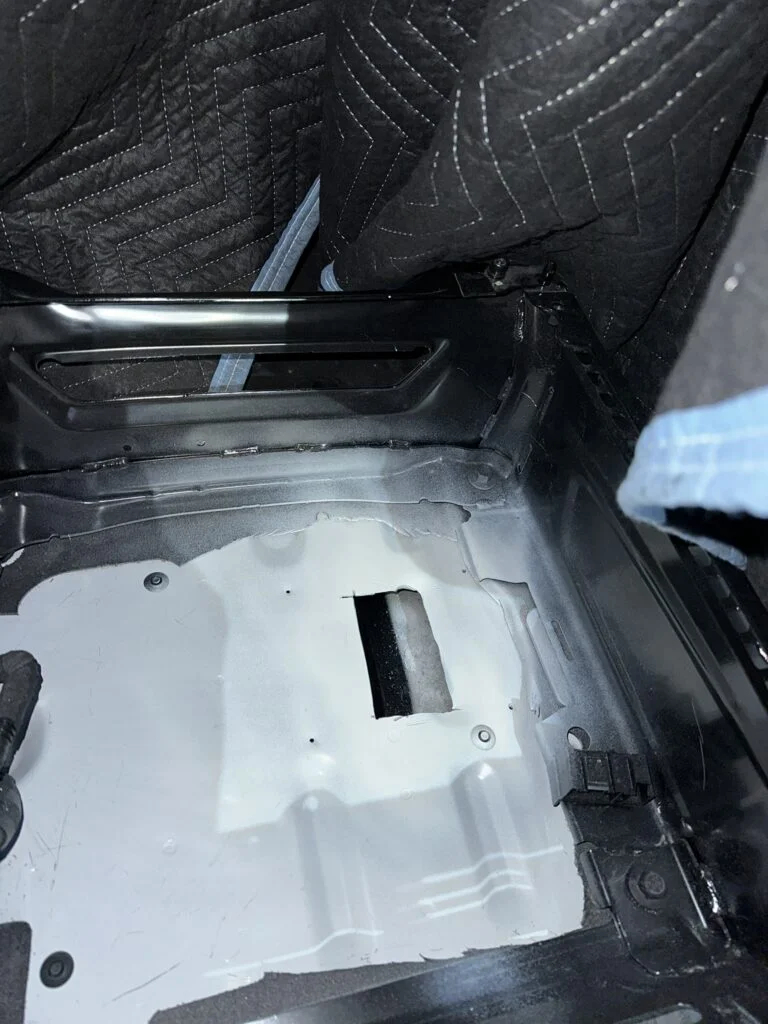
The finishing sequence included two coats of primer and two coats of white paint. That put the cutting, abrasive preparation and coating into distinct steps before the heater mounting continued.
White paint around the heater mounting opening after preparation.
My build notes
The opening changed from marked sheet metal to a cut edge and then to a painted mounting area. The sequence in the photos explains the role of the finishing supplies alongside the cutting tools.
Cutting the opening was followed by abrasive preparation and coating before assembly continued.
Alternative products
Two alternatives to compare
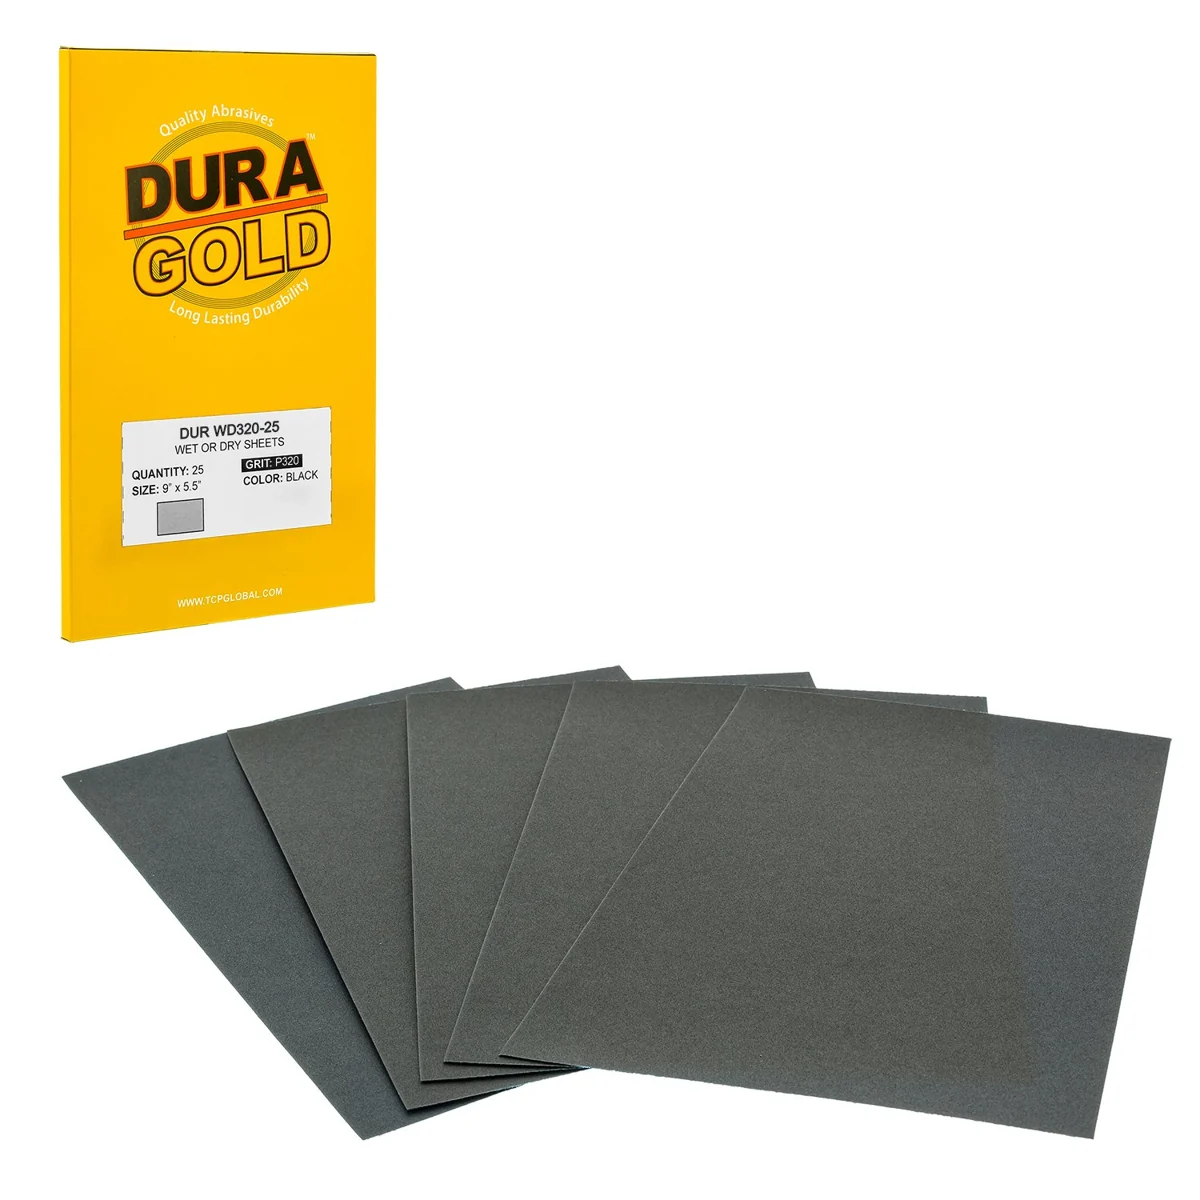
The Dura-Gold option is another 320-grit sheet format. The other 3M pack is 220 grit, so it represents a different abrasive grade rather than the same finishing step.
Dura-Gold 320-Grit Sandpaper Sheets
These 320-grit sheets provide a fine abrasive surface for wet or dry sanding. The rectangular pieces can be held by hand or fitted to a sanding block.