I made custom mounts for the REOLINK cameras around my roof rack. Enlarging holes, adding the third attachment point and guiding each camera wire were all part of the mounting work.
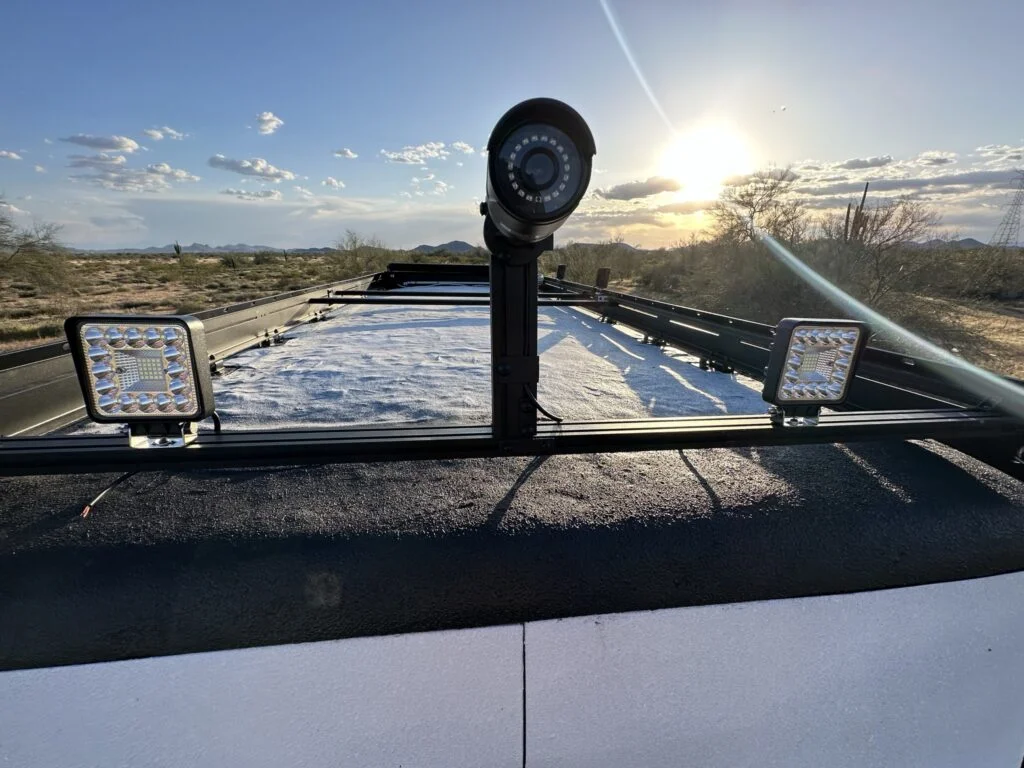
One of my roof-mounted cameras with LED pods beside it.
Why I bought it
The camera layout had to work around the rack extrusion and the other roof equipment. I used added extrusion and small fabricated brackets to create the mounting arrangements.
The REOLINK RLC-510A was listed in my materials for that project. The diary photos show the cameras mounted above the rack with nearby LED pods.
How I used it in my camper van
I cut and drilled angle brackets, joined extrusion pieces and mounted a camera. The next sessions included enlarging holes, making an attachment for the camera’s front mounting point and preparing the remaining assemblies.
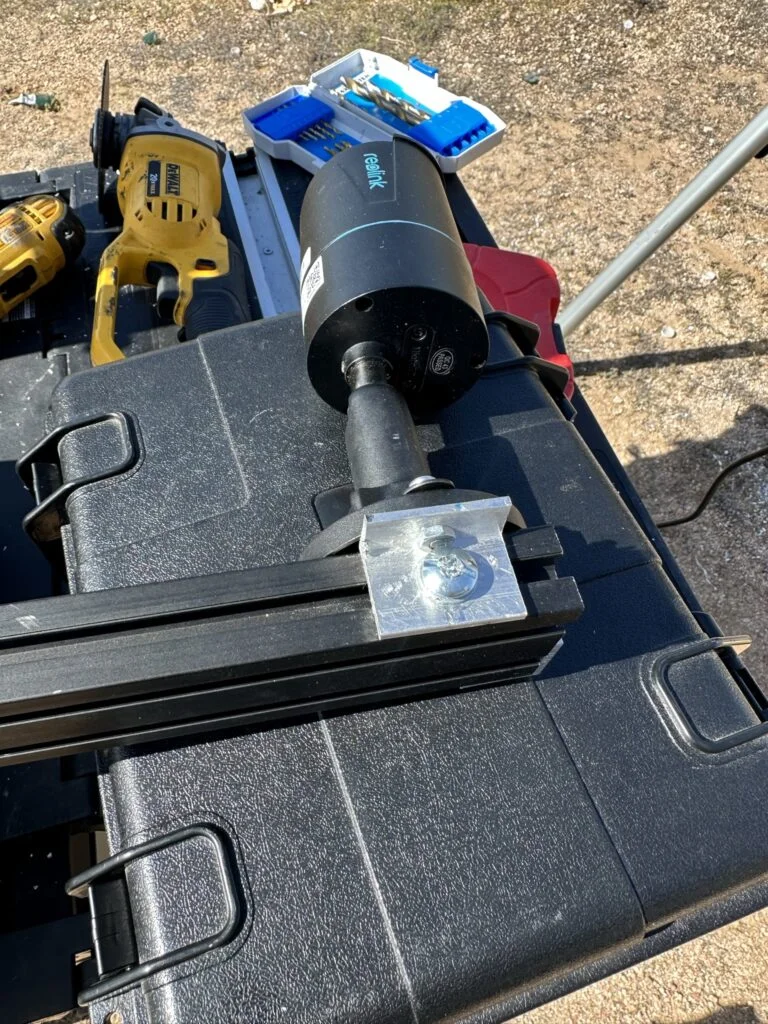
I widened the camera mounting holes, added side and lower brackets and used a small custom piece for the third attachment point. A flat bracket held the camera wire in the extrusion channel. I then attached the camera mounts around the roof rack.
The camera base and custom bracket during fitting to the extrusion.
My review
The work that stood out was the amount of fitting behind each small camera mount. Hole positions, bolt lengths, T-nuts and wire routing all affected the assembly.
Completing the camera and small-light mounting stage became a clear milestone in the build. My notes describe breaking the conversion into smaller projects so that there was a visible piece of work to finish.
The camera mount needed both a mechanical layout and a path for its wire.
Alternative products
Two alternatives to compare
The REOLINK RLC-810A and Amcrest IP8M-2496EB-V2 are alternative wired PoE bullet-camera designs. Their bases, housings and cable exits are useful physical comparison points for a custom mount. My build experience centers on arranging those mounting and cable details around the roof rack.
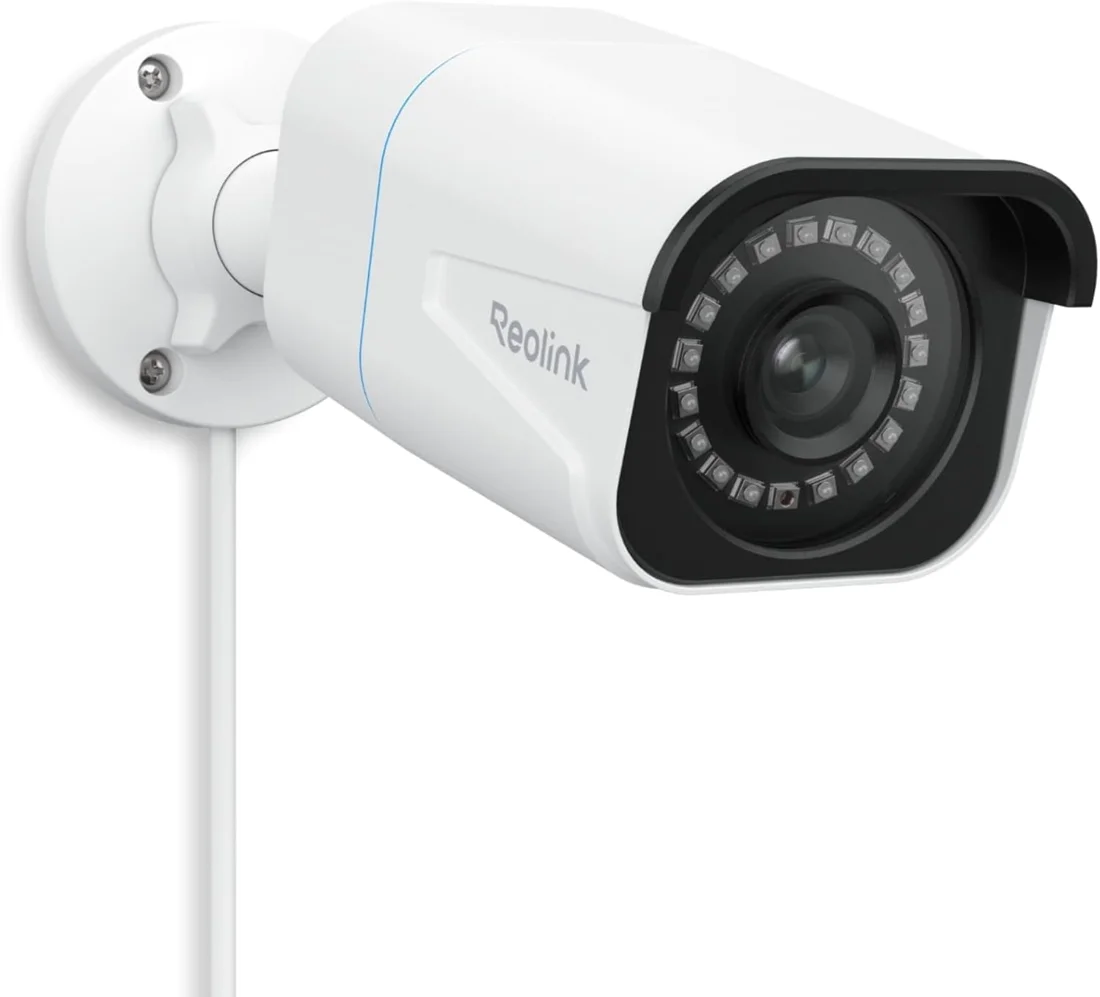
REOLINK RLC-810A PoE Camera
This wired PoE camera uses a bullet-style housing with an adjustable mounting base. Its Ethernet connection provides a network-camera format for a camera system.
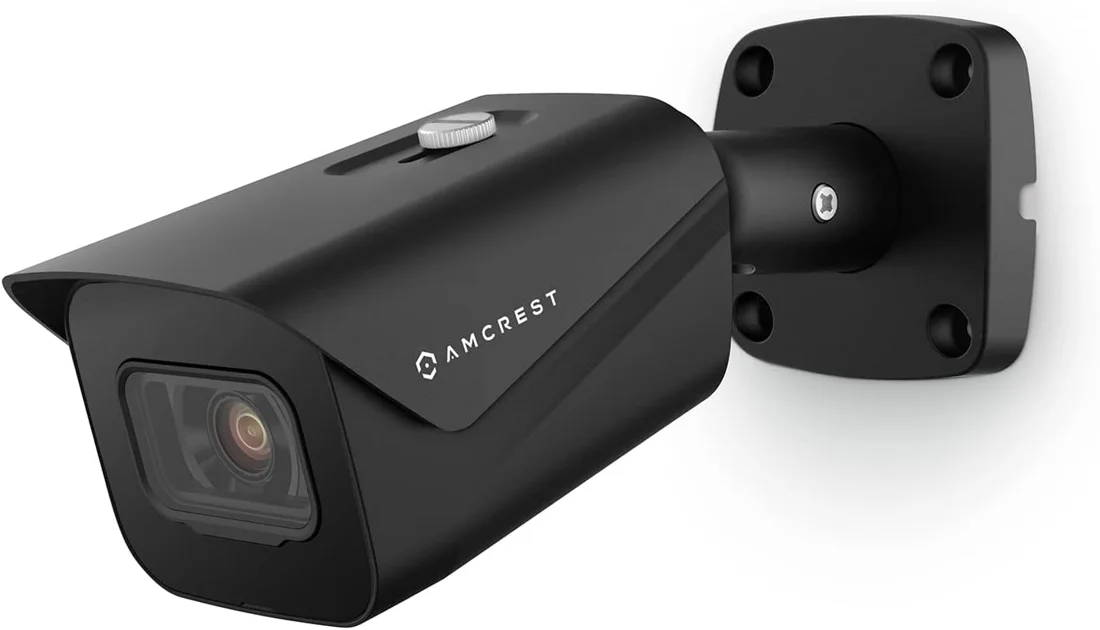
This wired PoE camera combines a bullet-style housing with a fixed lens. Its mounting base and Ethernet connection provide another physical arrangement for a network camera.