The gauges in my drawings
The drawings include 4, 8, 10 and 14-AWG labels, plus an 18-AWG bundle labelled “20 wires.” These are references in the wiring record. They help keep different runs identifiable across the overall system and the individual device branches.
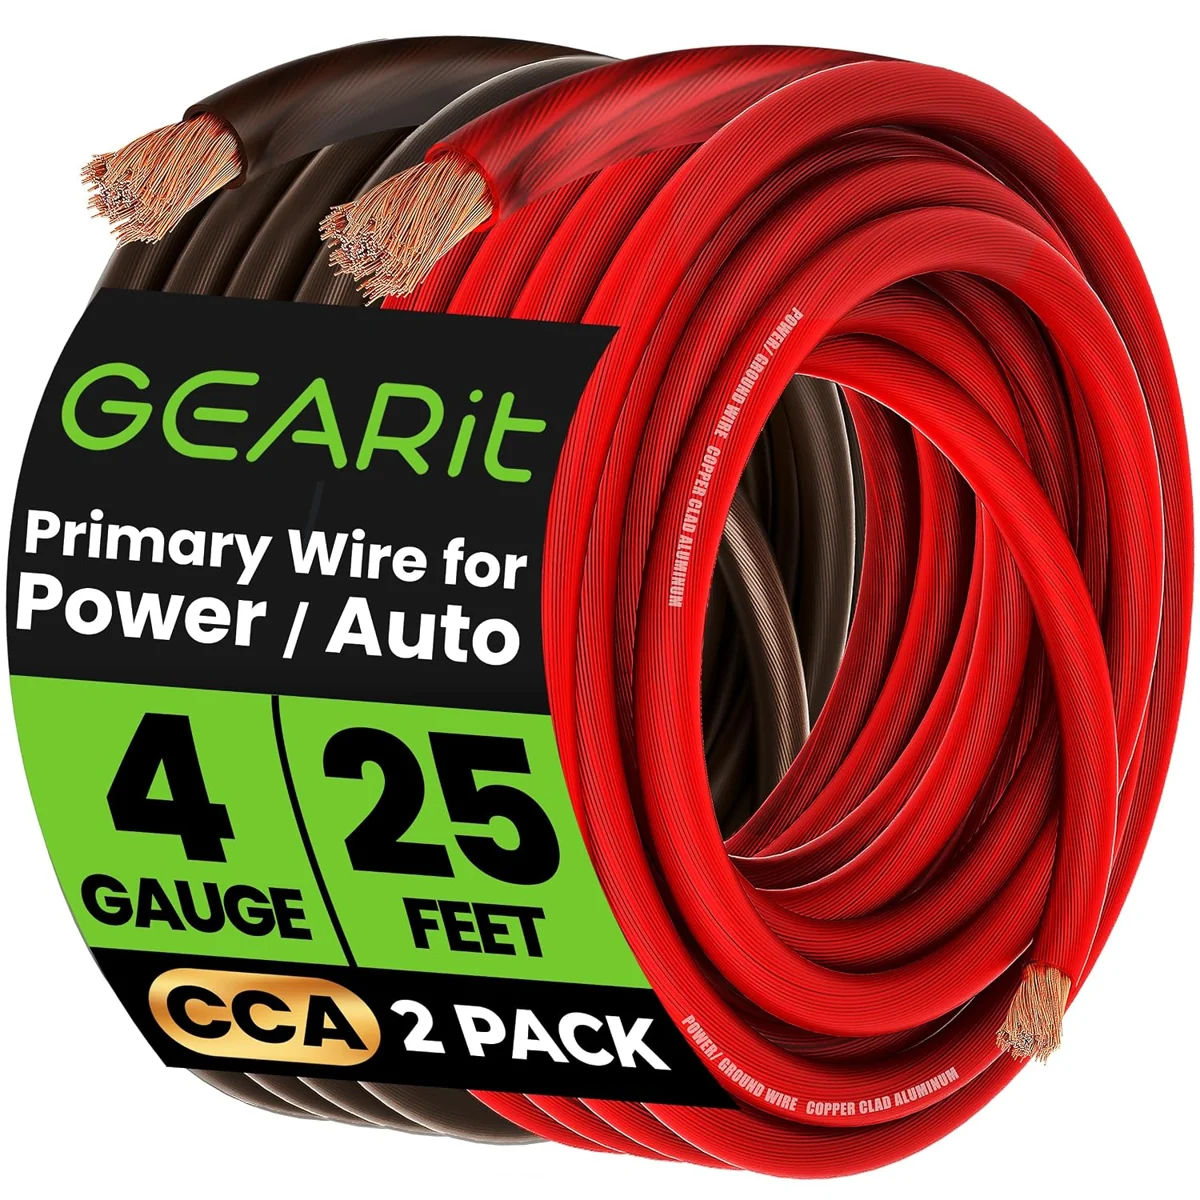
I also bought 4/0-AWG WindyNation copper cable and GearIT 10/3 SOOW cable. Those have existing item pages. A 10/3 cable groups three conductors within an outer jacket, while the separate red and black Haerkn purchase is a different cable arrangement.
| Drawing reference | Equipment record |
|---|---|
| 4 AWG · E53 | Gauge label in Drawings 1–5; GearIT 4-AWG CCA is a separate purchase entry. |
| 8 AWG · E54 | Gauge label in Drawing 5. |
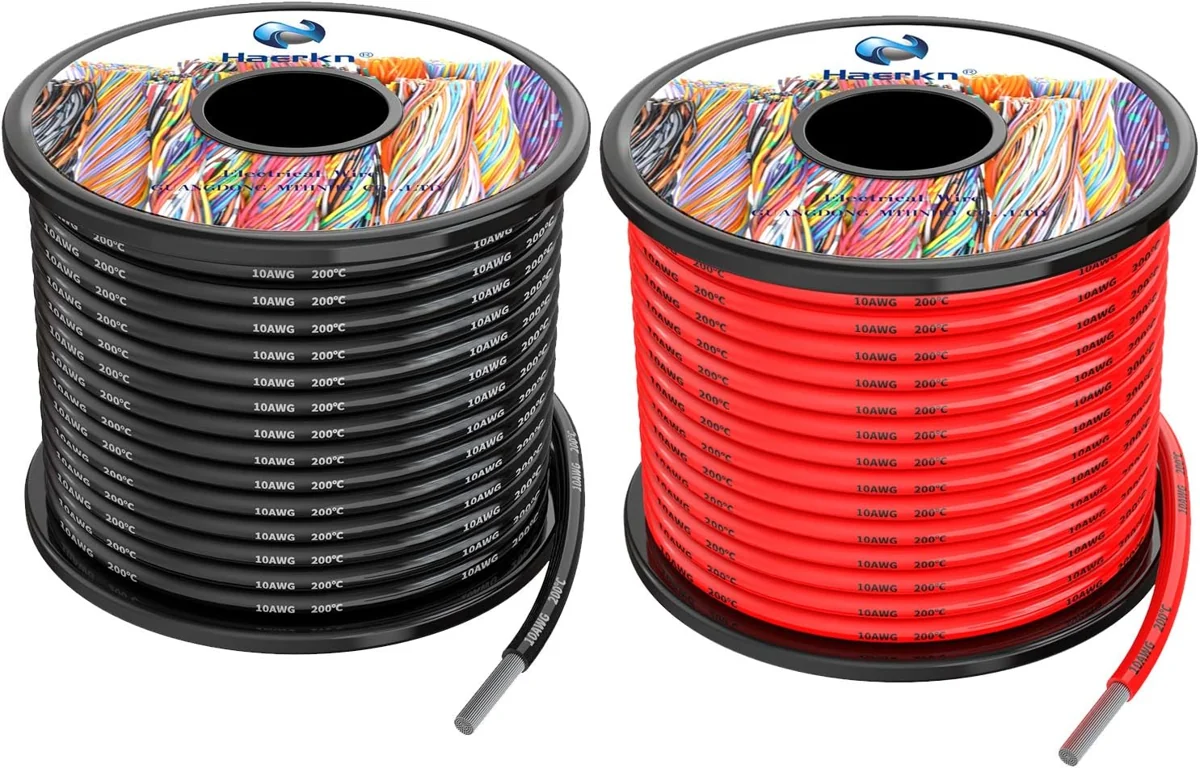
| 10 AWG · E55 | Gauge label in Drawings 1–5; Haerkn 10-AWG silicone wire appears in my purchases. |
| 14 AWG · E57 | Gauge label in Drawings 1–5. |
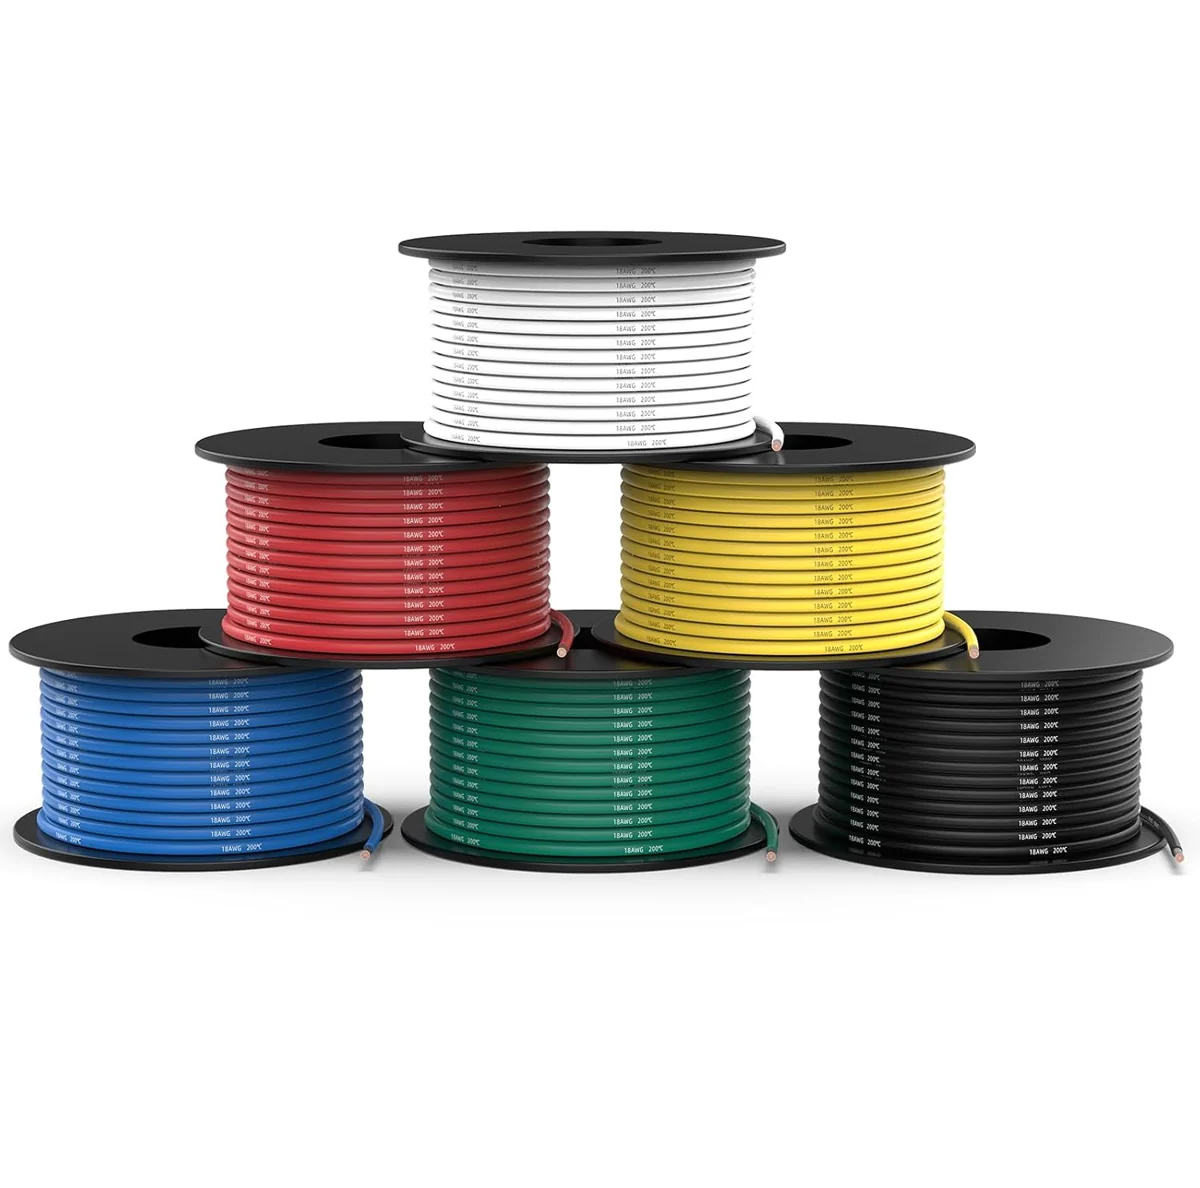
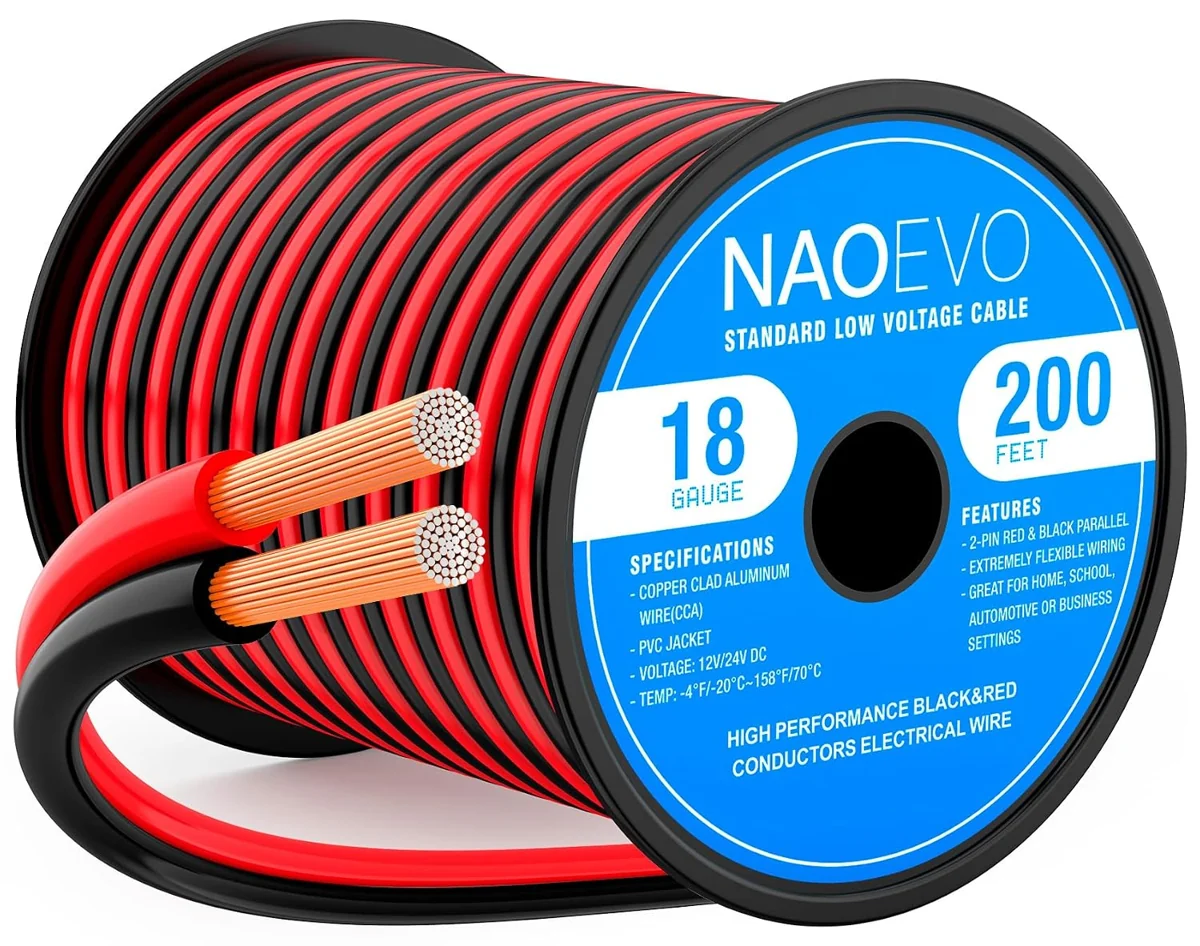
| 18 AWG · E58 | The drawing bundle is labelled 20 wires; my NAOEVO purchases include silicone wire and paired CCA cable. |
Conductor material and cable format
My GearIT 4-AWG purchase is copper-clad aluminum cable. The Haerkn 10-AWG purchase uses silicone insulation, and the NAOEVO 18-AWG silicone kit contains tinned-copper wire in separate colors.
A second NAOEVO purchase is paired 18-AWG copper-clad aluminum cable with PVC insulation. These are distinct purchase records. Gauge, conductor material, insulation and the number of conductors each describe a different part of the cable.
My roof-wiring work
On Day 95 I worked on the roof layout, panel fit and electrical routes. The roof project included lights, cameras, junction boxes and glands as well as the solar hardware.
By Day 103 I was arranging wire groups and the cable entry. On Day 104 I used a fish tape to pull roof wiring through the PVC conduit, completed connections and fitted covers. That sequence is the documented build context for organizing the wire routes and groups.
My takeaway
My takeaway is to keep the gauge label with the complete cable description. “18 AWG” appears on both the silicone-wire kit and the paired CCA purchase, but those products have different conductors and insulation.
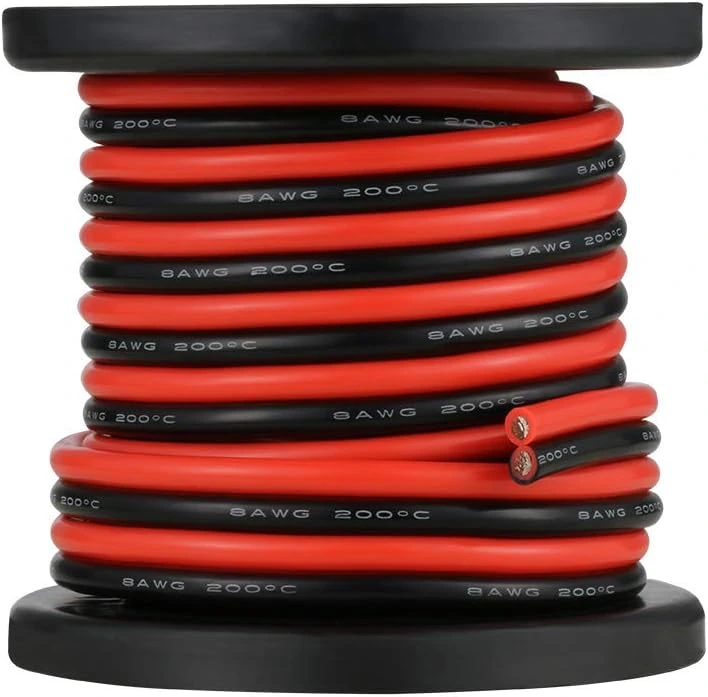
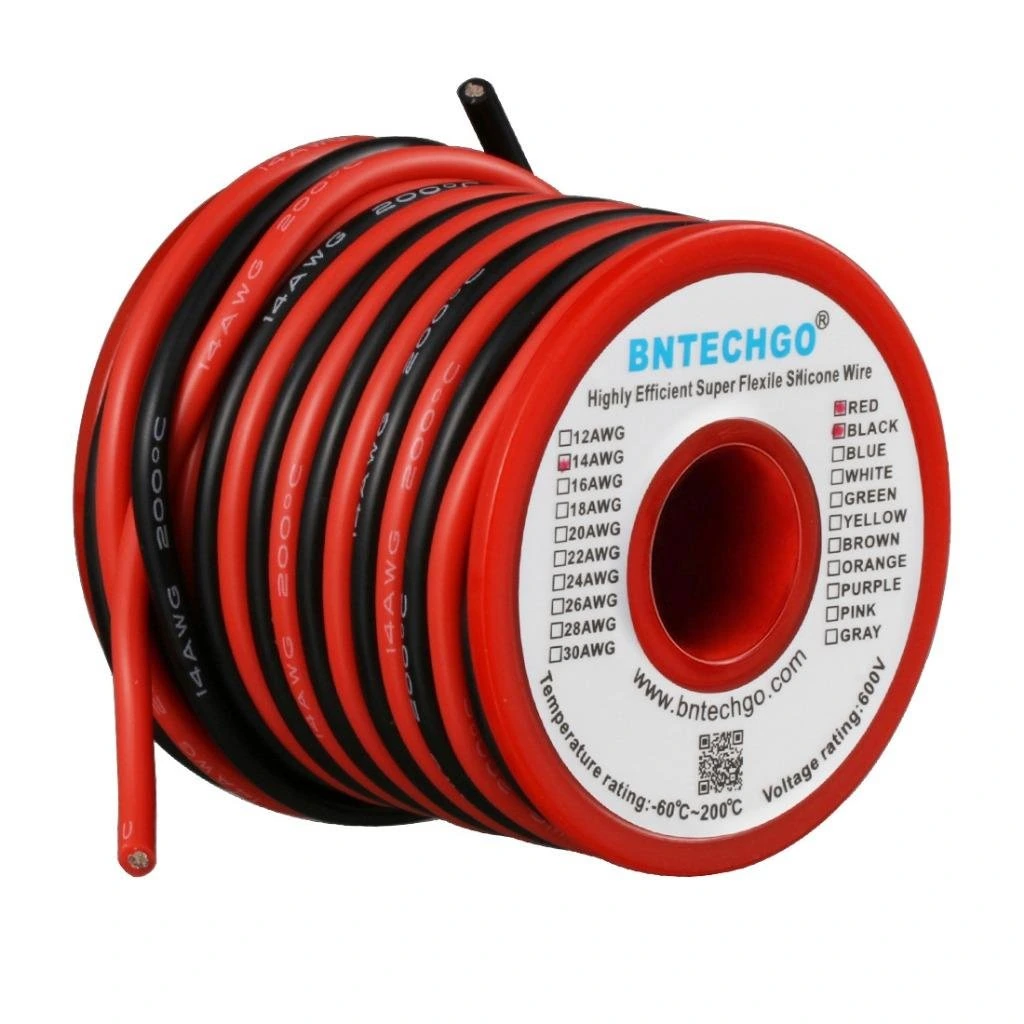
The same distinction applies when comparing new wire options. The two alternatives below correspond to the 8 and 14-AWG sizes in my drawings, with different paired-versus-separate lead arrangements.
From my electrical build
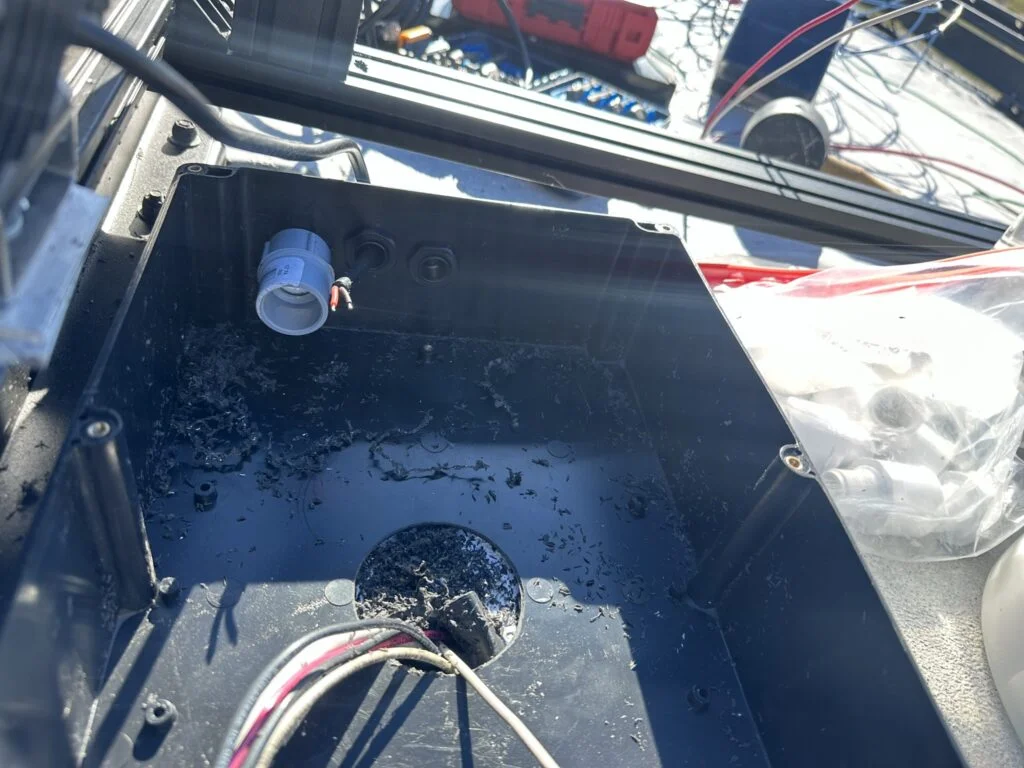
Read the roof-entry work · See the conduit pulls and final connections
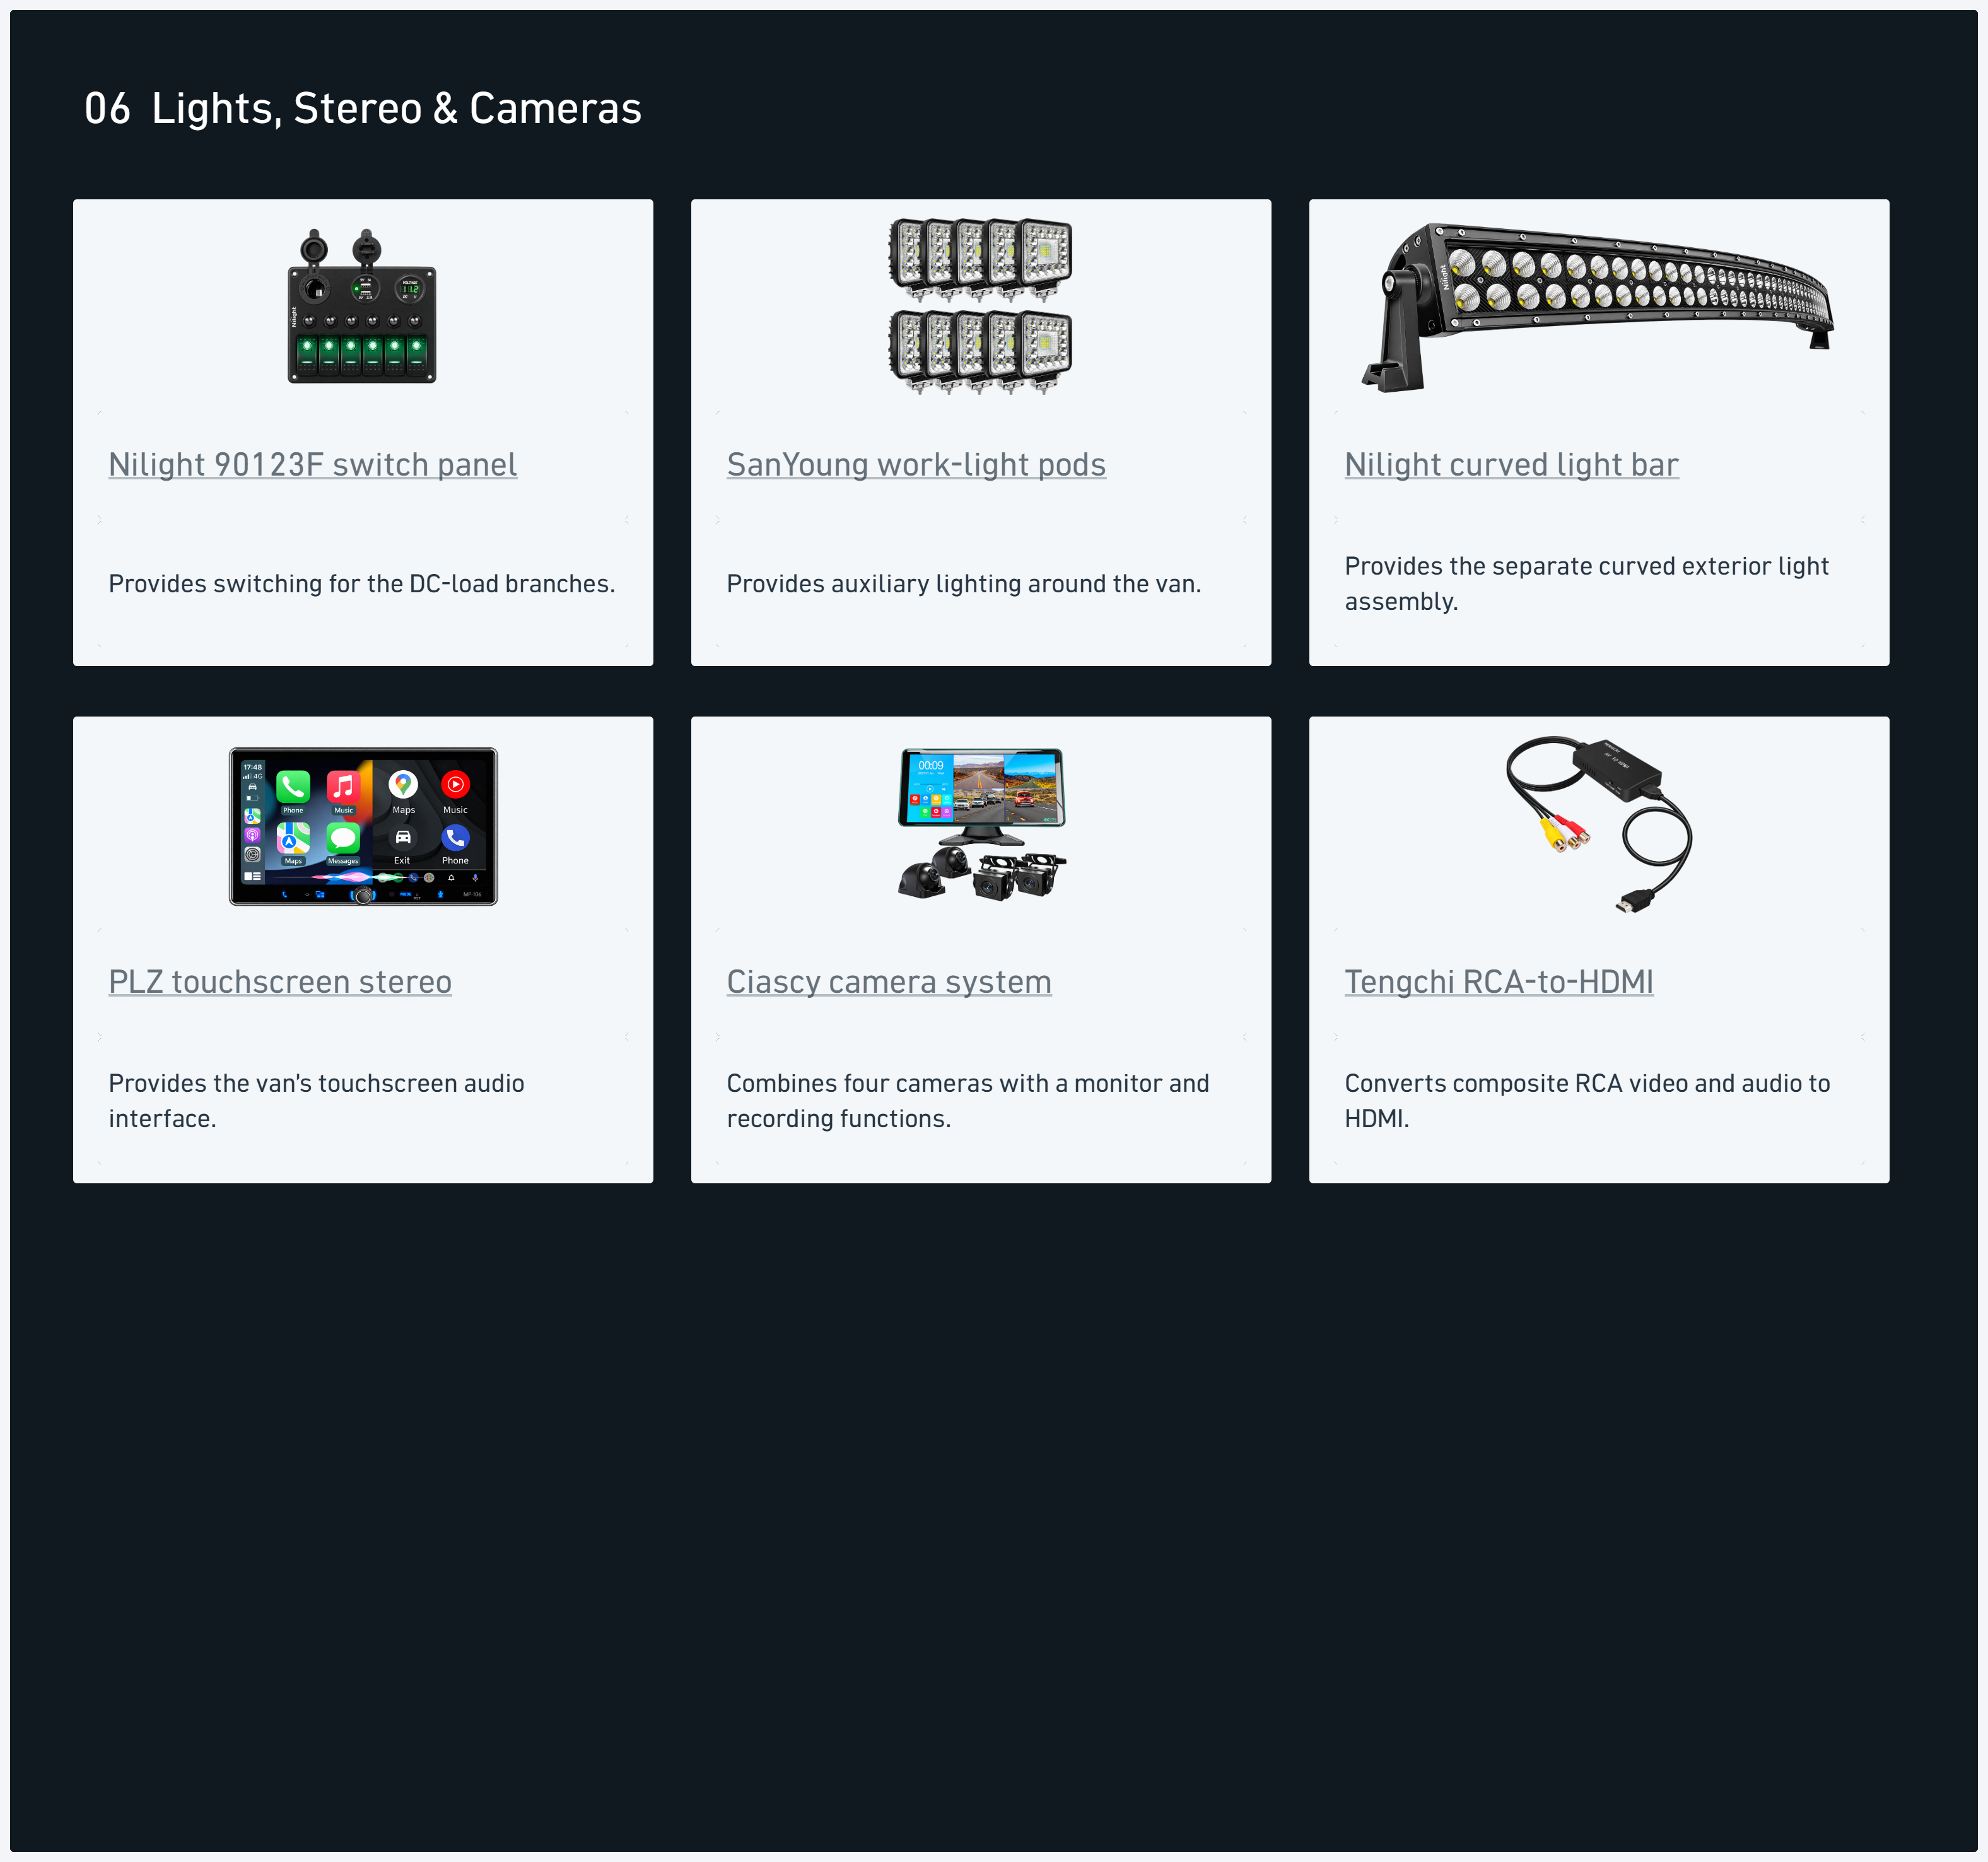
Explore the complete component register and system diagram →