The finishing supplies I bought include tray liners as well as rollers and brushes. The exterior-coating project showed that preparation and application method both affect how much touch-up follows.
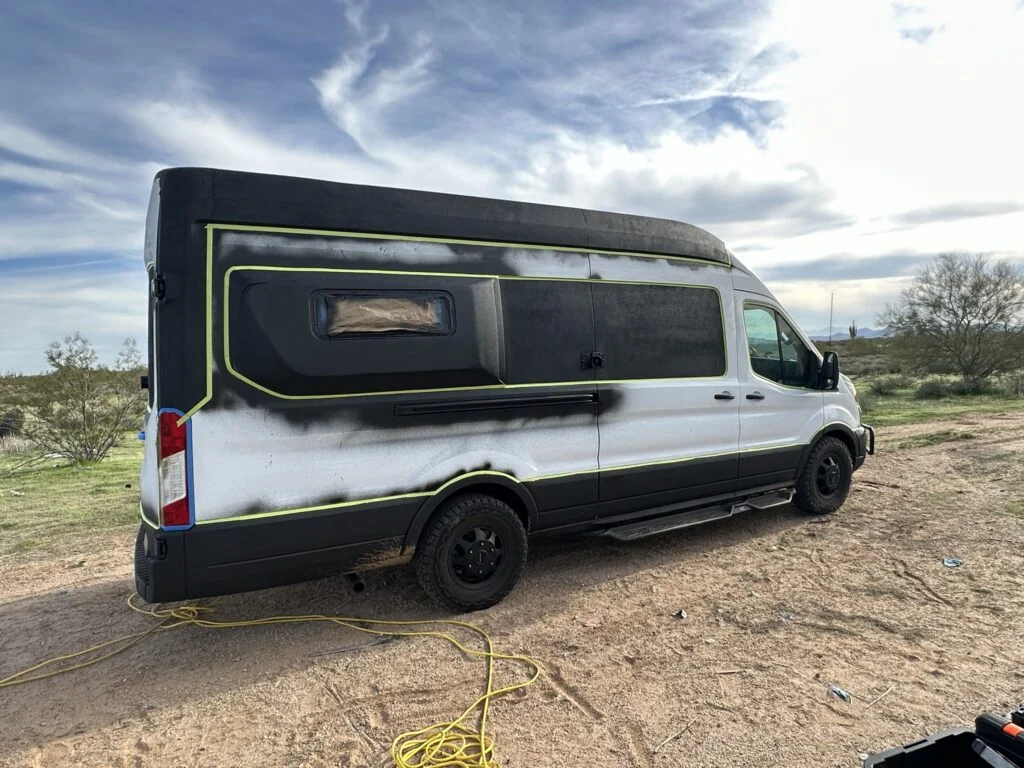
My van with masking around the exterior areas prepared for coating.
The item in my kit
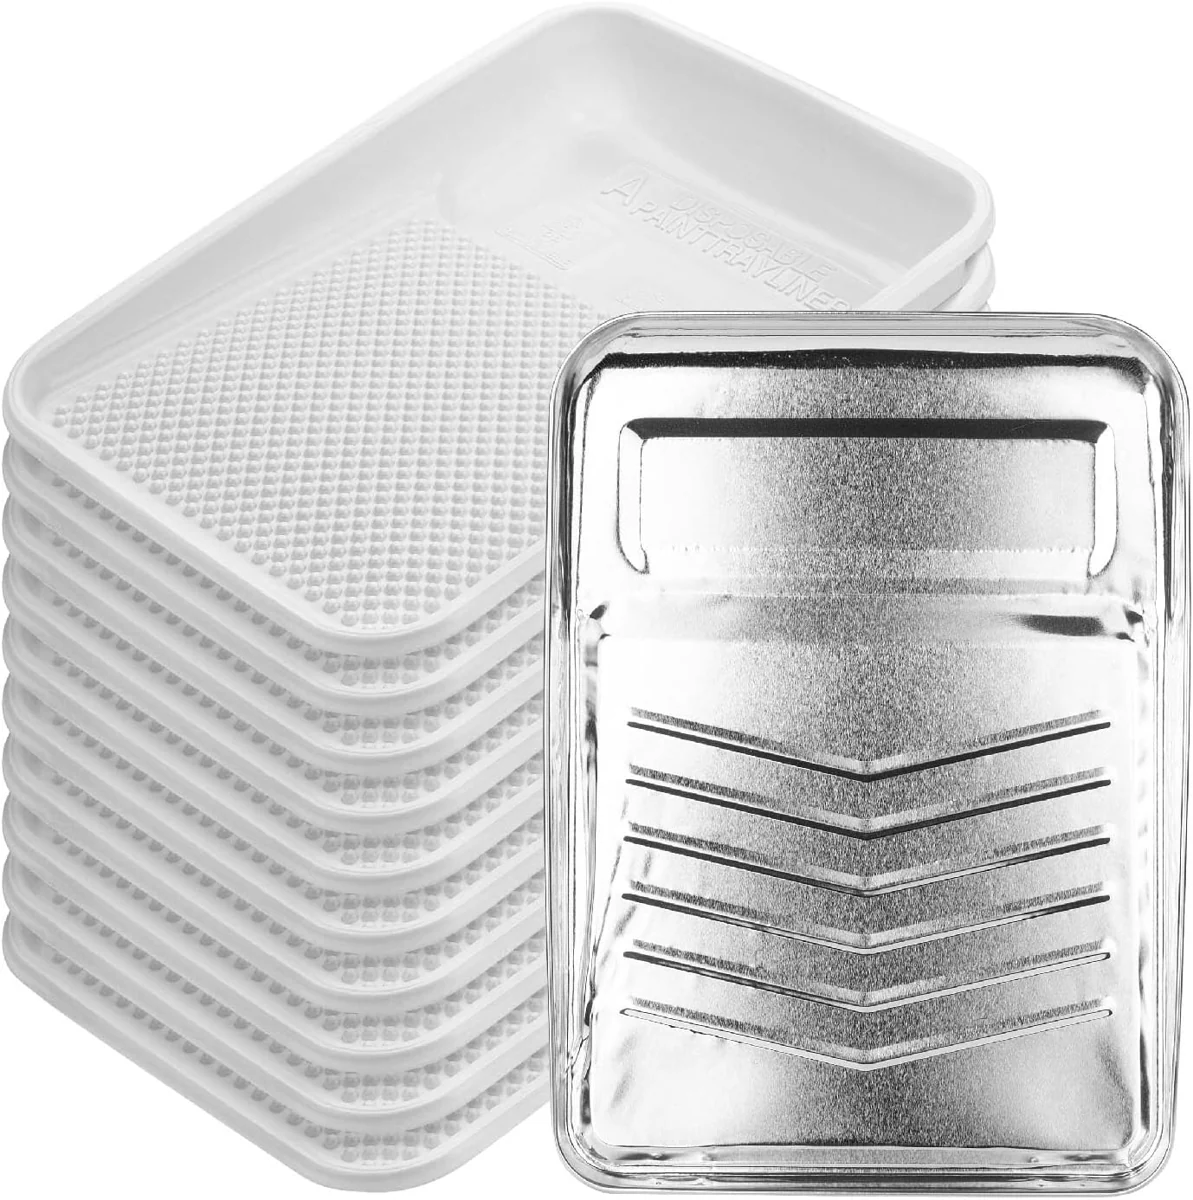
I bought Bates Paint Tray Liners as part of my camper van equipment.
The finishing supplies I bought include tray liners as well as rollers and brushes. The exterior-coating project showed that preparation and application method both affect how much touch-up follows.
Where it fits my build
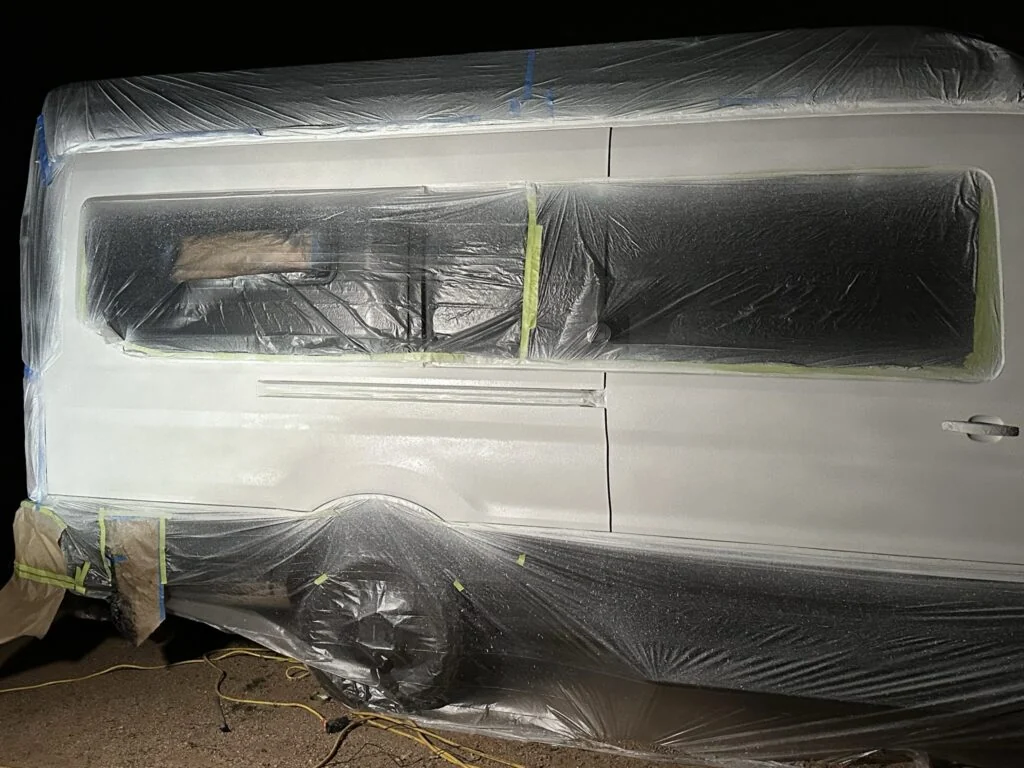
I taped the boundaries and covered the areas that would not be painted with plastic sheeting. I then sanded the exposed areas with an orbital sander and 60-grit abrasive, blew away the dust with a compressor, and cleaned and degreased the surfaces.
I mixed clear bedliner with white tint and sprayed the van. After it dried, I removed the masking. The tape and sheeting stage alone took around eight hours, and the finished edges still needed some touch-up.
The side of the van during the white-bedliner project.
My build notes
The most useful detail in my diary is the result, including the problems. Rust-Oleum pooled and dripped in places, and trying to repair one area with a paintbrush made it worse. I wrote that I would use a foam roller for touch-ups and preferred the more consistent finish I had obtained with RAPTOR.
Masking, preparation and application method each became a substantial part of the exterior-coating job.
Alternative products
Two alternatives to compare
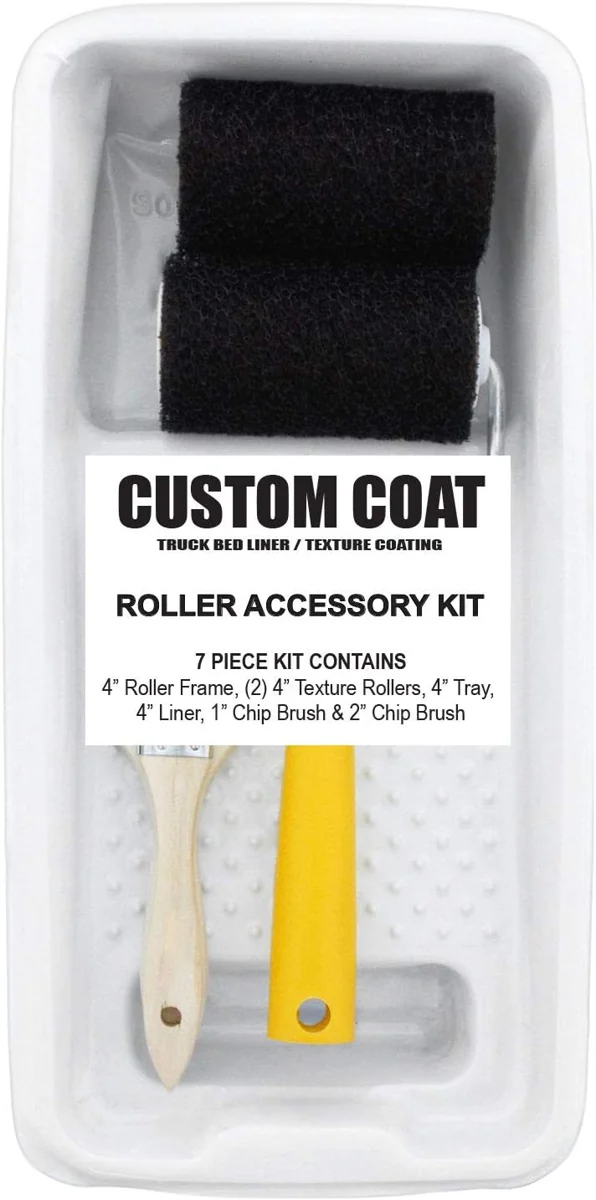
The Bates tray-and-liner package adds a supporting tray. The Custom Coat kit combines a tray with rollers and brushes, offering a more complete application setup.
Bates Paint Tray and Liners
This package combines a paint tray with molded plastic liners. The sloped tray face provides an area for loading a roller above the coating reservoir.