Why I Wouldn’t Install Vanspeed Capsules on My Ford Transit Again
If I were starting my van build again, I would skip the capsules and put the bed lengthwise. I debated the purchase for a long time because of the price. After paying for them, repairing shipping damage, struggling to fit them to my extended Transit and dealing with the mess that followed, I wish I had listened to my gut.
The extra sleeping width looked valuable when I was designing the van. In practice, those inches mattered much less than I expected. What I gave up in money, time, bodywork and frustration was worth more to me than the space I gained.
I spent too much time designing around inches
I’m 6′2″ and weigh about 210 pounds. While planning my 2023 Ford Transit 250 High Roof Extended, I wanted to make every inch work. A sideways bed seemed like a way to free up valuable floor space, and capsules seemed like the answer to making that layout possible.
When you spend weeks working on a van layout in SketchUp, it is easy to get fixated on measurements. You move things a few inches, try another arrangement and keep searching for the most efficient use of a very small interior. I did plenty of that.
After building and traveling in the van, my priorities changed. I mostly go inside to sleep, get something, cook or take care of whatever needs doing. At my size, the interior feels small regardless of the arrangement. I want to be outside exploring and enjoying the places I have traveled to.
I came to see the van more as a mobile utility vehicle: somewhere to sleep, store my belongings and support the things I want to do. Giving up some floor space for a lengthwise bed would have been a better trade for me than I understood during the design stage.
Why I chose Vanspeed
When I was shopping, the two options I kept finding were Flarespace and Vanspeed. Flarespace seemed to be the more popular choice among the builds I was seeing, but I liked the appearance of the Vanspeed capsules a little more. That was ultimately what pulled me toward them.
I bought the version without bunk windows and purchased the windows separately. I remember paying $1,799 for the capsules. I don’t remember whether there was an additional shipping charge.
My understanding from the website information I had seen was that the capsules could work on the extended Transit with modifications. I bought them expecting that to be a workable installation on my van. What I did not understand was how much measuring, fitting and sanding that would involve.
The historical fitment information
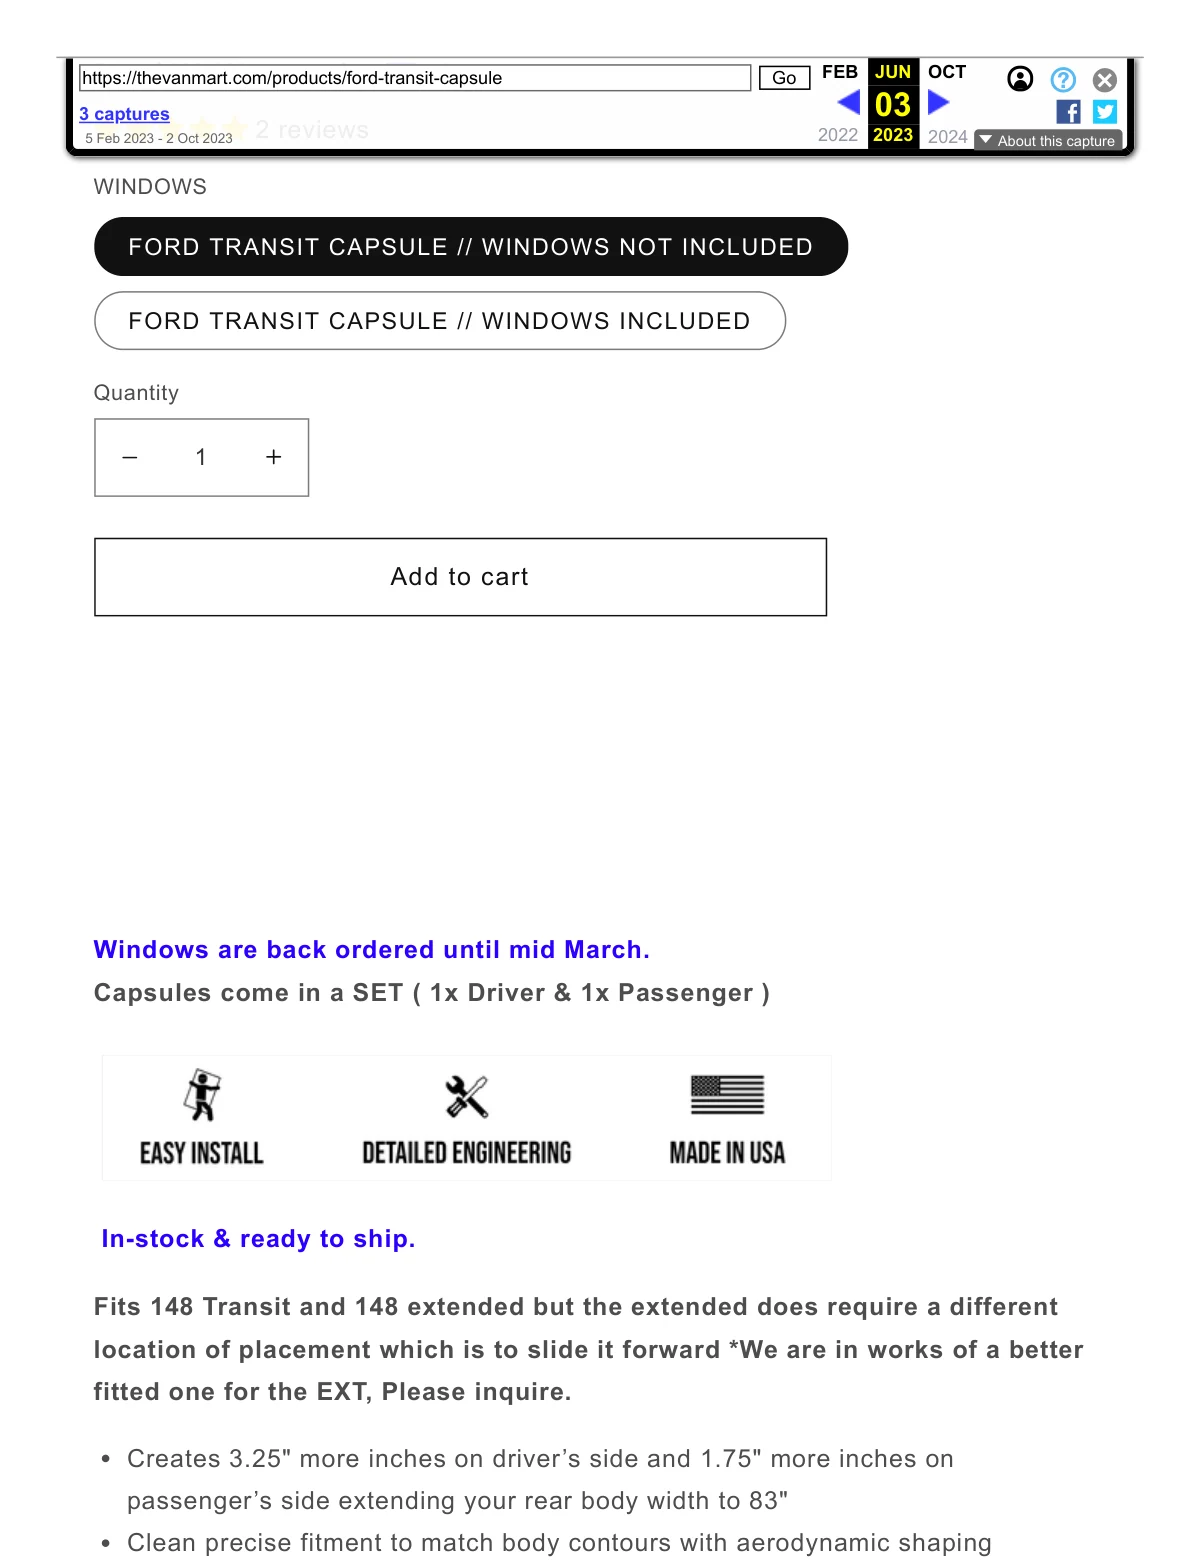
I saved copies of the seller’s product page because the fitment wording mattered to my purchase. The June 3, 2023 capture describes using the capsules on the 148 extended by moving their placement forward, while mentioning that a better-fitting EXT version was being developed.
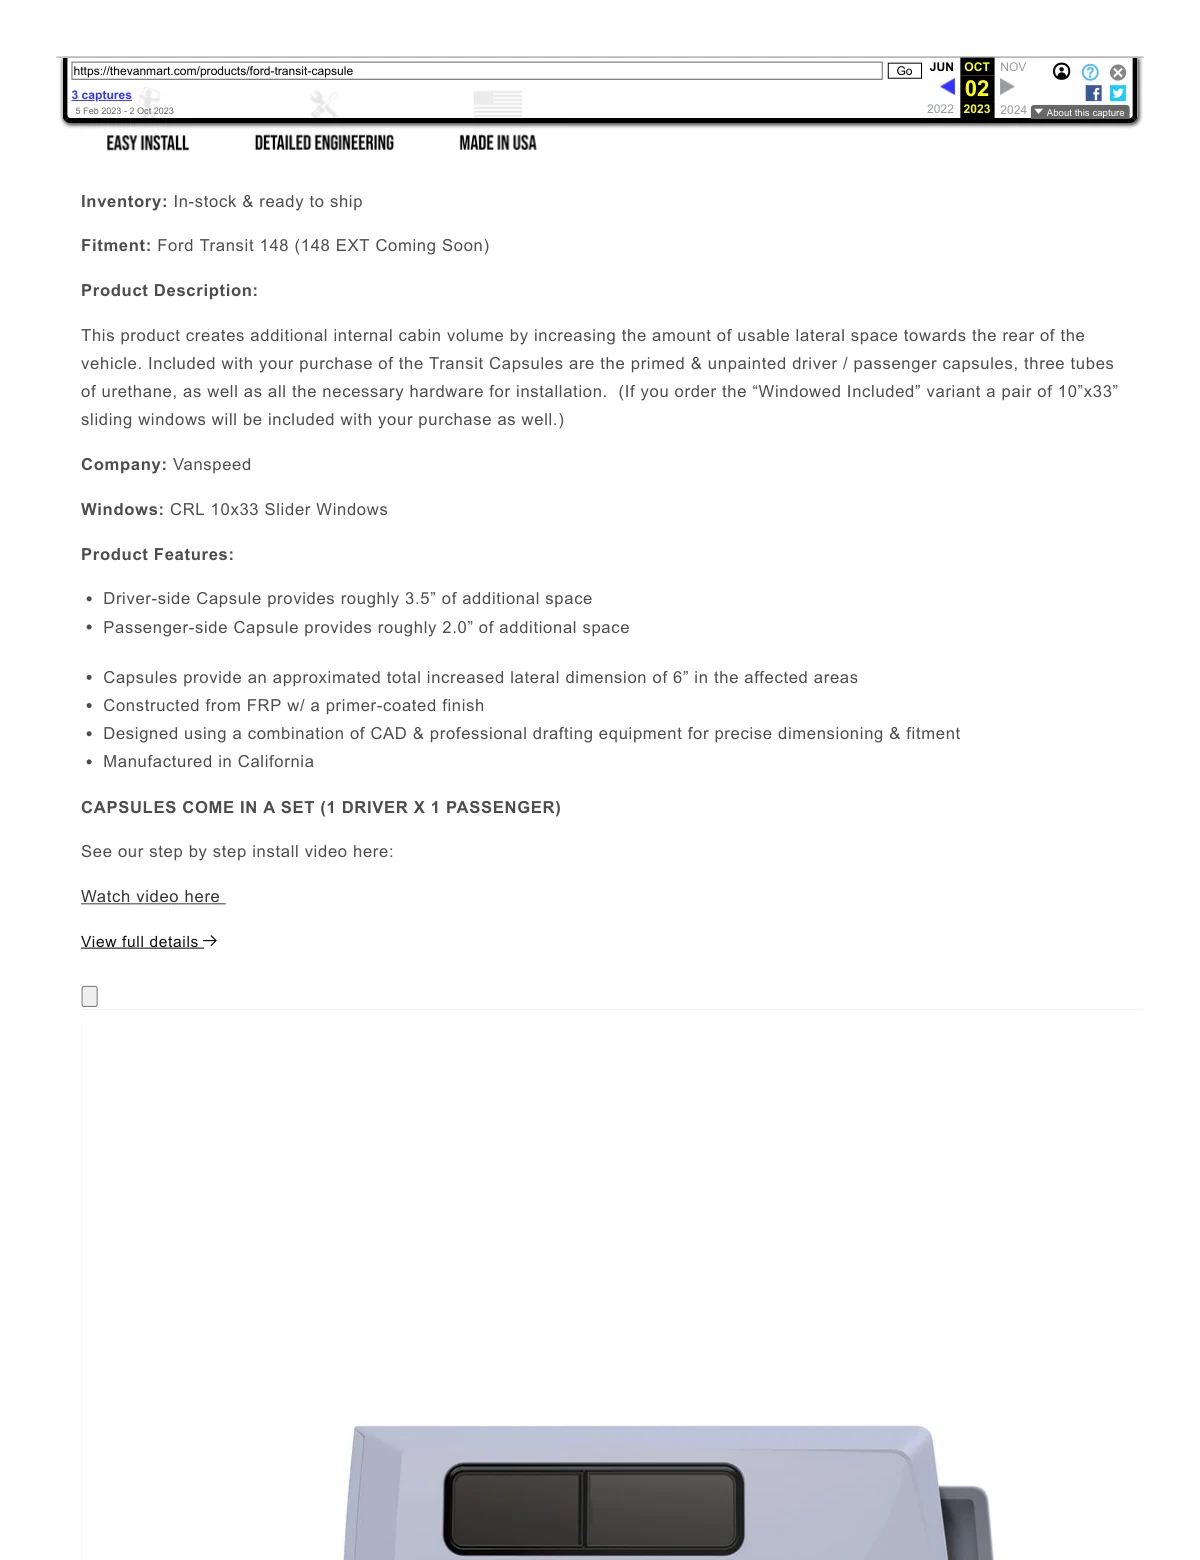
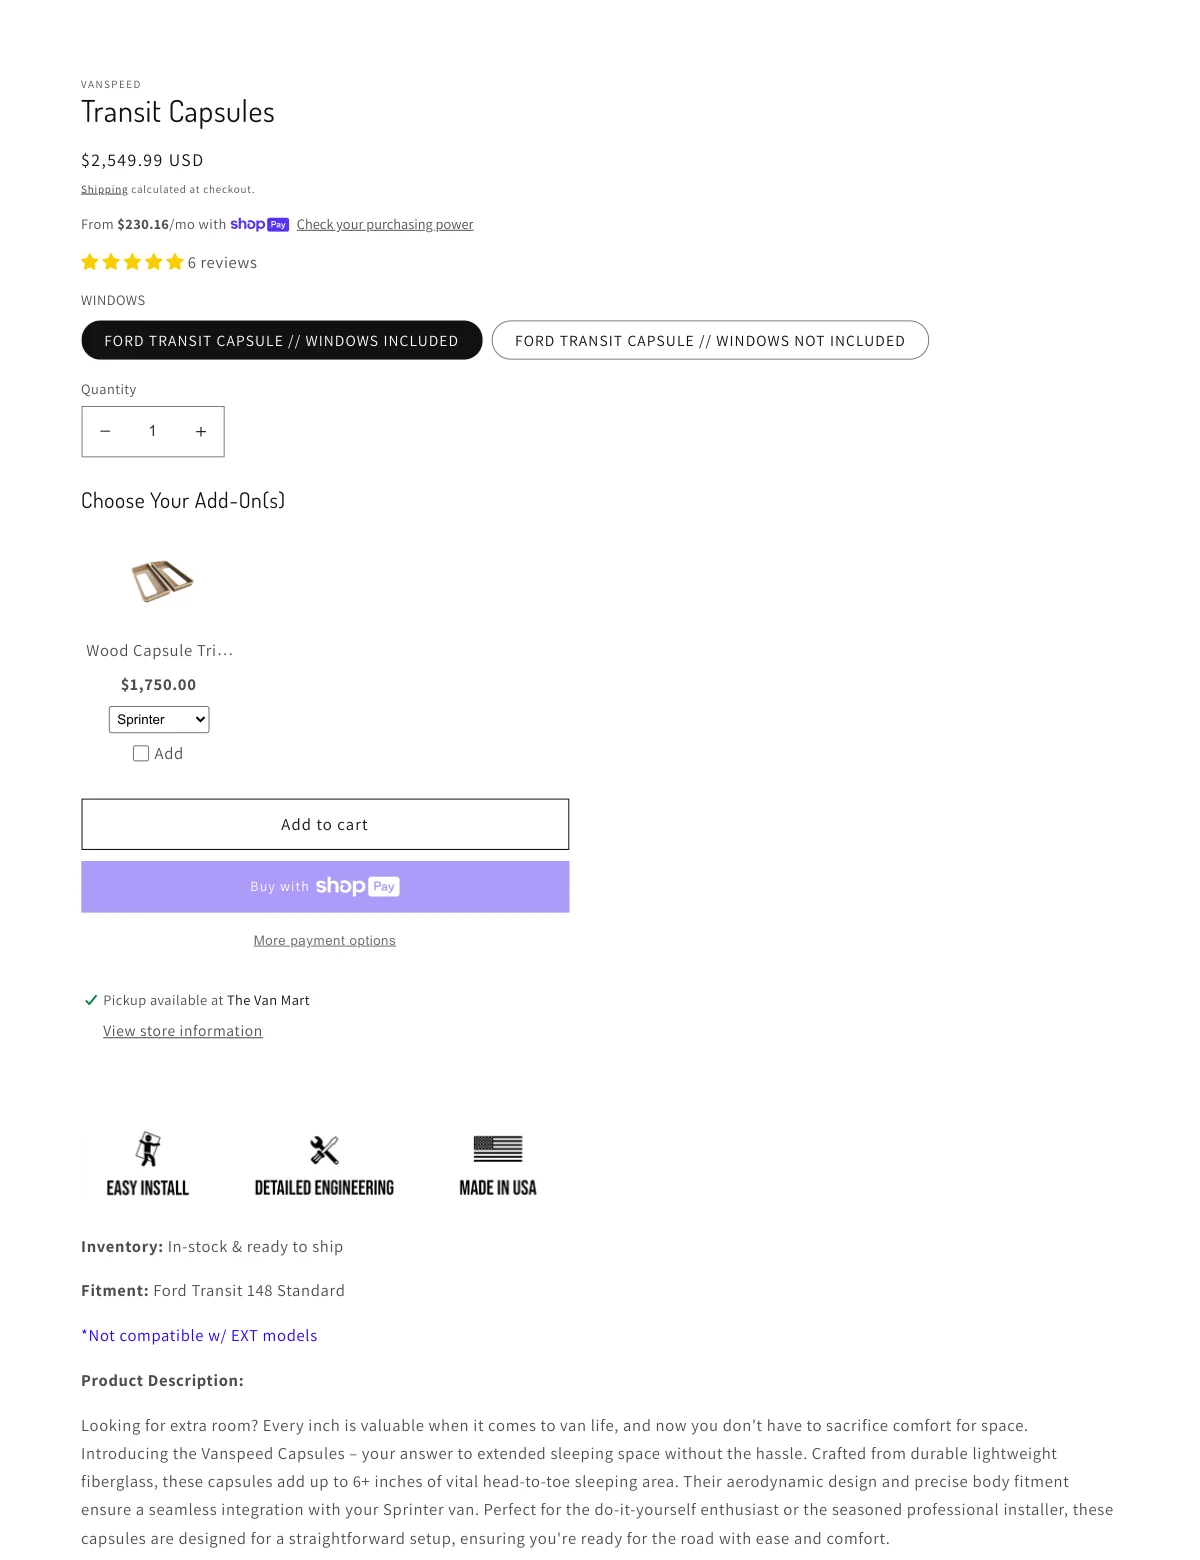
The October 2, 2023 capture instead lists the 148, with the EXT version coming soon. The March 6, 2024 copy lists the standard 148 and says the product is not compatible with EXT models.
Those pages explain the different messages surrounding these capsules. What I needed for my installation was a clear explanation of the modifications required for the product I received. I did not get that.
They arrived damaged
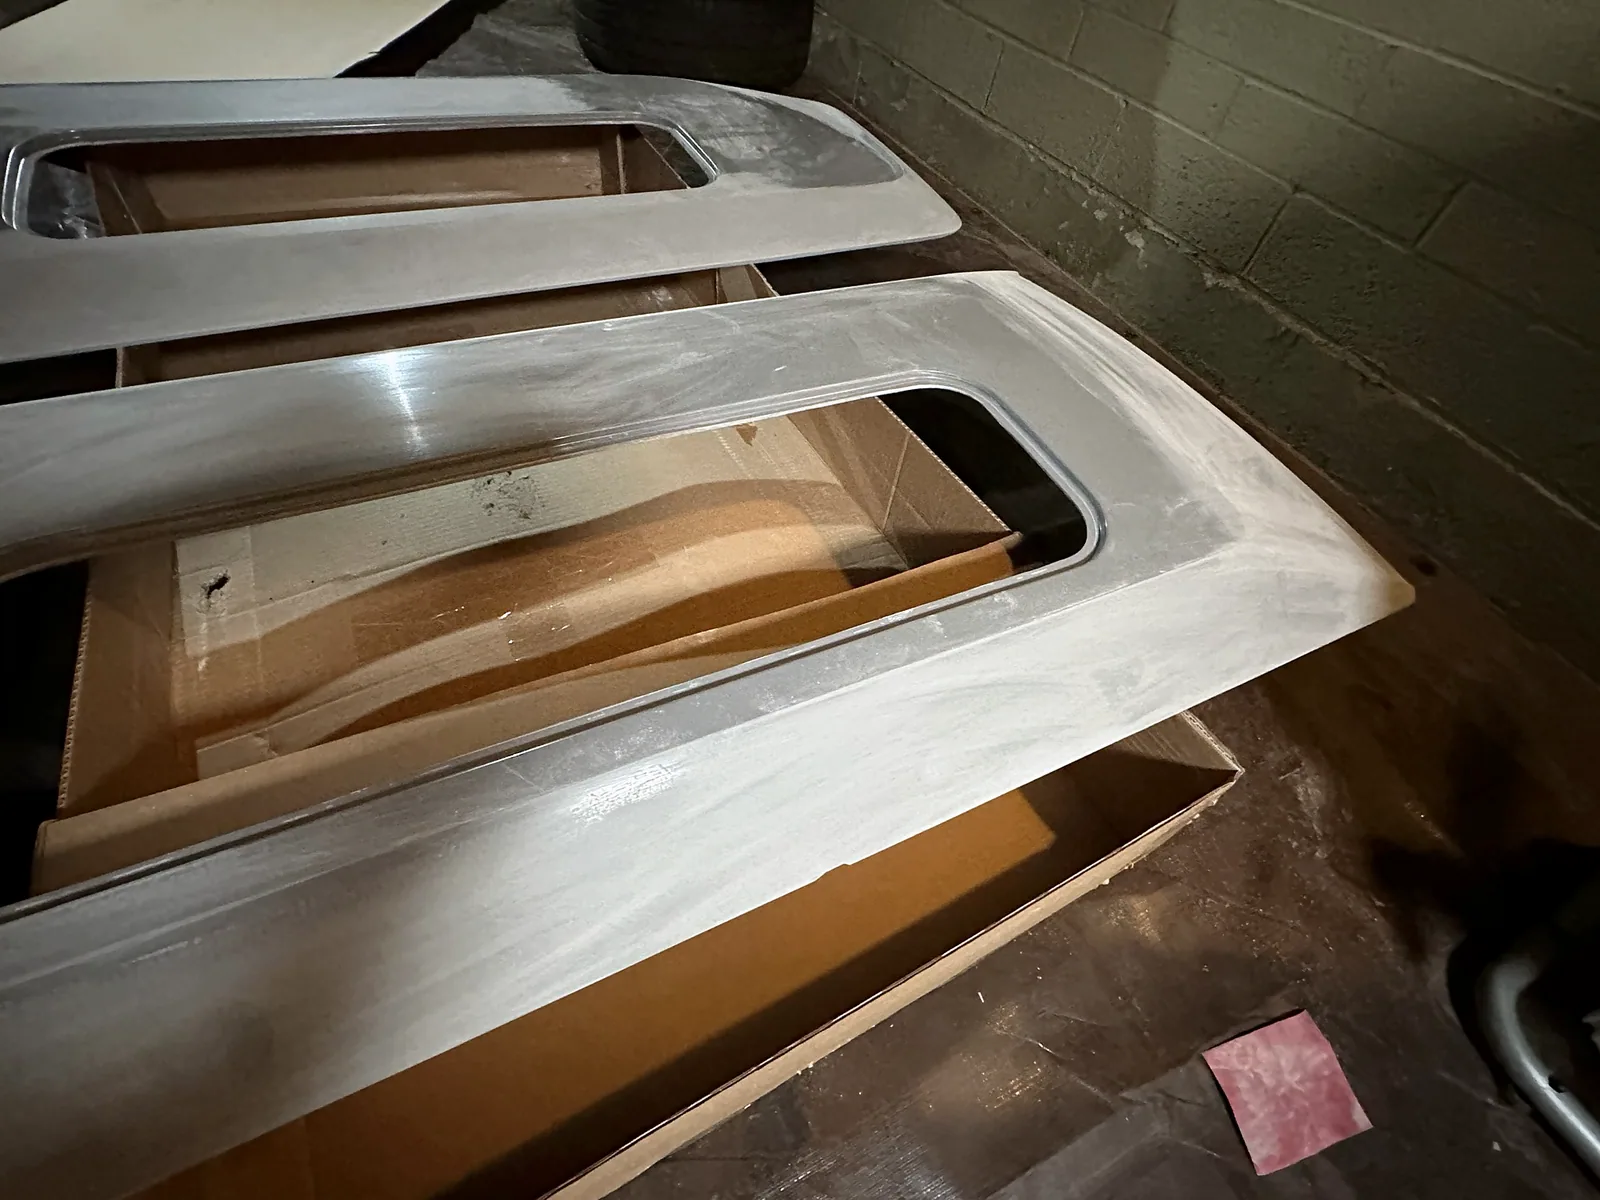
The first disappointment came before I could install anything. The capsules arrived loose in cardboard boxes, without wrapping or protection around the fiberglass. There was room for them to move around inside the boxes.
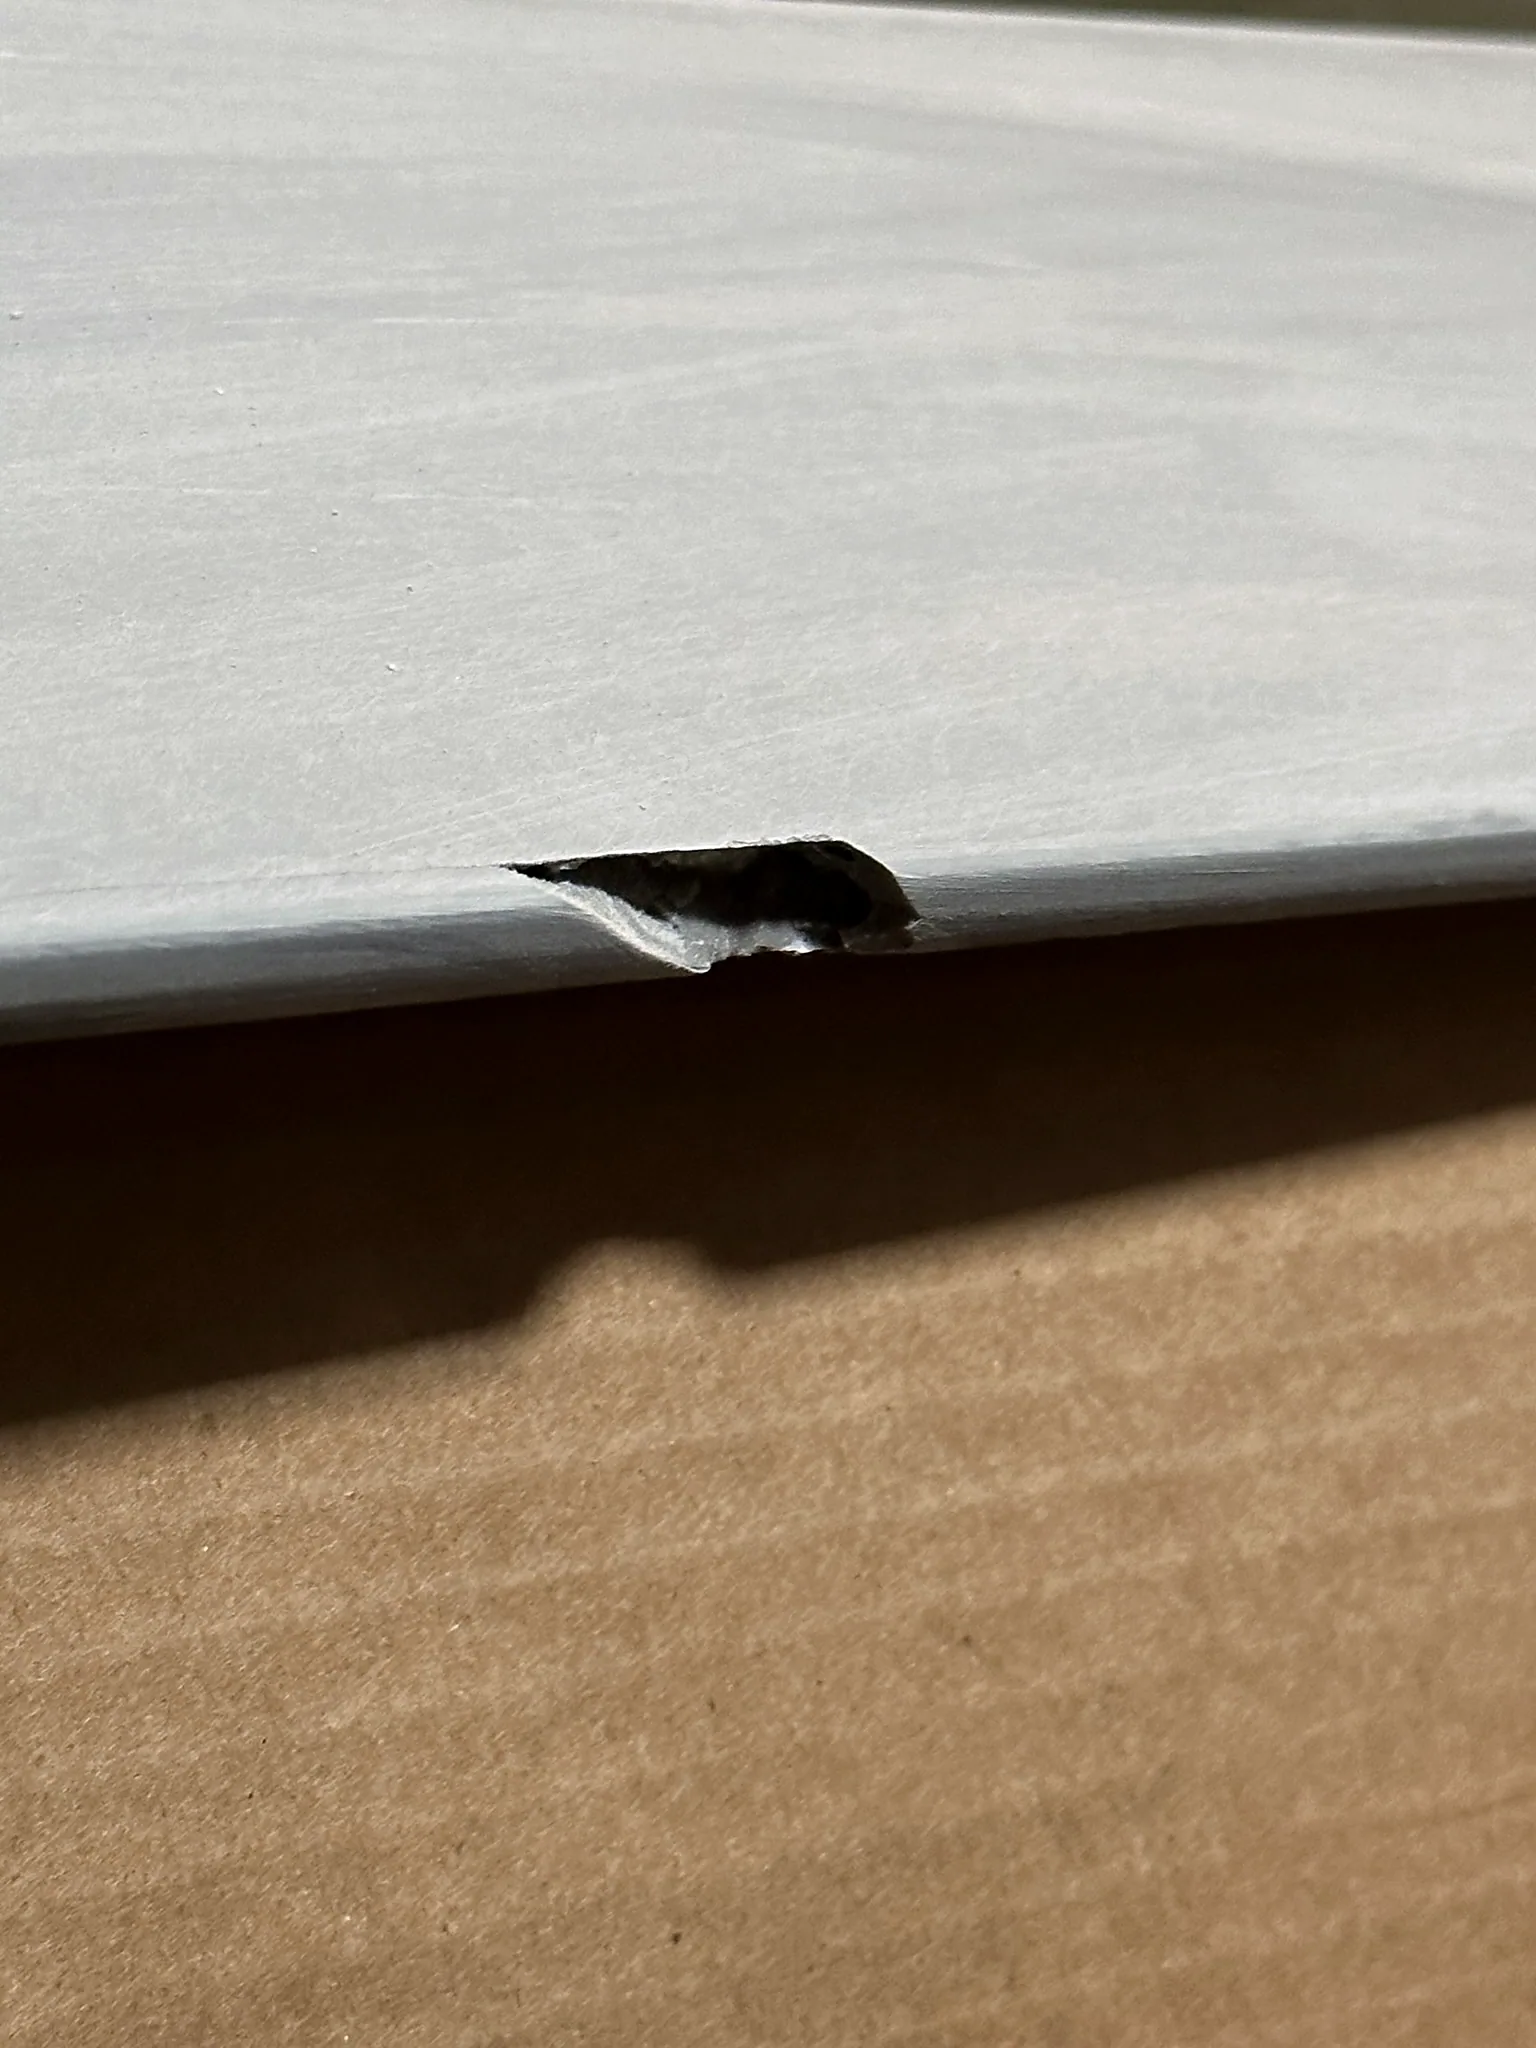
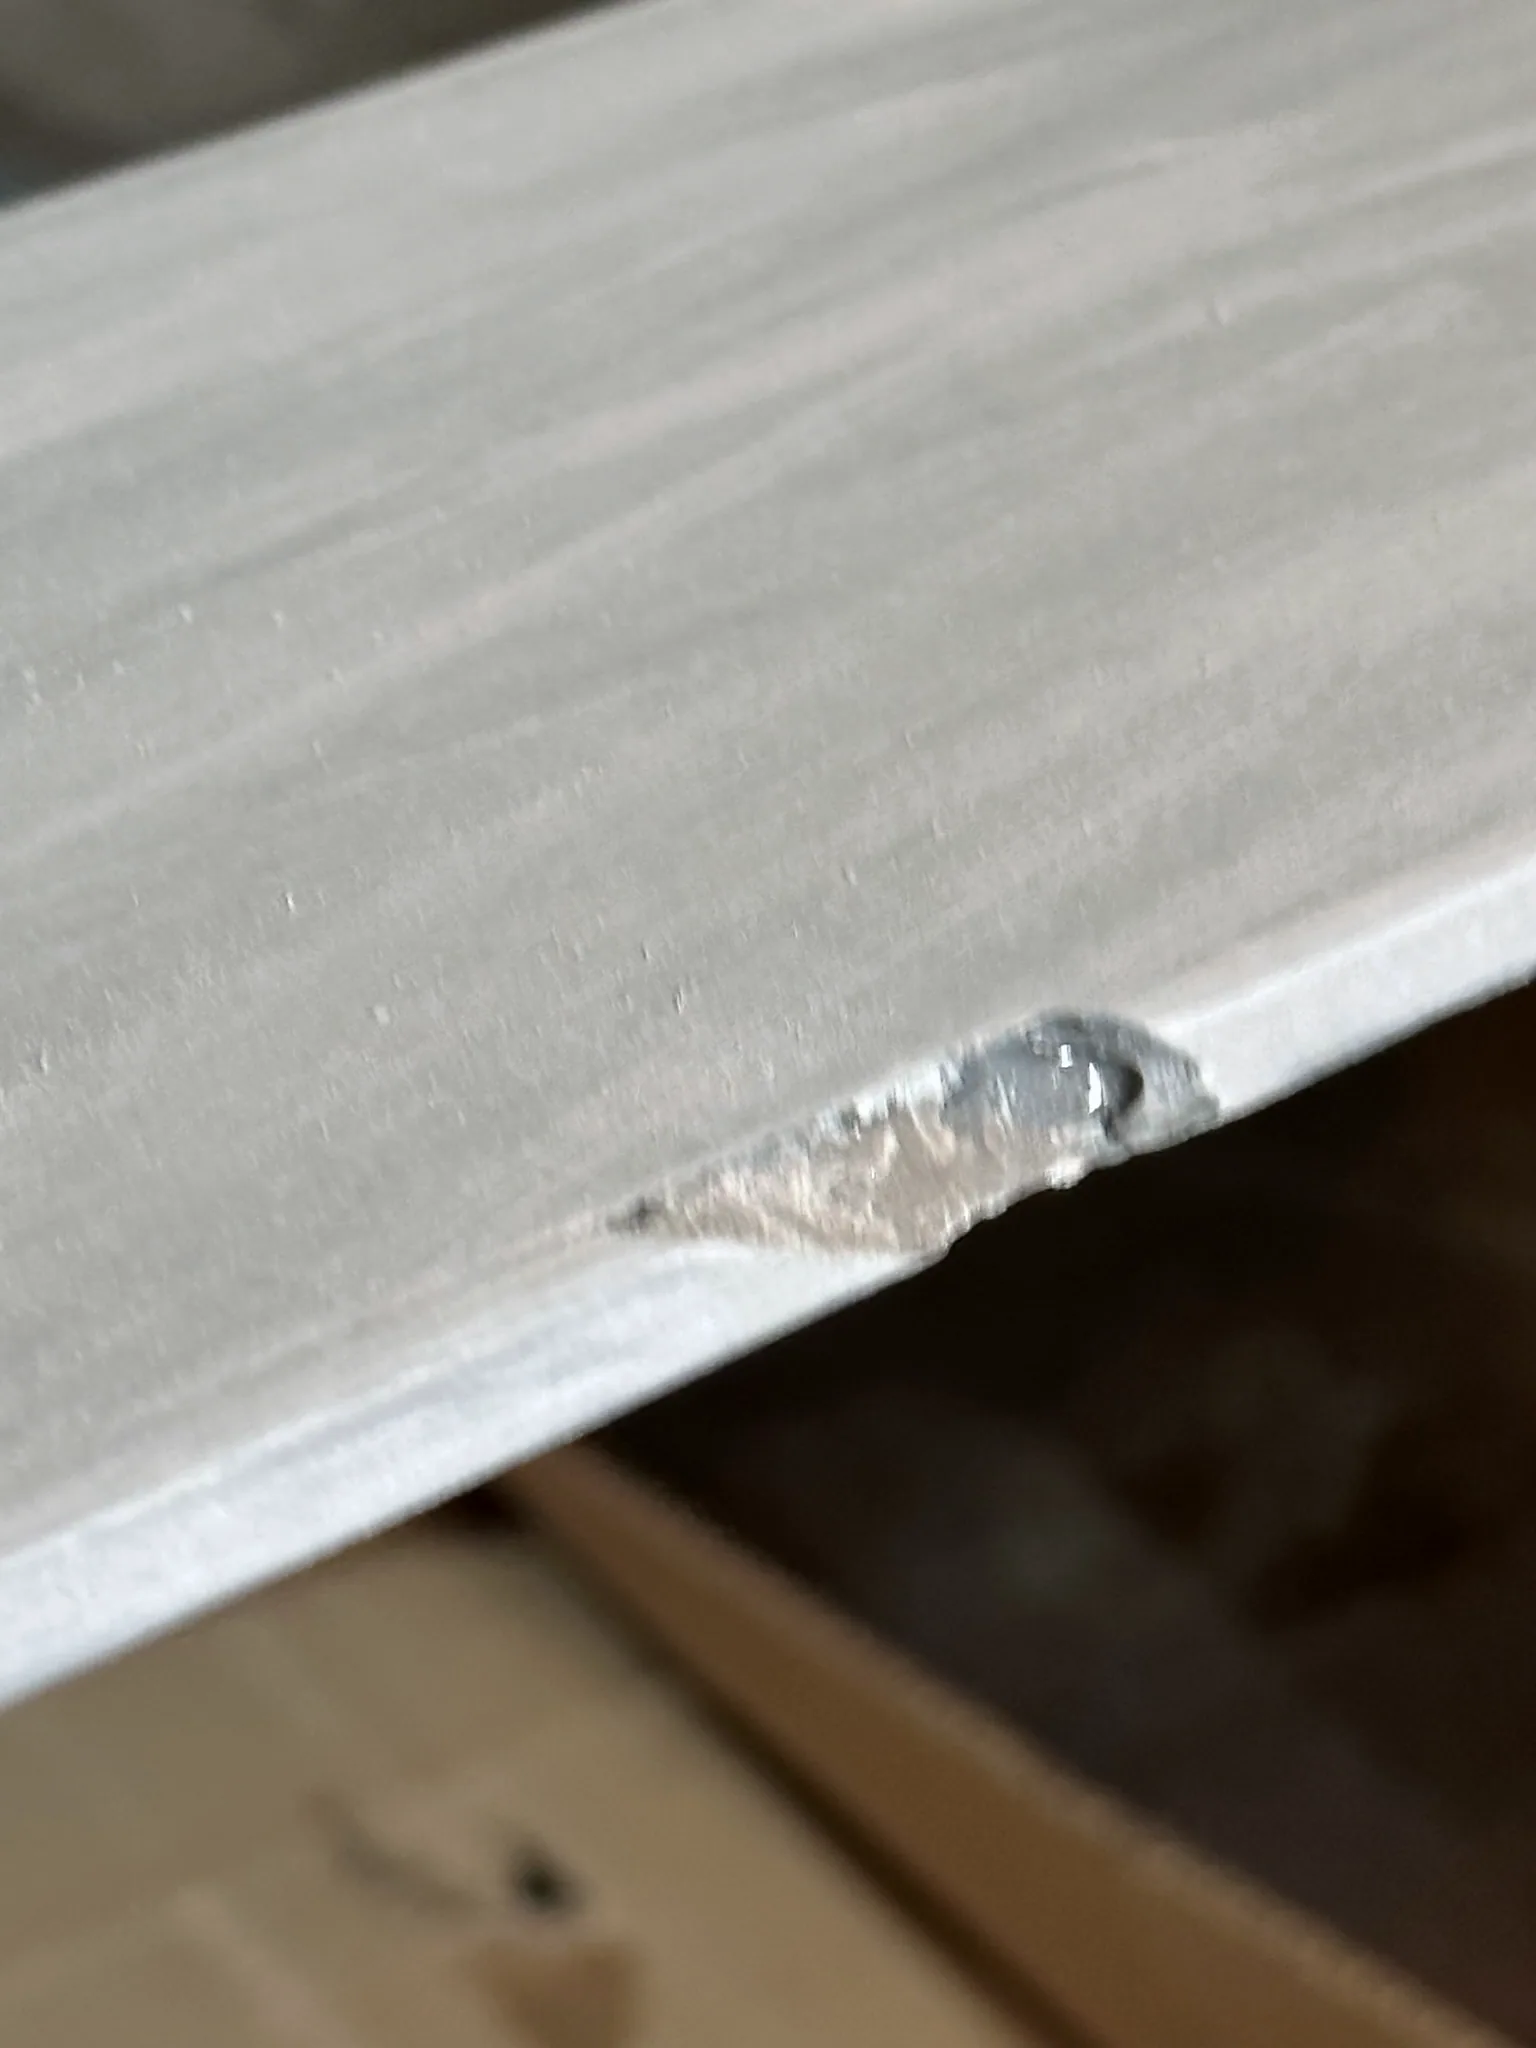
One flange had a substantial piece broken out of it. There were also rough areas, holes, dips and inconsistencies in the surfaces. These were expensive fiberglass shells, and the condition they arrived in did not match what I expected for the price.
The photographs below show the capsules on the opened boxes and the damaged edges. This was the starting point for my installation.
Vanspeed told me to repair them myself
I called Vanspeed about the damage and spoke with a younger man. I found the conversation unprofessional and the response dismissive. He told me to fix the damage with Bondo.
When I raised the problem, I was told Vanspeed would not refund or replace the capsules. There was no offer to exchange them for undamaged ones. For a product I already felt was overpriced, that response was more than disappointing.
I was on a timeline with the van build. Rather than hold everything up, I decided to repair the damage myself and keep moving. That decision turned a new-product purchase into another project I had to learn how to do.
At least eight extra hours repairing a new purchase
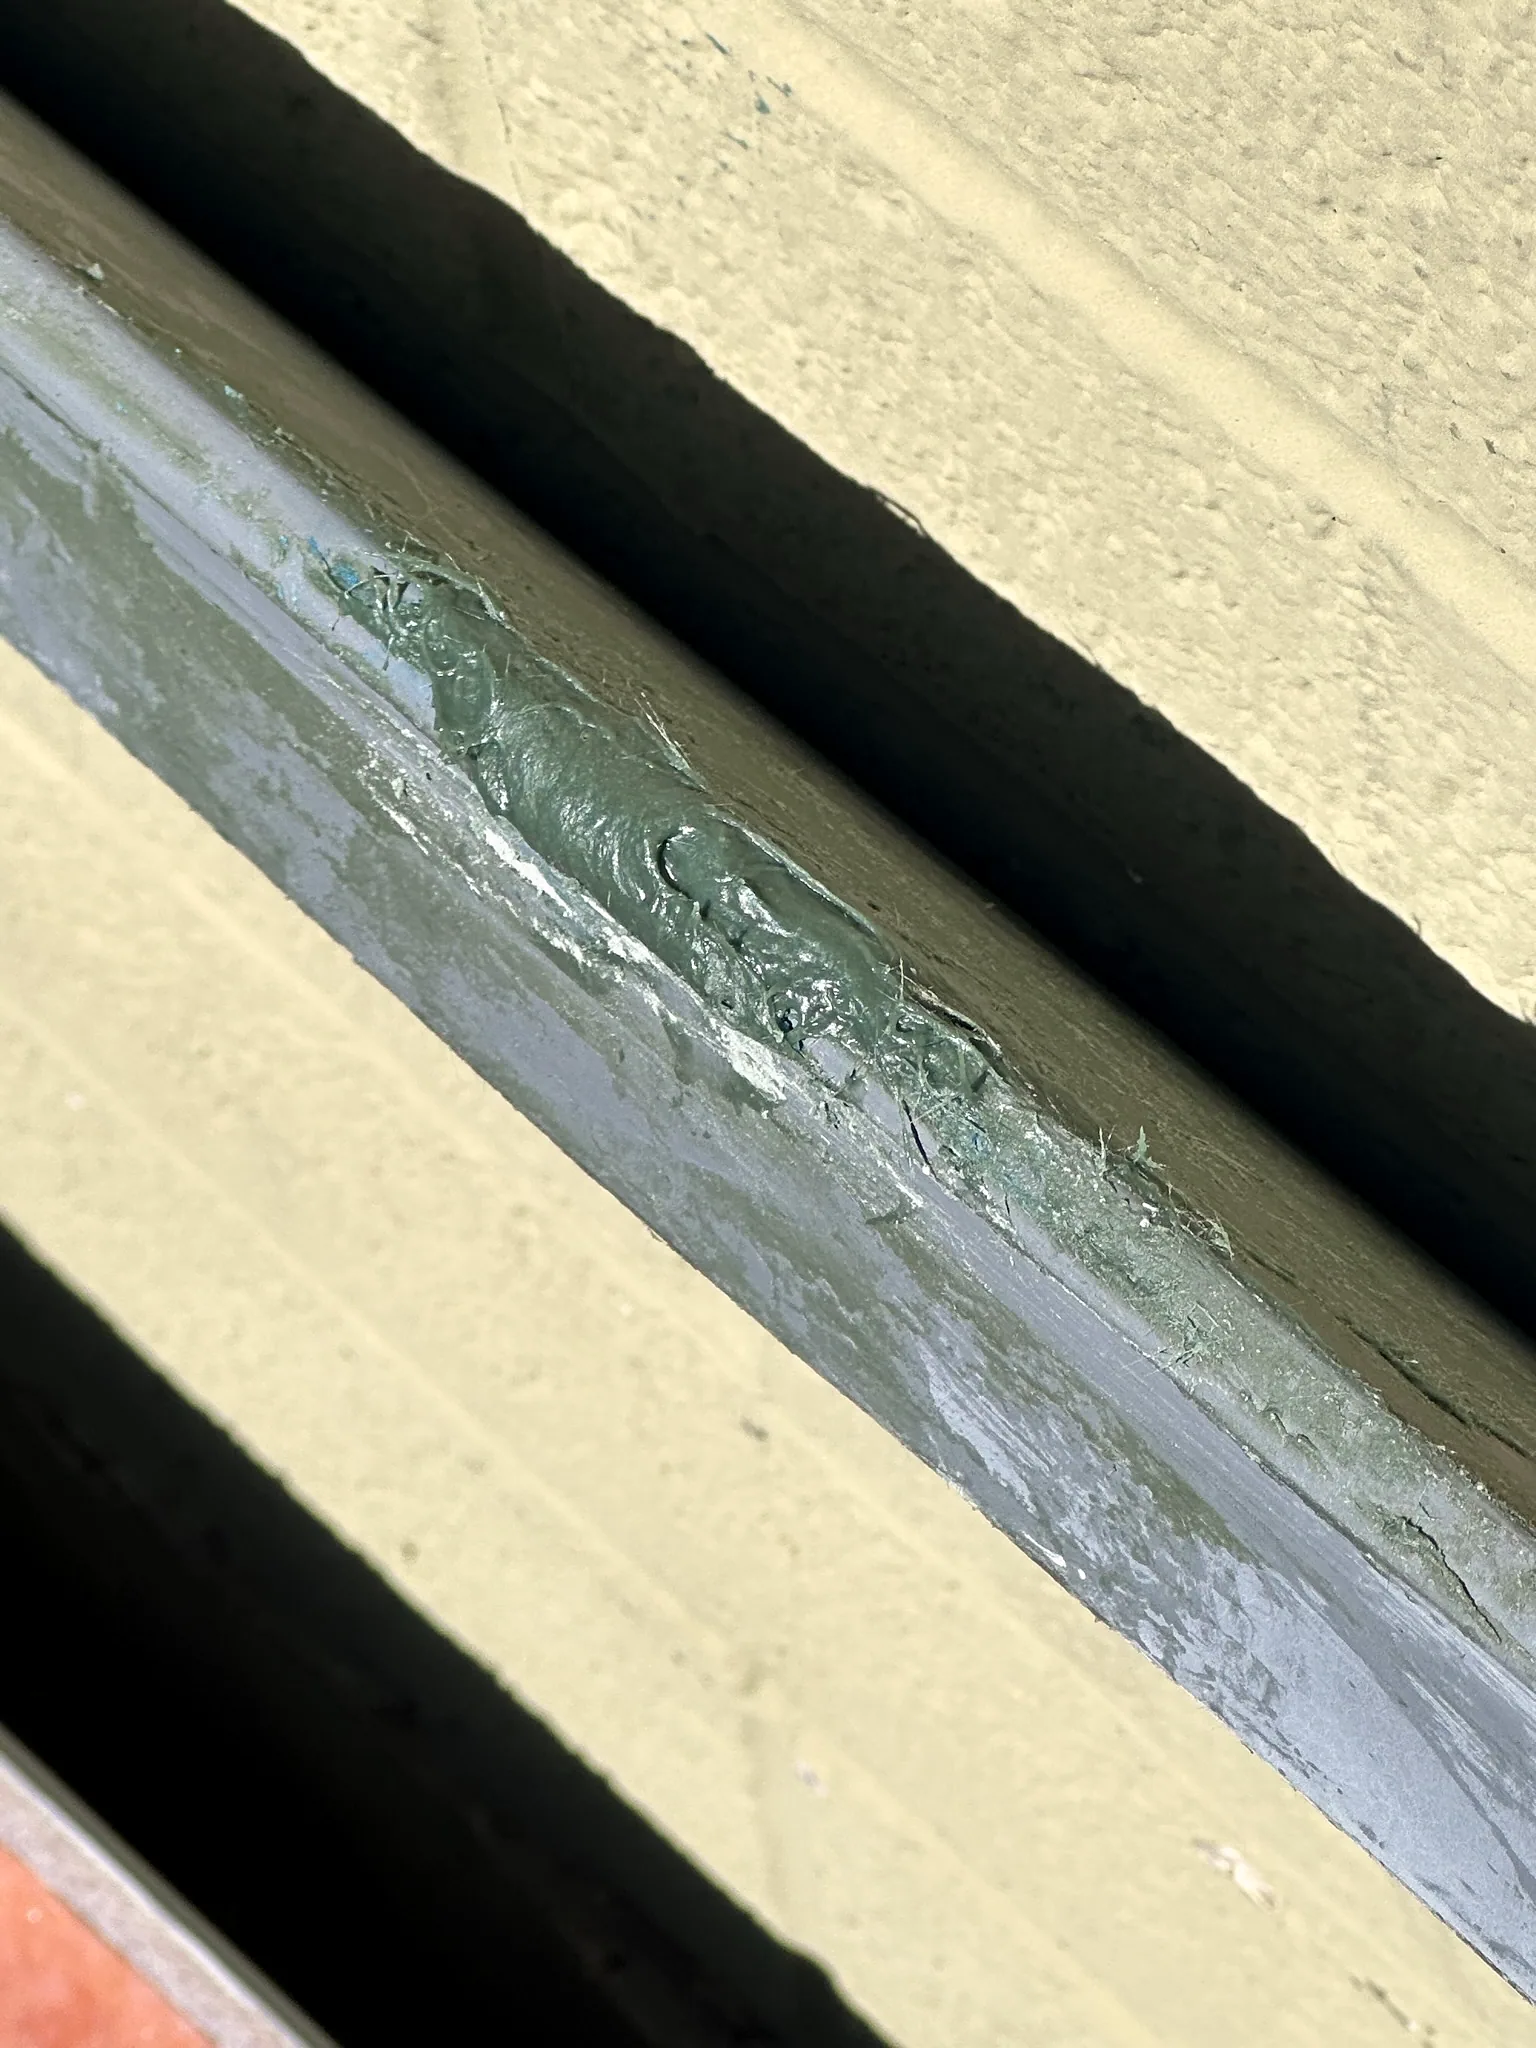
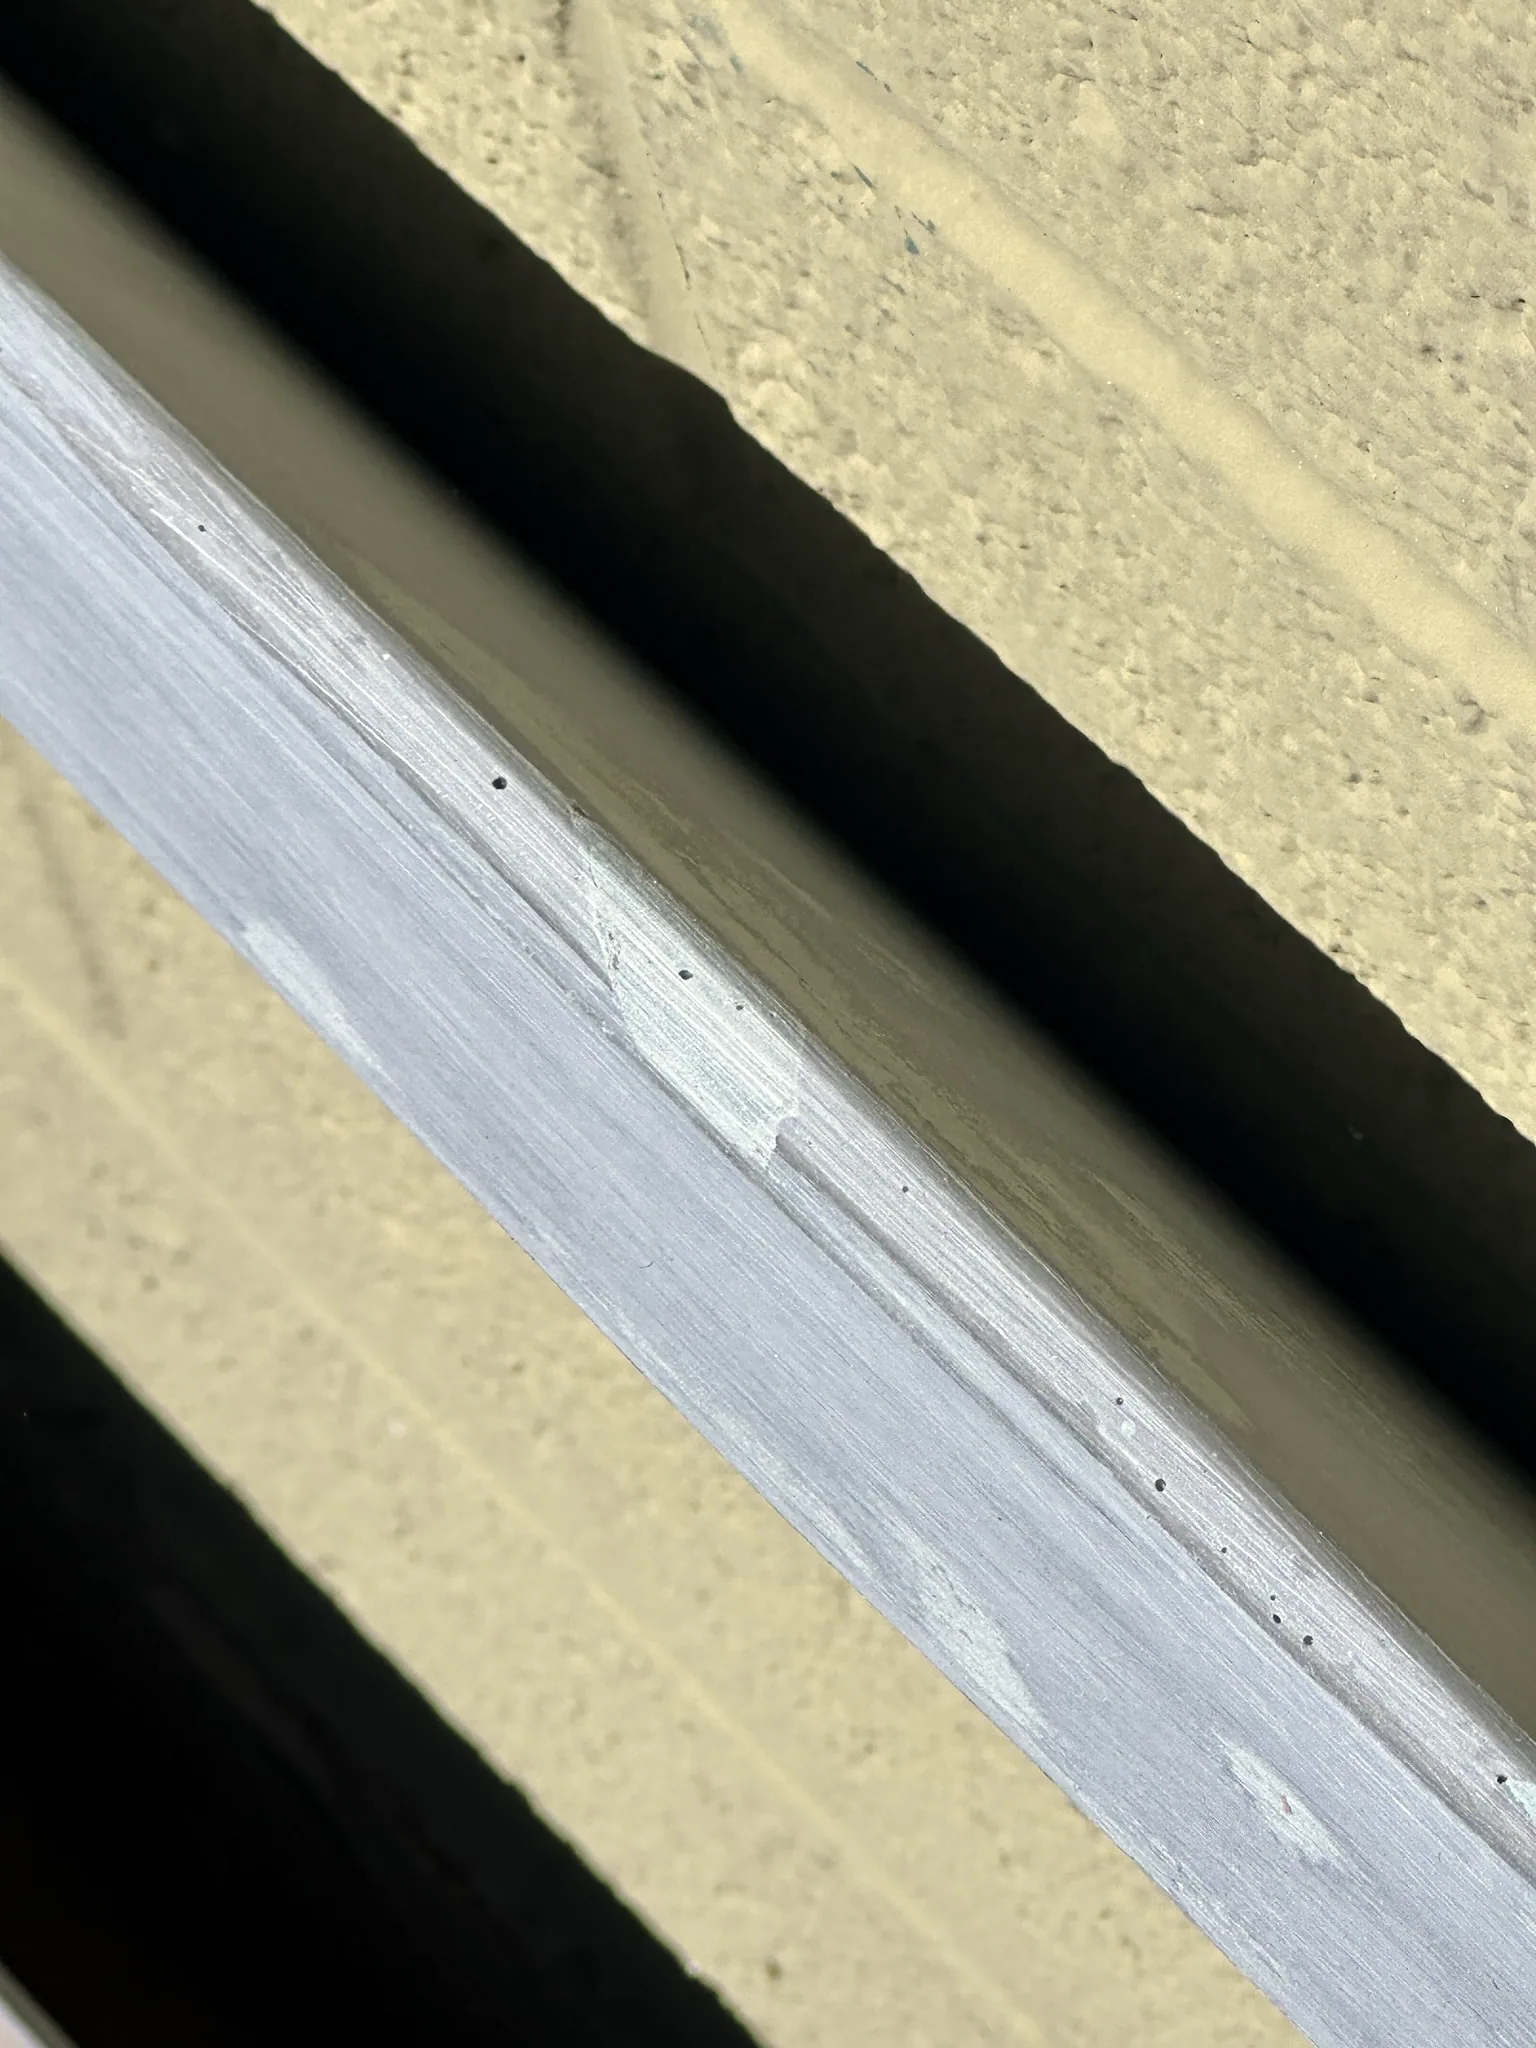
I had never worked with Bondo before. Getting the damaged edge back into shape took repeated rounds of applying filler, waiting for it to cure and sanding it down. Then I would find an area that needed more work and repeat the process.
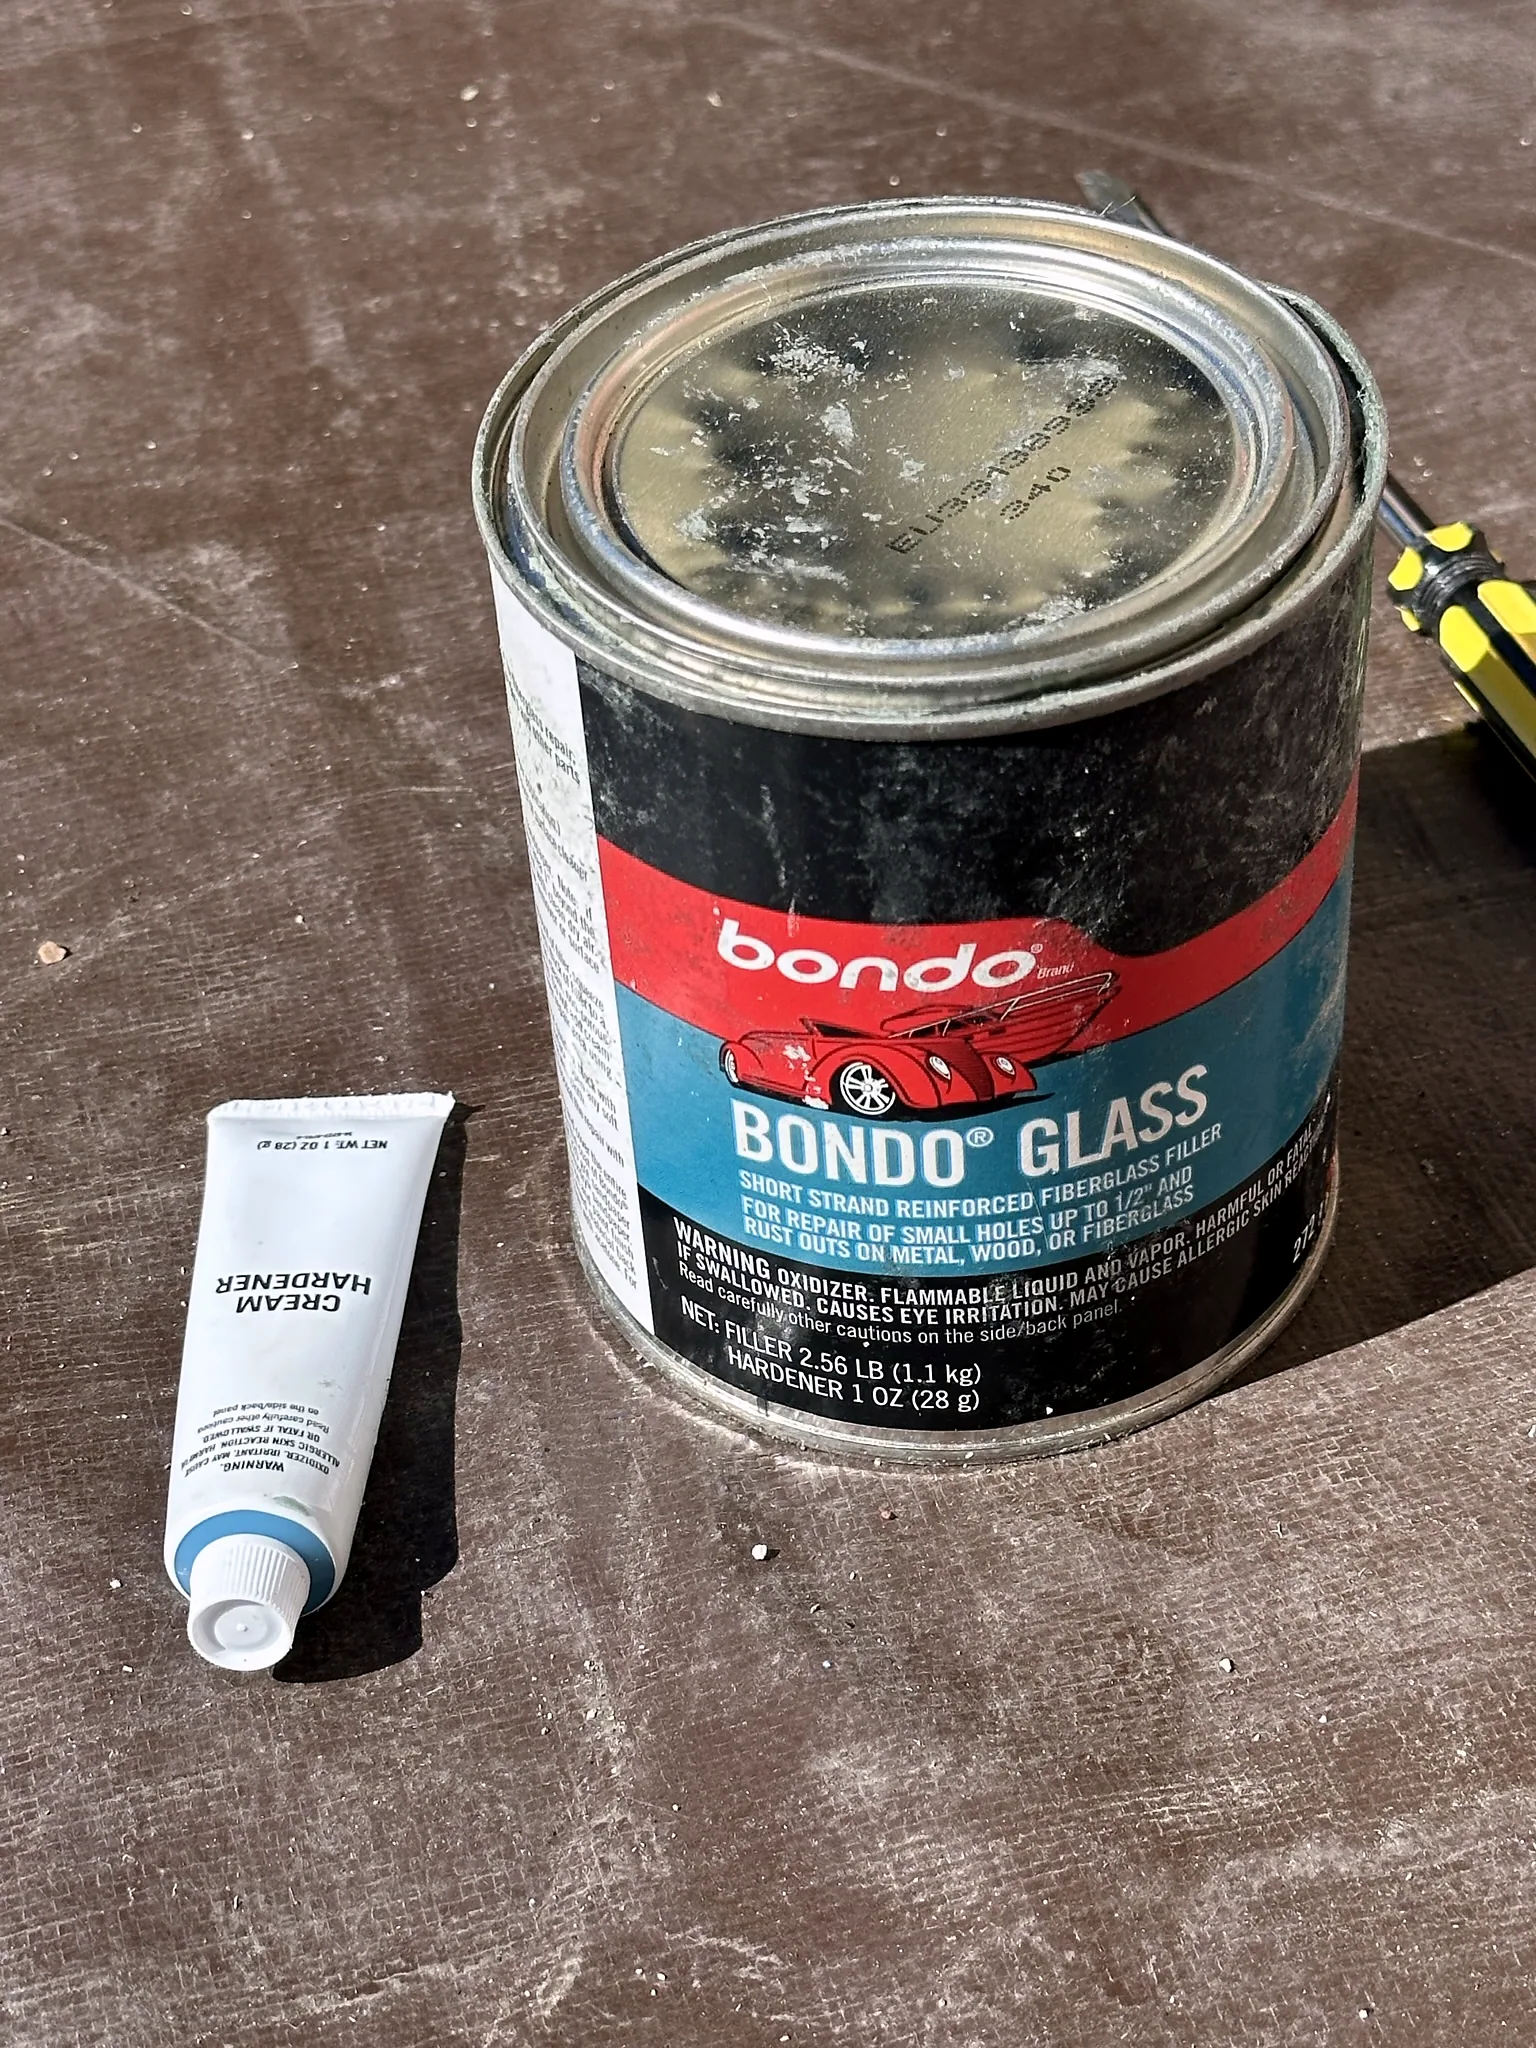
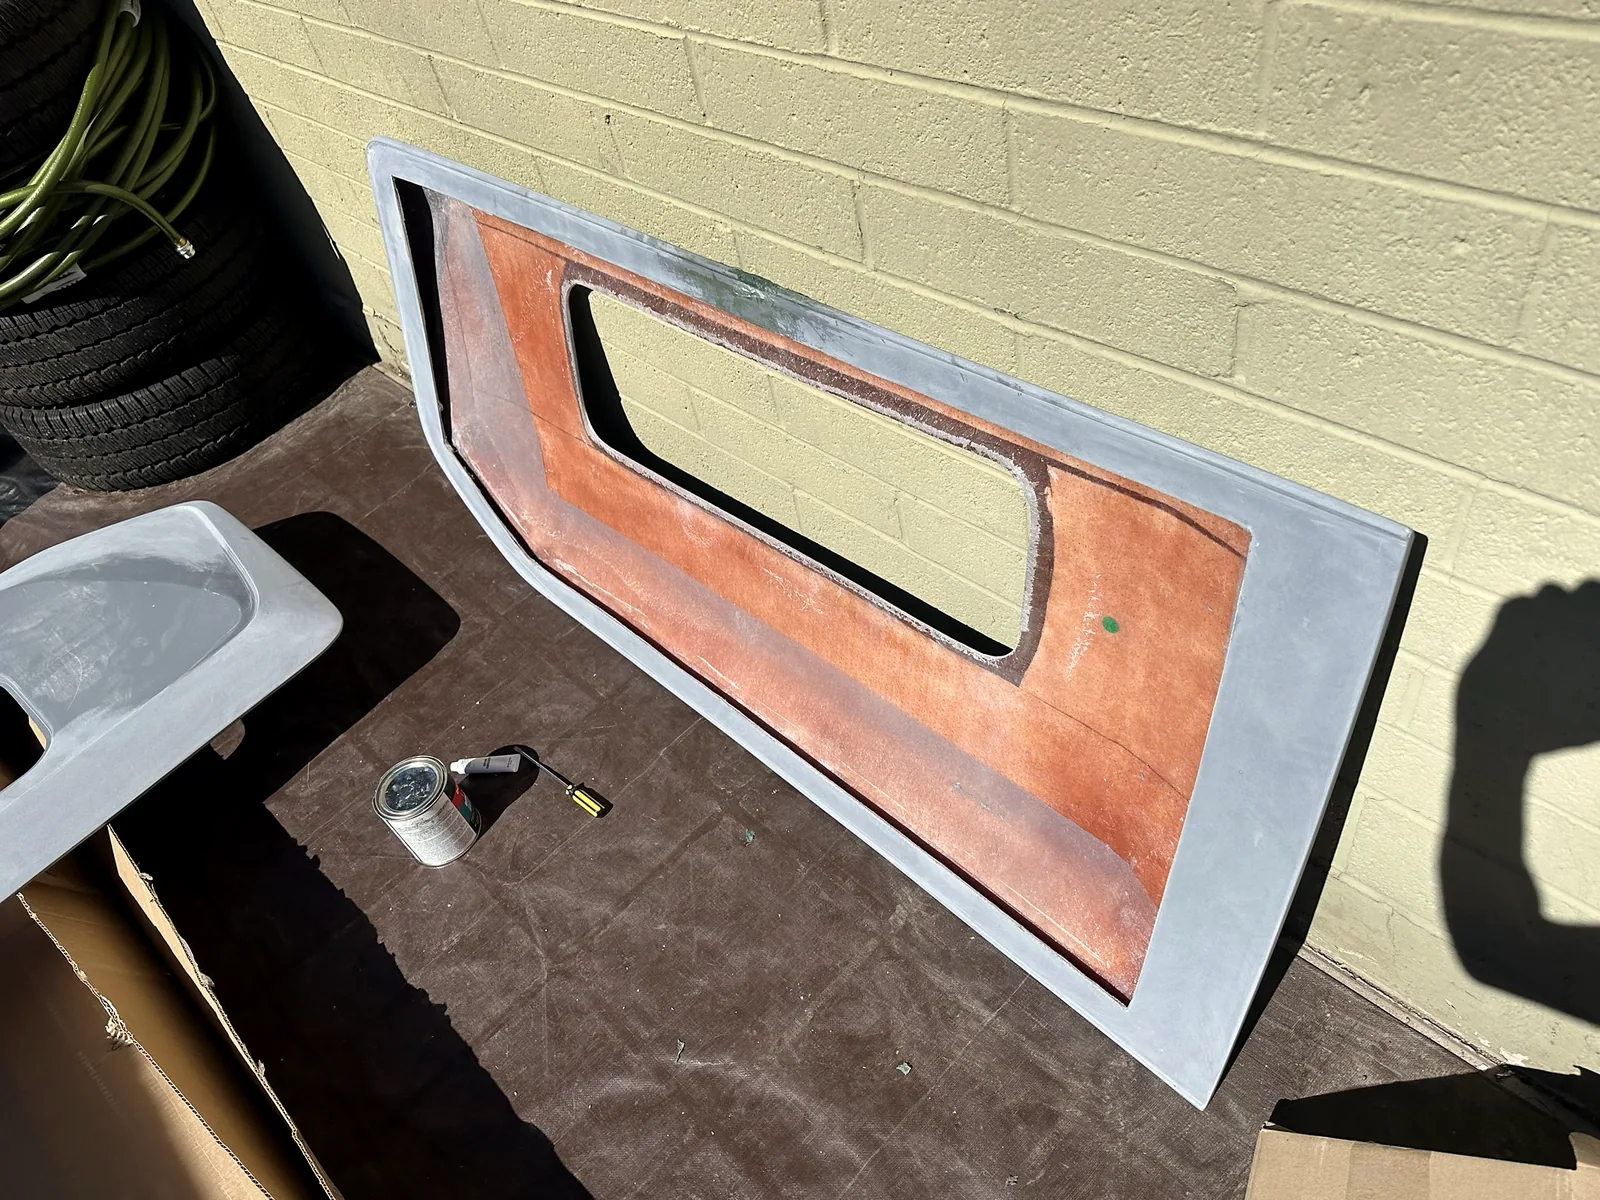
I used Bondo Glass short-strand reinforced fiberglass filler. The pictures show the filler and hardener, the capsule during the repair and the edge after sanding.
I estimate that repairing the damage added at least eight hours to the job. That was extra time spent making a brand-new product usable before I could begin the installation I had paid for.
View Bondo Glass On Amazon
The plan was black RAPTOR on the capsules
My original plan was to roll black RAPTOR bedliner onto the capsules. I wanted the capsules black while keeping the van’s factory Oxford White paint.
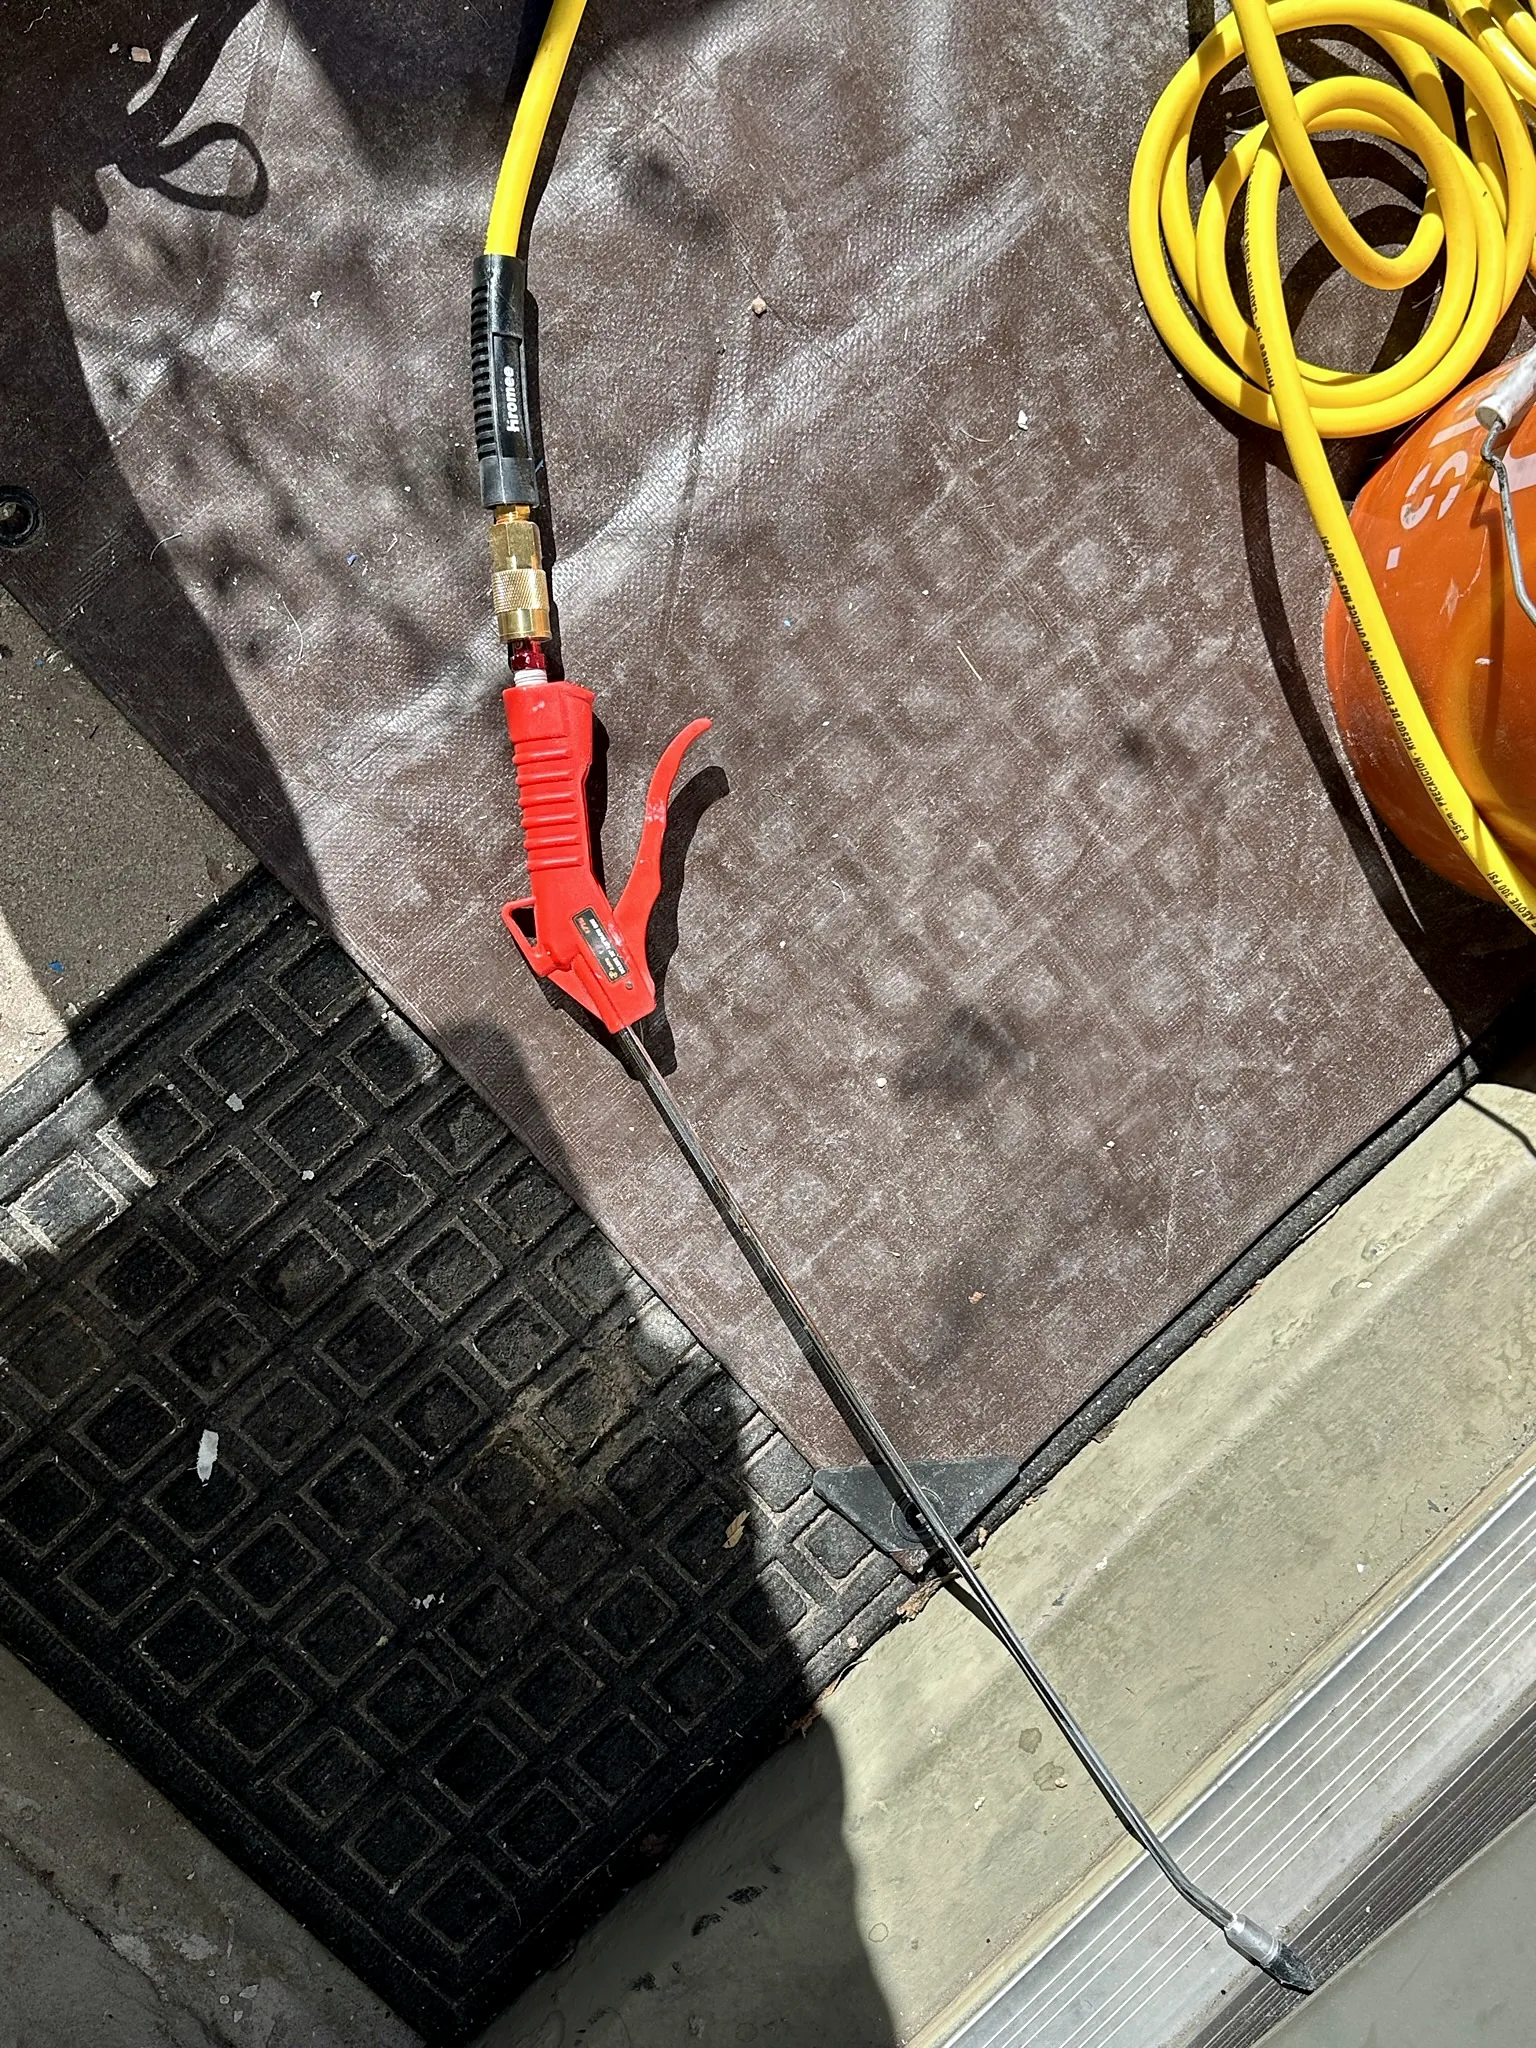
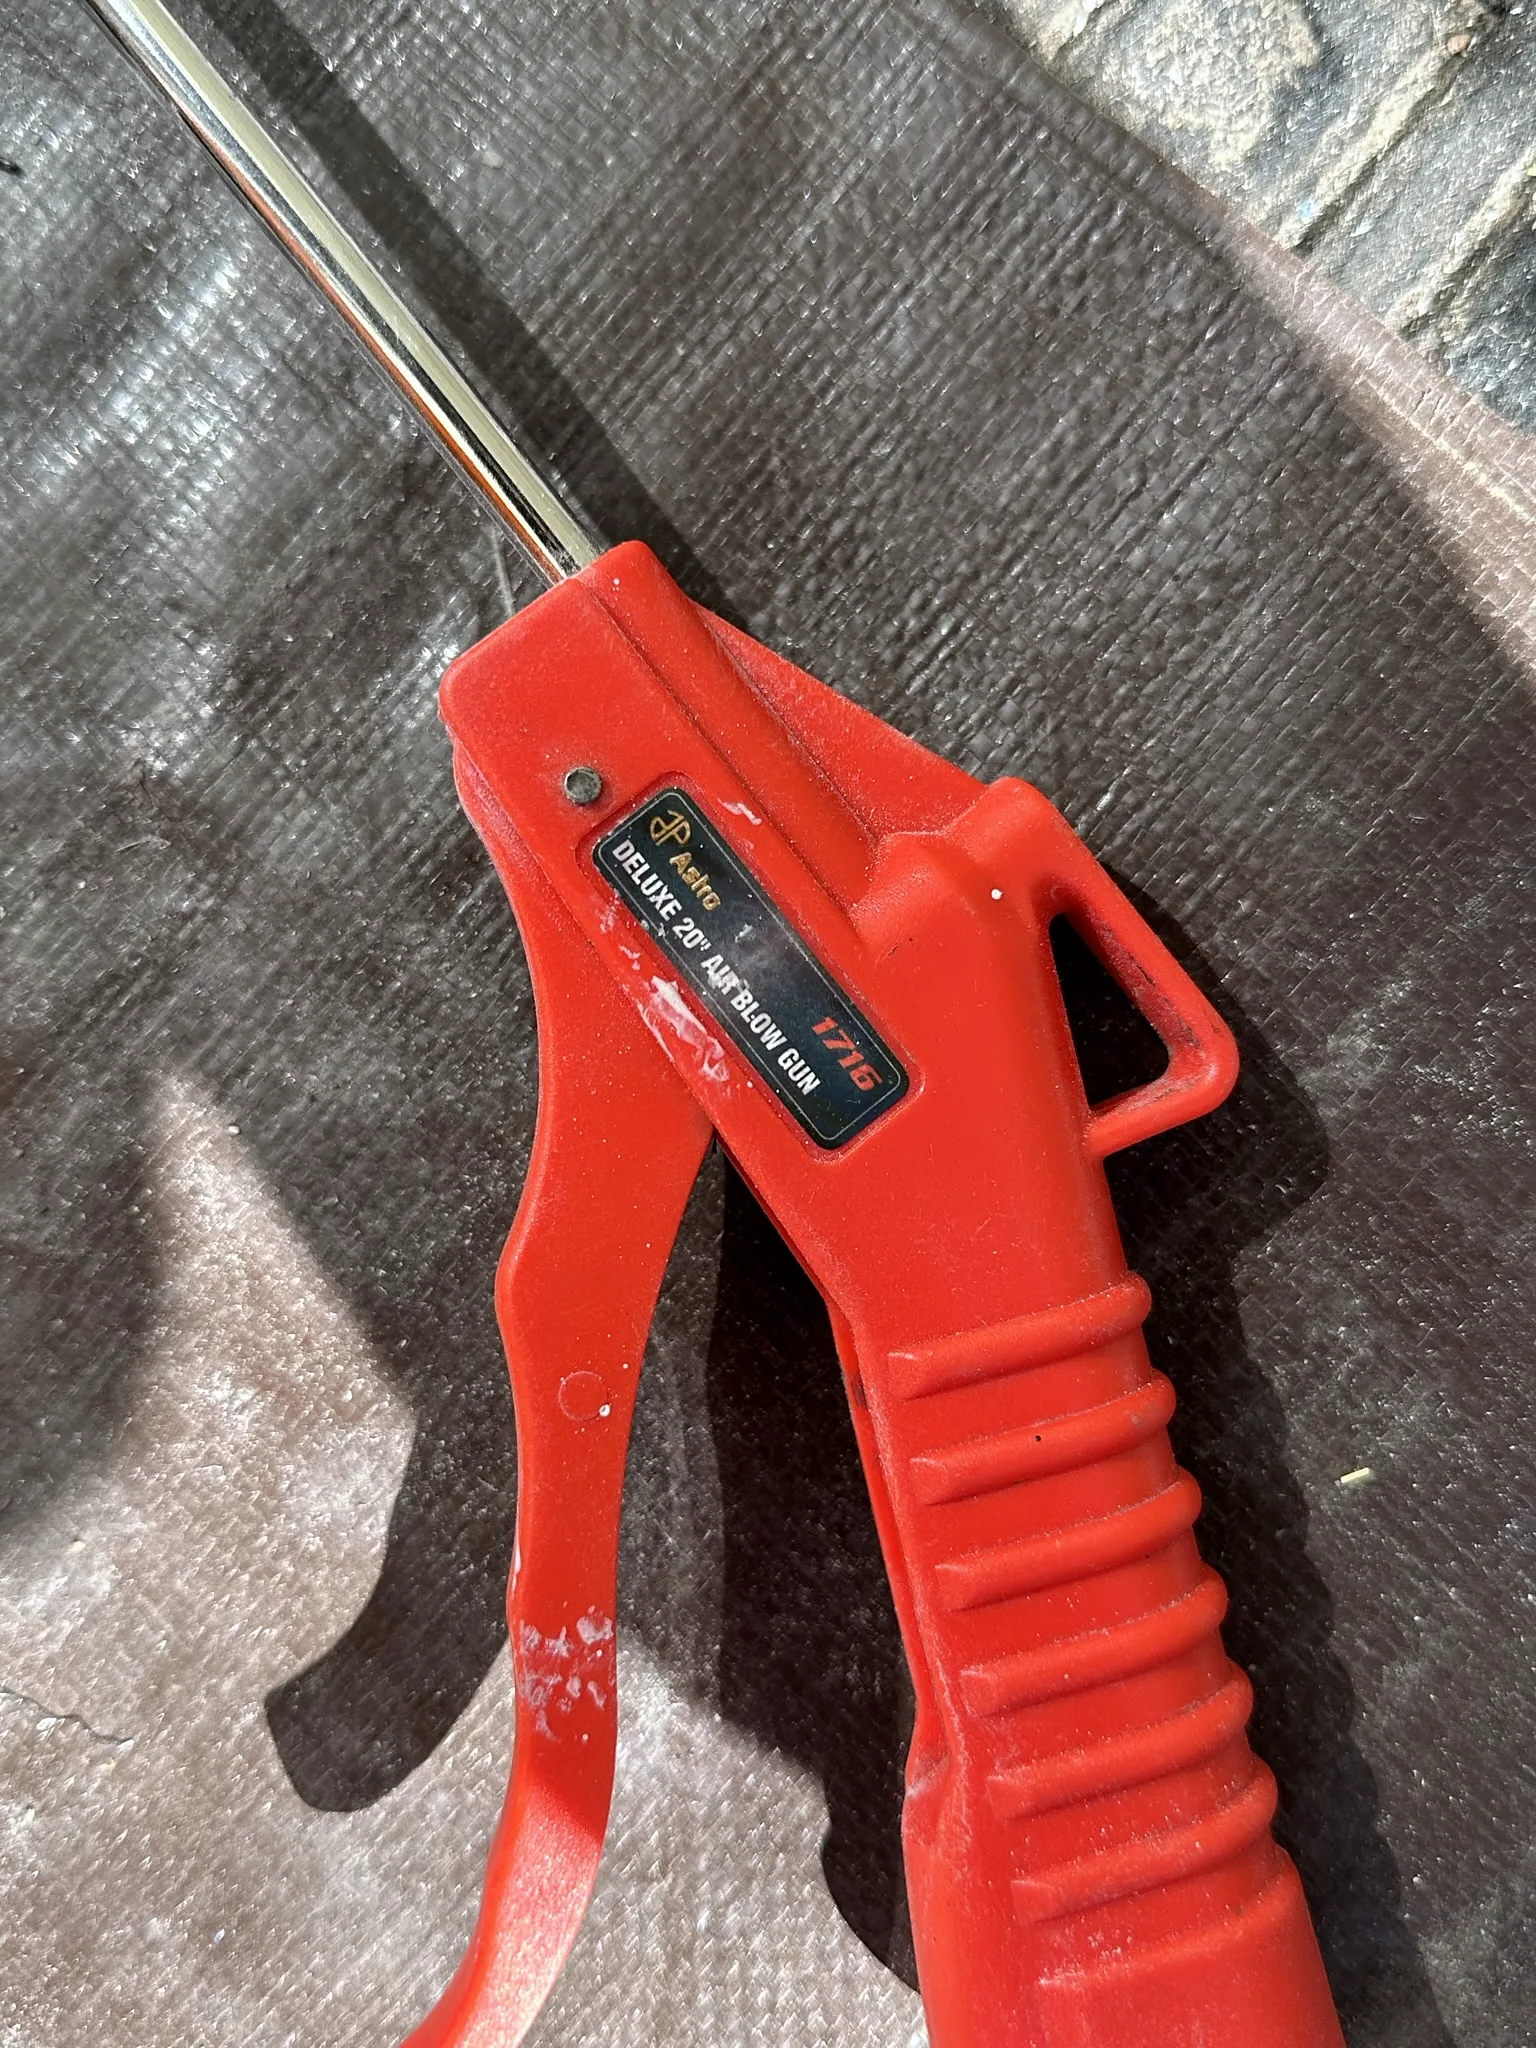
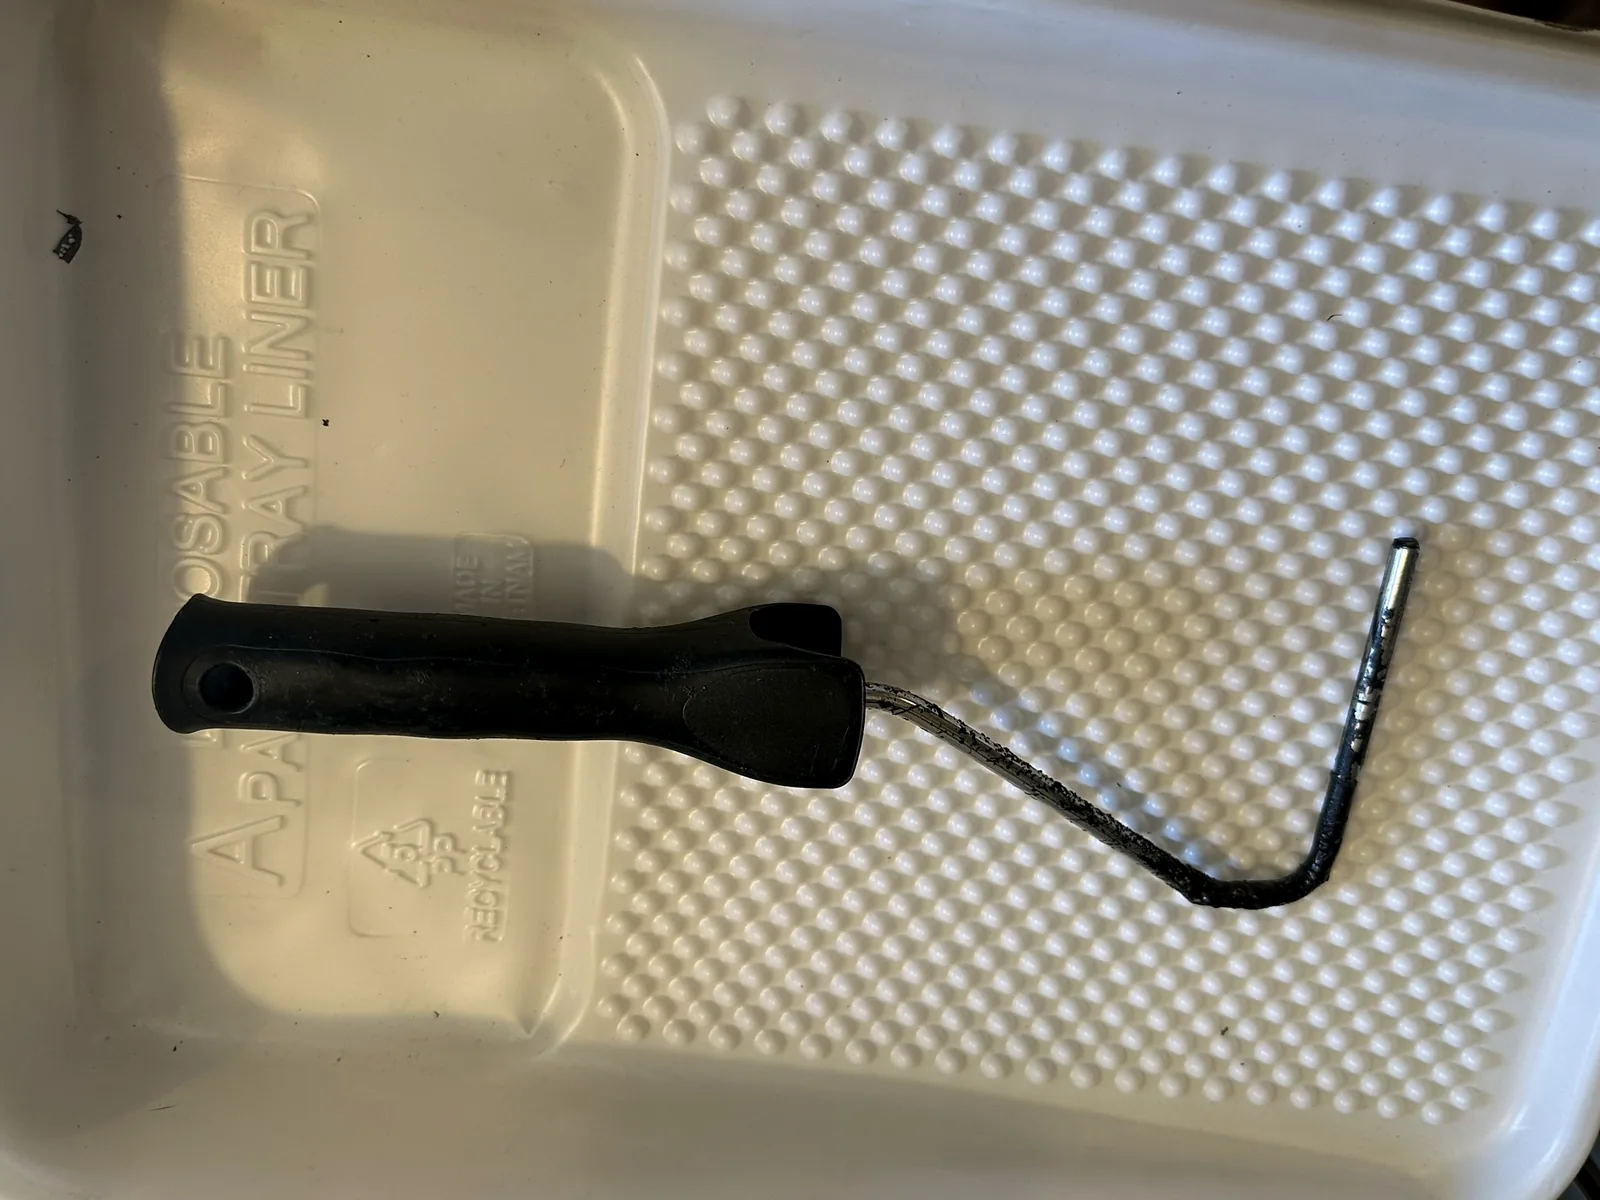
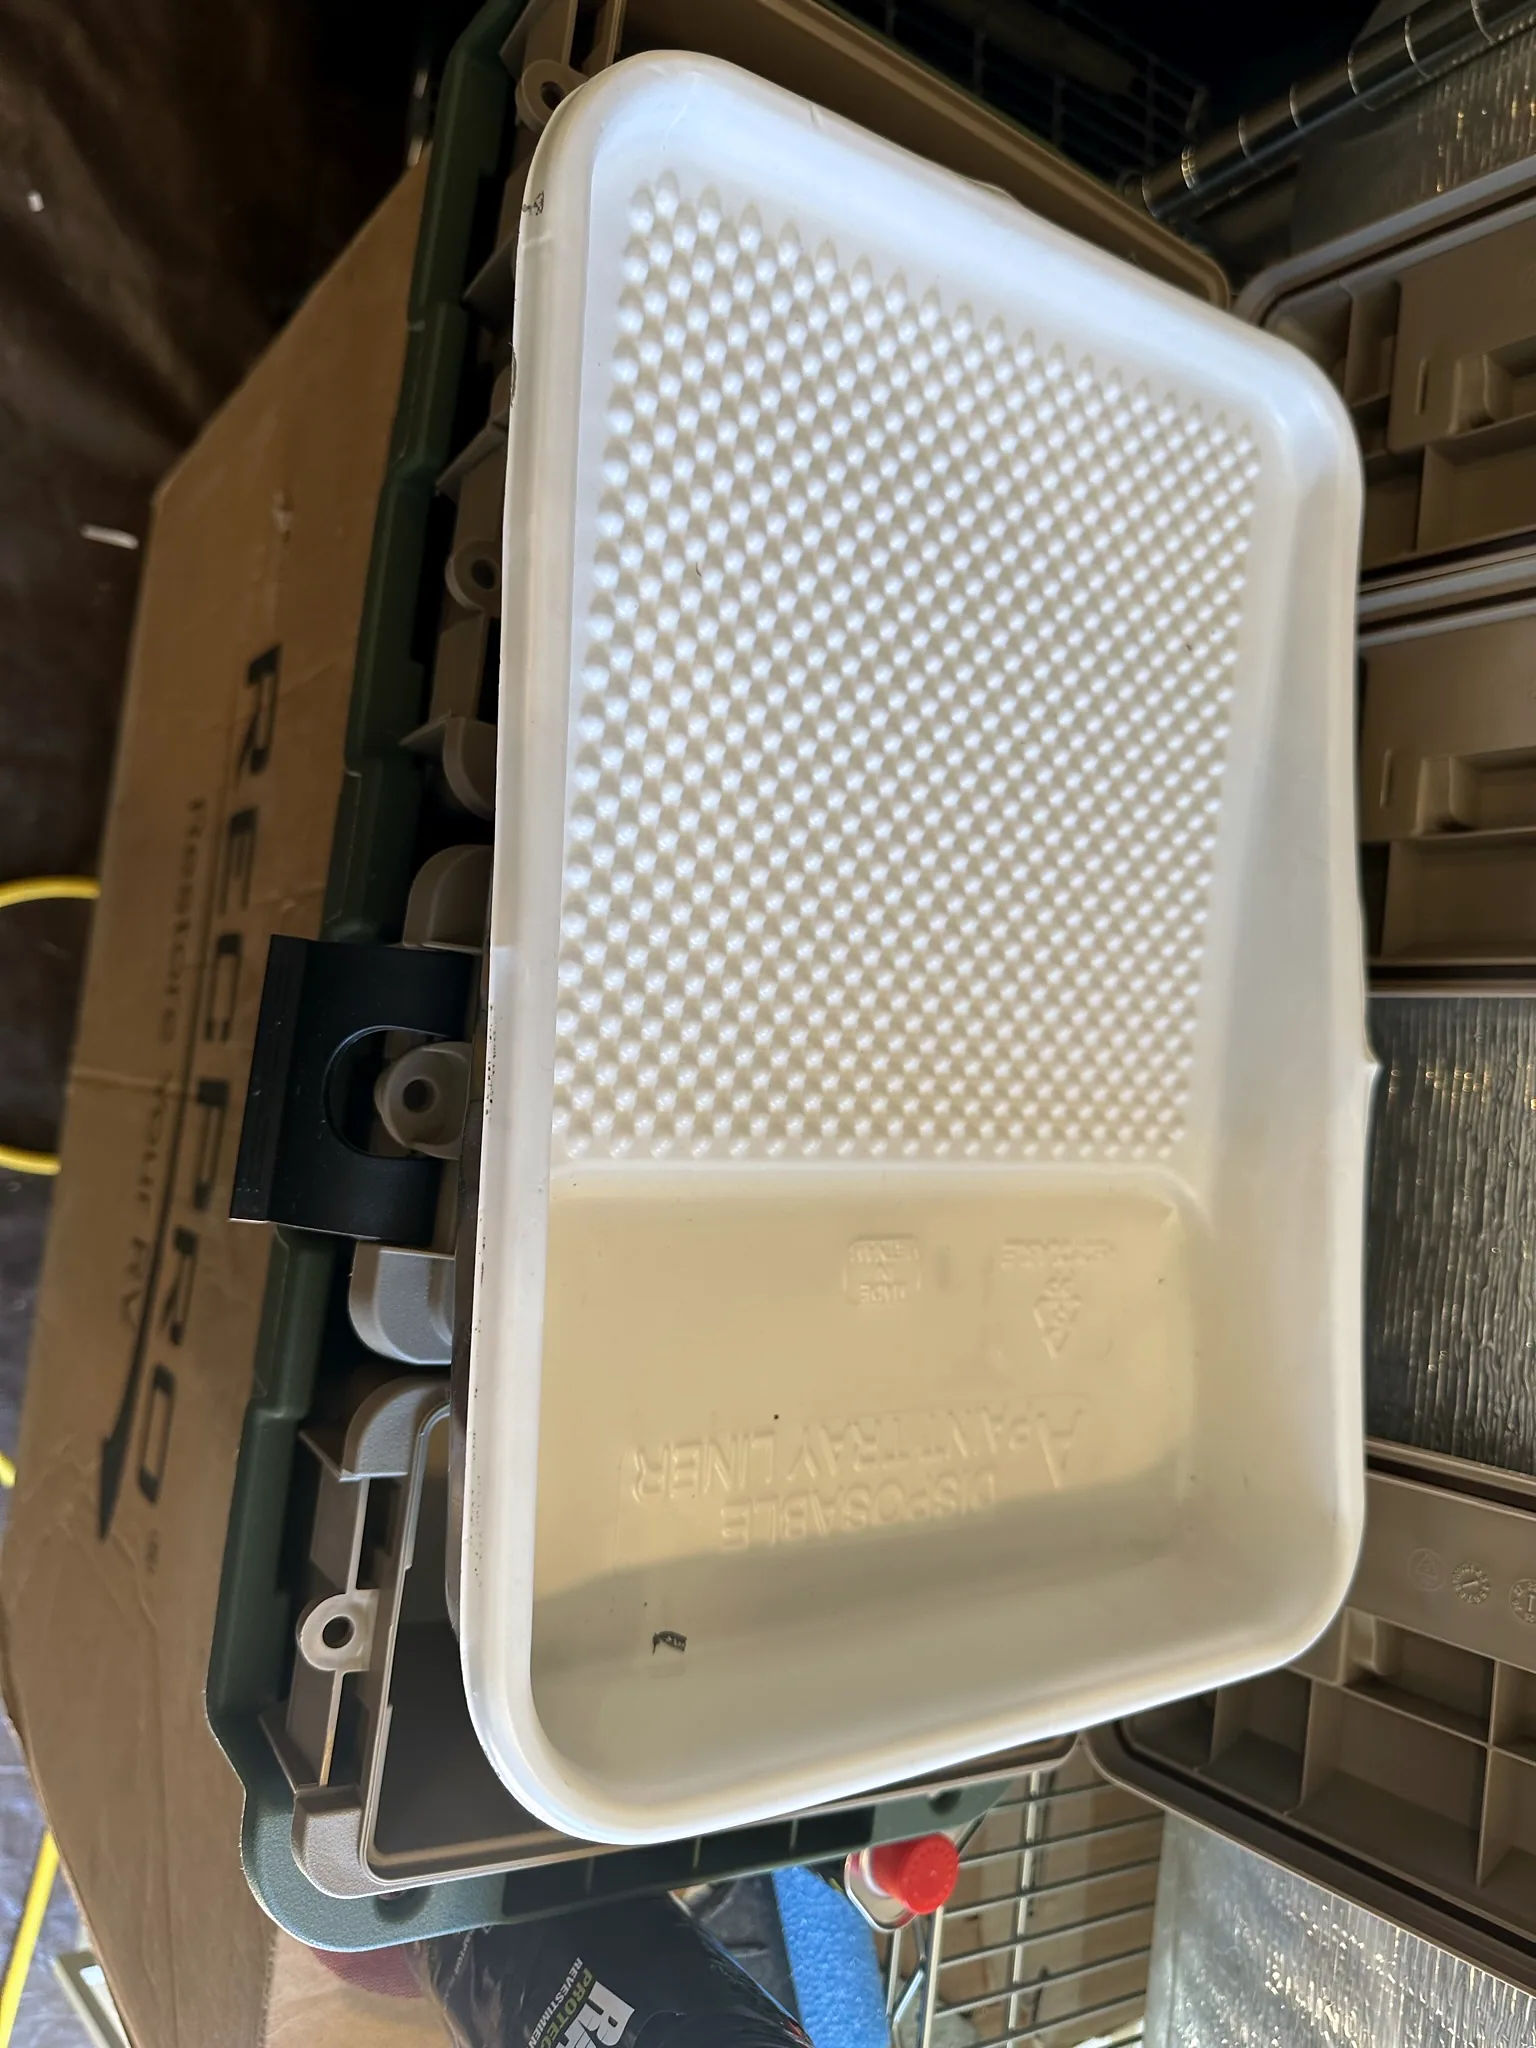
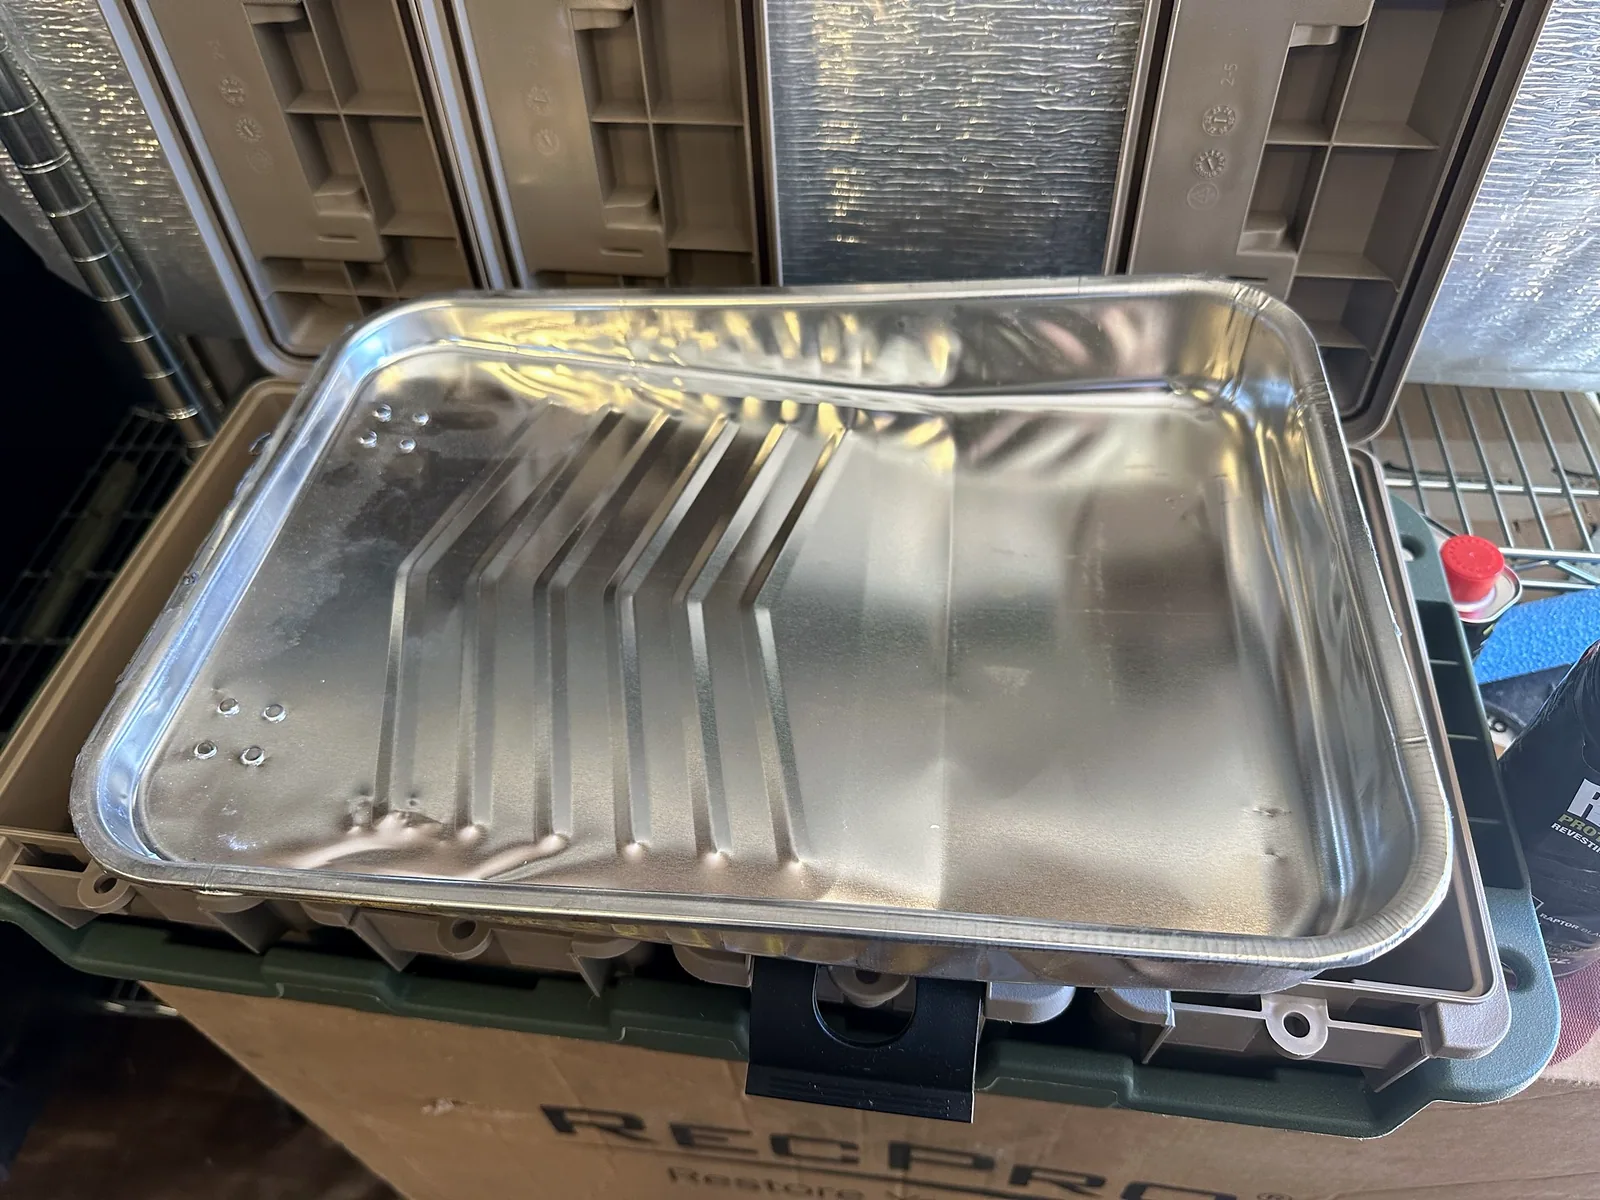
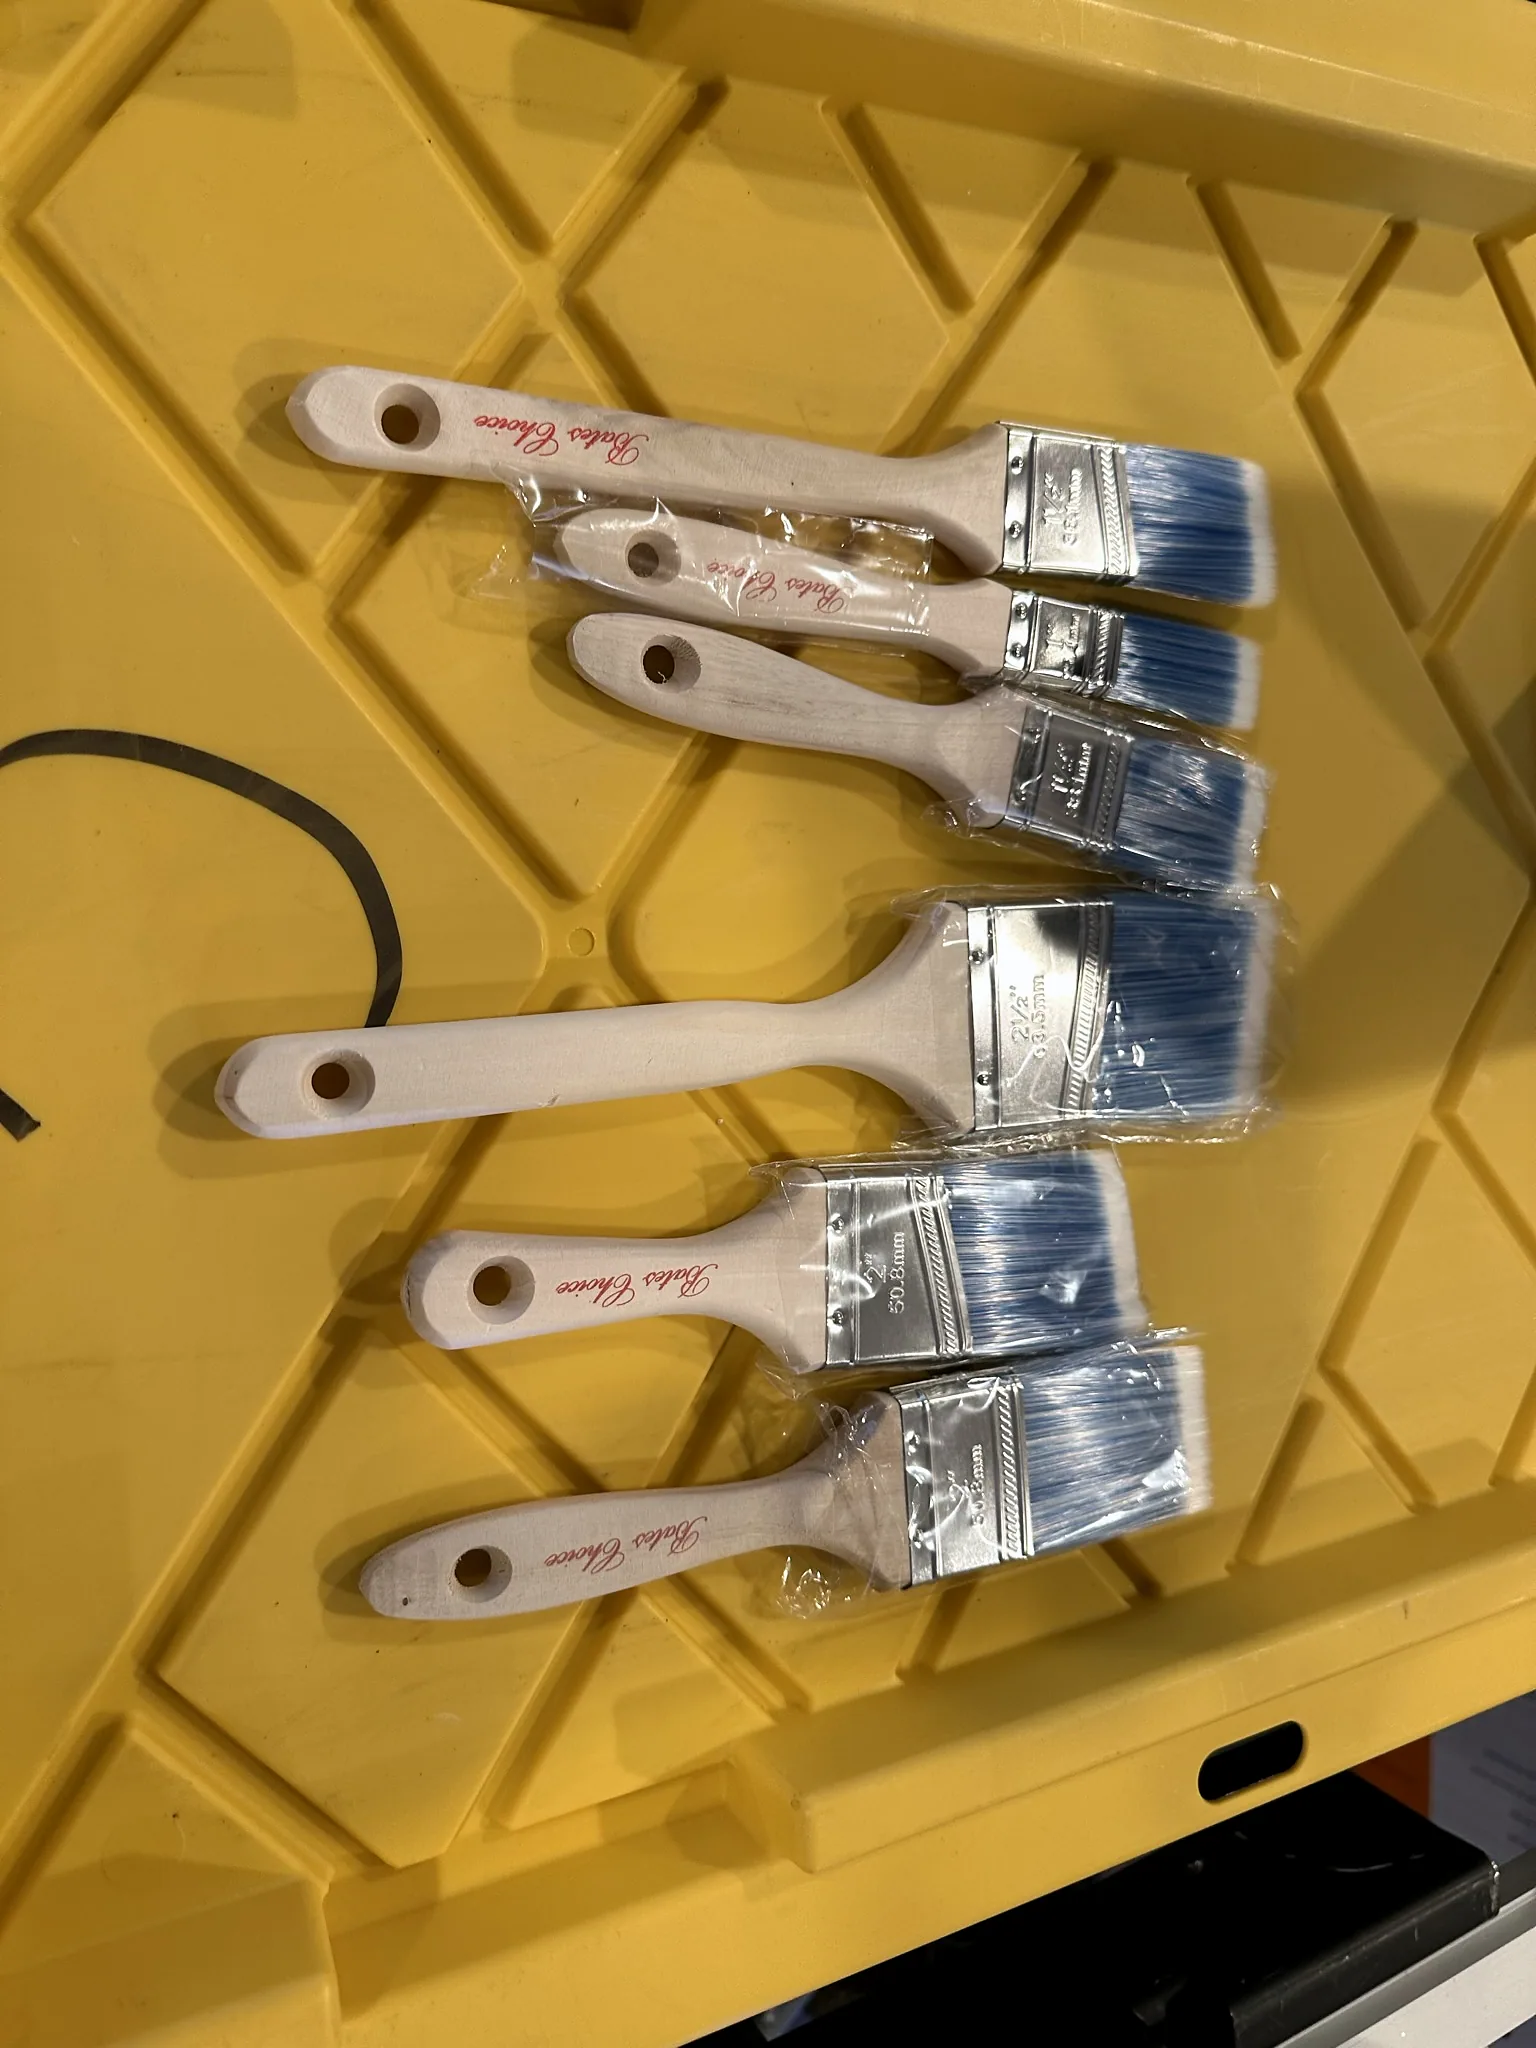
By this point I had repair, sanding, cleaning and coating supplies spread around the work area. The gallery below shows the products and equipment I photographed during the project, including the abrasive supplies, sander, compressor, air gun, cleaner, rollers, trays, brushes and RAPTOR coating.
The preparation was already more involved than I had expected. Even then, I thought I was working toward a finished pair of capsules that I could install and move on from.
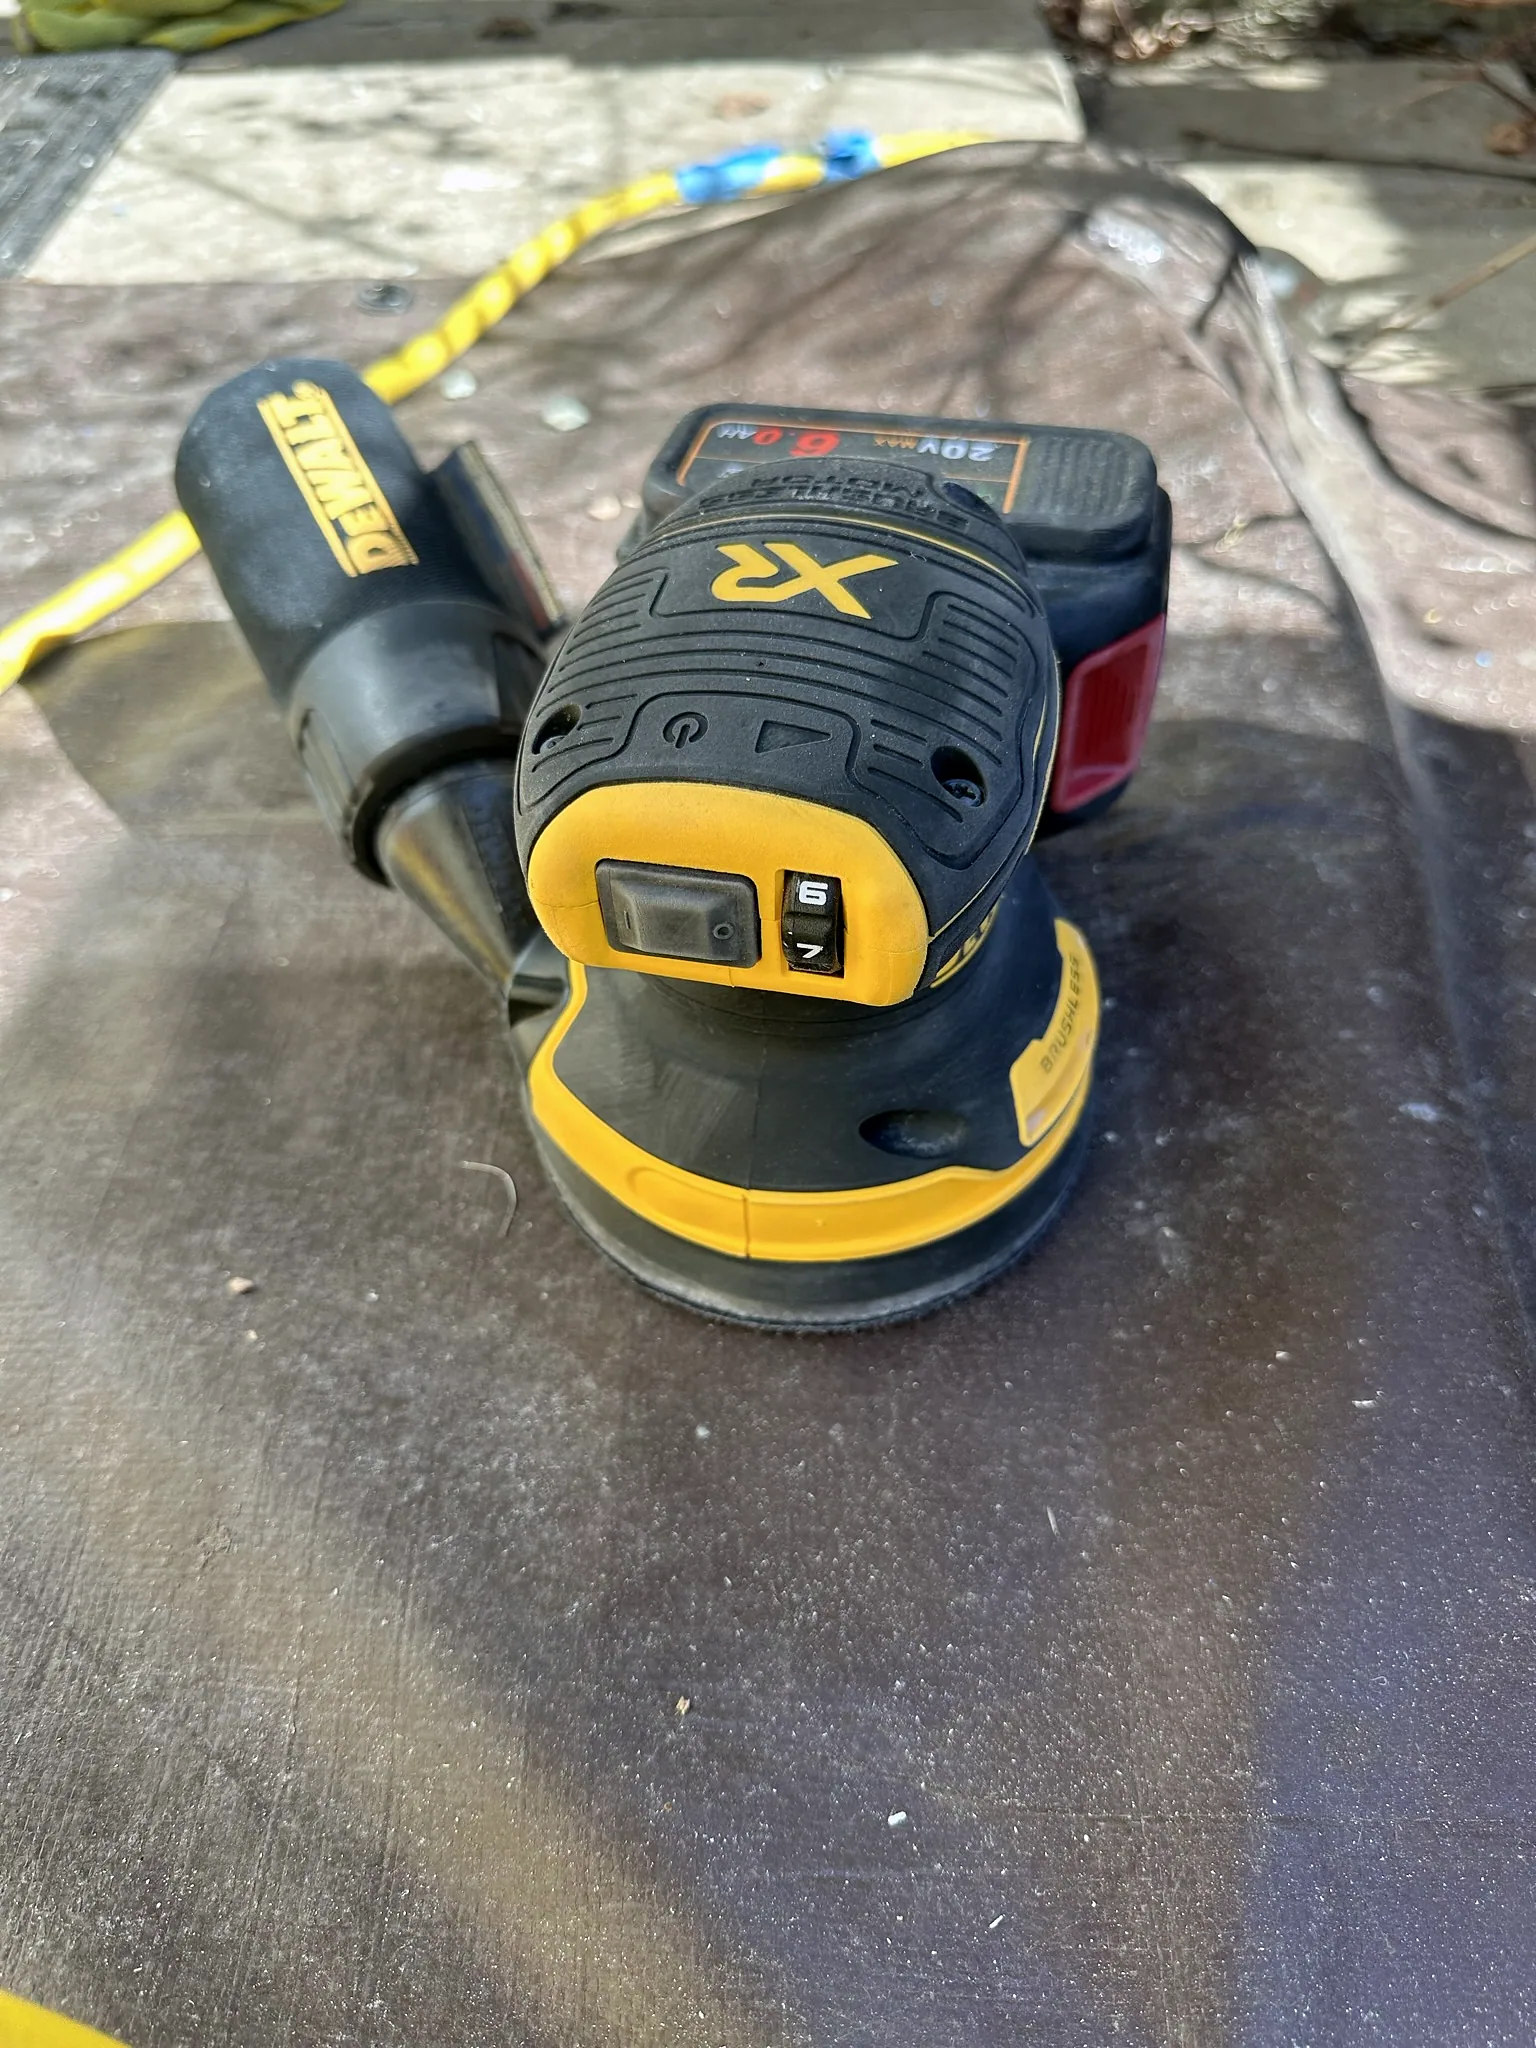
View DEWALT DCW210B Sander On Amazon
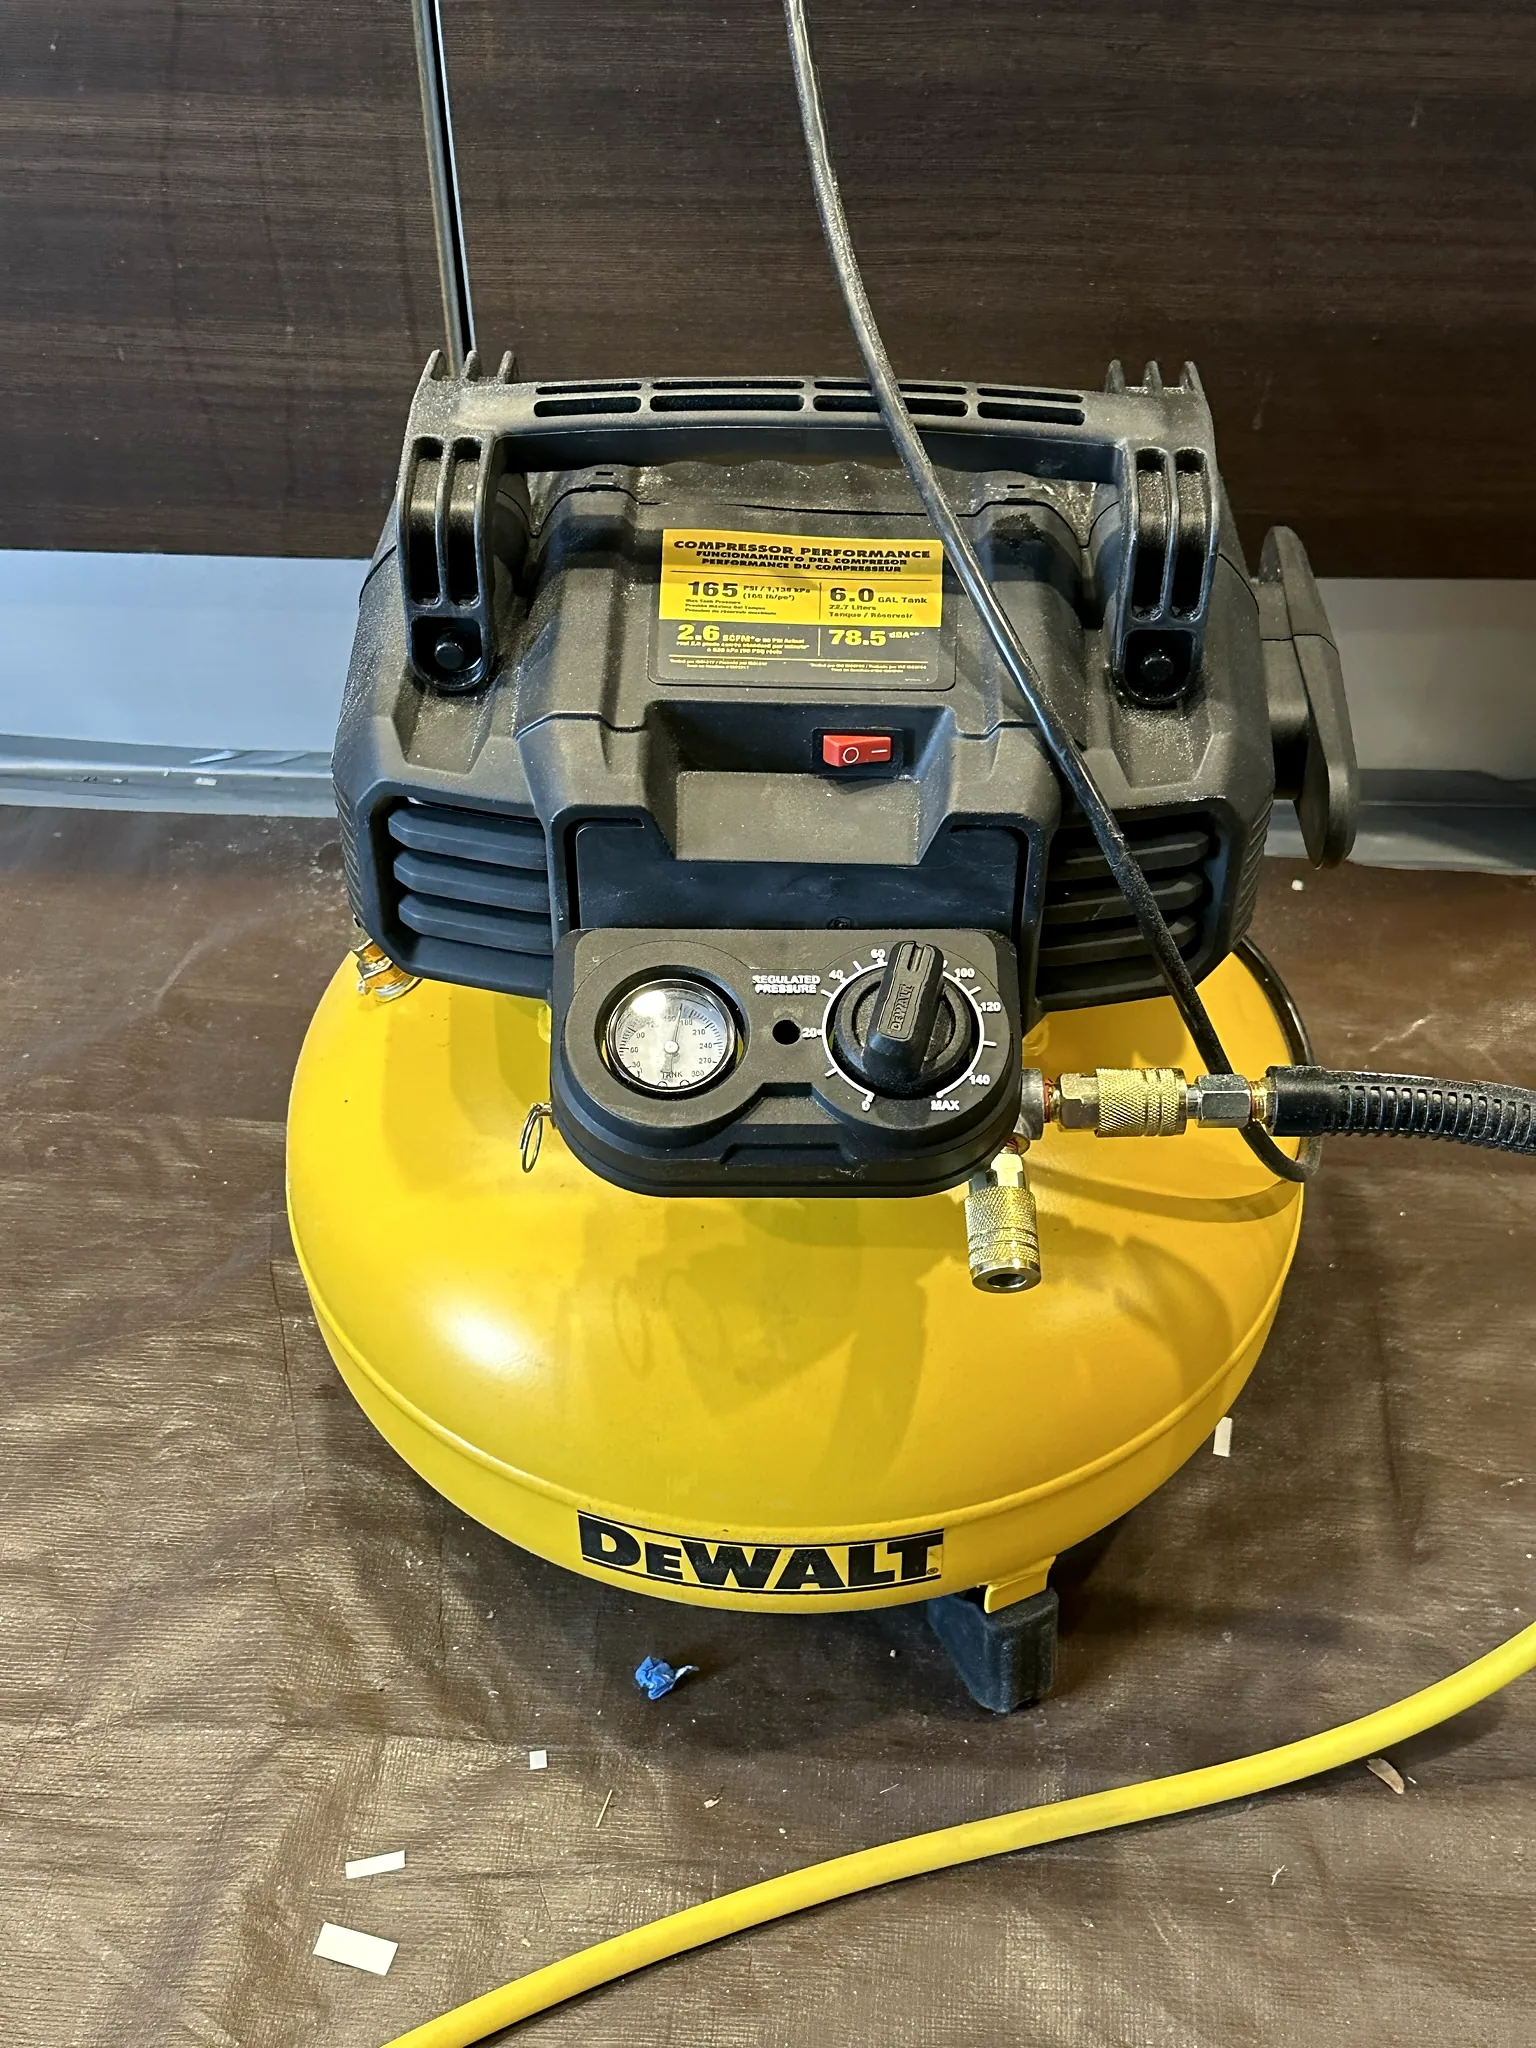
View DEWALT DWFP55126 Compressor On Amazon
No manual for a job involving two huge holes
The capsules arrived without installation instructions or a manual. I could not find an online manual from Vanspeed at the time either. The guide I had to work from was the Tim and Katie installation video.
I found that video promotional rather than a complete installation guide. There were gaps between the steps where I had to work out what to do. It also did not explain the modifications I would need for my extended Transit.
That was a major problem for a job that involved cutting two massive openings in the sides of my van. I needed clear measurements, clear reference points and an explanation of how the capsule should meet the body and the interior lining. Instead, I was trying to fill in the missing information as I went.
The first attempt left adhesive all over the white paint
I had cut the openings, coated the capsules in black bedliner and applied the windshield adhesive around the edges, following the approach shown in the video. Then I tried to position a capsule against the side of the van by myself.
That was when the fit problem became impossible to ignore. The capsule would not seat in the body contours the way I expected. Trying to hold it, move it and get it into position alone was difficult, and the black adhesive spread across the surrounding white paint.
I had reached that point with the body already cut and adhesive on the capsule. Instead of being an installation step I could finish, it became another round of troubleshooting—with a growing mess on the van.
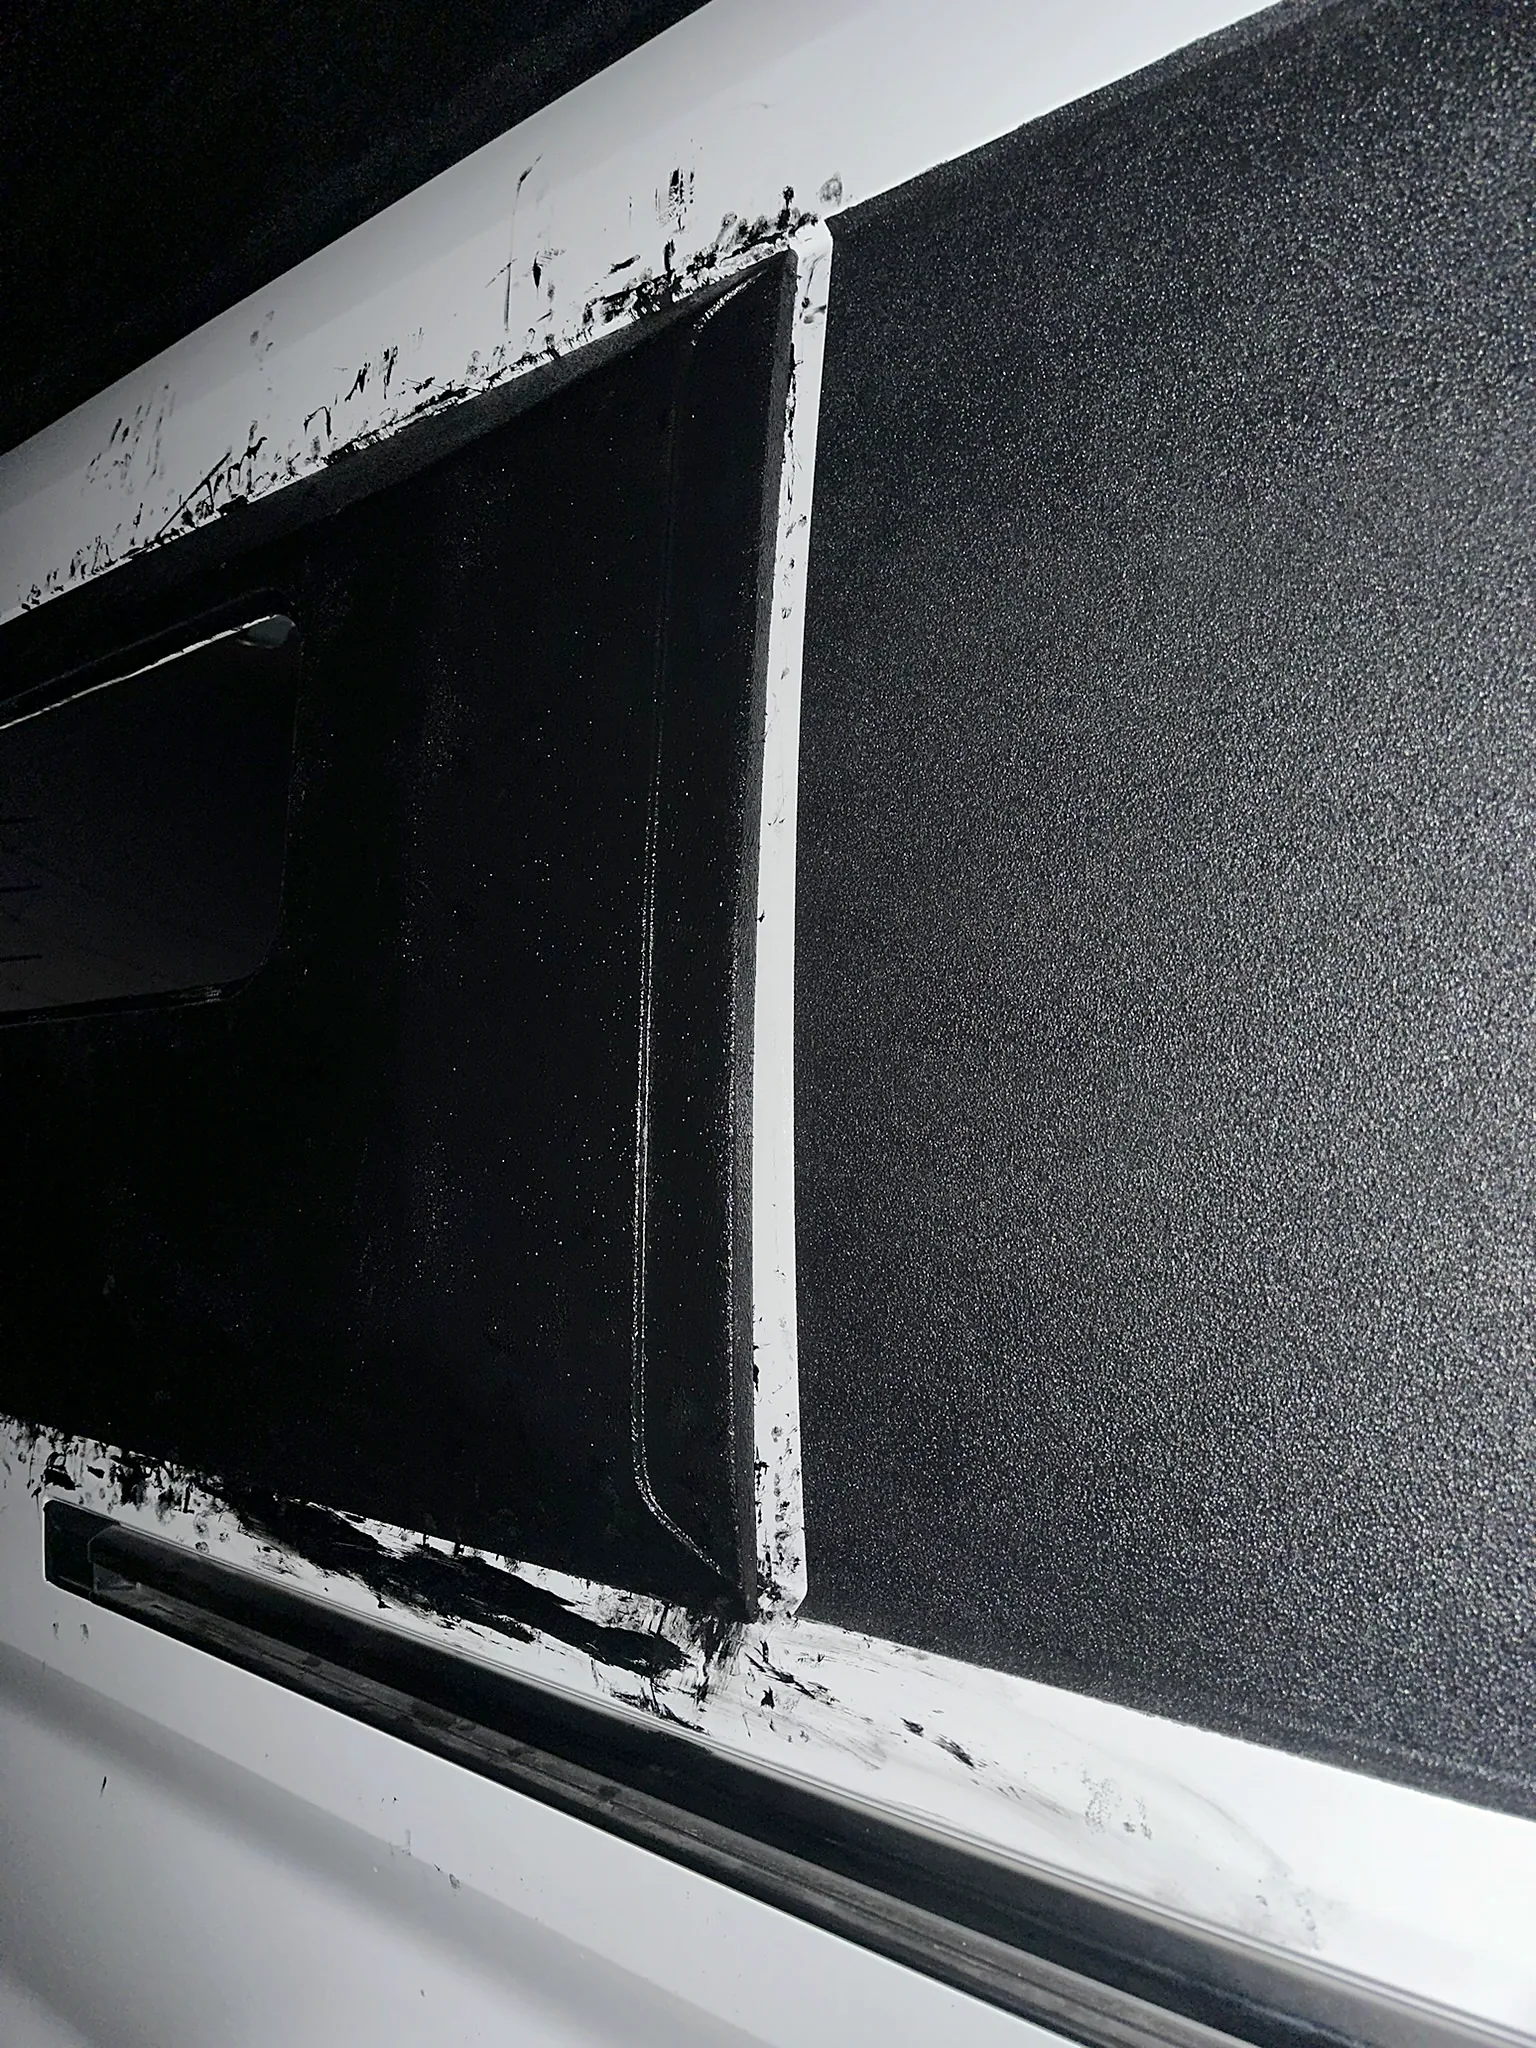
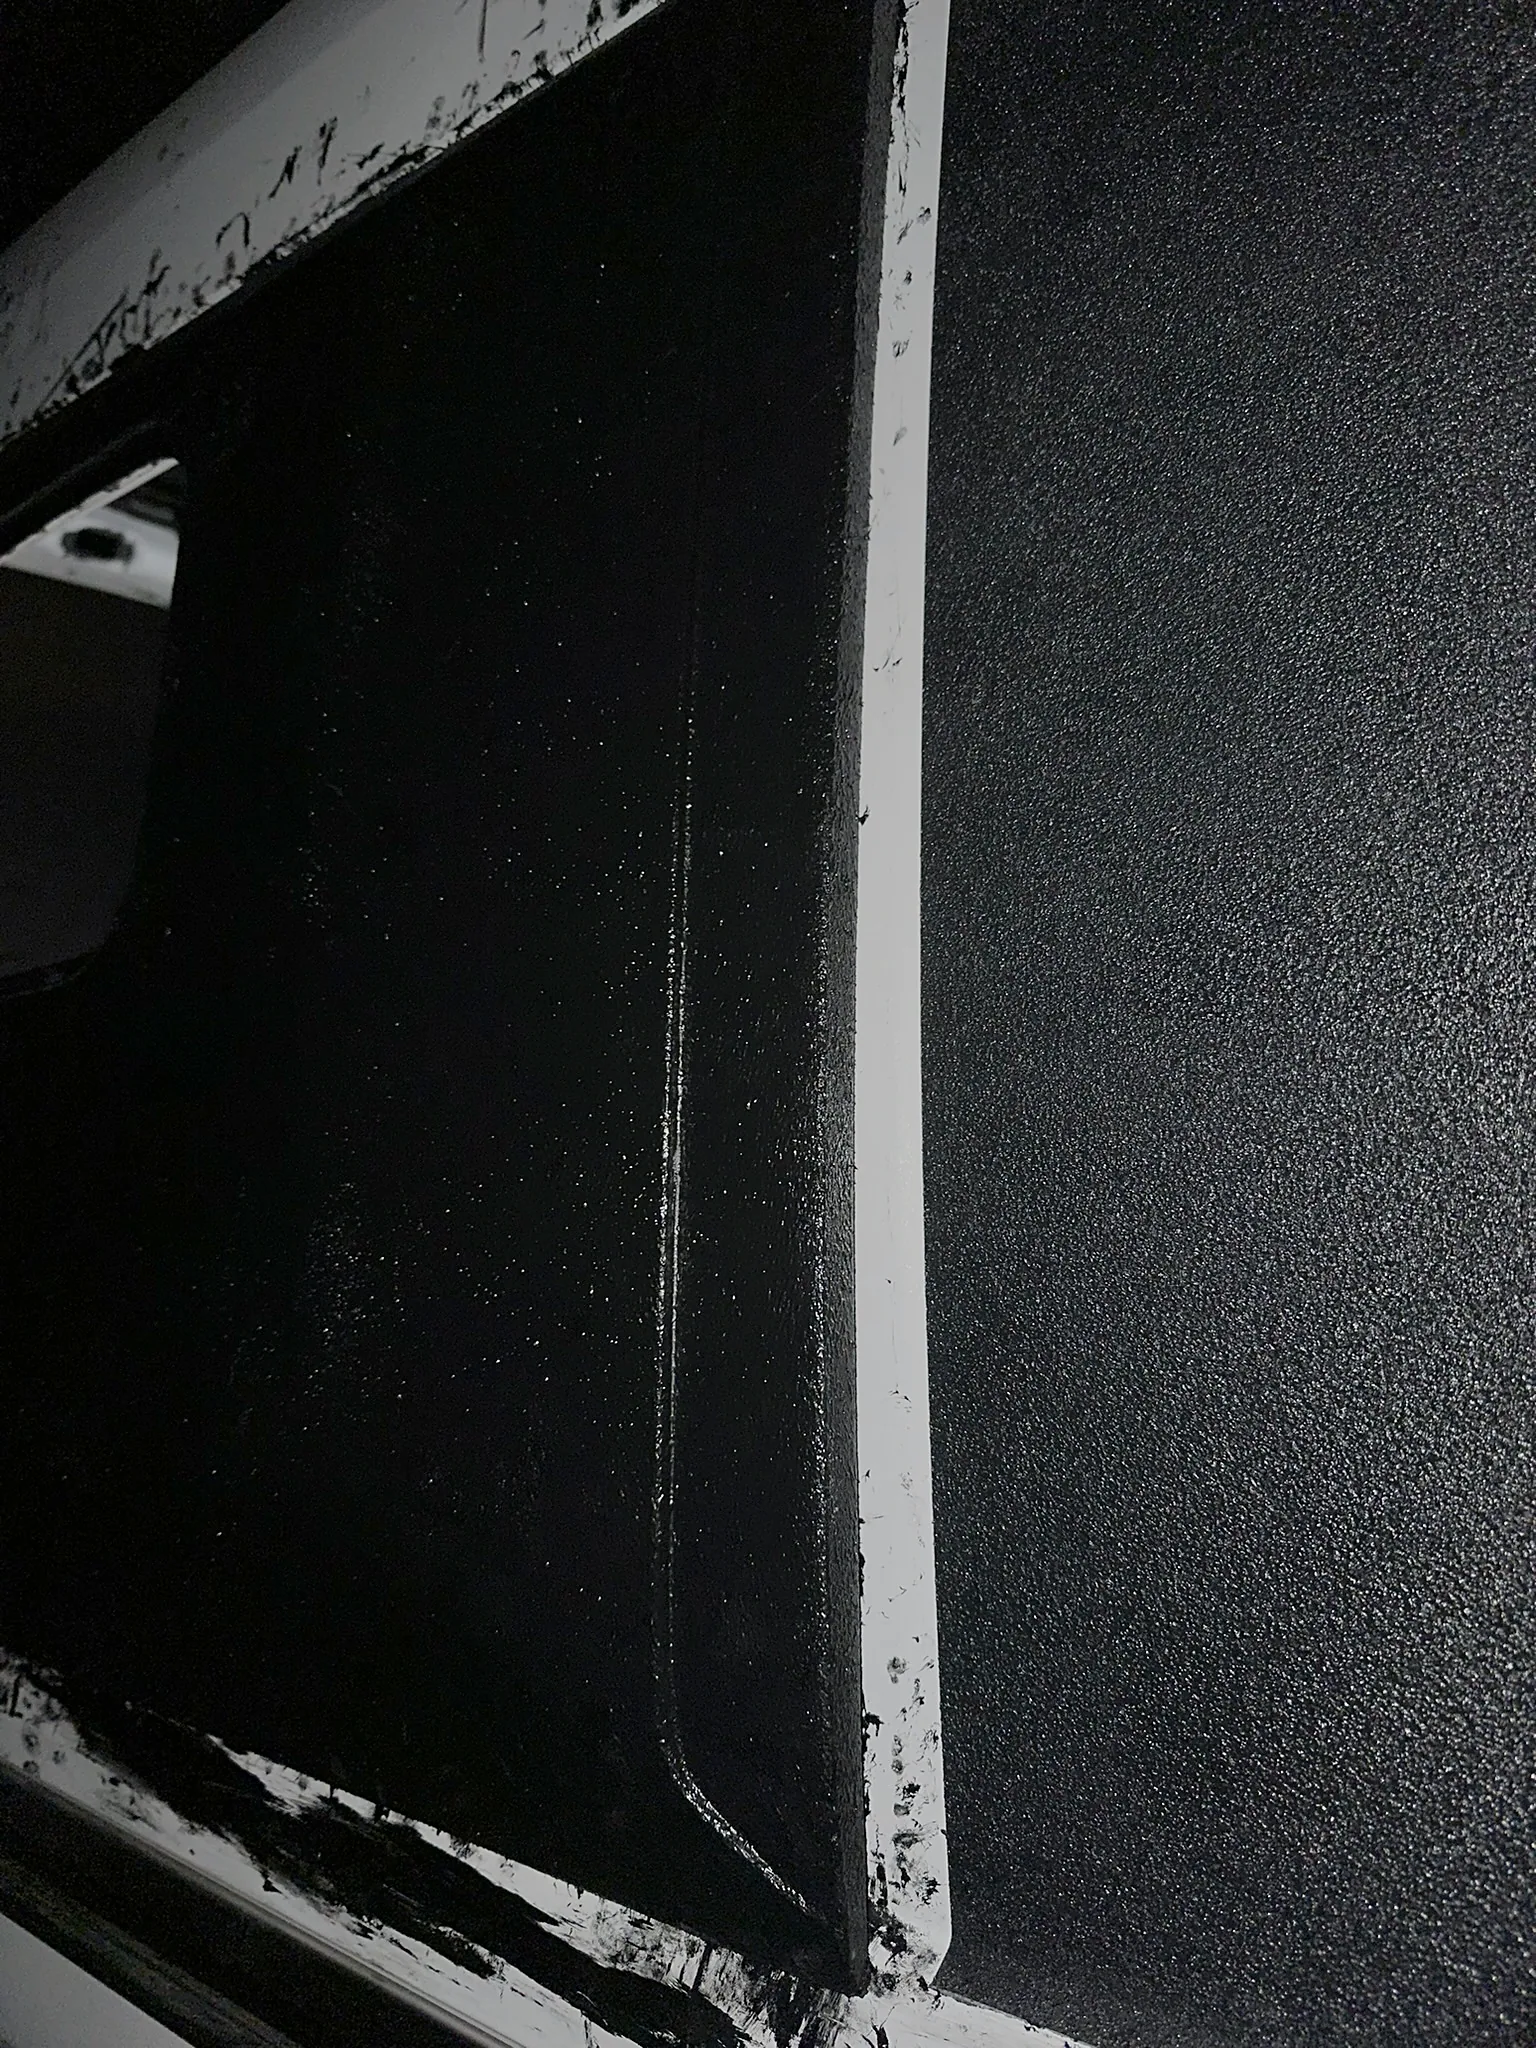
The opening and the capsule did not line up
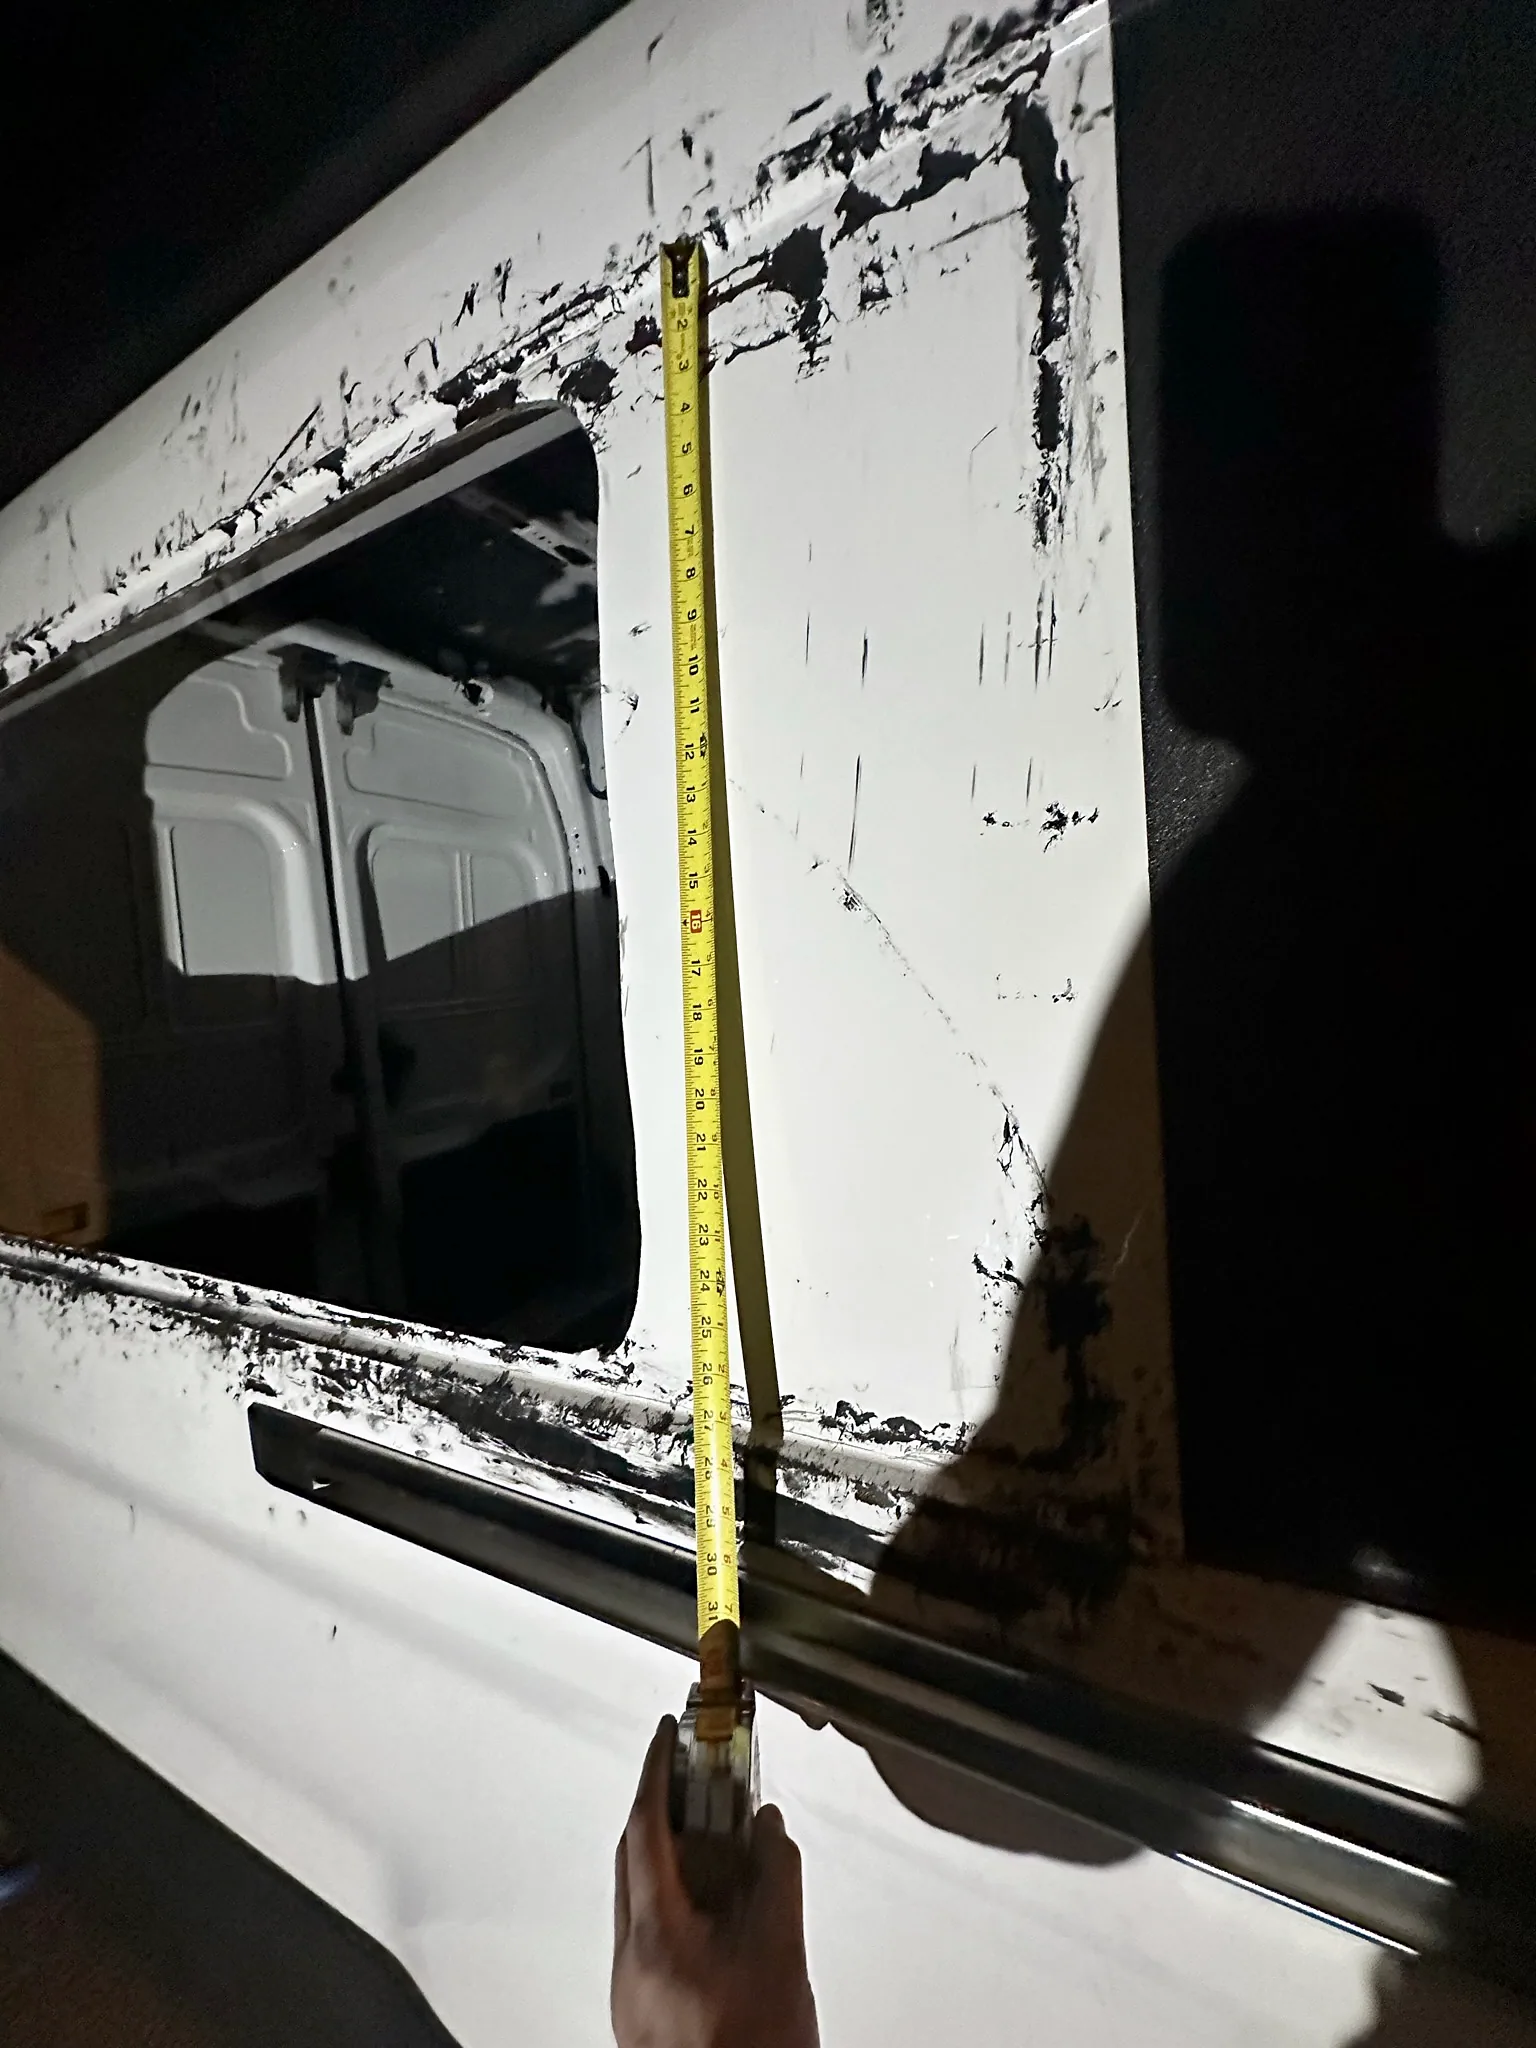
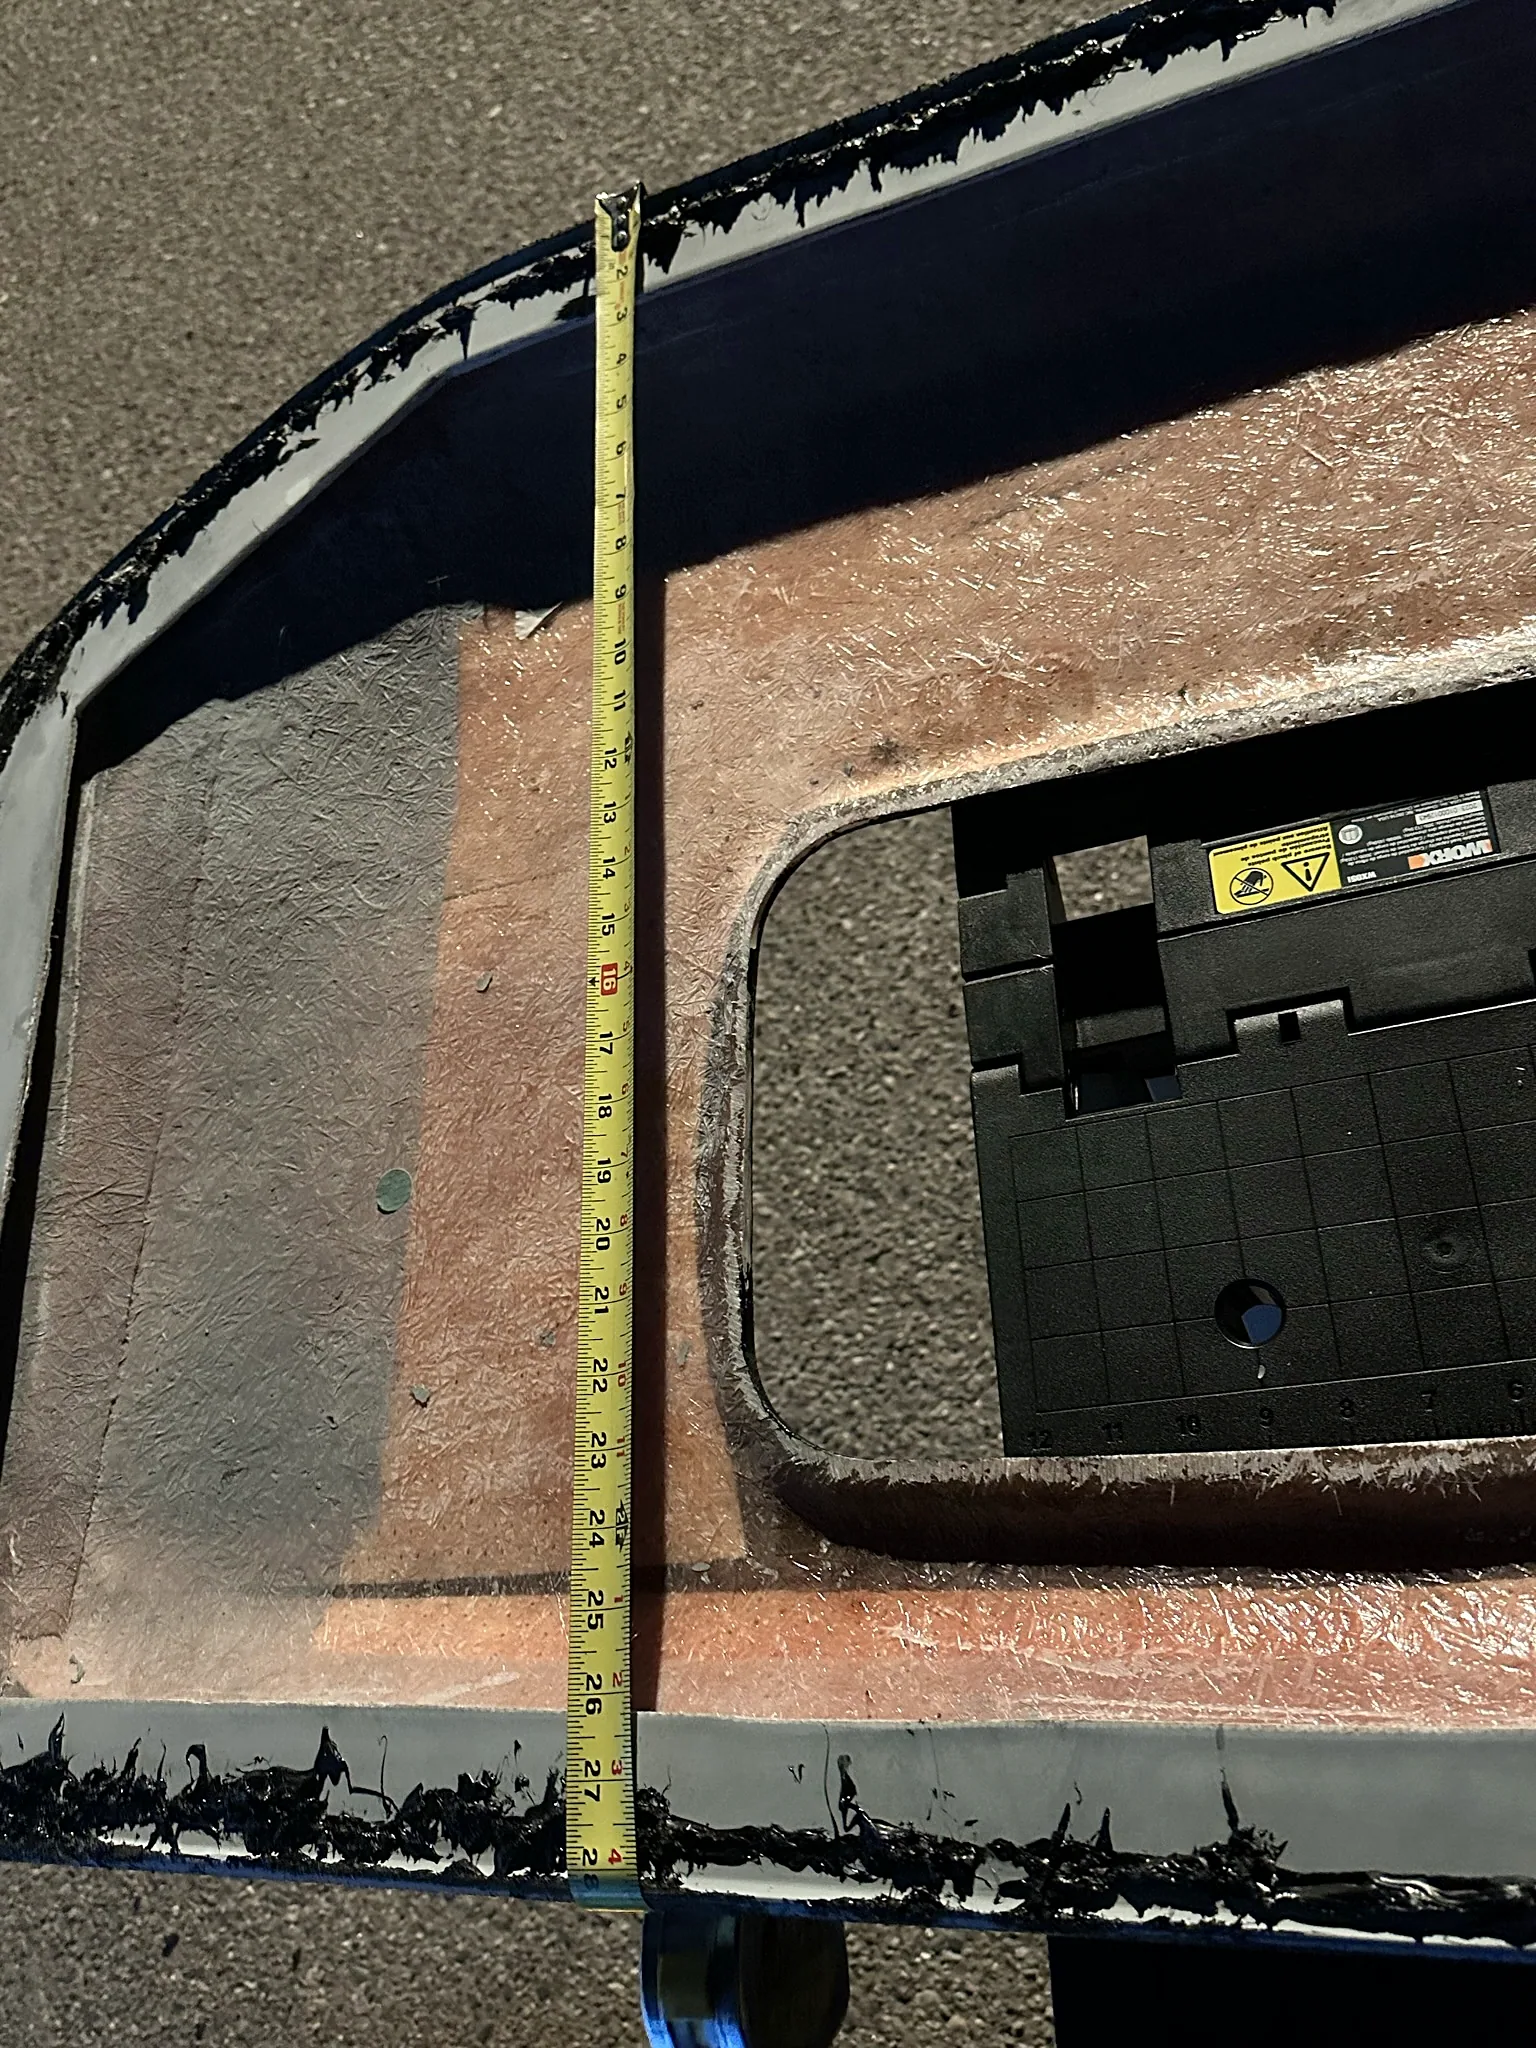
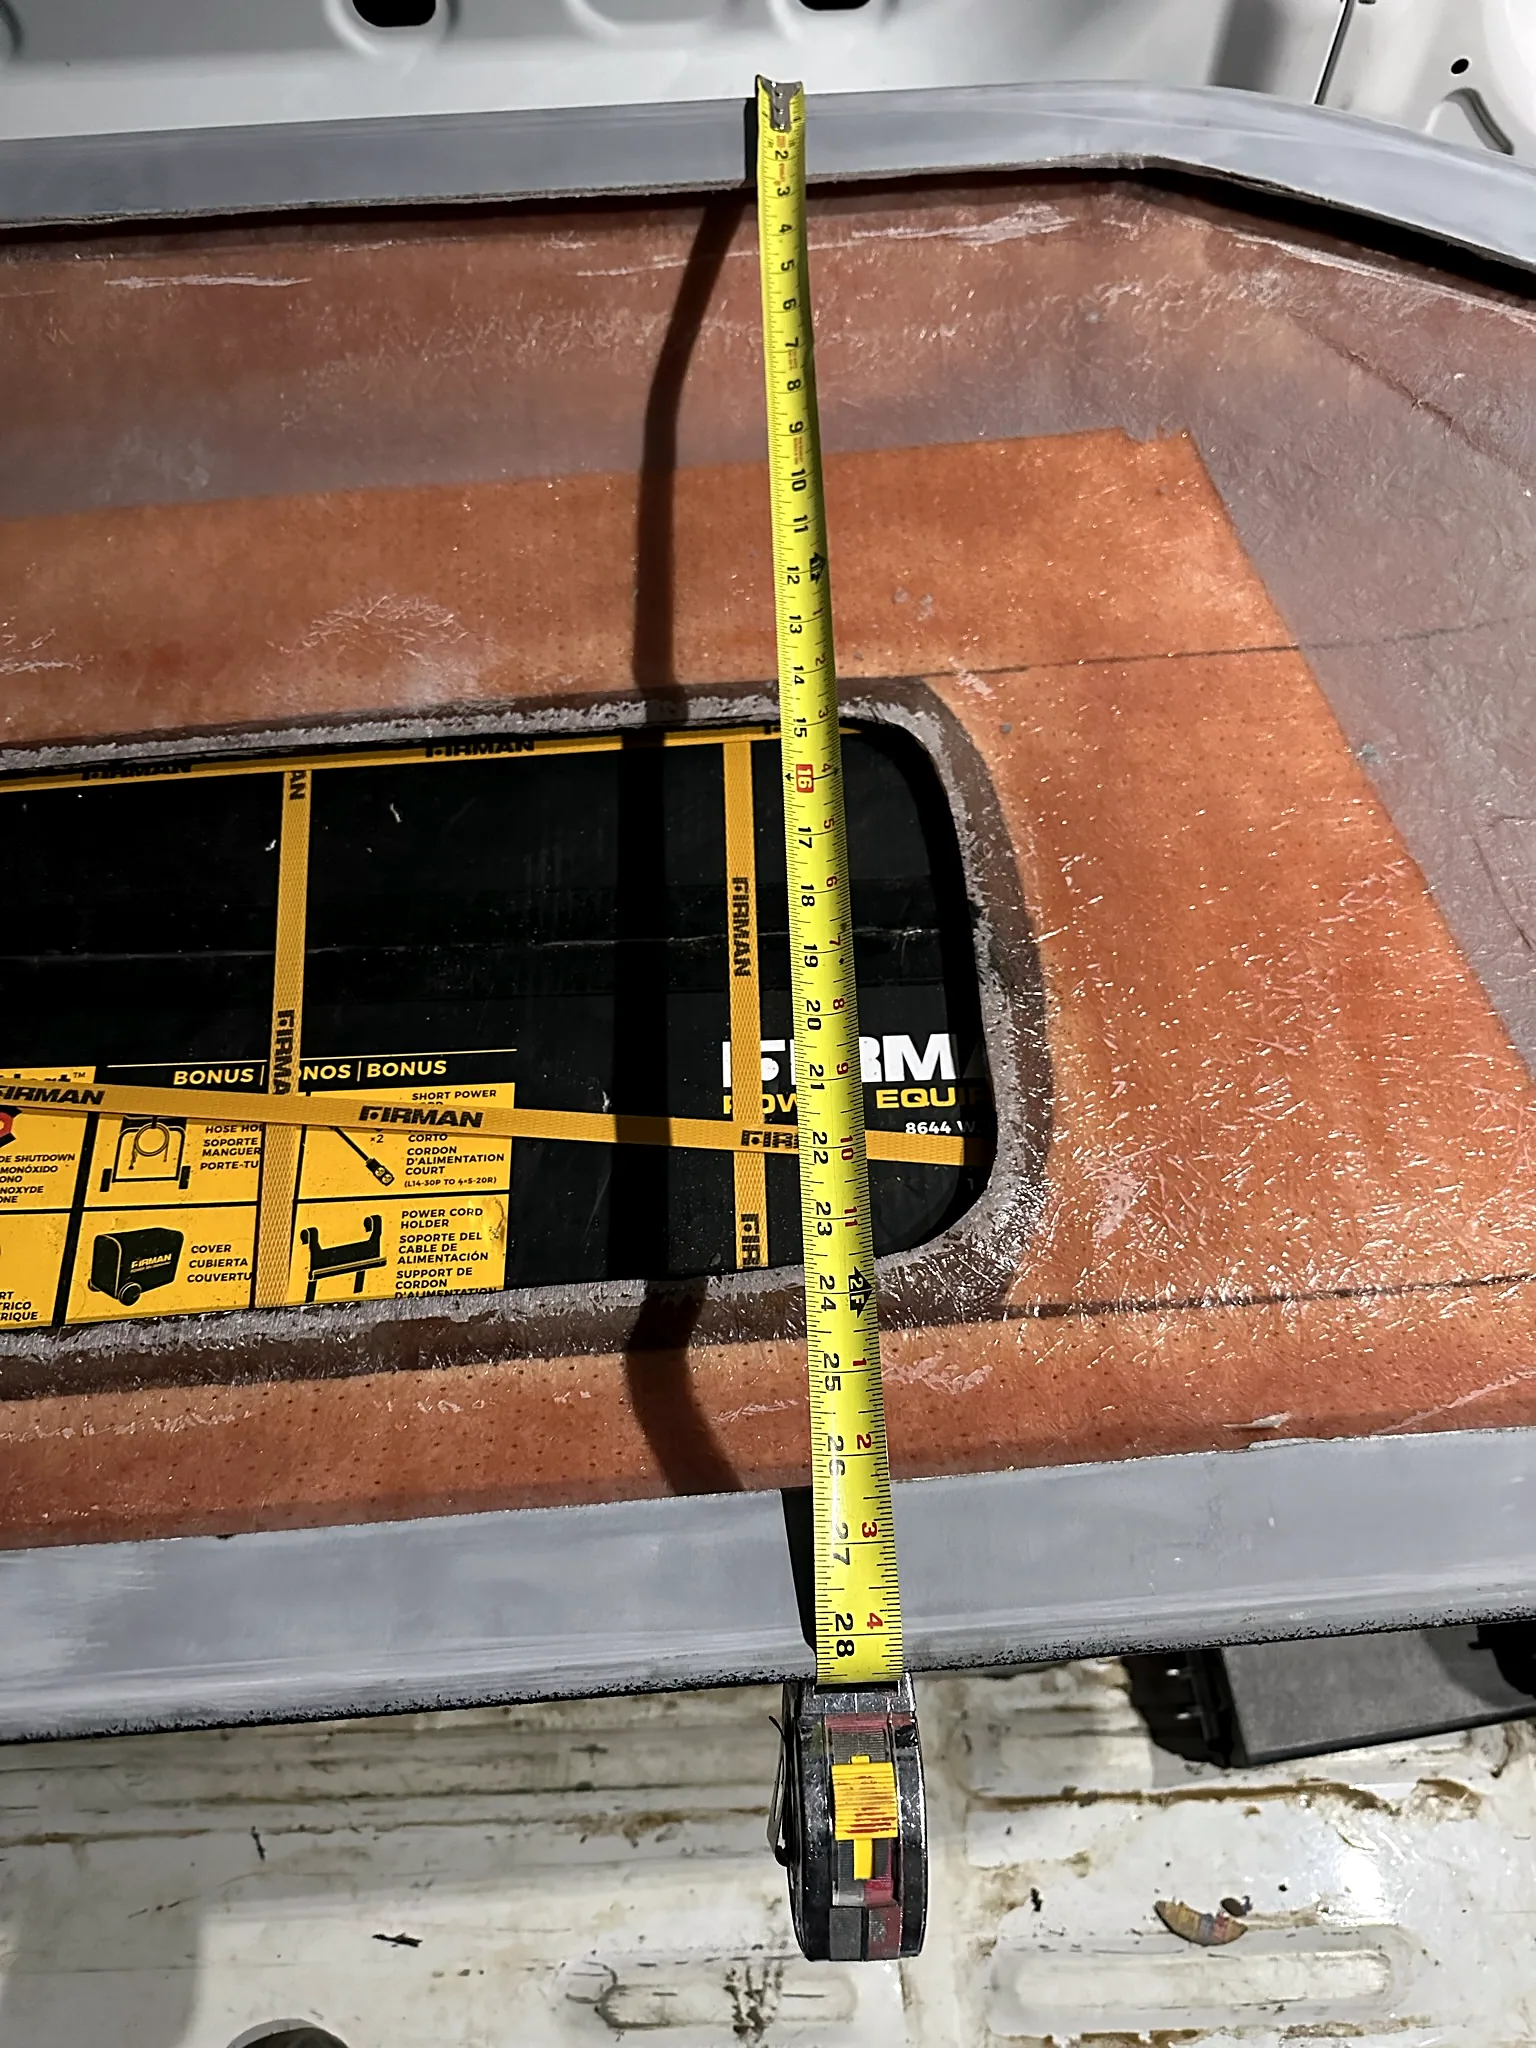
I ran into two different fit problems. The first was the relationship between the opening I had cut using the video’s measurements and the inside edges of the capsule. The opening was larger than the area I needed it to line up with.
That affected the insert or lining I had planned for the inside. The edges did not meet the way I expected, so I had to improvise a solution and do substantial additional cutting and sanding around the capsule.
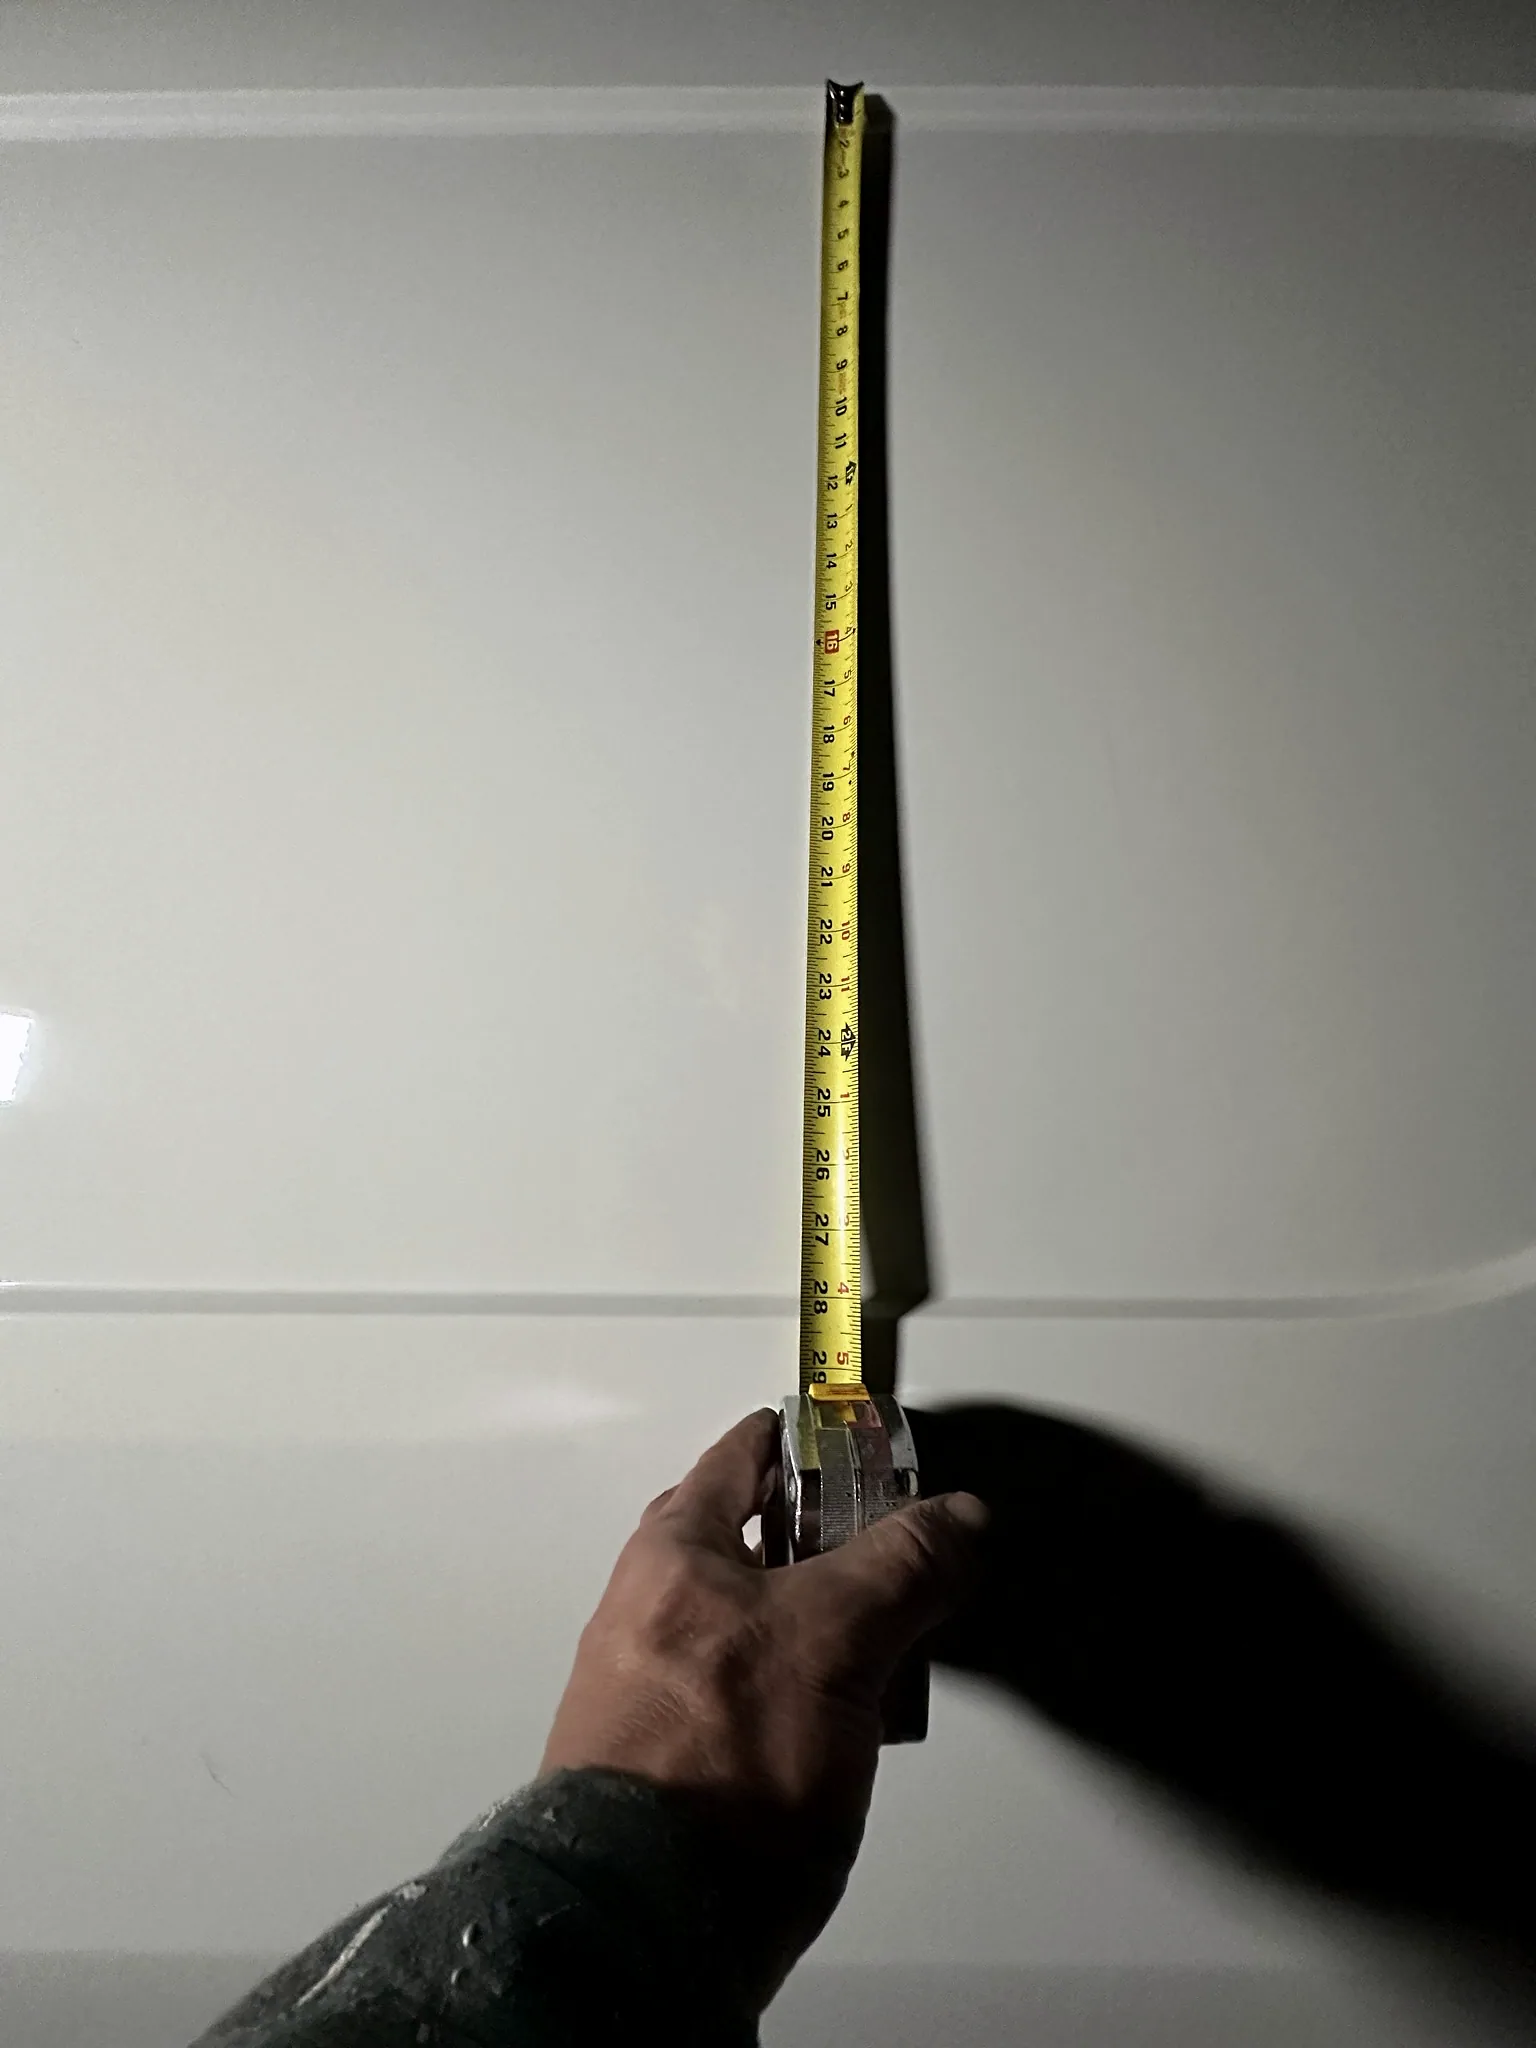
After the failed fit, I took photographs of the van opening, the capsule and the surrounding body contours with a tape measure. I wanted to document what I was dealing with and compare the pieces in front of me. These pictures belong here in the story: they show the investigation after things had already gone wrong.
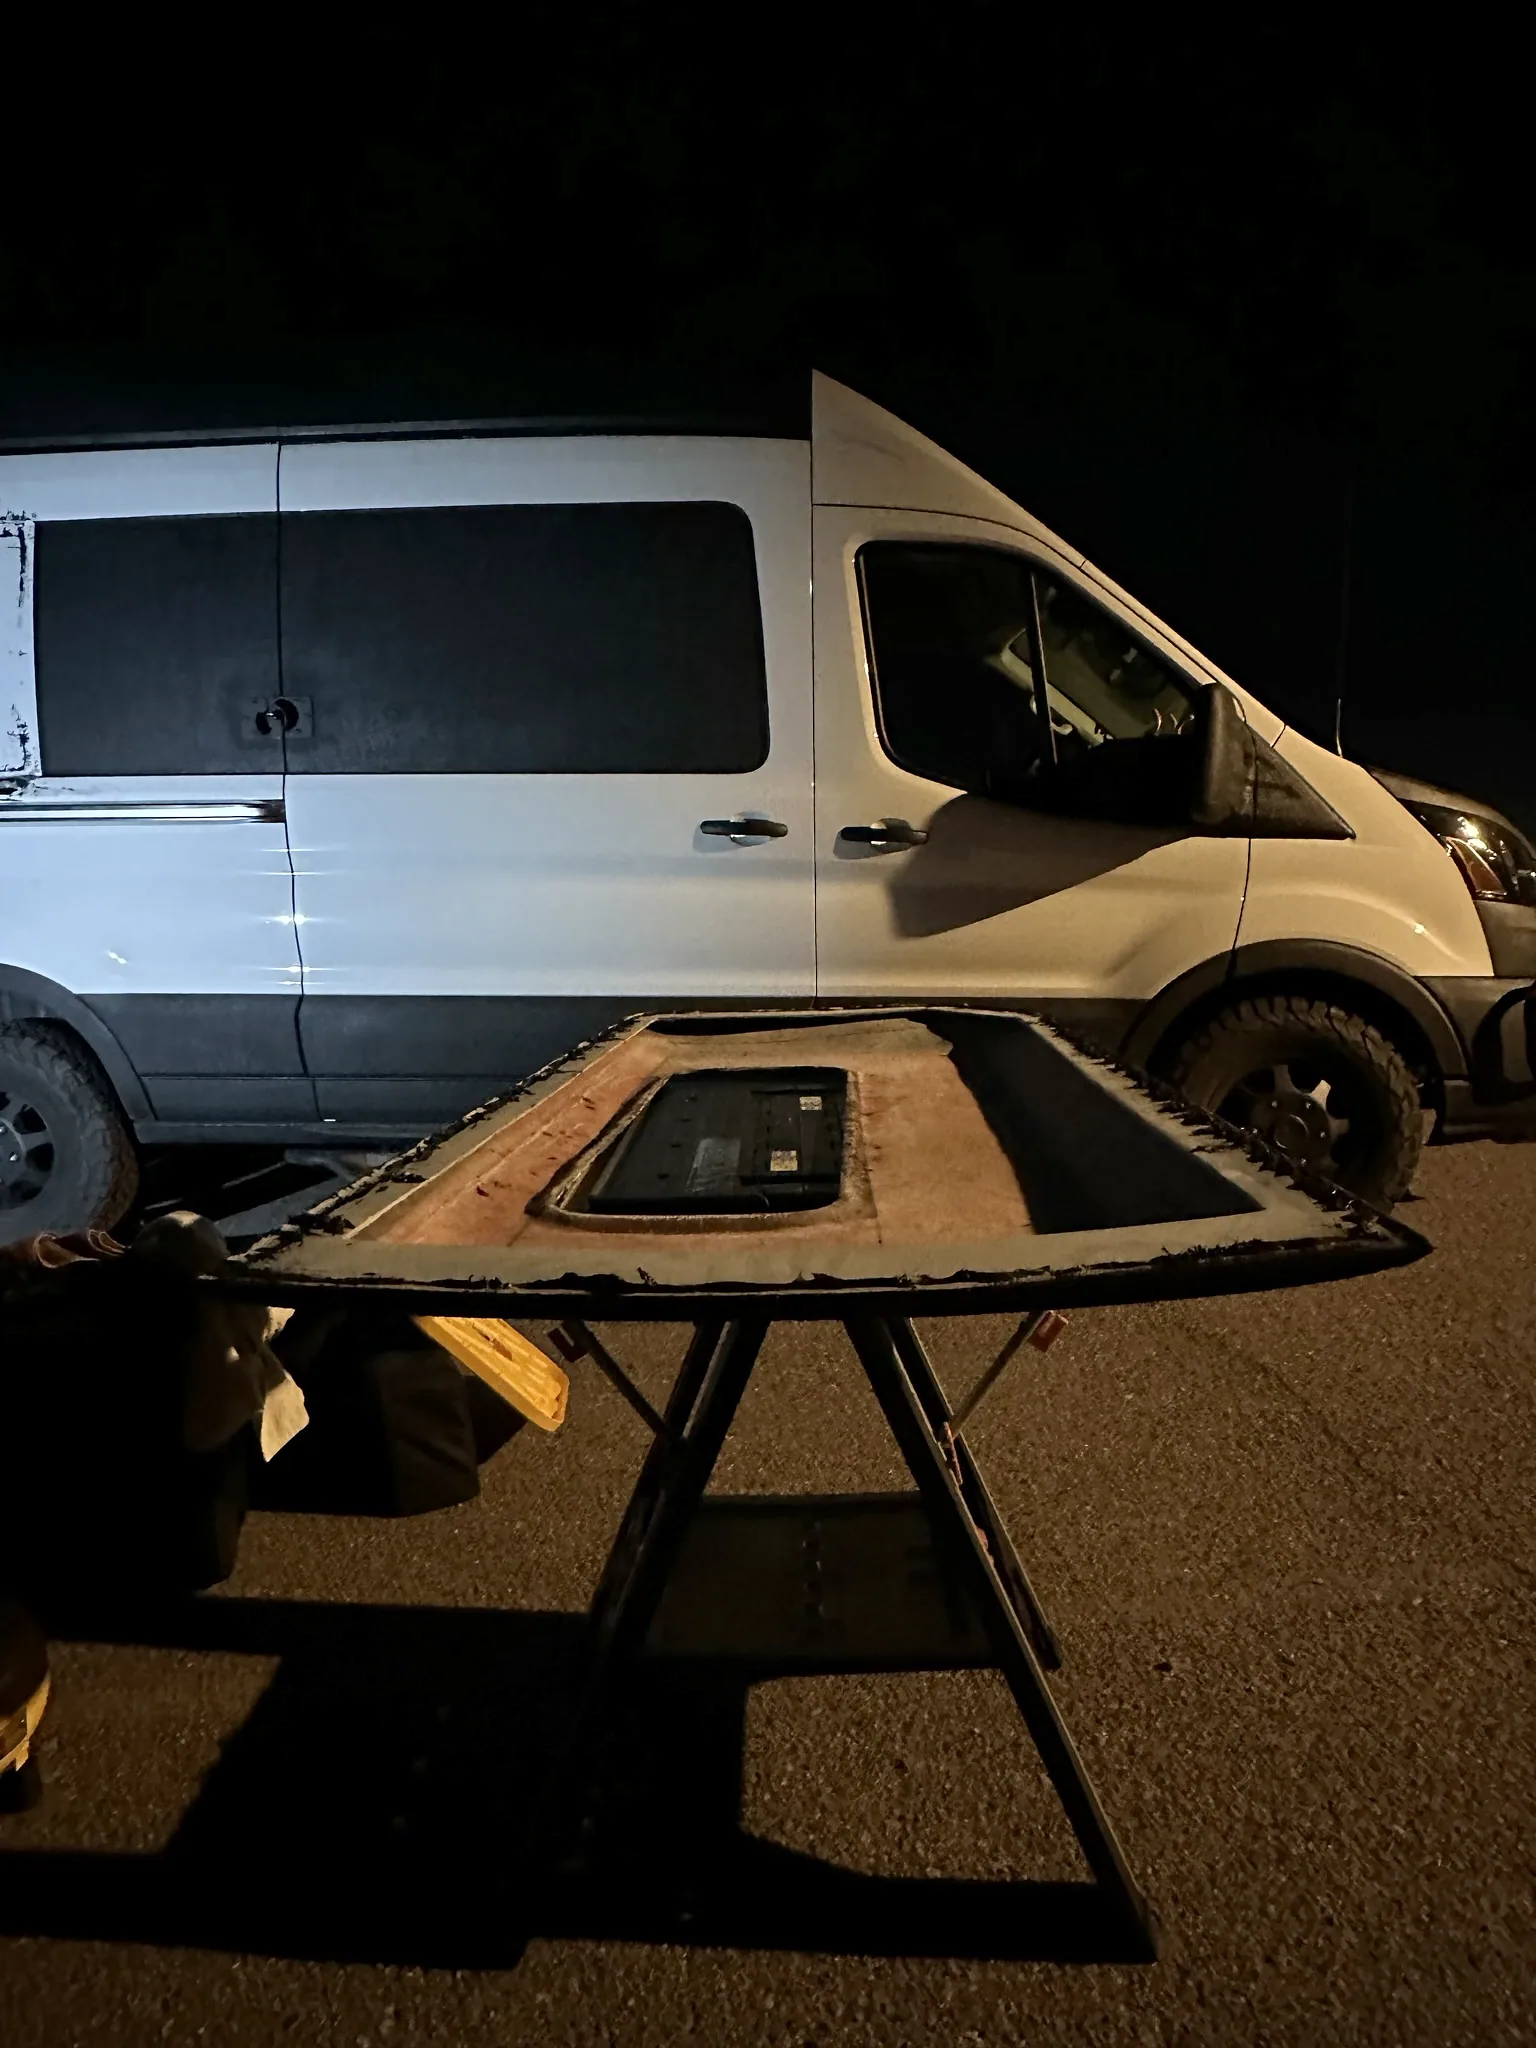
Making the capsules fit the EXT body contours
The second problem was outside. The capsules I had received were shaped for the standard-length body, while my van was the extended version. Getting them to sit within the contours of my van required far more than the vague idea of making some modifications had led me to expect.
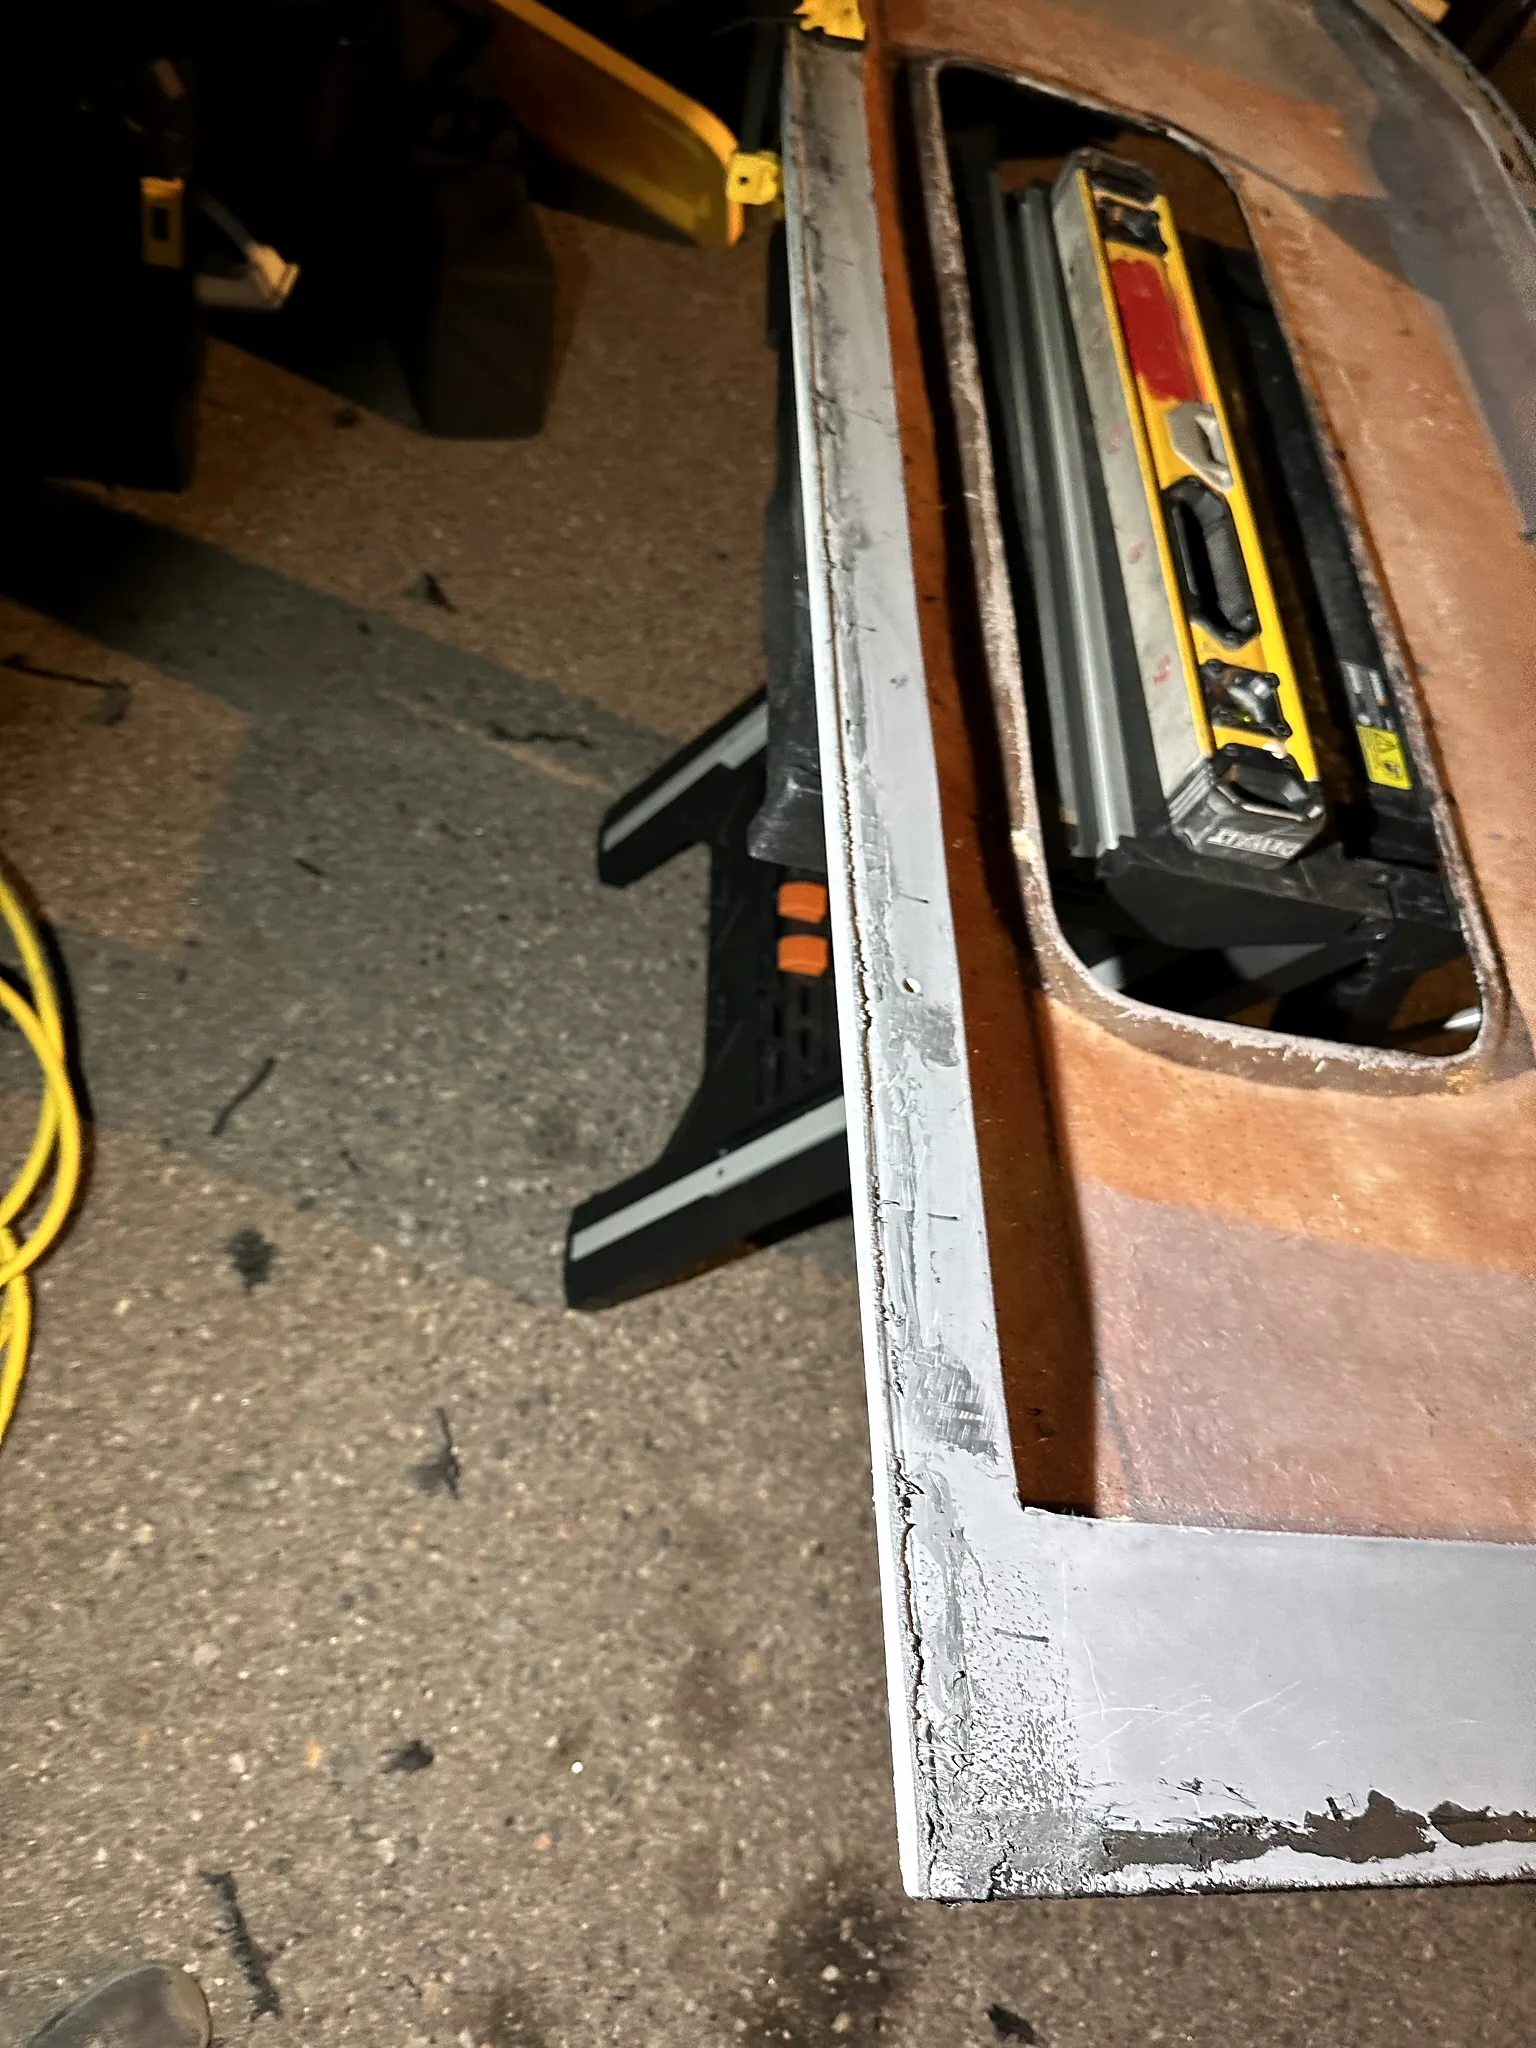
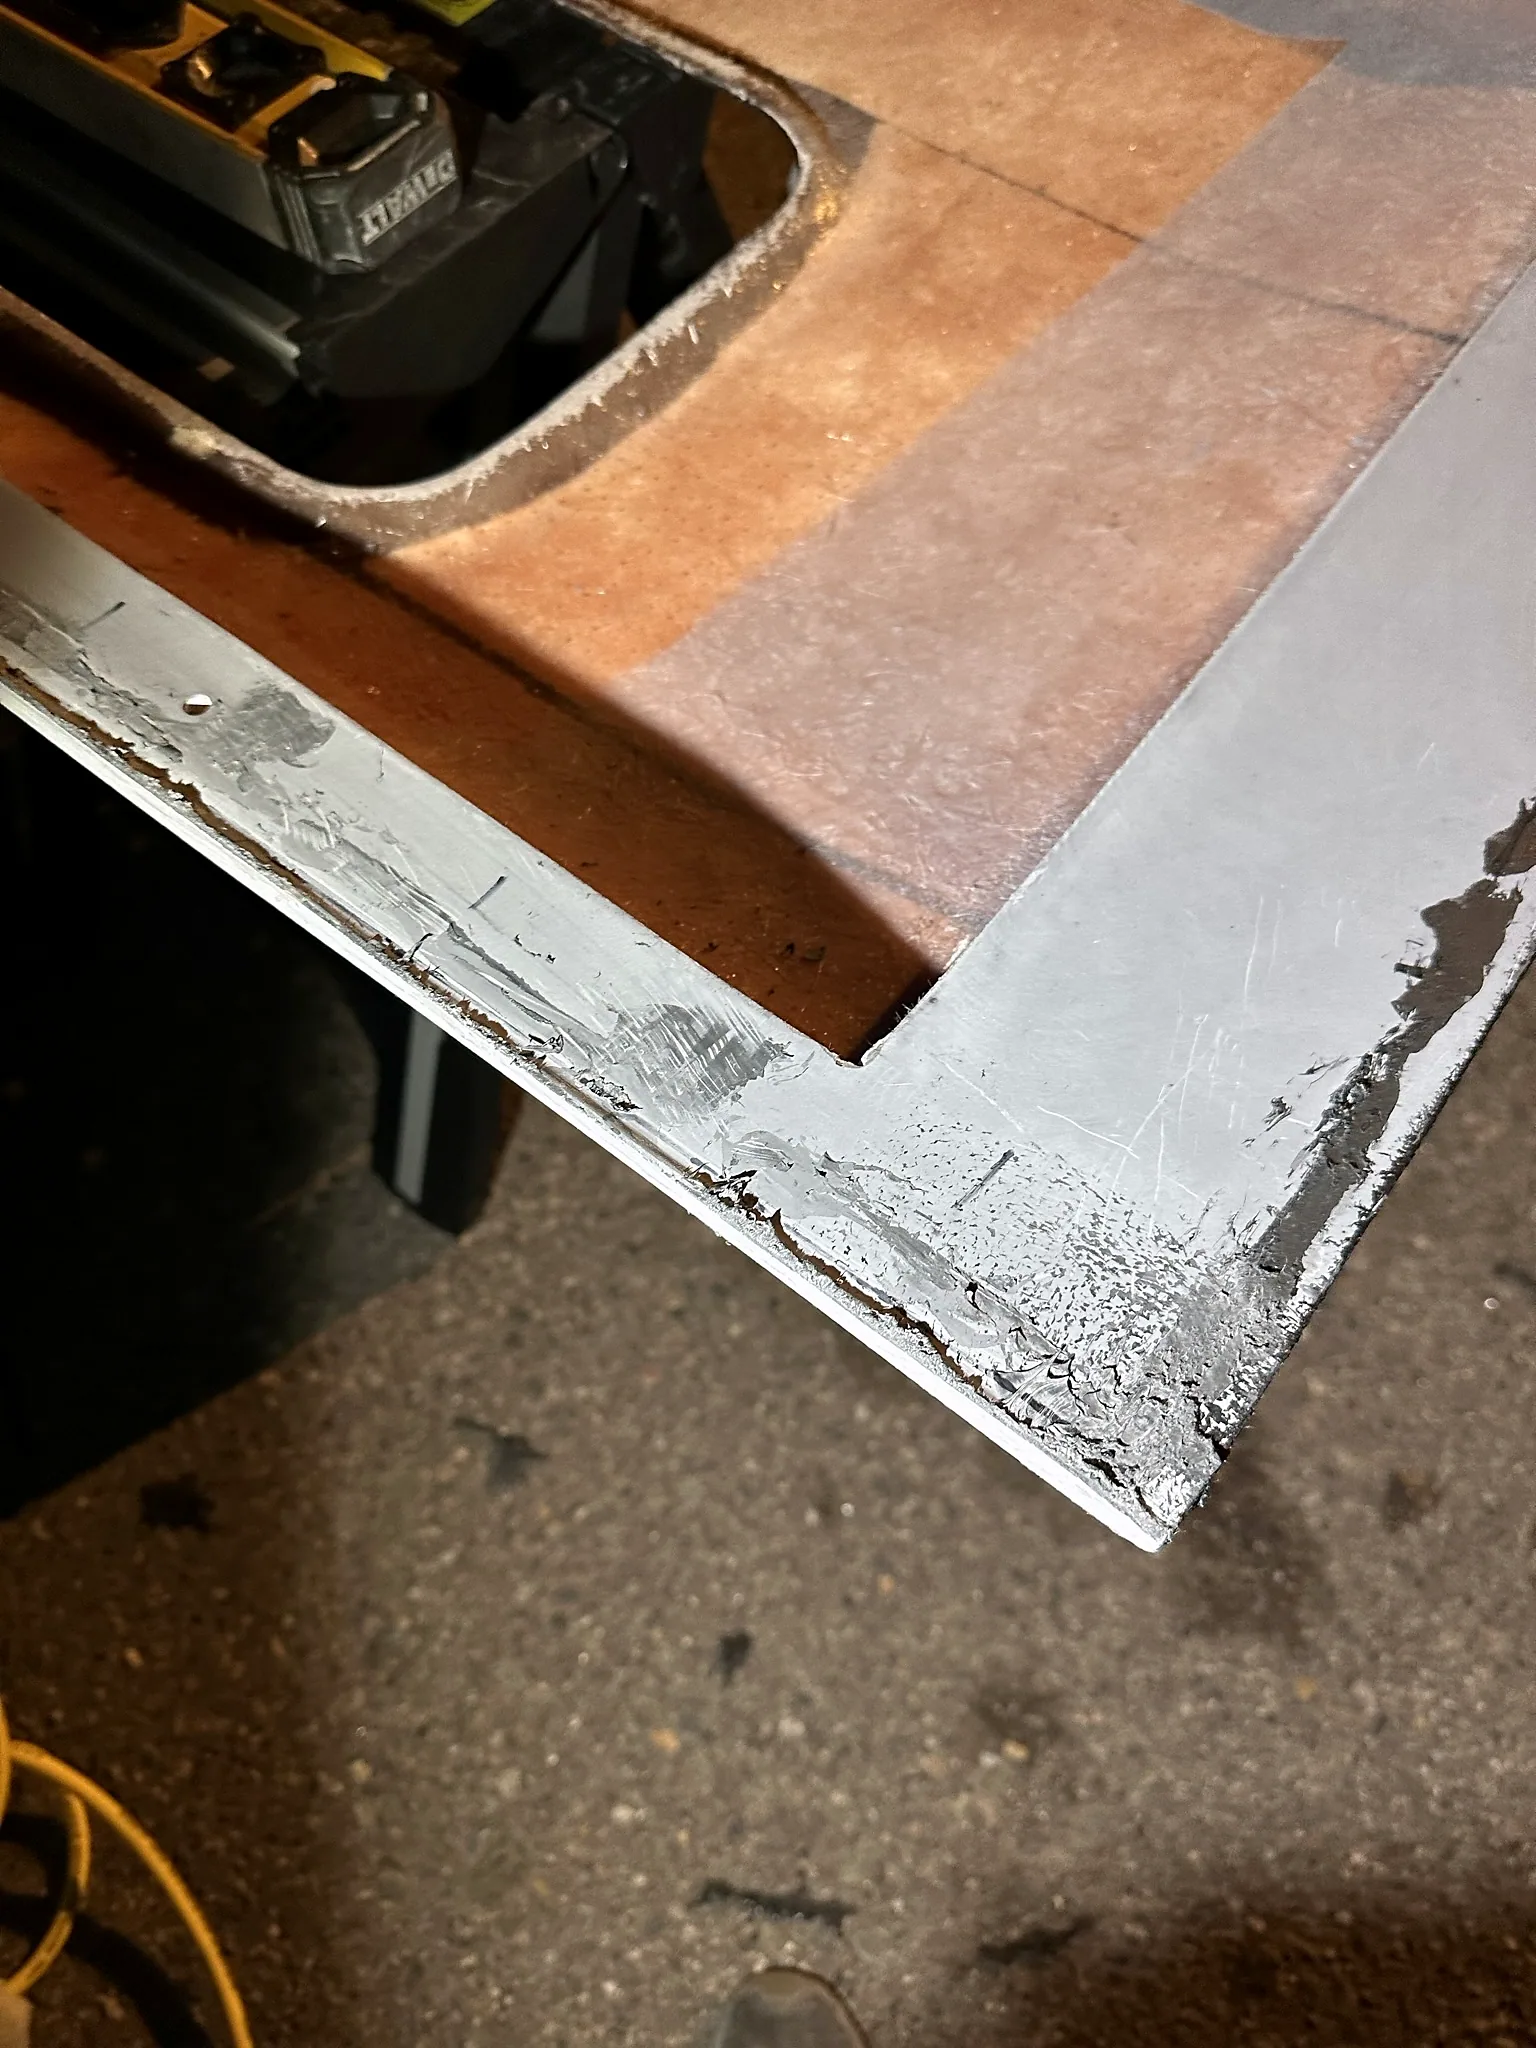
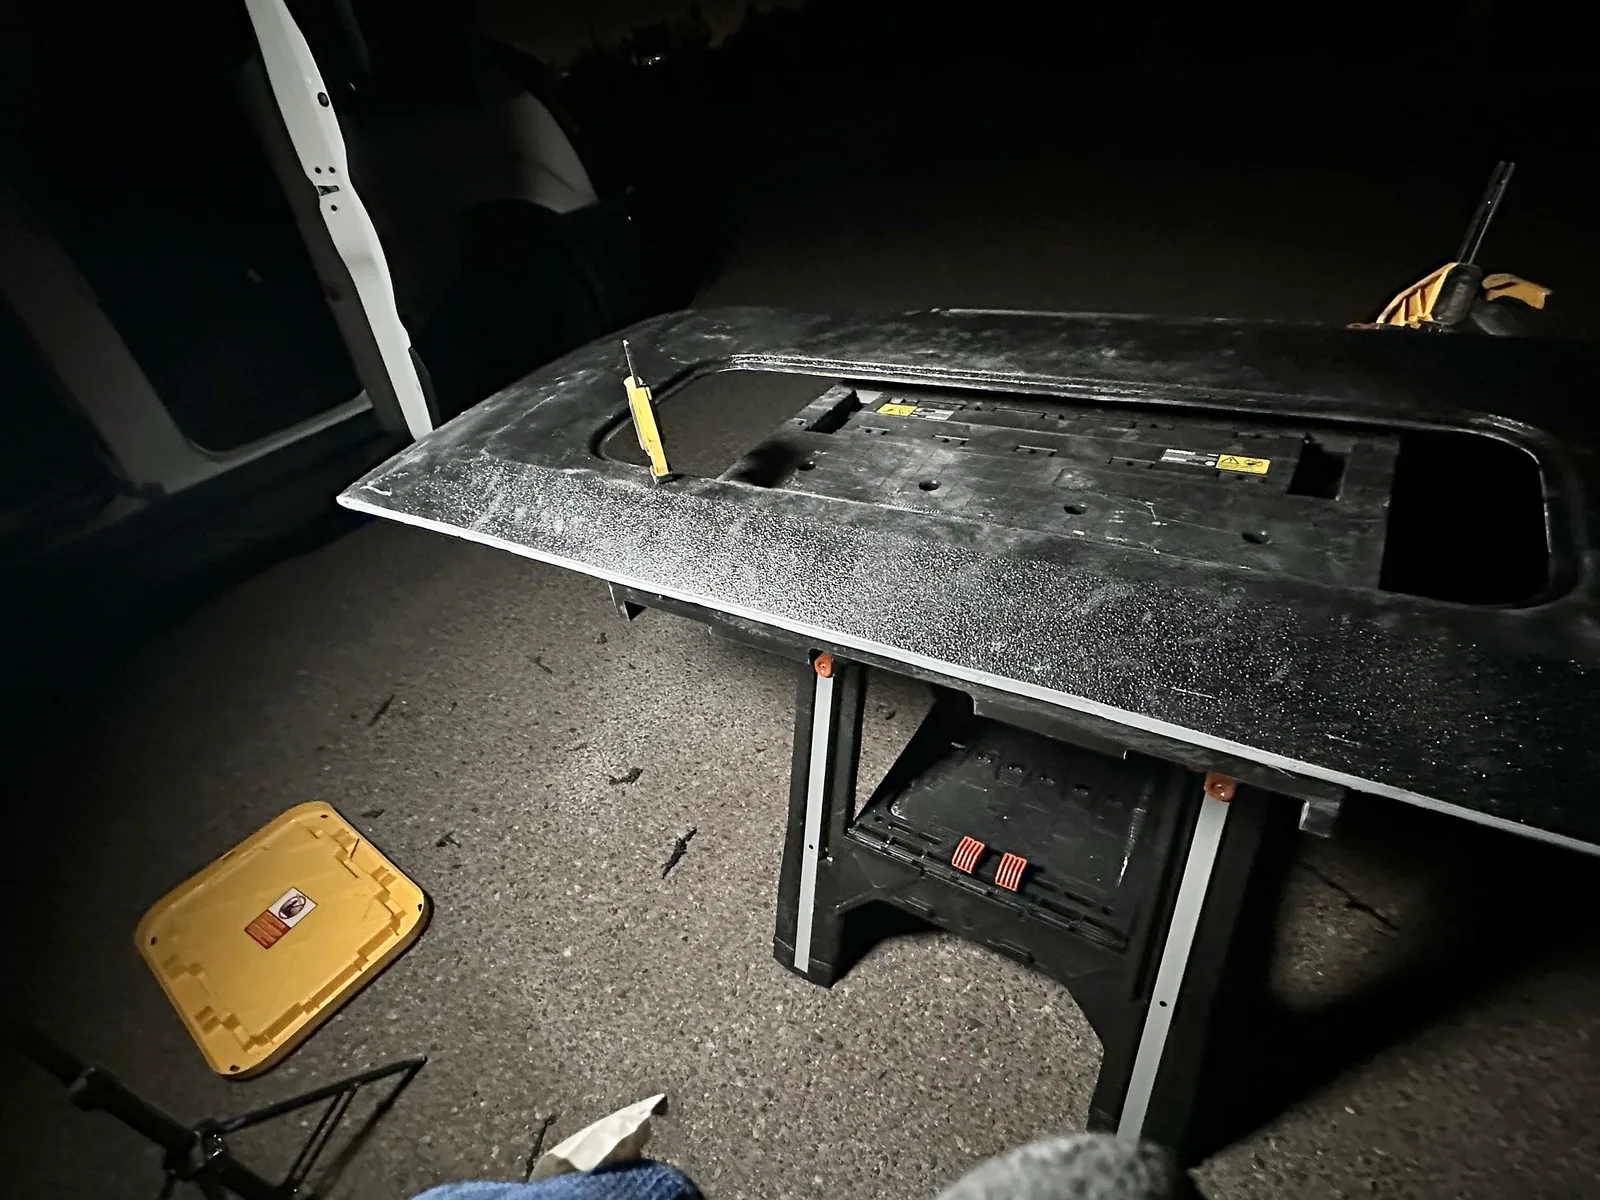
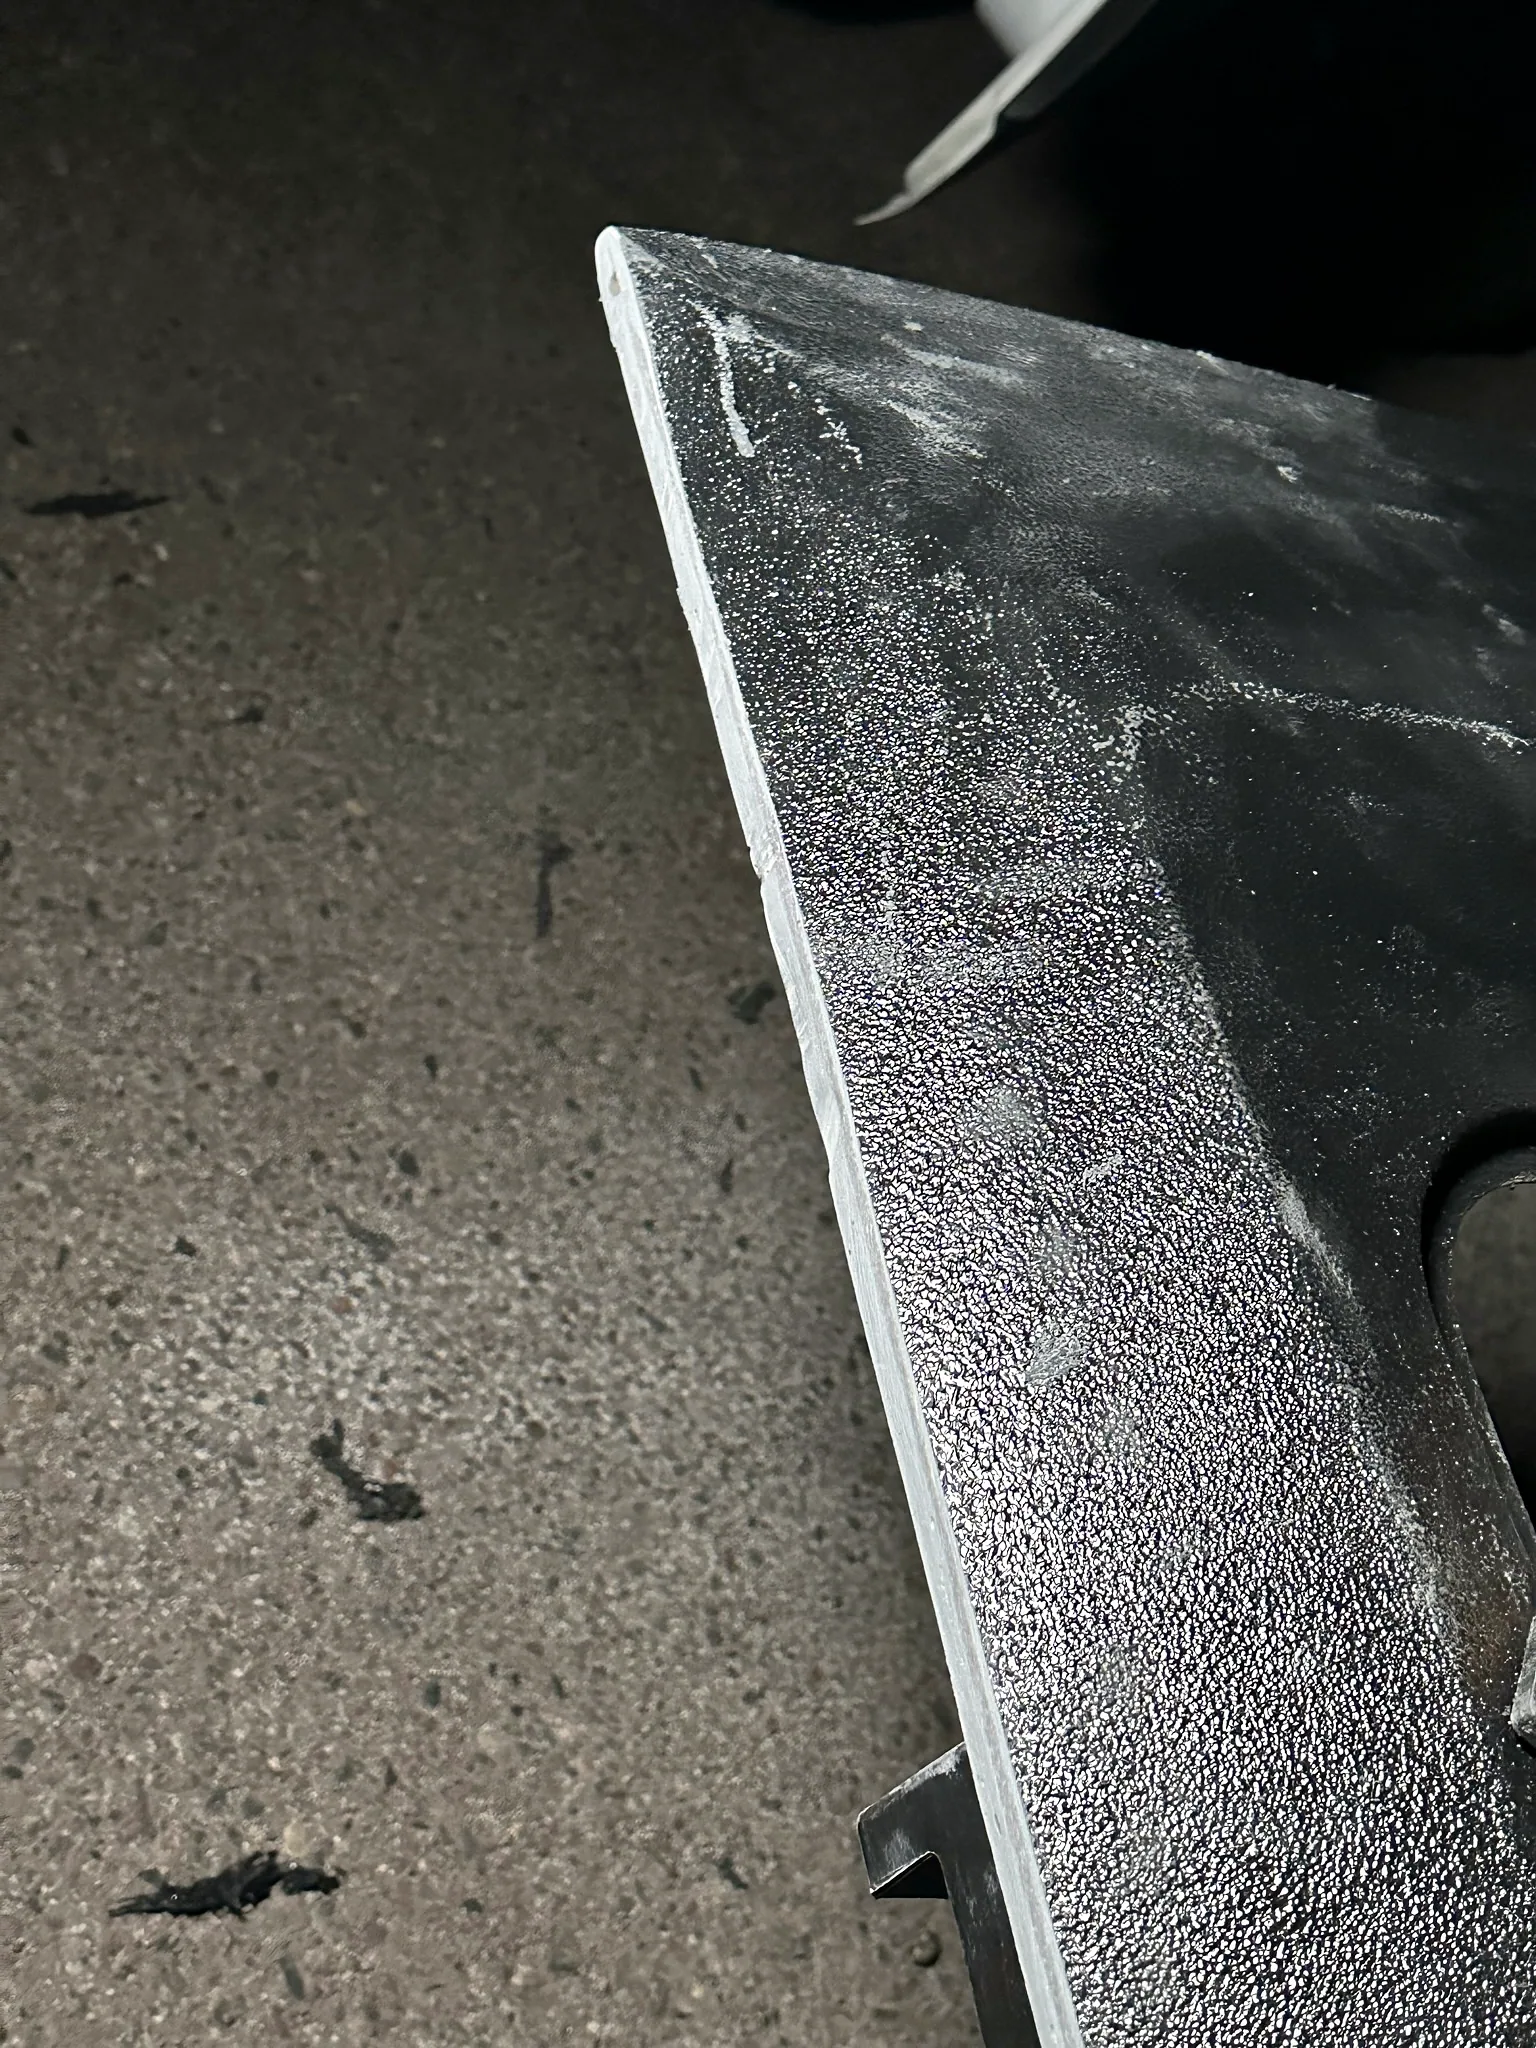
I had to work on the edges and contours with repeated, precise sanding. It was a slow process of removing material and trying to get the capsule to fit the opening and body shape.
The photos show the bonding flange after that work and the pale sanded edges around the already-black exterior. By then I was reworking something I had already repaired and coated. Every additional adjustment meant more time on a job that had already expanded well beyond what I had planned.
The fit I eventually achieved
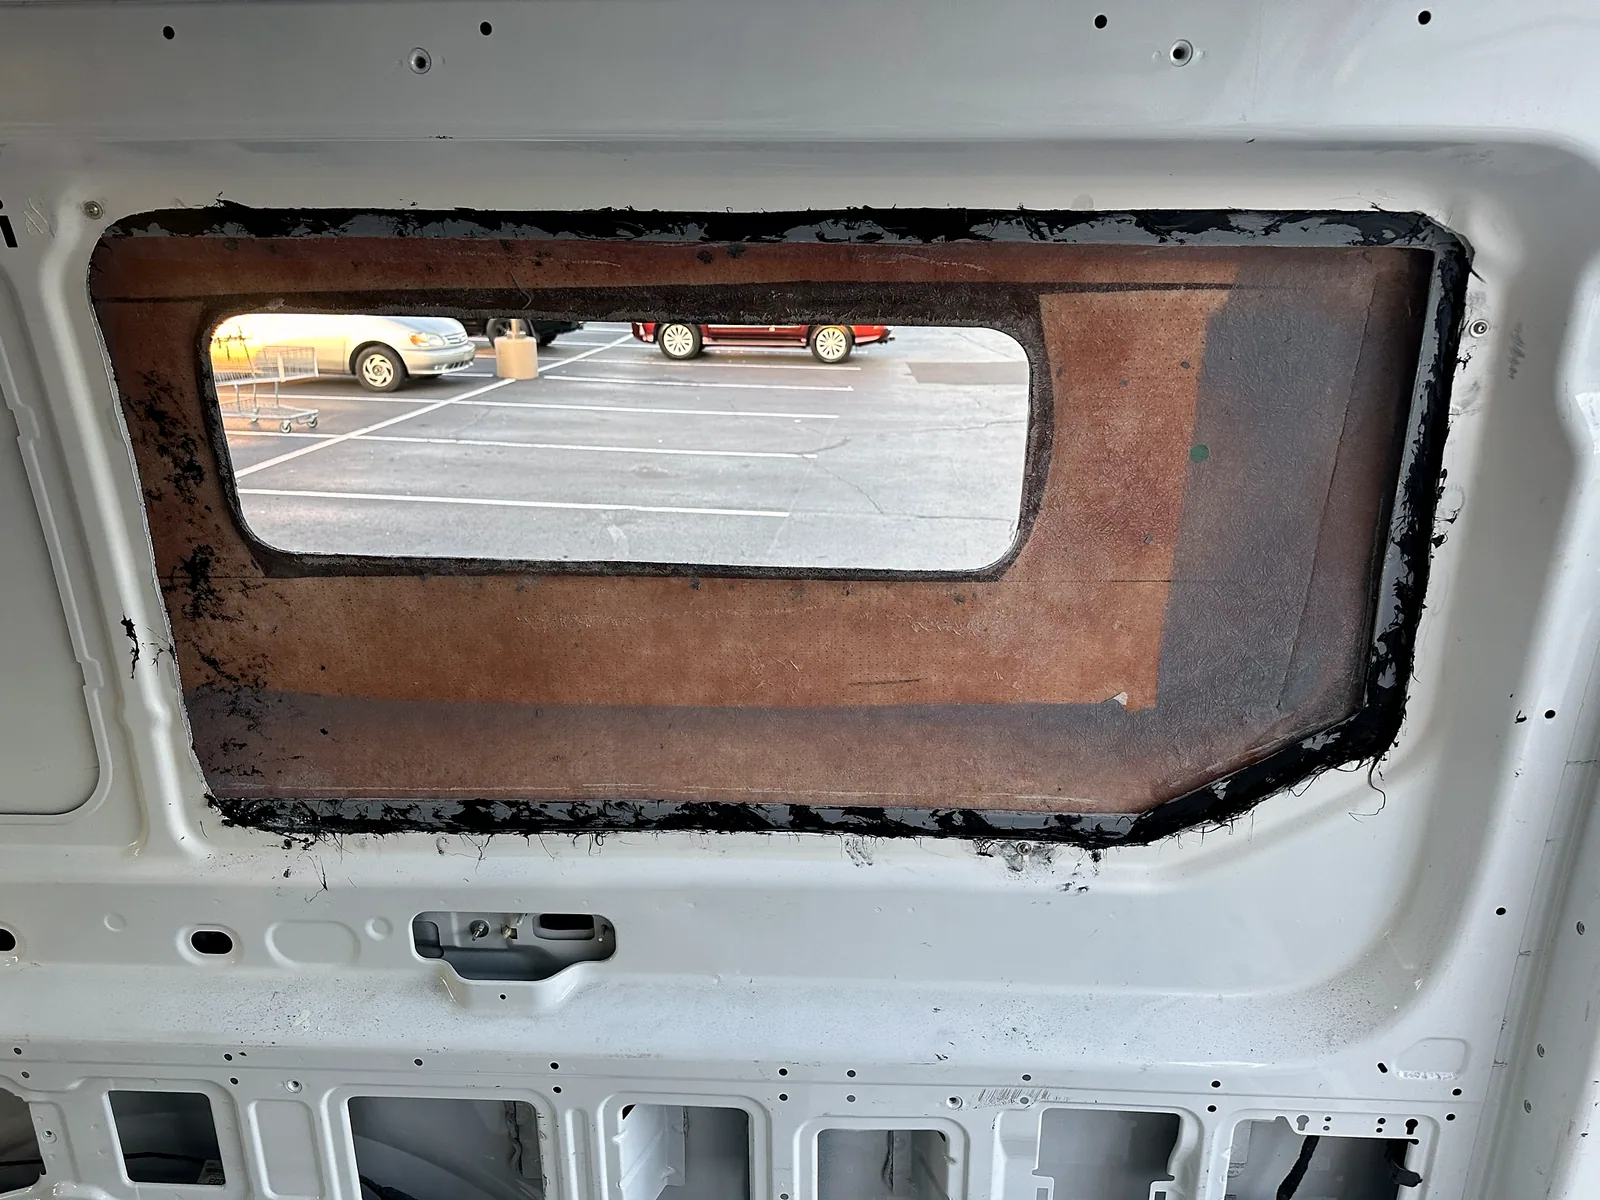
I did eventually get the capsule seated. The inside photographs show how the fiberglass shell, flange and van opening came together, including the adhesive around the perimeter.
Getting it attached did not undo the problems with the cutout and planned interior lining. I still had to work around the relationship between those edges and make something fit the situation I had ended up with.
This is the part of a build that is easy to miss when you are looking at a finished van. The installed component can hide hours of repairs, repeated fitting and improvised work behind it.
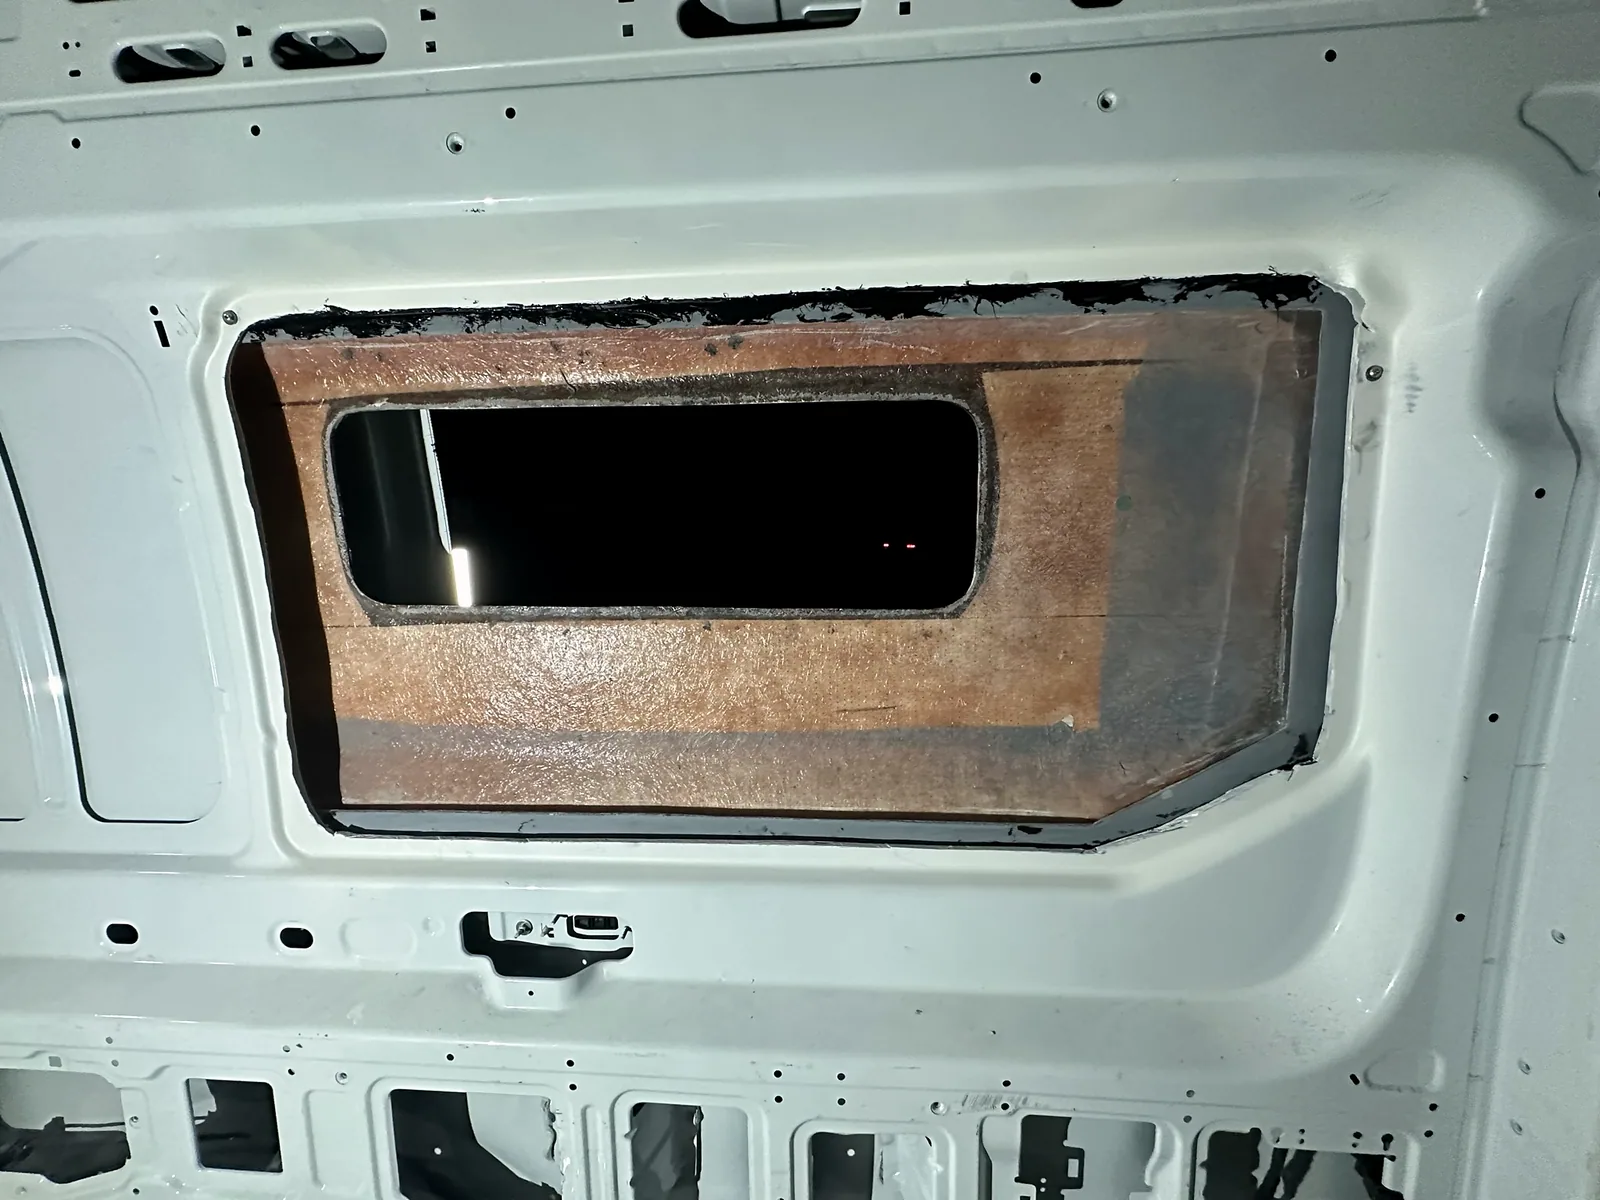
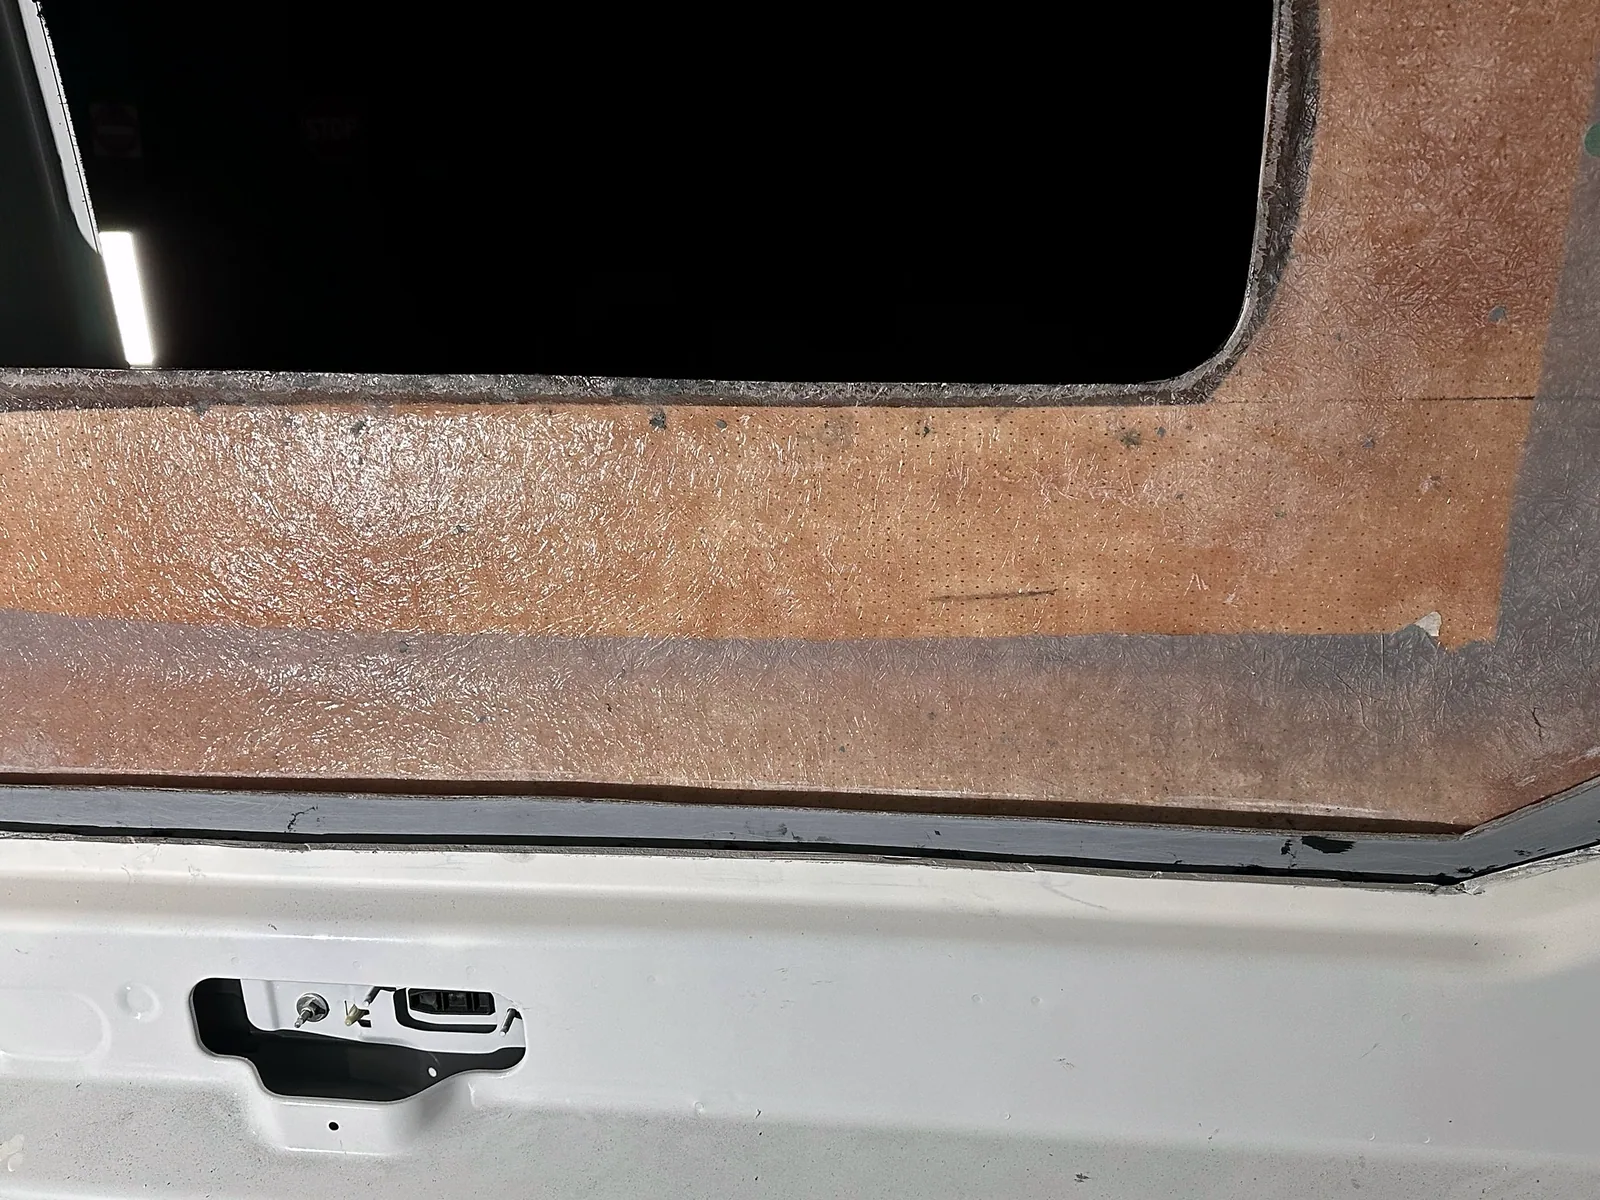
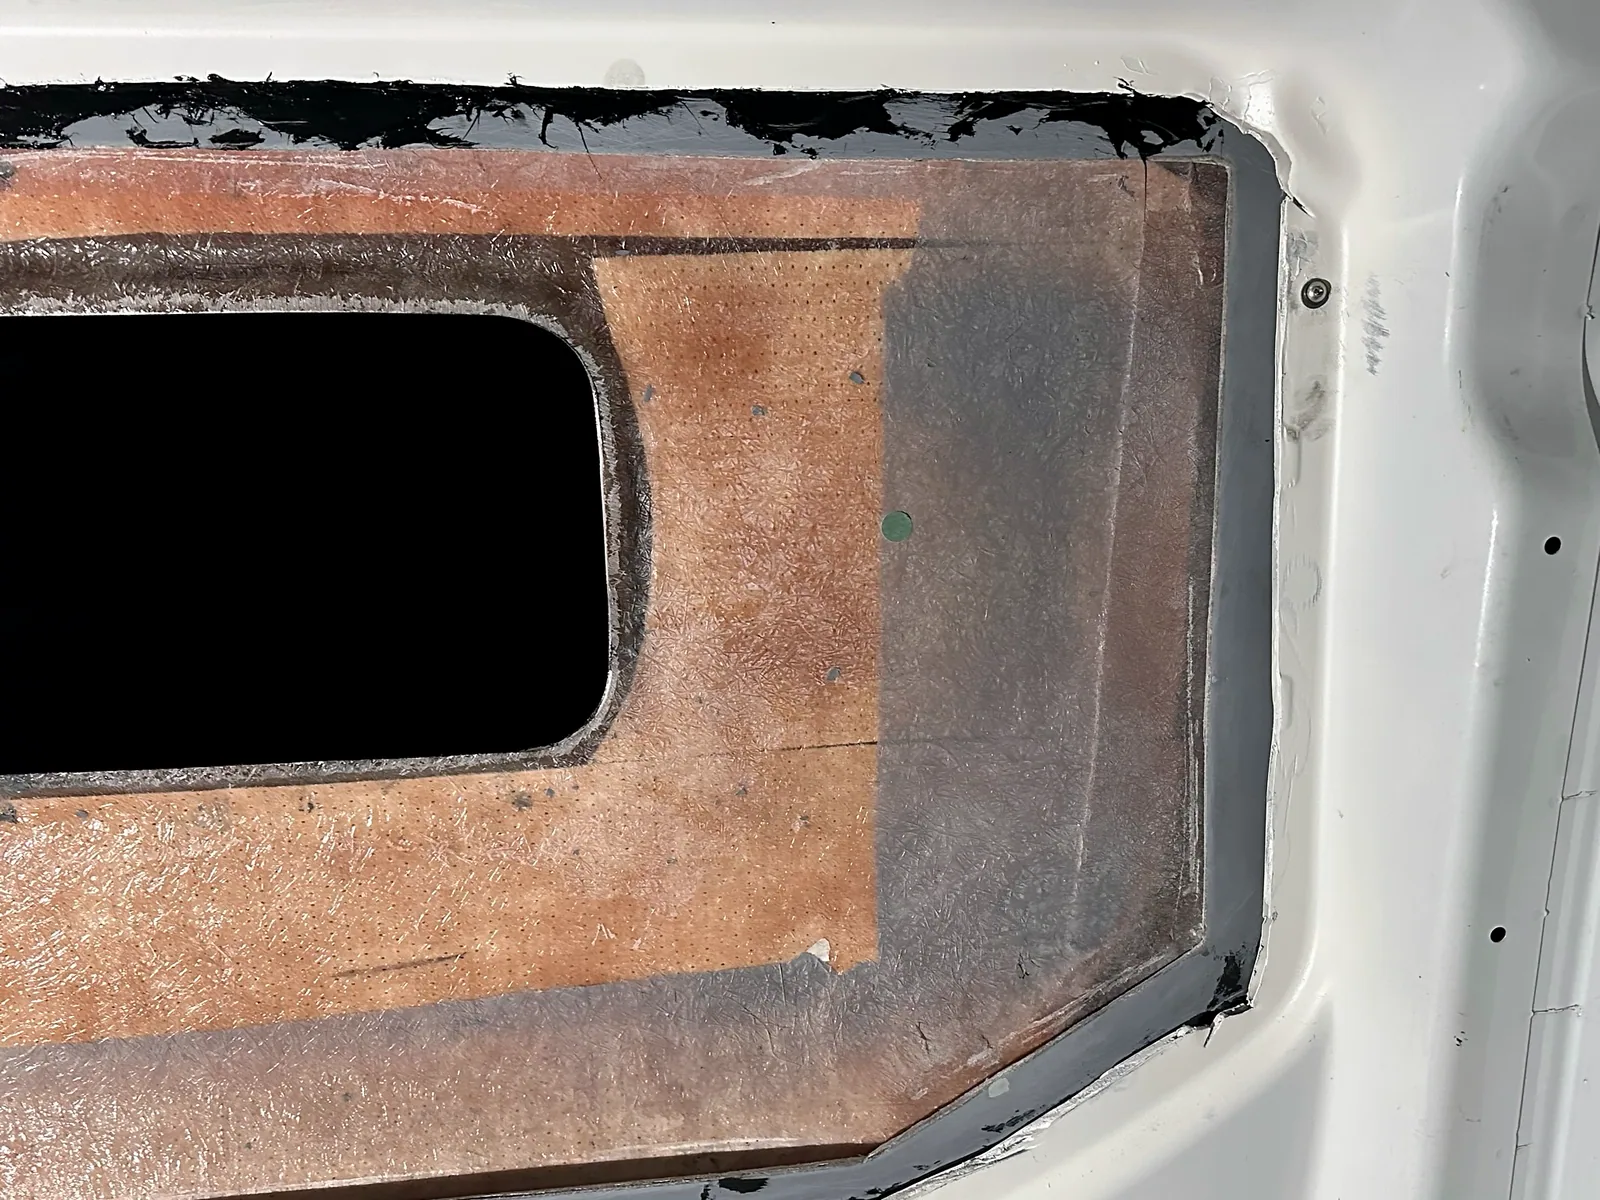
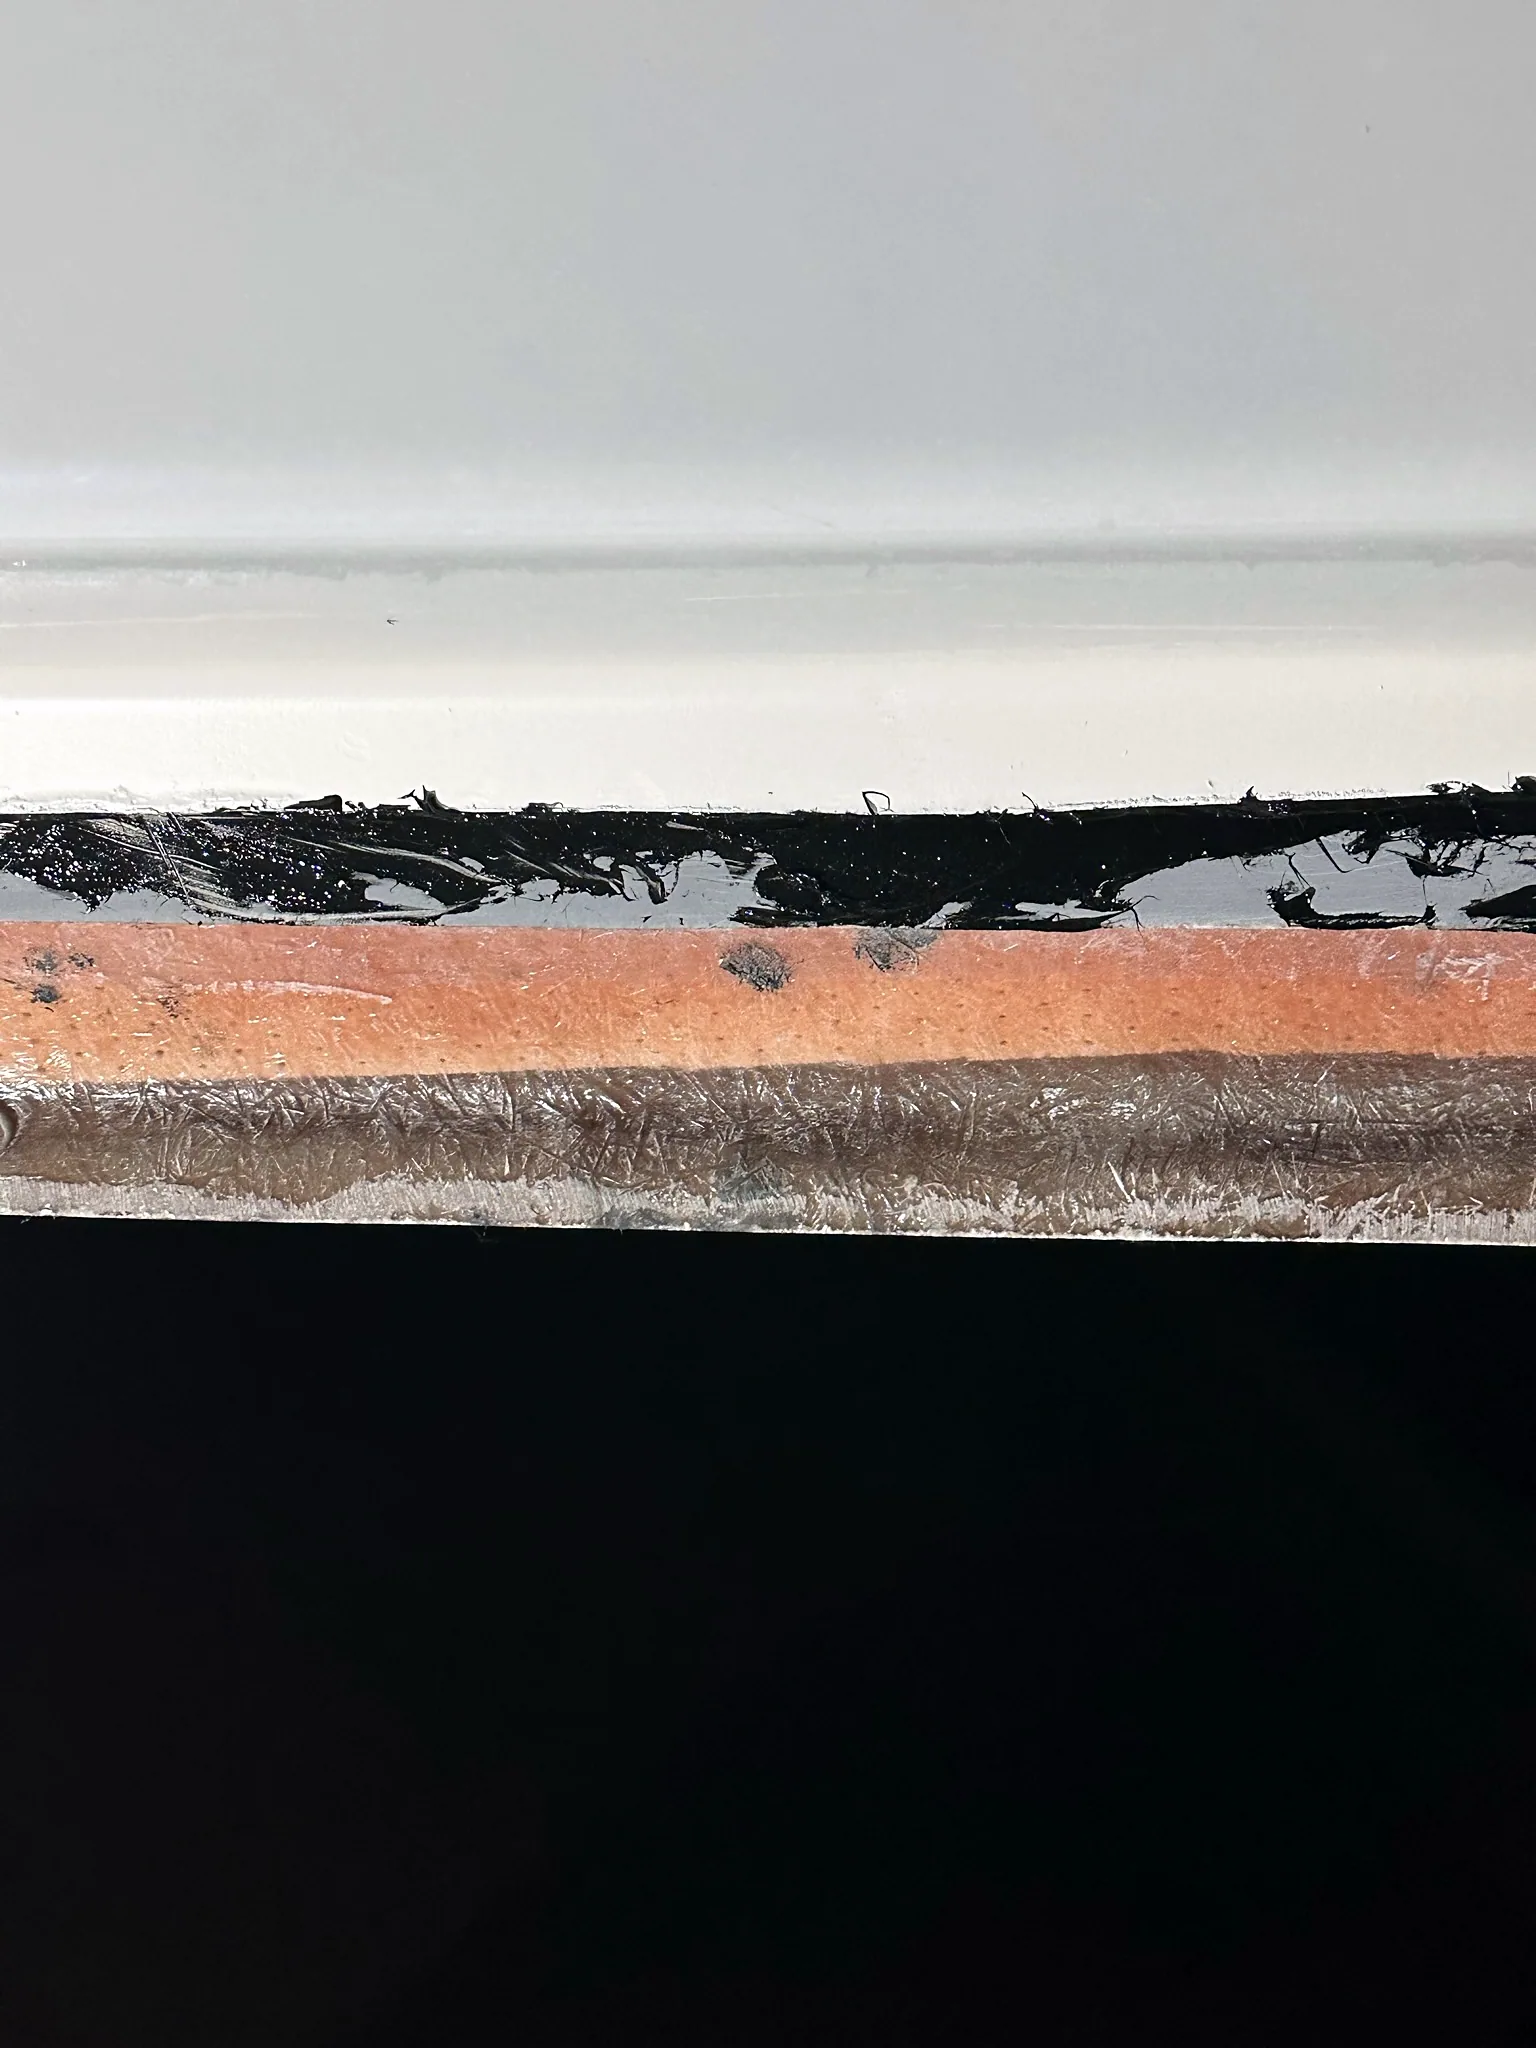
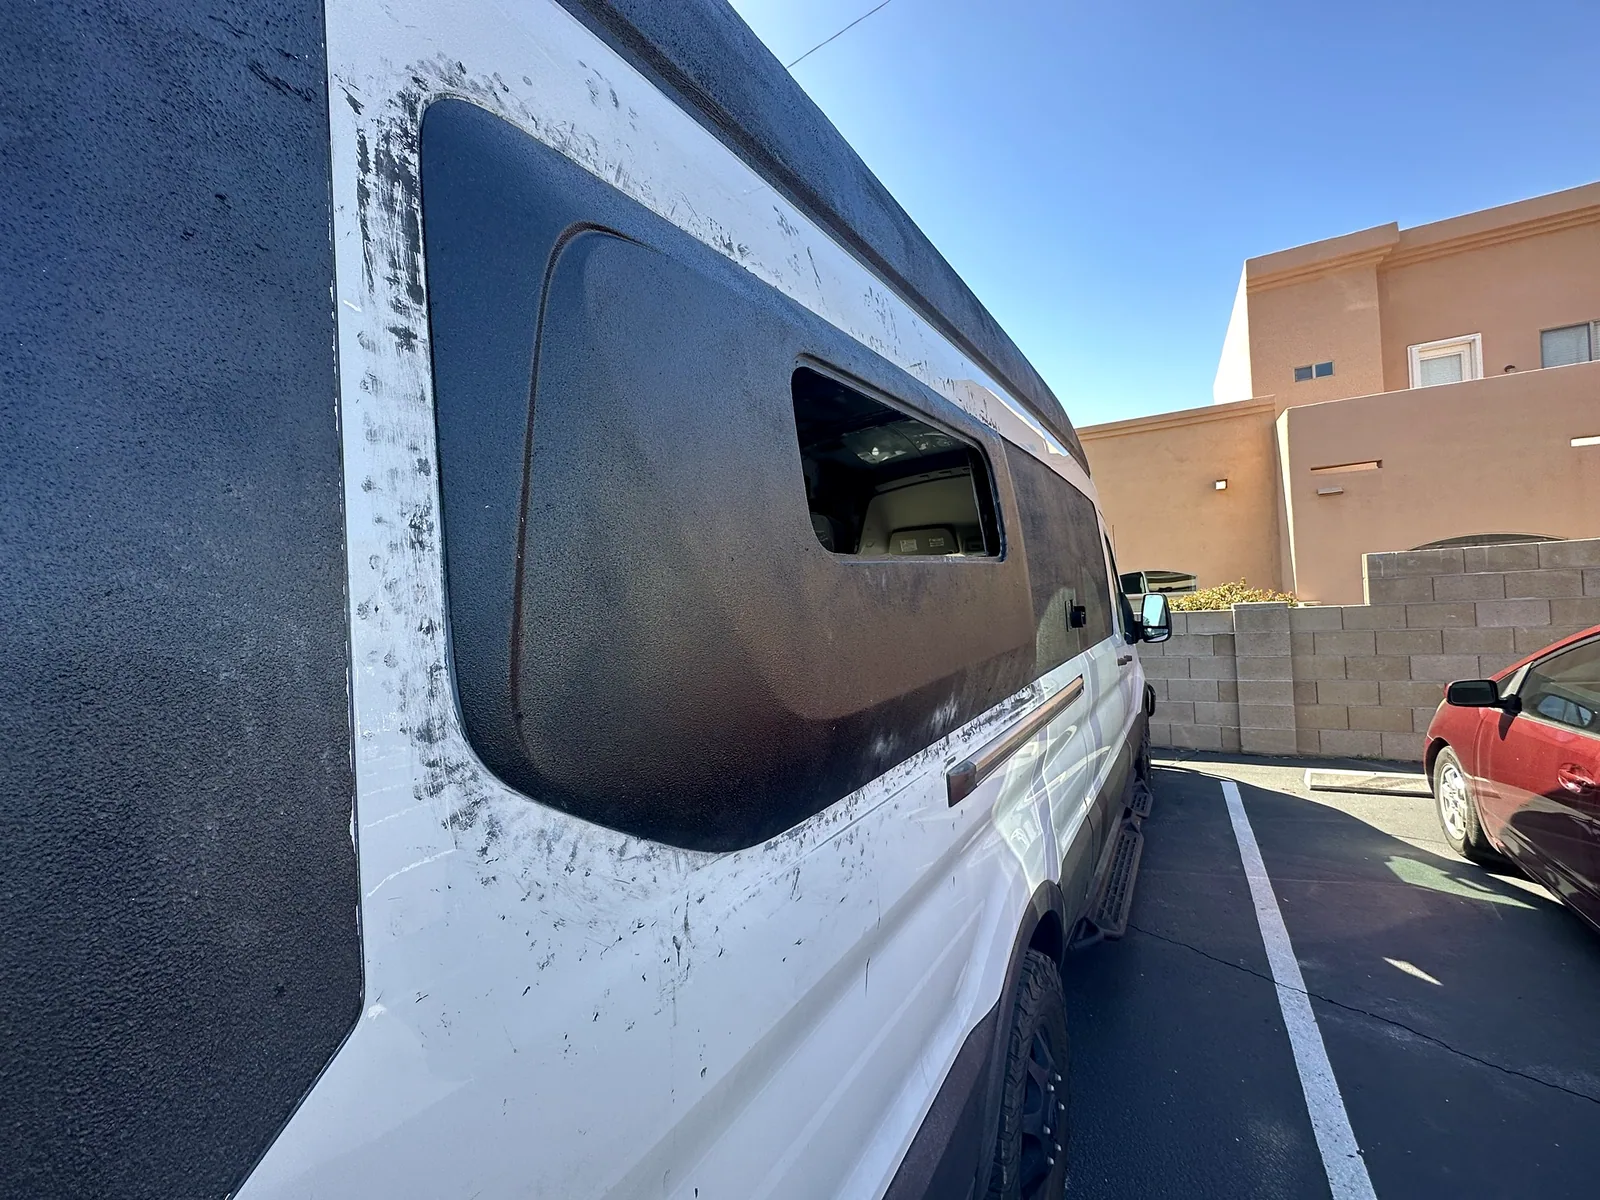
The damage to my original paint plan
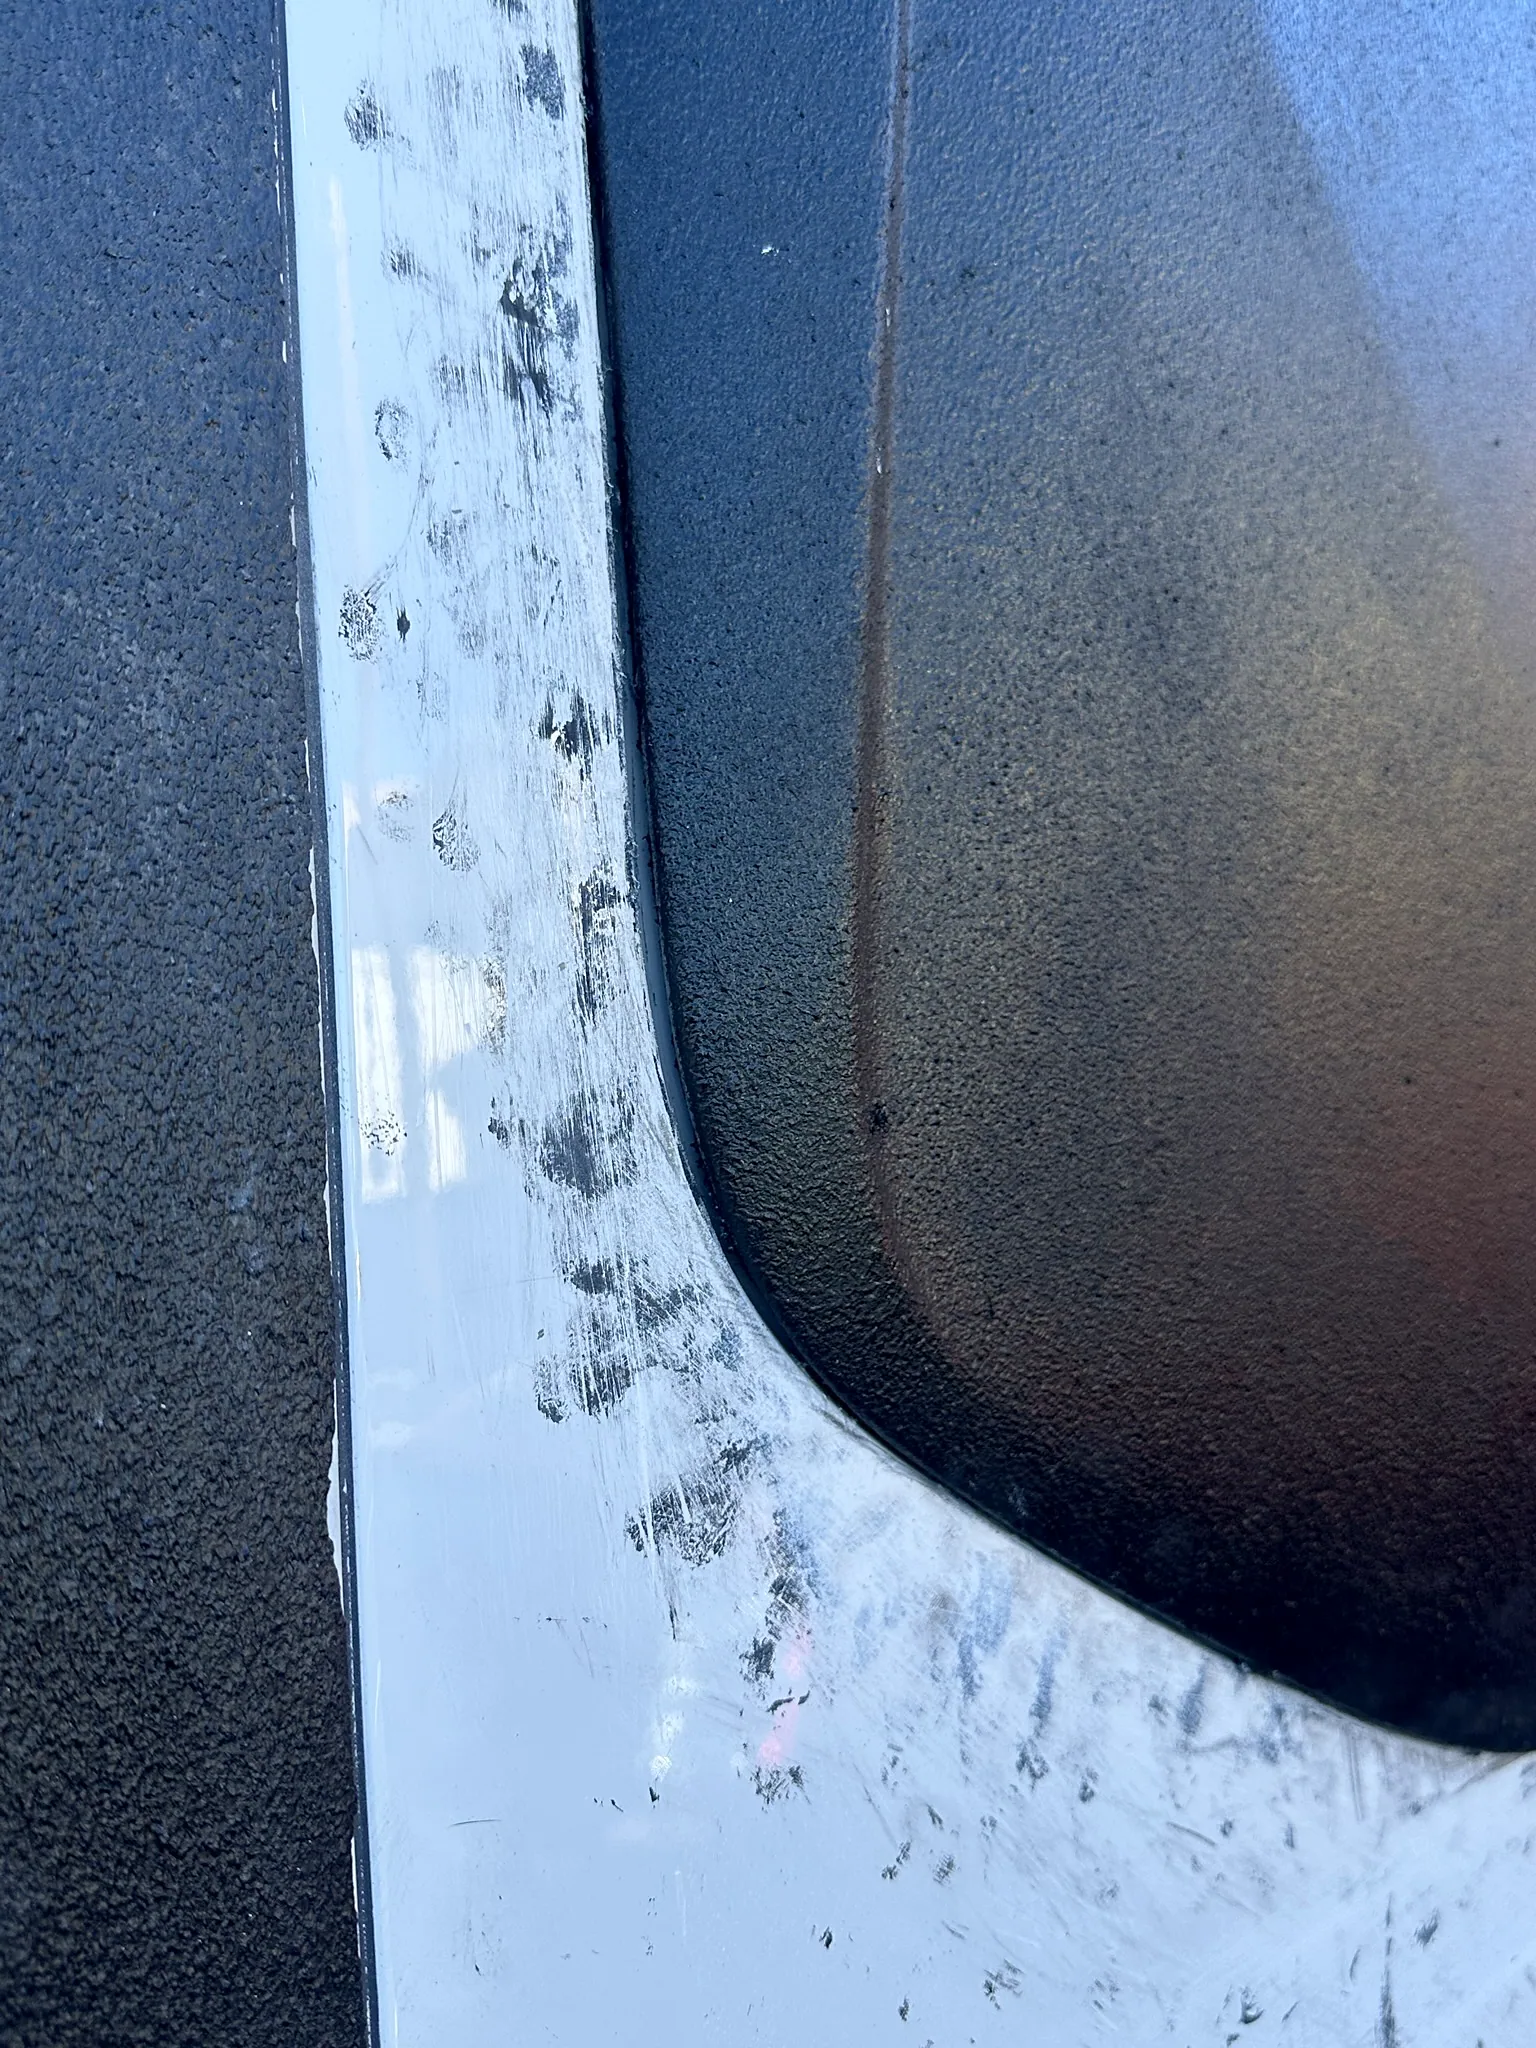
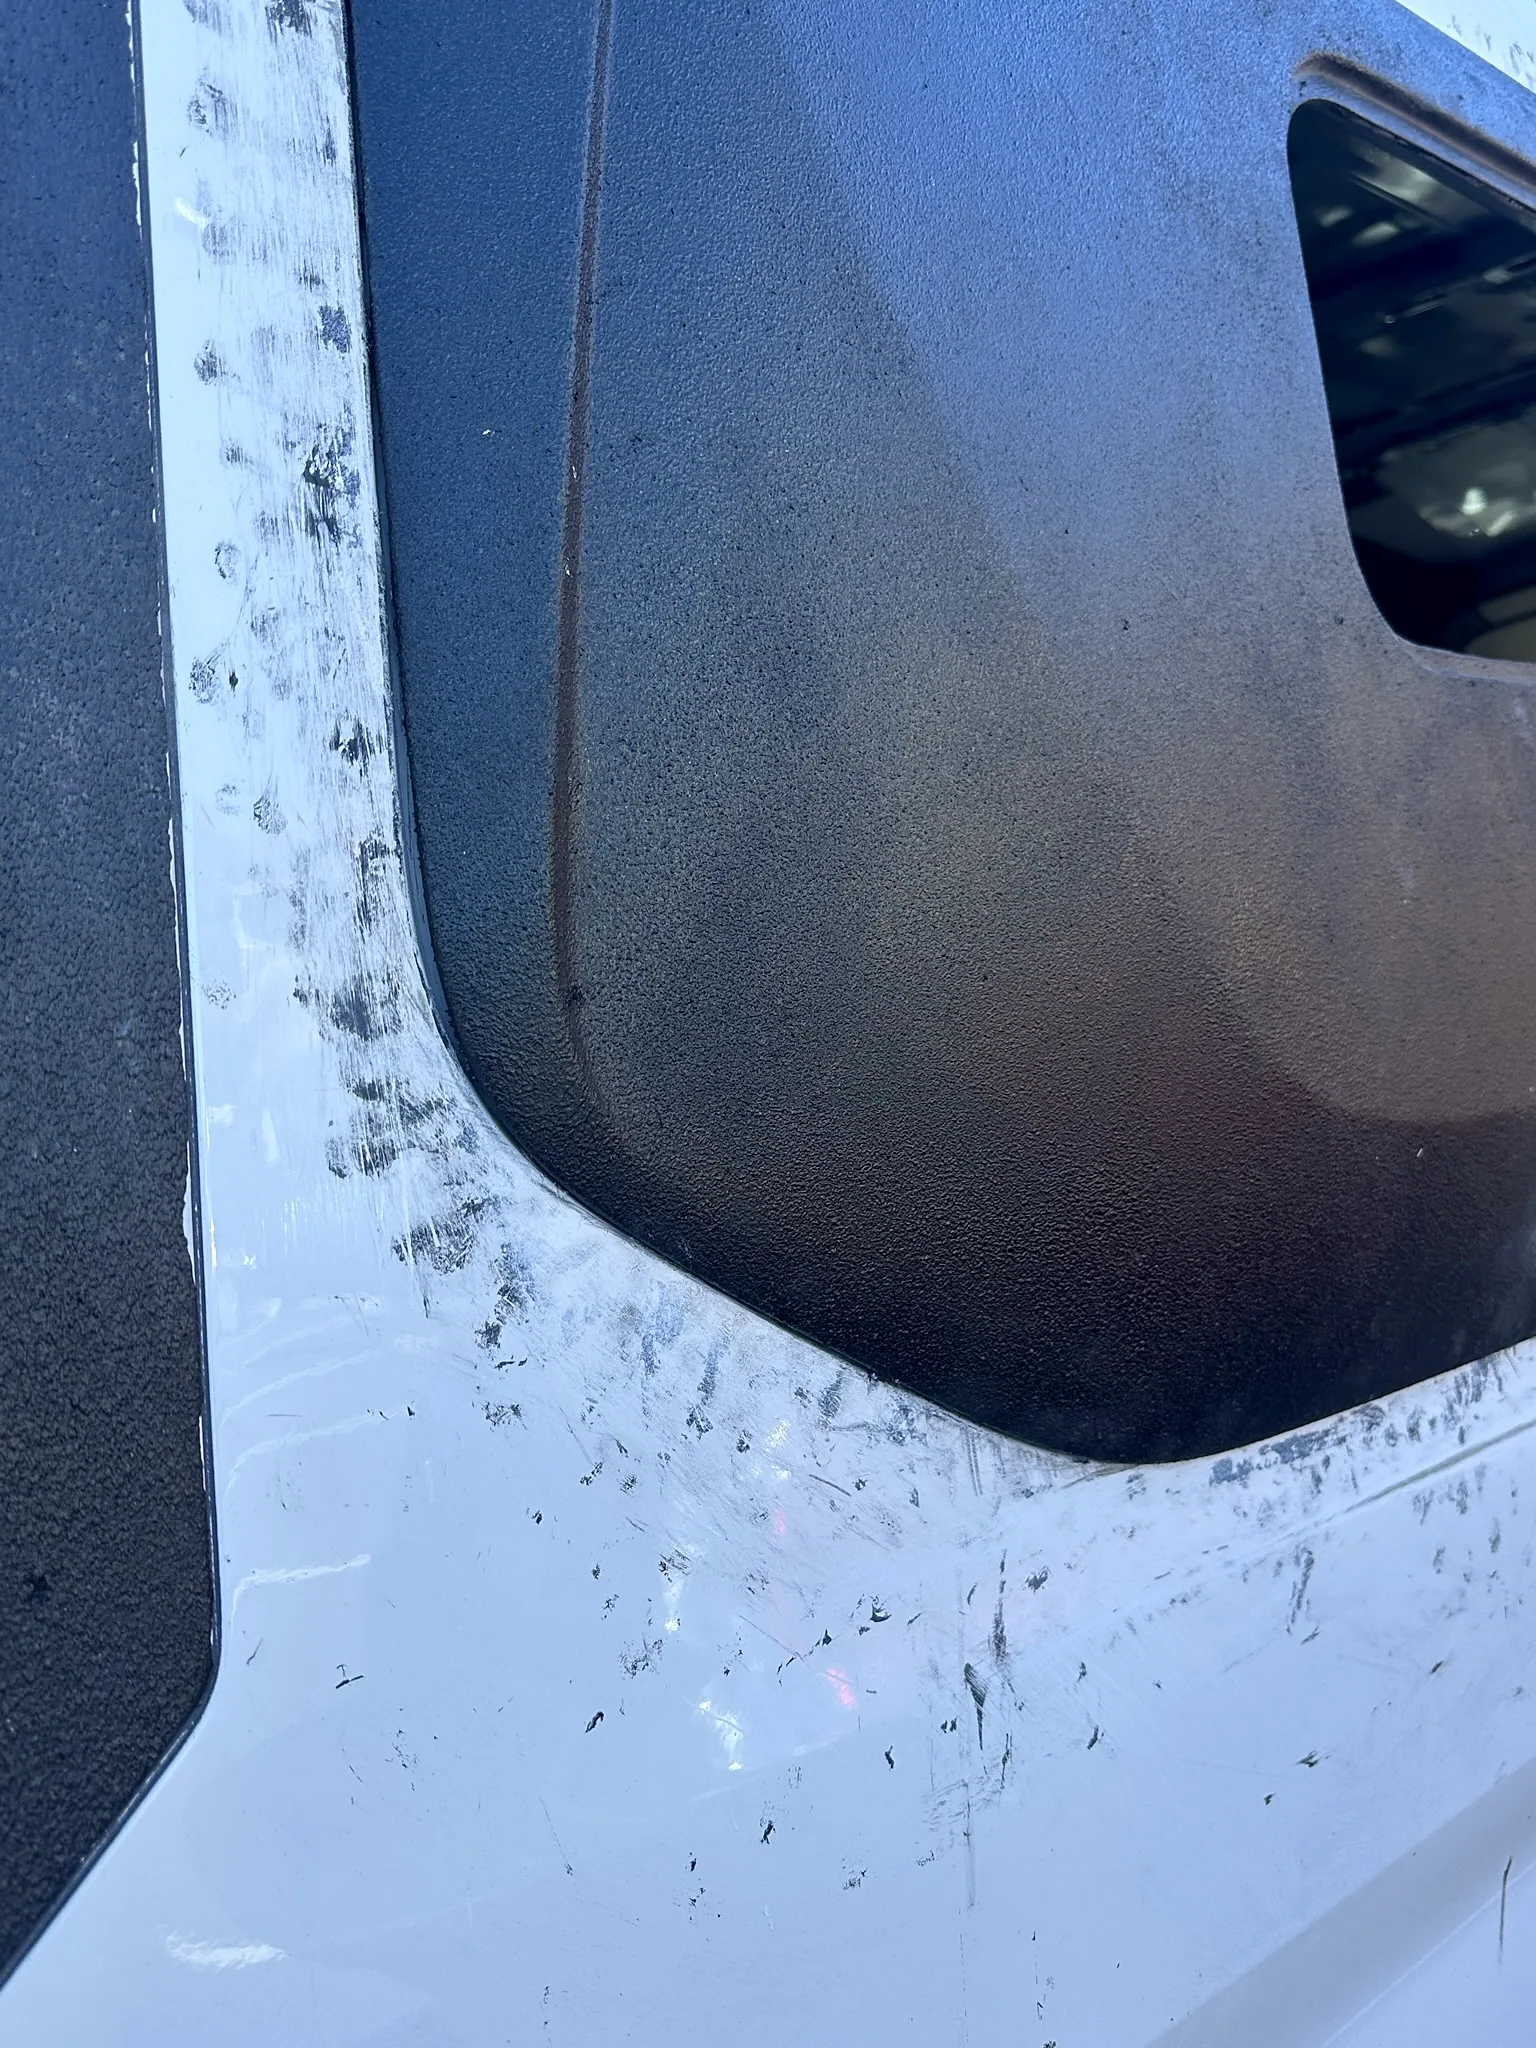
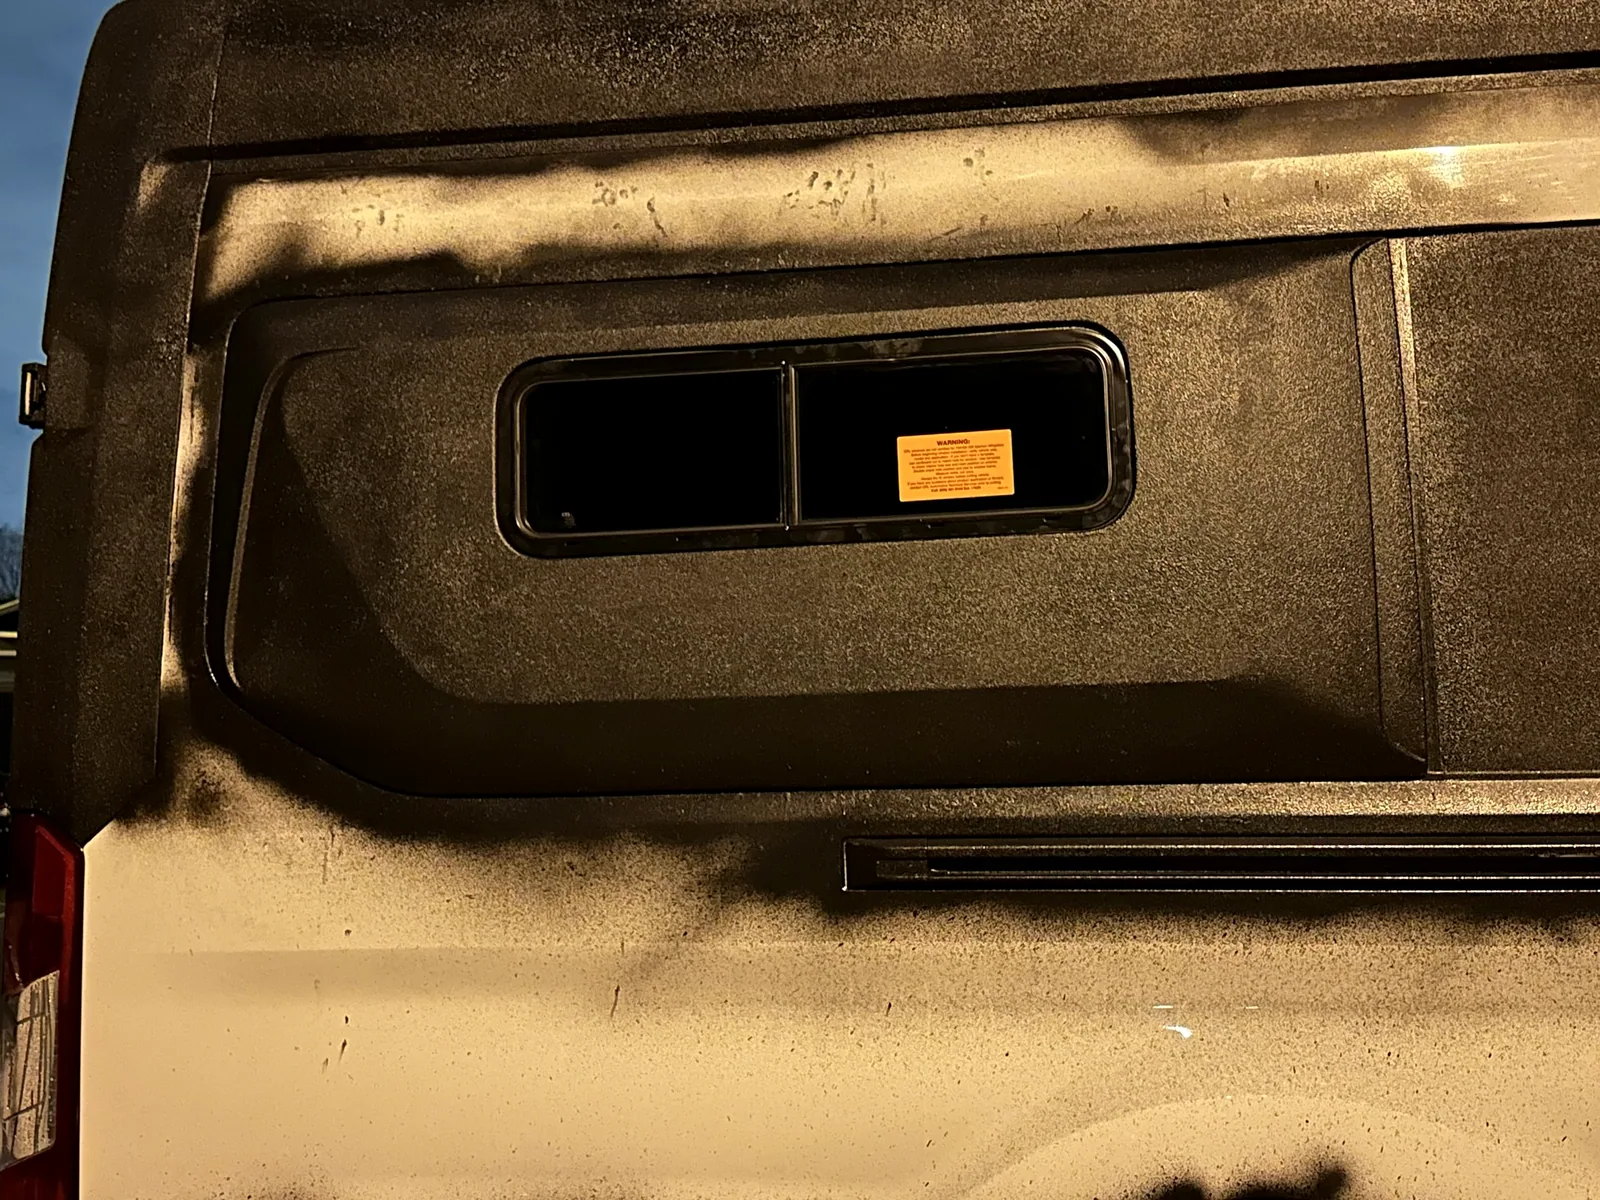
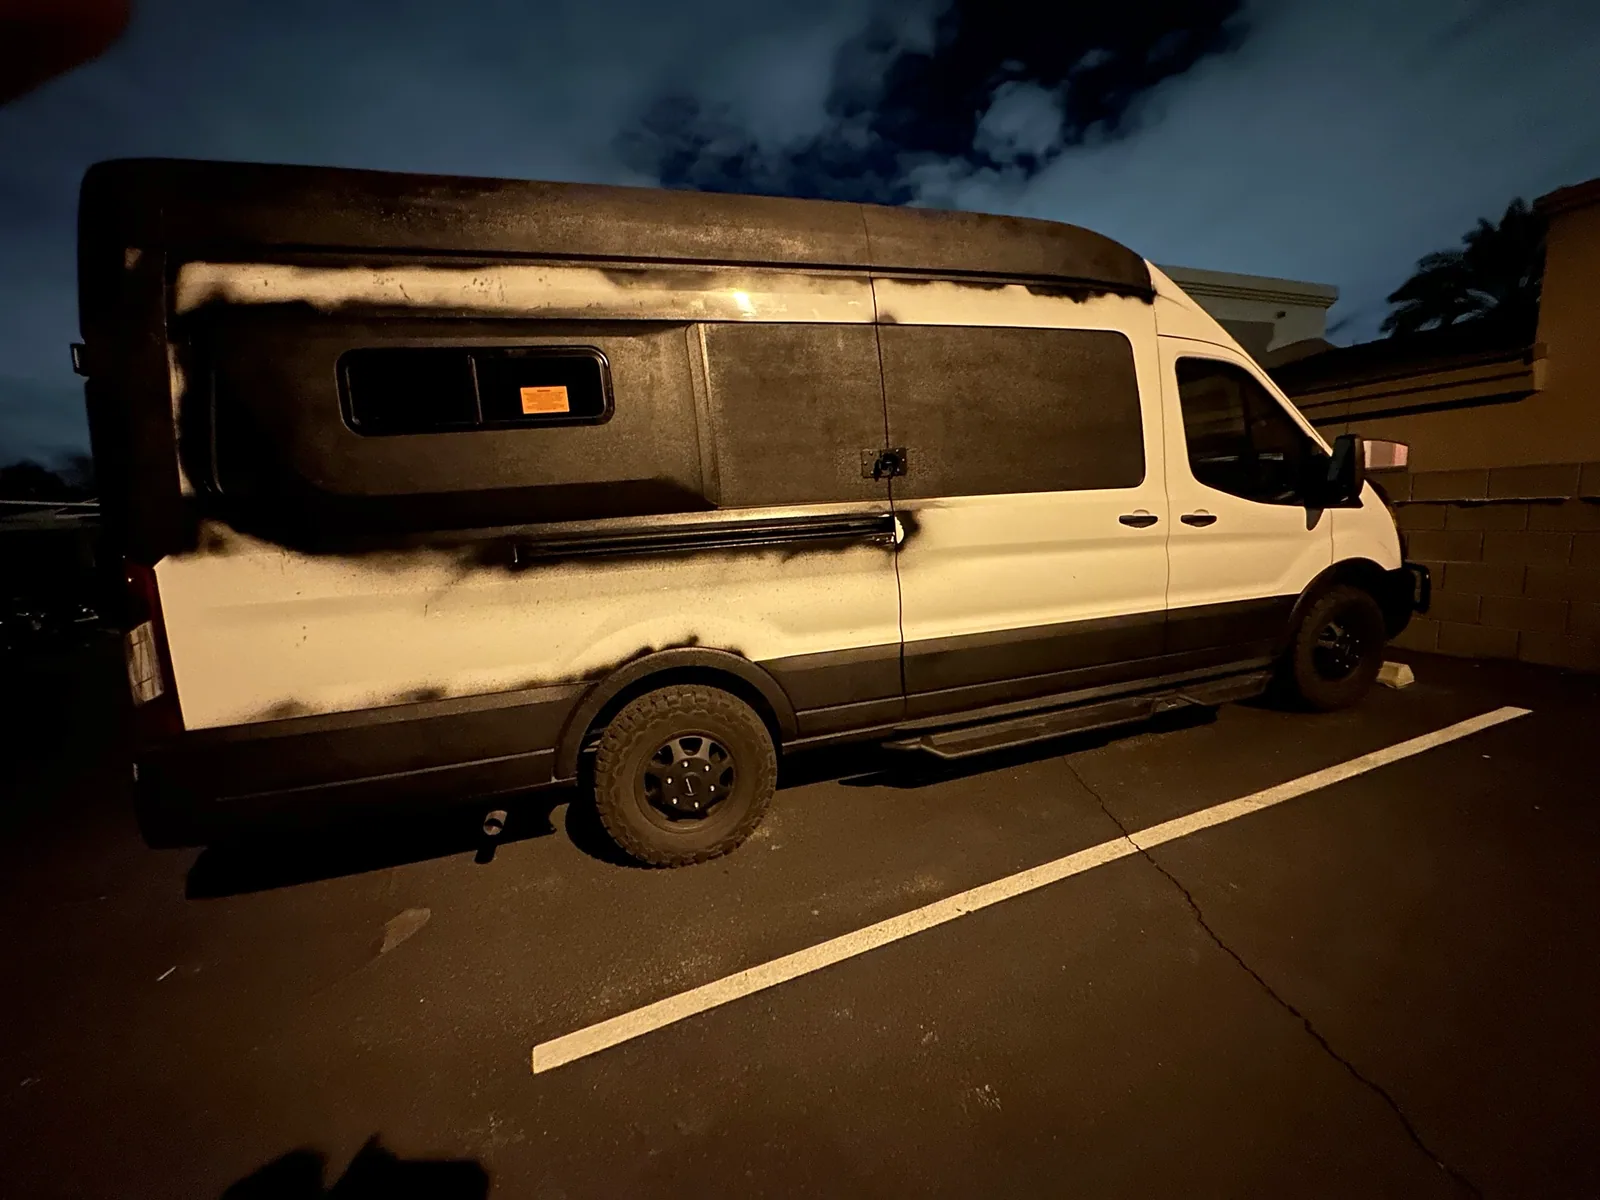
The daylight exterior pictures show how much black adhesive had spread onto the white bodywork around the capsule. This was far beyond the neat black capsule against factory white paint I had pictured.
I could not get that area back to the original Oxford White finish. I ended up sanding the affected area and changing the finish plan. That is what pushed me toward covering the van with bedliner to make the exterior consistent.
I would have much rather kept the manufacturer’s white paint. The capsule fit problem changed the appearance of the van and added another large project to the build.
Windows fitted, with more exterior work ahead
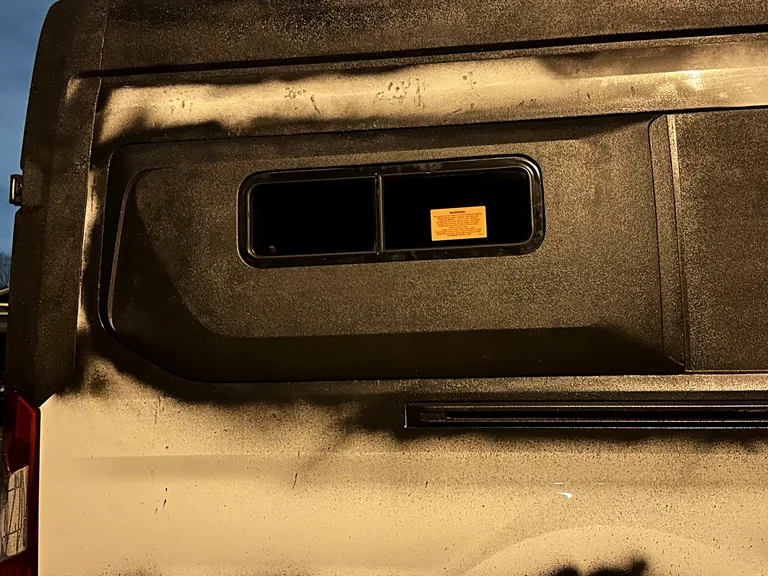
I fitted the bunk windows I had purchased separately. The capsule and window finally looked like an installed part of the van, but the surrounding exterior was still a work in progress.
The wider photograph shows how the black areas had grown beyond the capsules. This was no longer just a project to gain a few inches around the bed.
Masking for the larger bedliner job
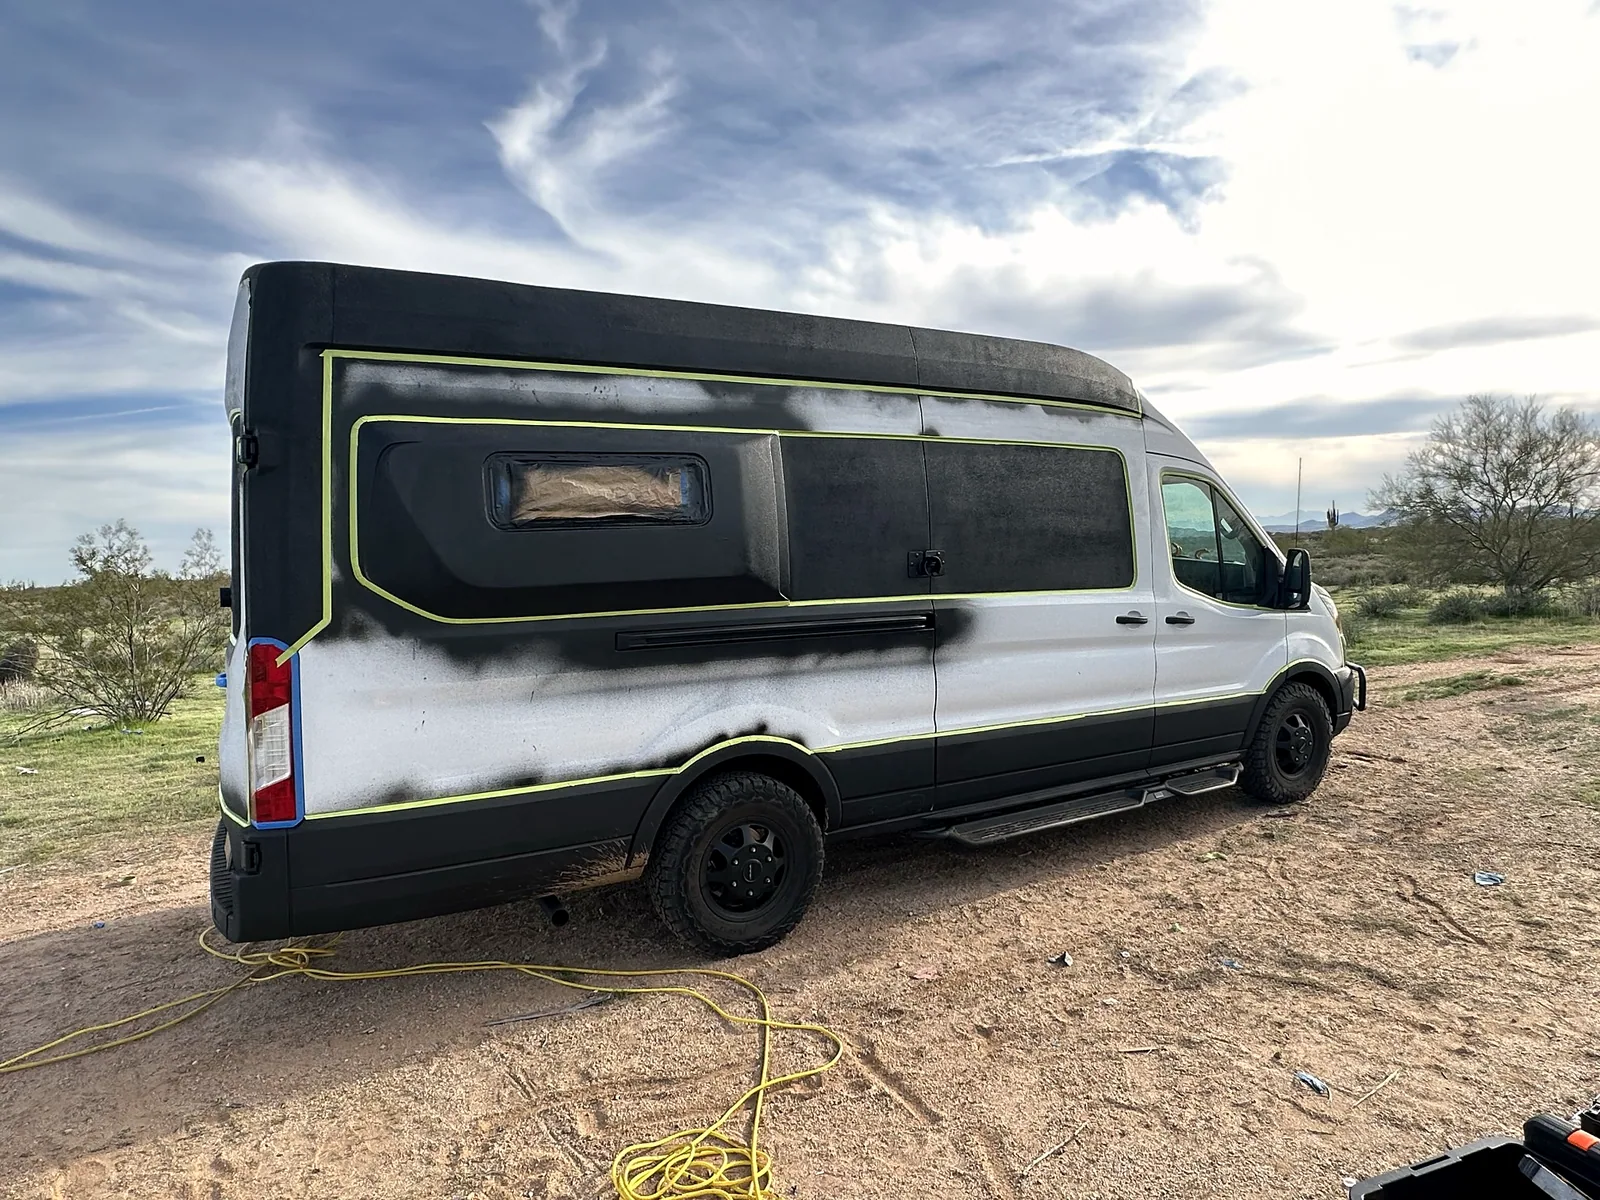
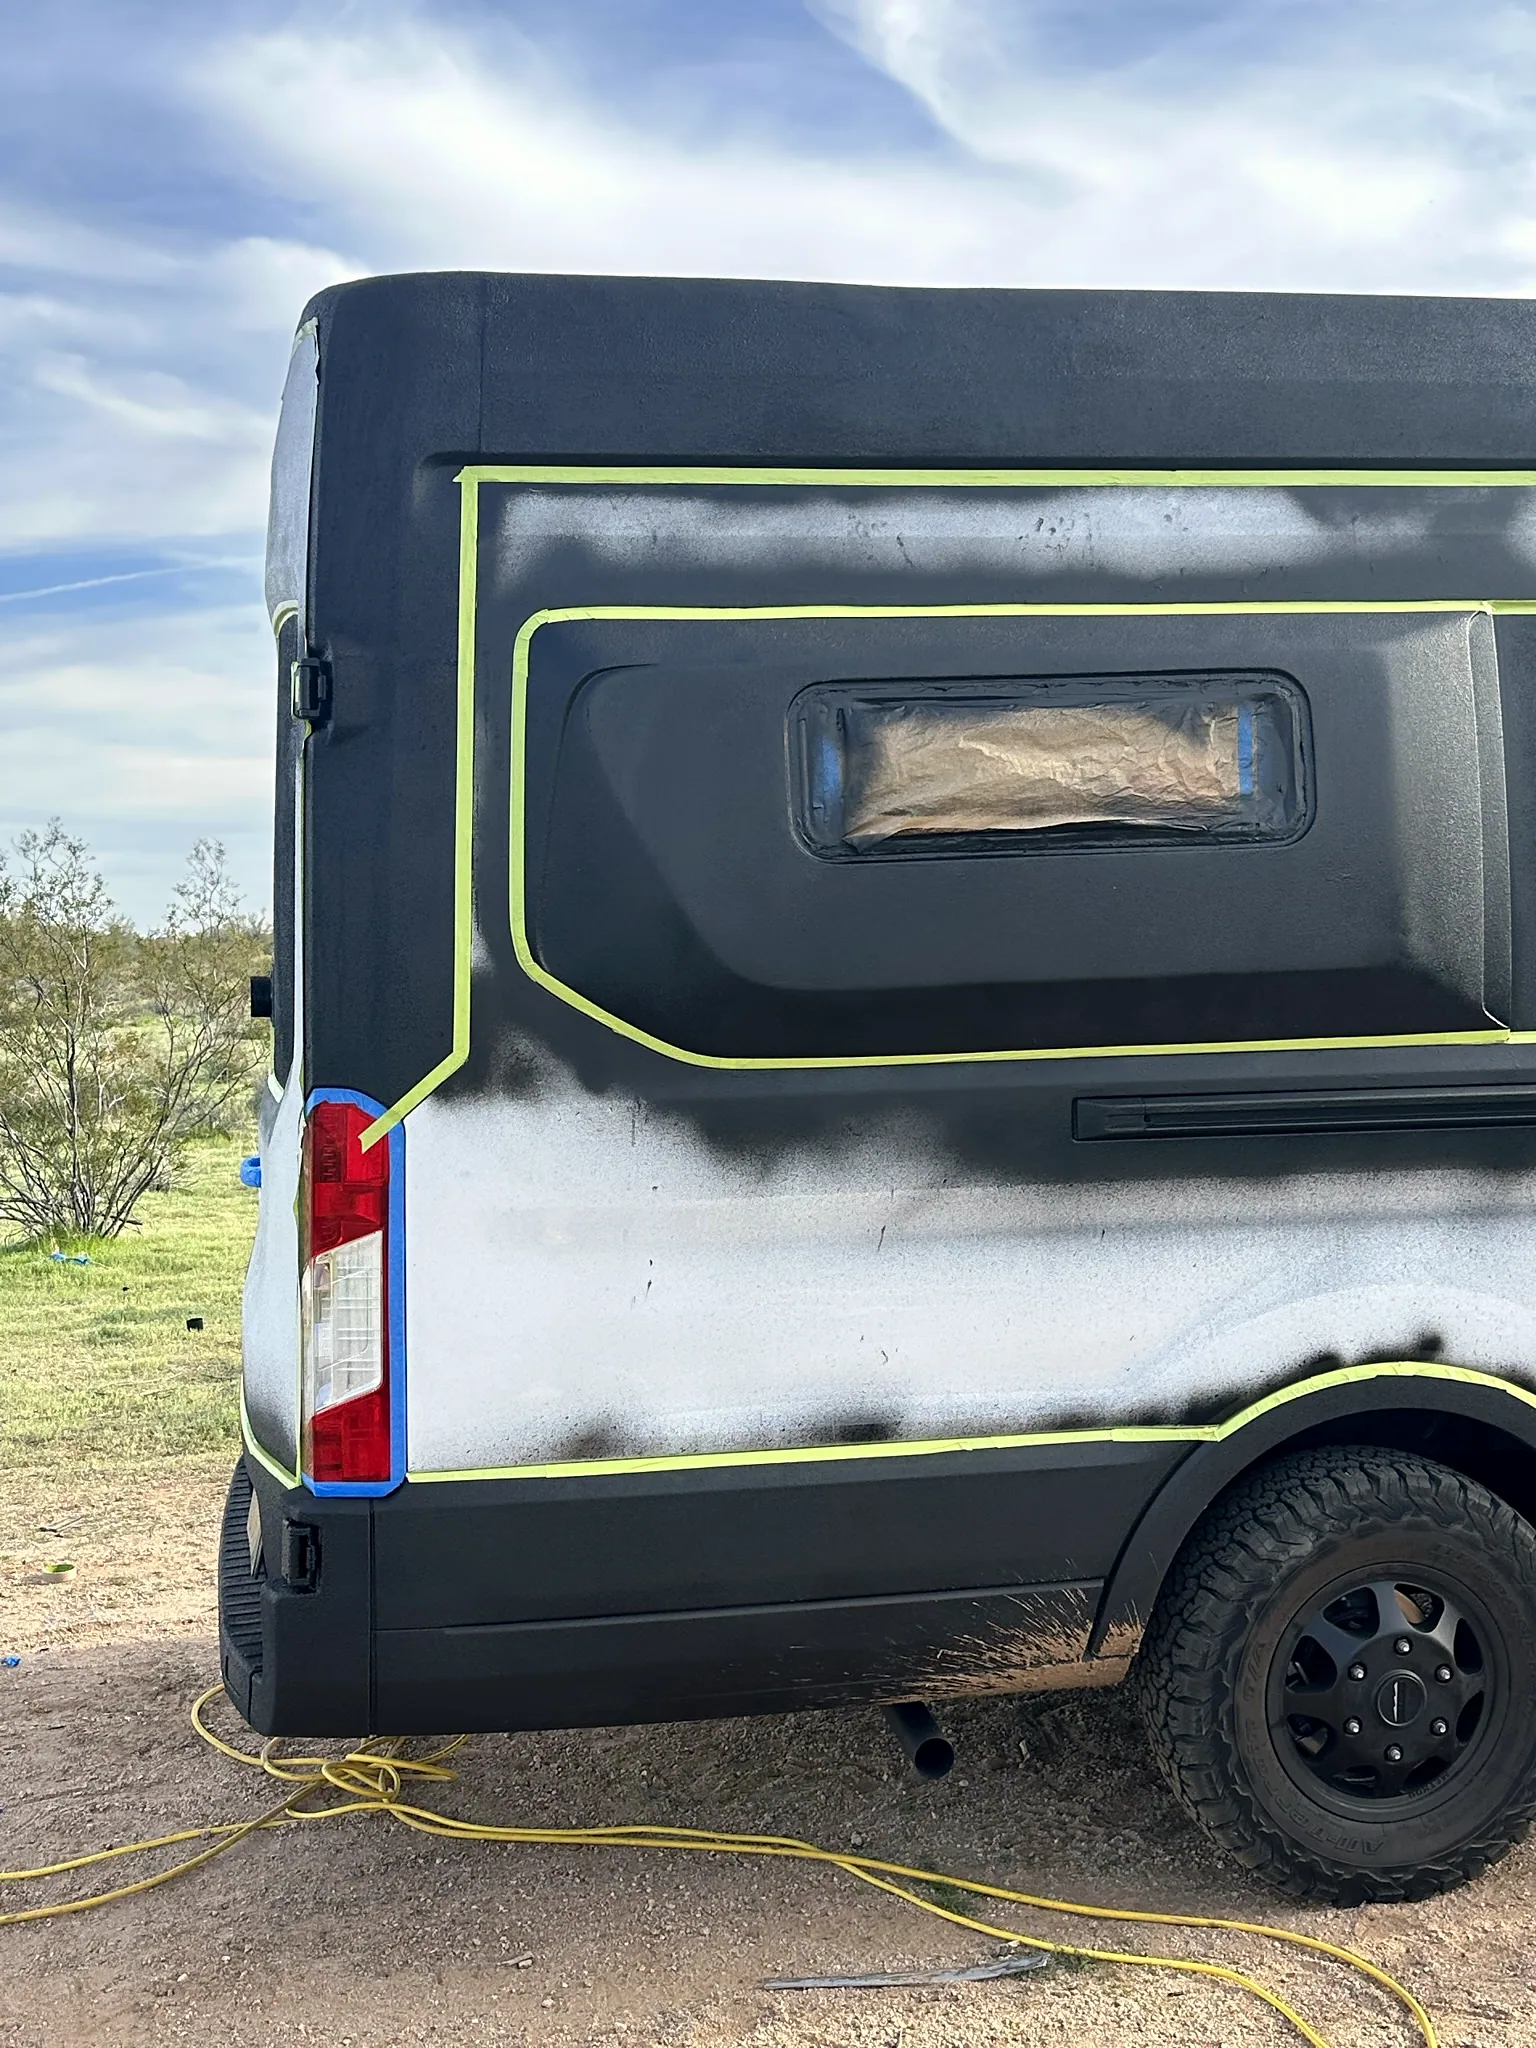
The later daylight photographs show the van masked for more coating work, with tape outlining the areas and paper covering the window.
When I look at these pictures, I see the chain of extra work that followed the capsule purchase: repair the damaged fiberglass, prepare and coat it, discover the fit problems, sand and adjust it, deal with adhesive on the white paint, and then take on a much larger exterior-finishing job.
None of that was part of the simple space-saving improvement I had imagined during the design stage.
What I think about the price
I thought the capsules were expensive before I bought them, and my experience made the value feel much worse. These were fiberglass shells that arrived damaged, needed hours of repair and required substantial work to fit my van. At that price, I expected a much better product and much better support.
I have also seen a DIY builder make his own fiberglass capsules. Watching someone put the time into making them reinforced my feeling that the prices charged for niche van-build components can be hard to justify.
If I were building again, I would look much harder at making certain components myself rather than assuming that buying a ready-made van product would save me time or frustration. I reached a similar conclusion about other parts of the build, including the roof rack, which deserves its own review.
The options listed now
The current Van Mart listing separates standard Transit and Transit EXT capsules, with and without bunk windows, and offers black textured lining or an unpainted finish. That is a different selection from the with-window and without-window choice I encountered when buying mine.
Flarespace also lists a dedicated Transit 148 EL flare. I did not buy or install Flarespace flares, so my review here is of the Vanspeed capsules and the experience I had with them.
Those are the current product pages for anyone comparing the available configurations. My own decision would be to change the bed layout and skip the capsules.
Current listings checked October 31, 2026: Vanspeed Transit Capsules at The Van Mart · Flarespace Transit 148 EL Flares.
My verdict: I would put the bed lengthwise
For me, the capsules were not worth it. The purchase price was only the beginning. There was shipping damage to repair, disappointing customer service, missing installation information, cutout and contour problems, extensive fitting work, and the adhesive mess that changed my exterior plans.
The extra inches looked important when I was drawing the van. After using it, I would rather have accepted the floor-space trade-off of a lengthwise bed and kept the body and factory paint intact.
A van can do a lot. It carries my belongings, gives me somewhere to sleep and lets me travel to places I want to explore. I do not need to optimize every inch of it at any cost.
If I could make this decision again, I would save the money, leave the sides of the van alone and build around a lengthwise bed.
The tools and materials I used
These are the supplies from my capsule project, connected to my purchase records and photographs. For older items whose exact model I no longer know, I’ve included a similar current Amazon option.
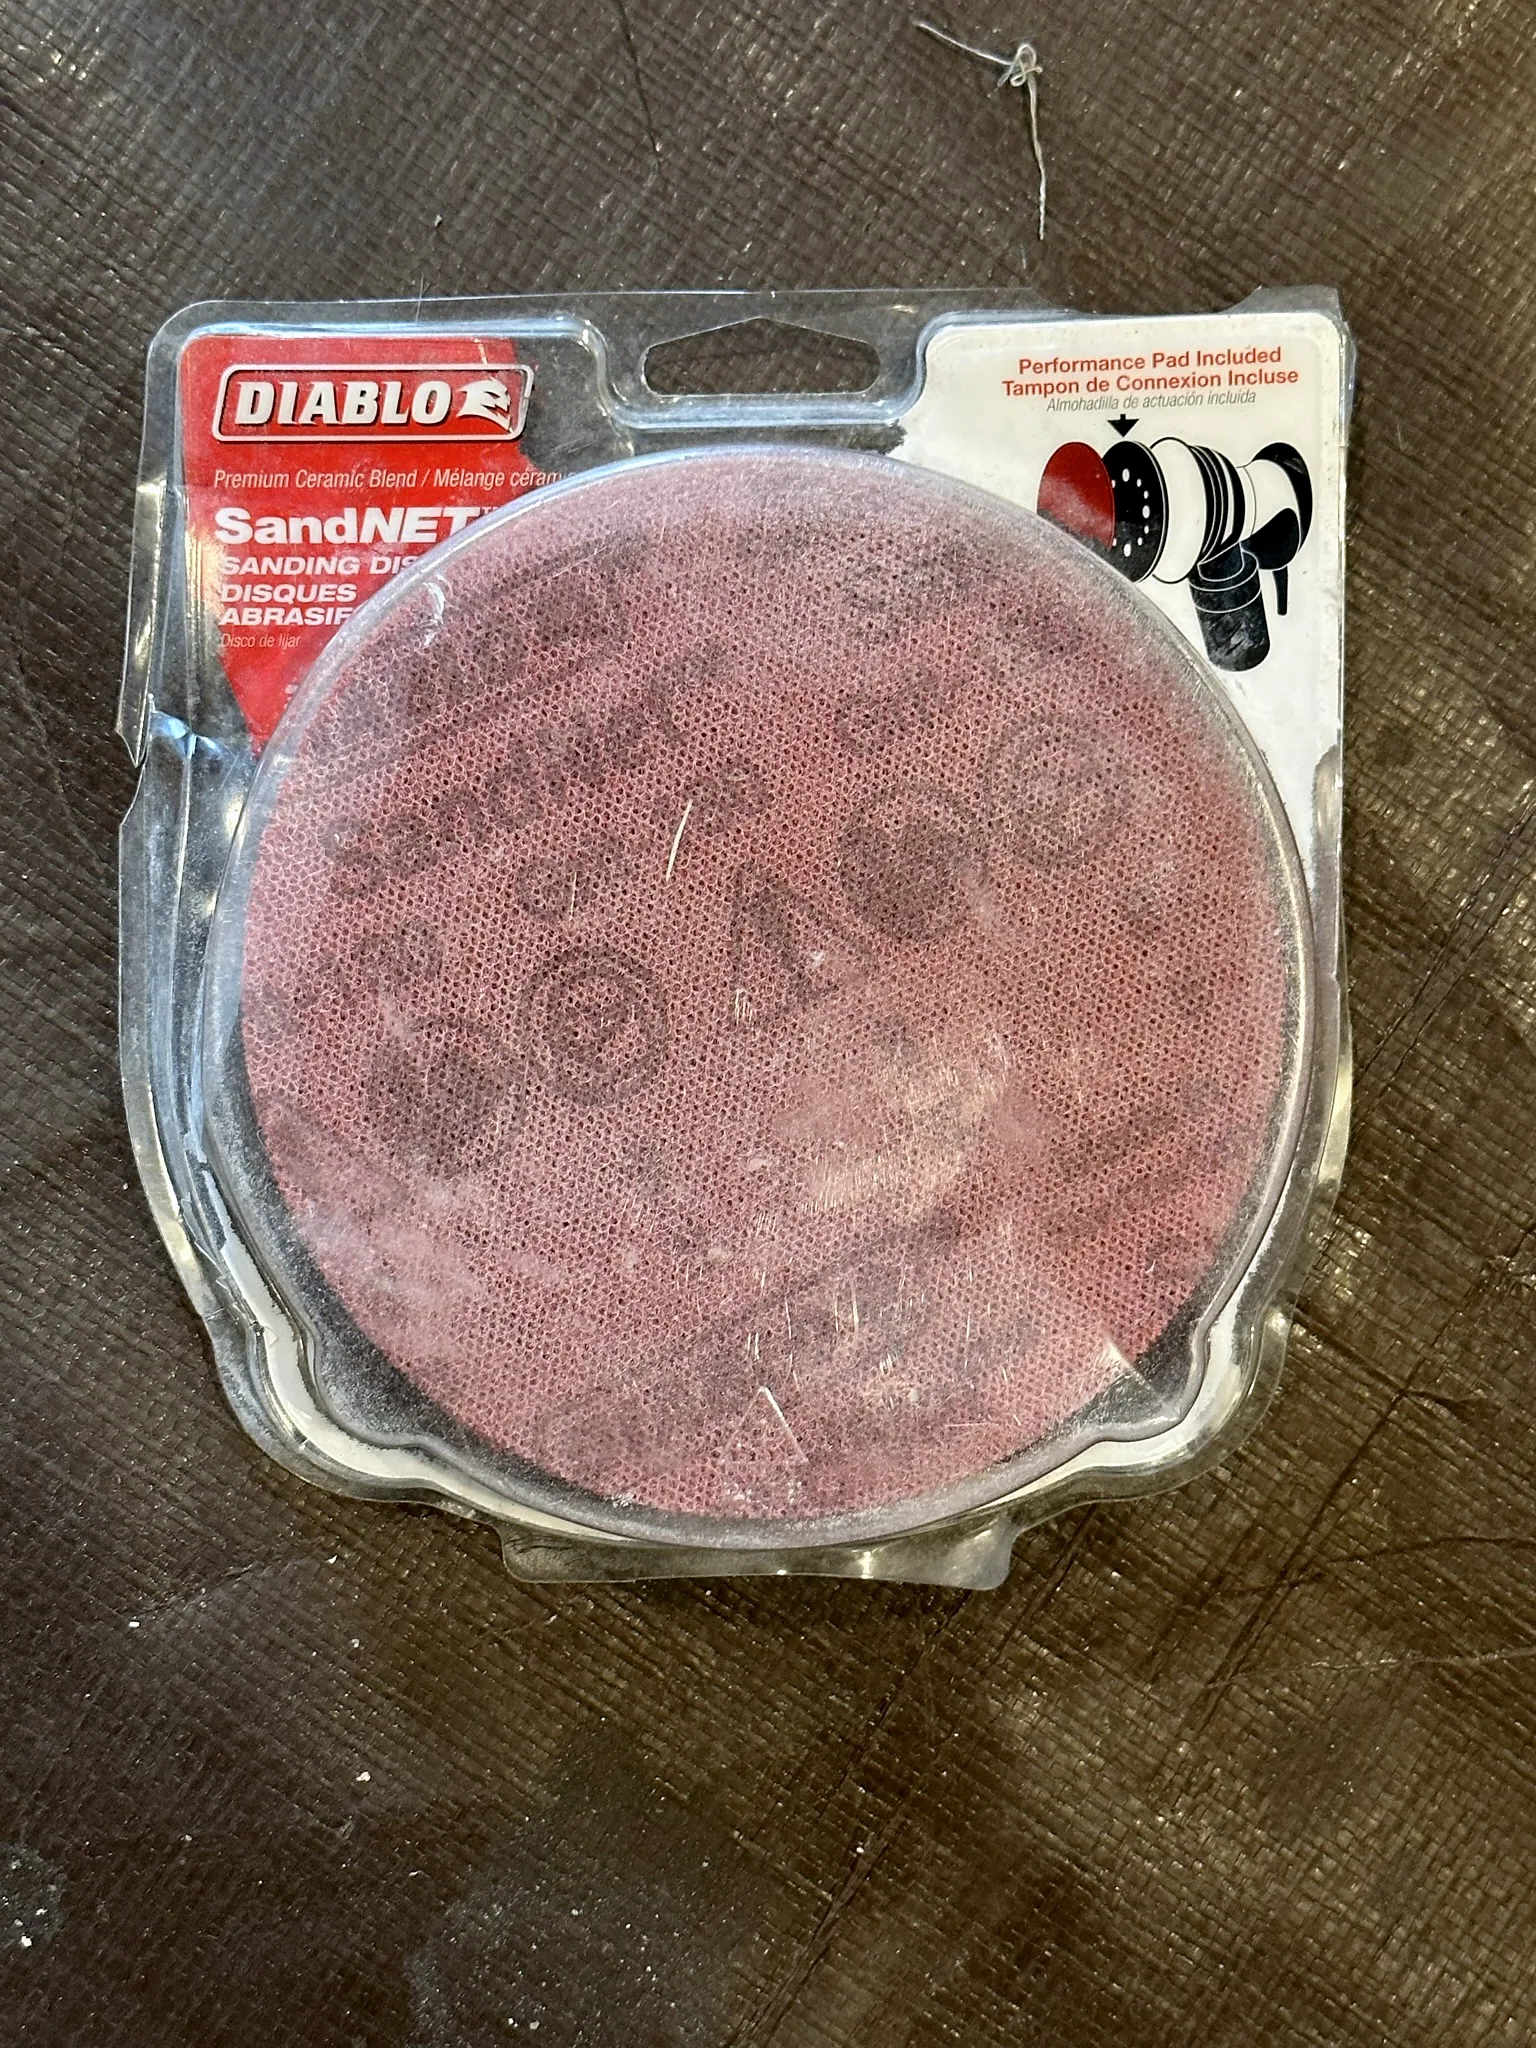
1. DIABLO SandNET 180-grit 5-inch discs
I used 180-grit DIABLO SandNET discs during the capsule preparation. These are the five-inch mesh sanding discs shown in my supply photograph.
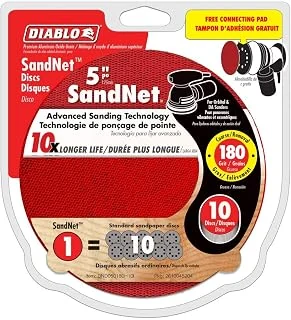
Diablo SandNET 5-inch 180-grit discs, 10-pack
These reusable mesh sanding discs have a 180-grit abrasive surface. The listed pack contains ten five-inch discs.
View on AmazonTwo alternatives
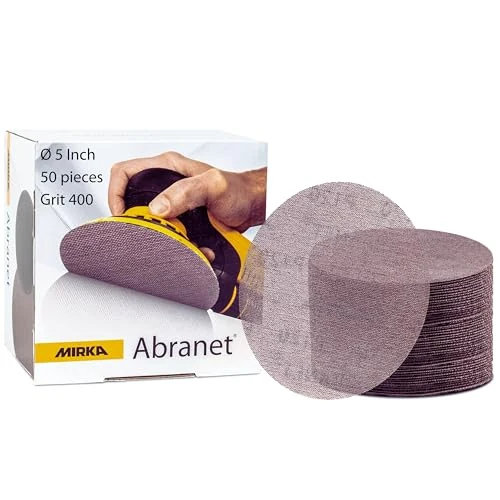
Mirka Abranet 400-Grit Mesh Discs
These five-inch mesh discs provide a 400-grit abrasive surface. Their hook-and-loop backing attaches to a corresponding sanding pad.
View on Amazon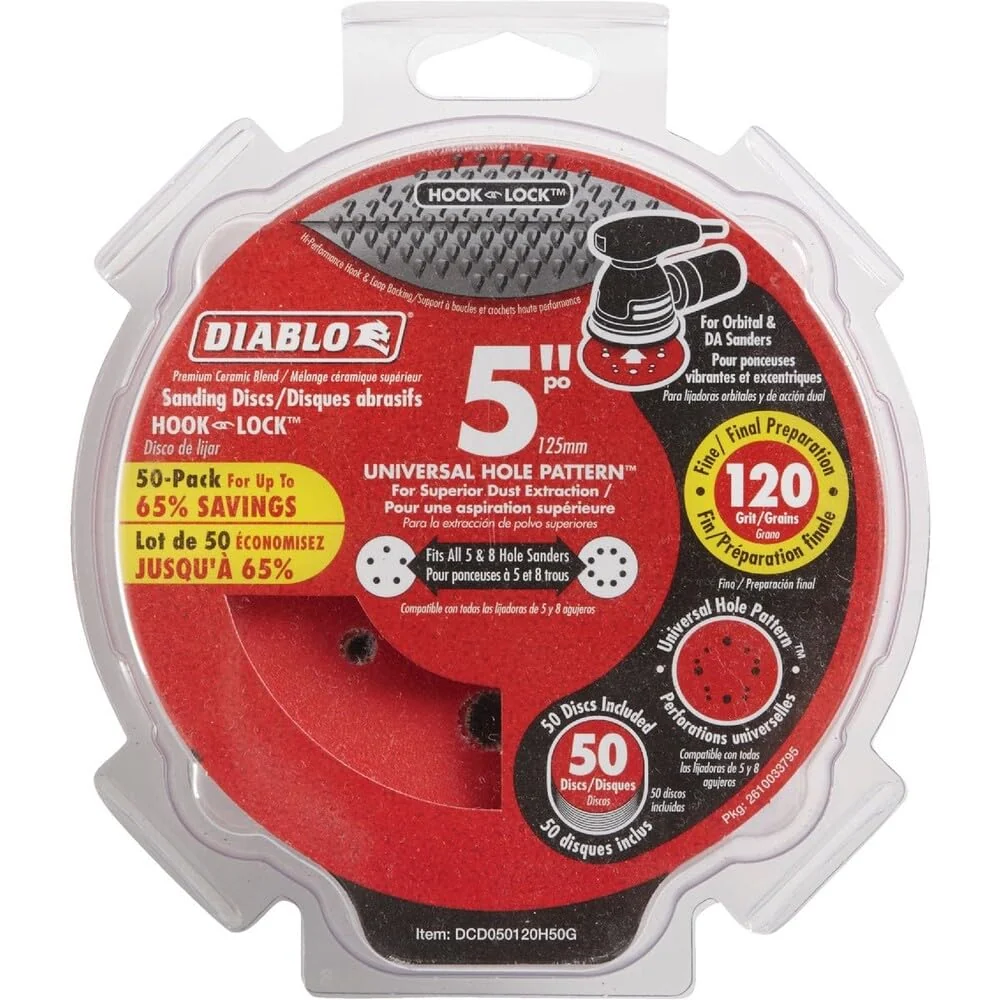
Diablo 120-Grit Sanding Discs
These five-inch Diablo discs have a 120-grit abrasive face and hook-and-loop backing. The Amazon option is a fifty-disc pack.
View on Amazon2. Dura-Gold 40-grit hook-and-loop sandpaper roll
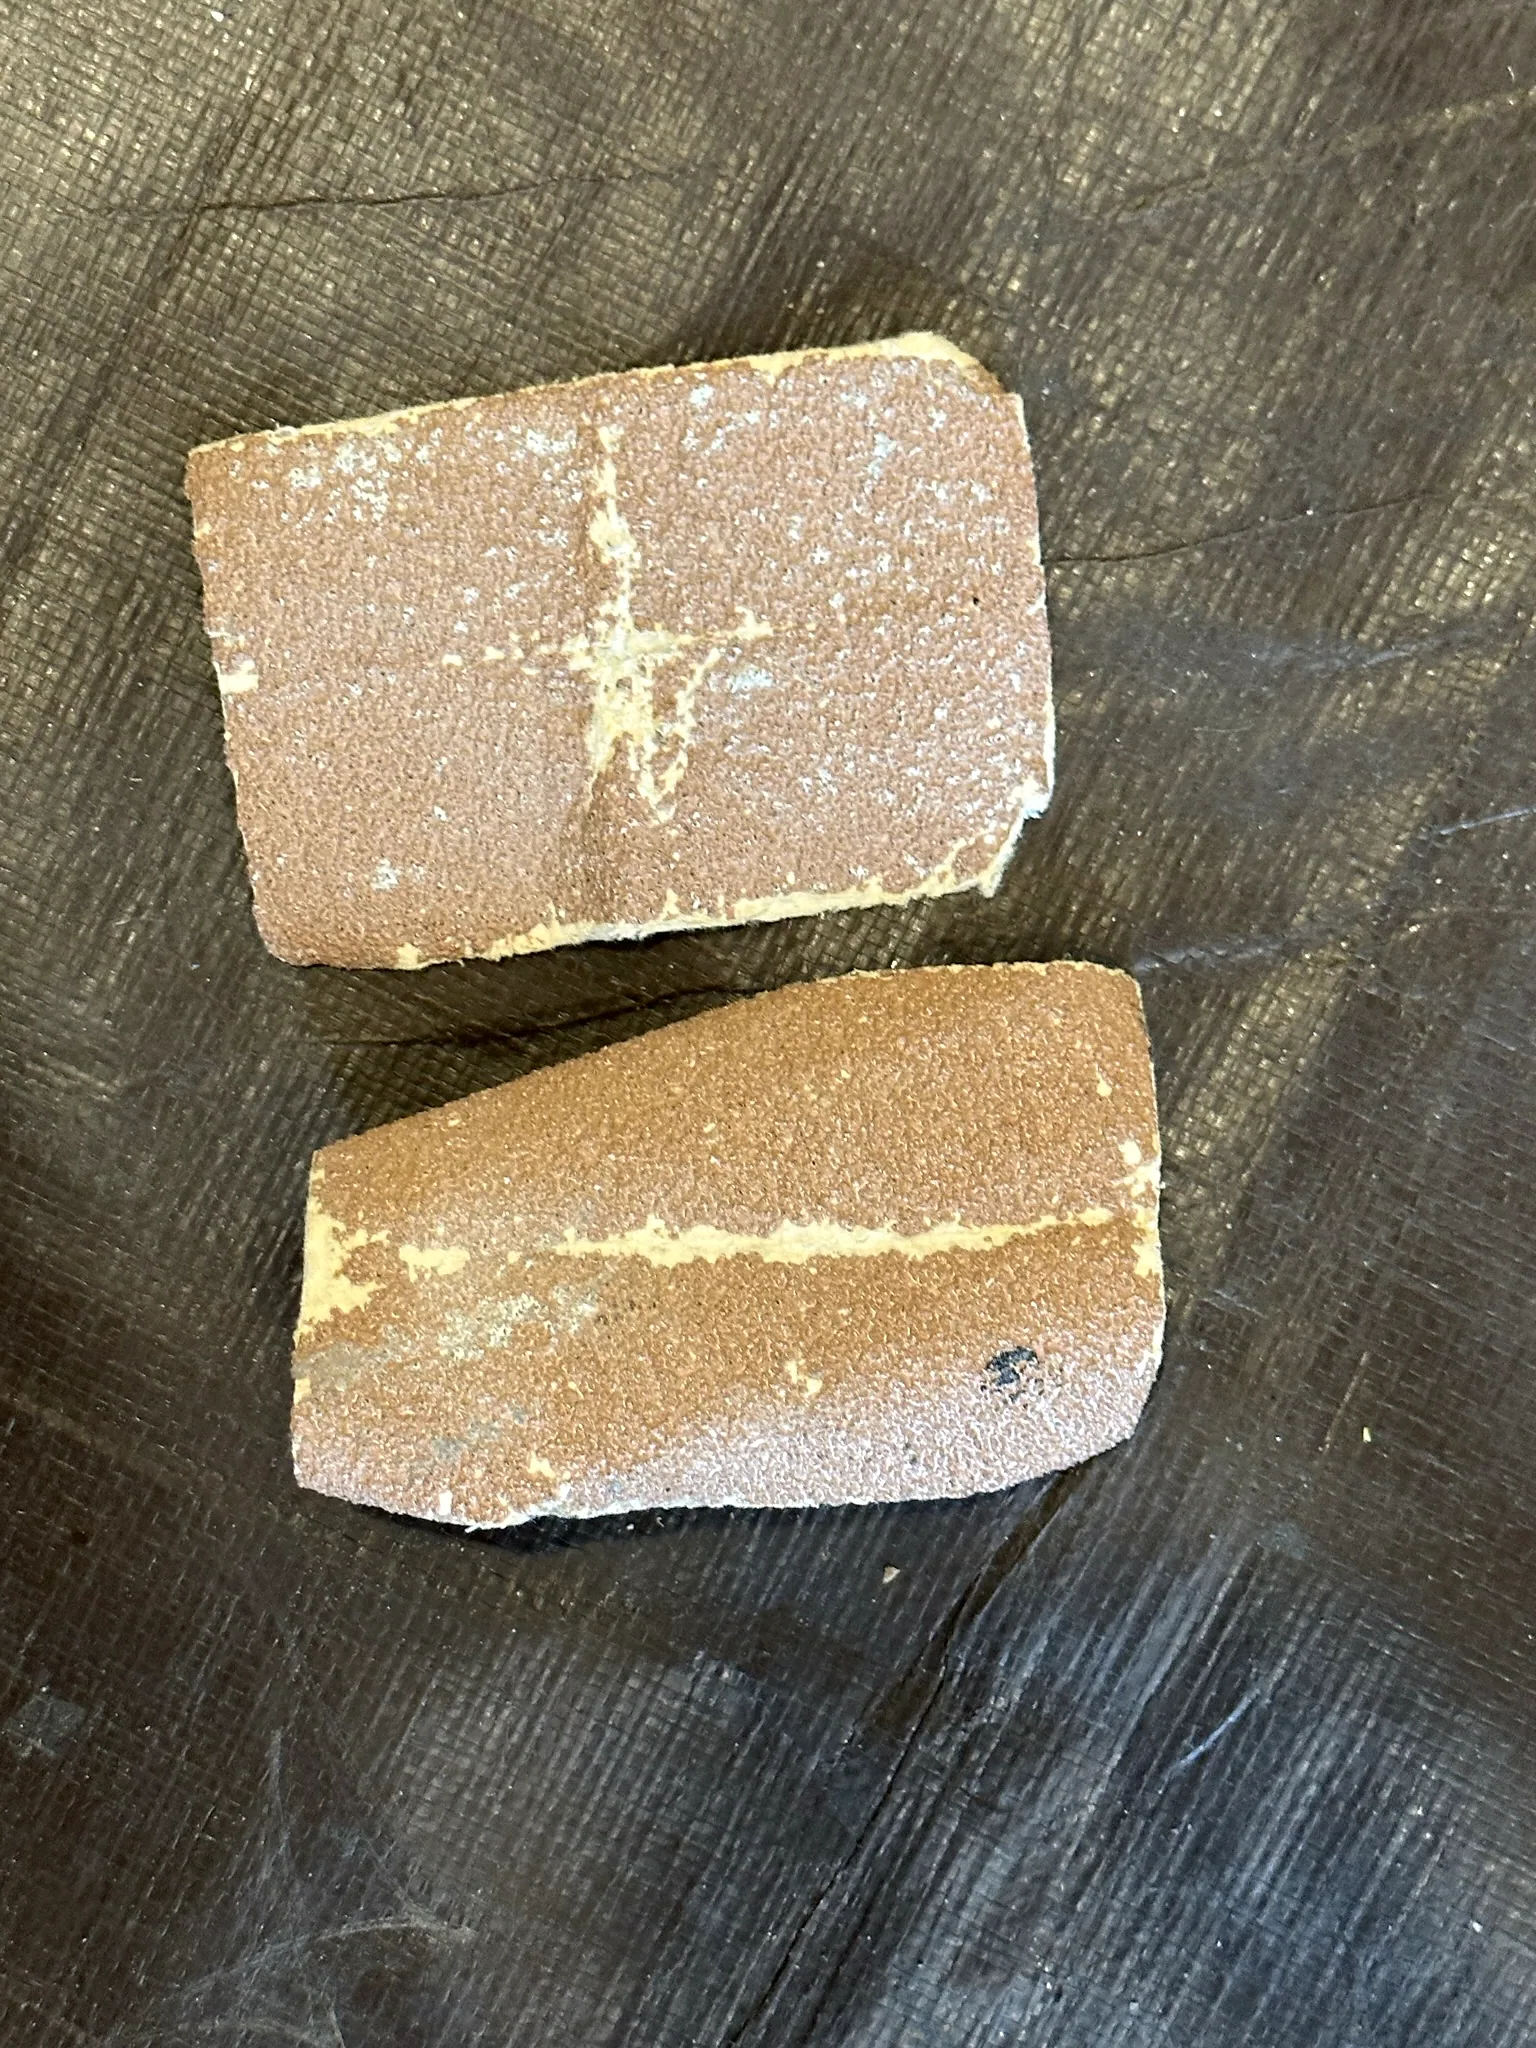
I bought Dura-Gold 40-grit abrasive roll on Amazon and used it with the sanding blocks. The roll can be cut into lengths for the block or longboard.
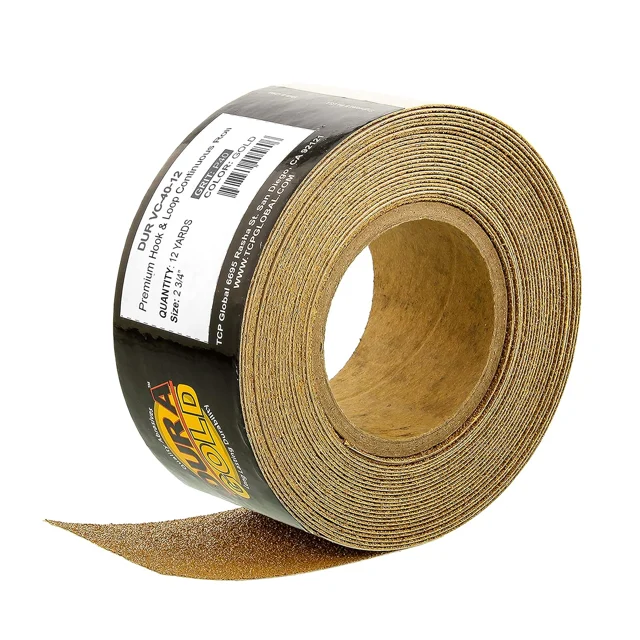
Dura-Gold 40-Grit Sandpaper Roll
This coarse abrasive roll uses a hook-and-loop backing for attachment to sanding tools. It can be divided into smaller lengths for surface-preparation work.
View on AmazonTwo alternatives
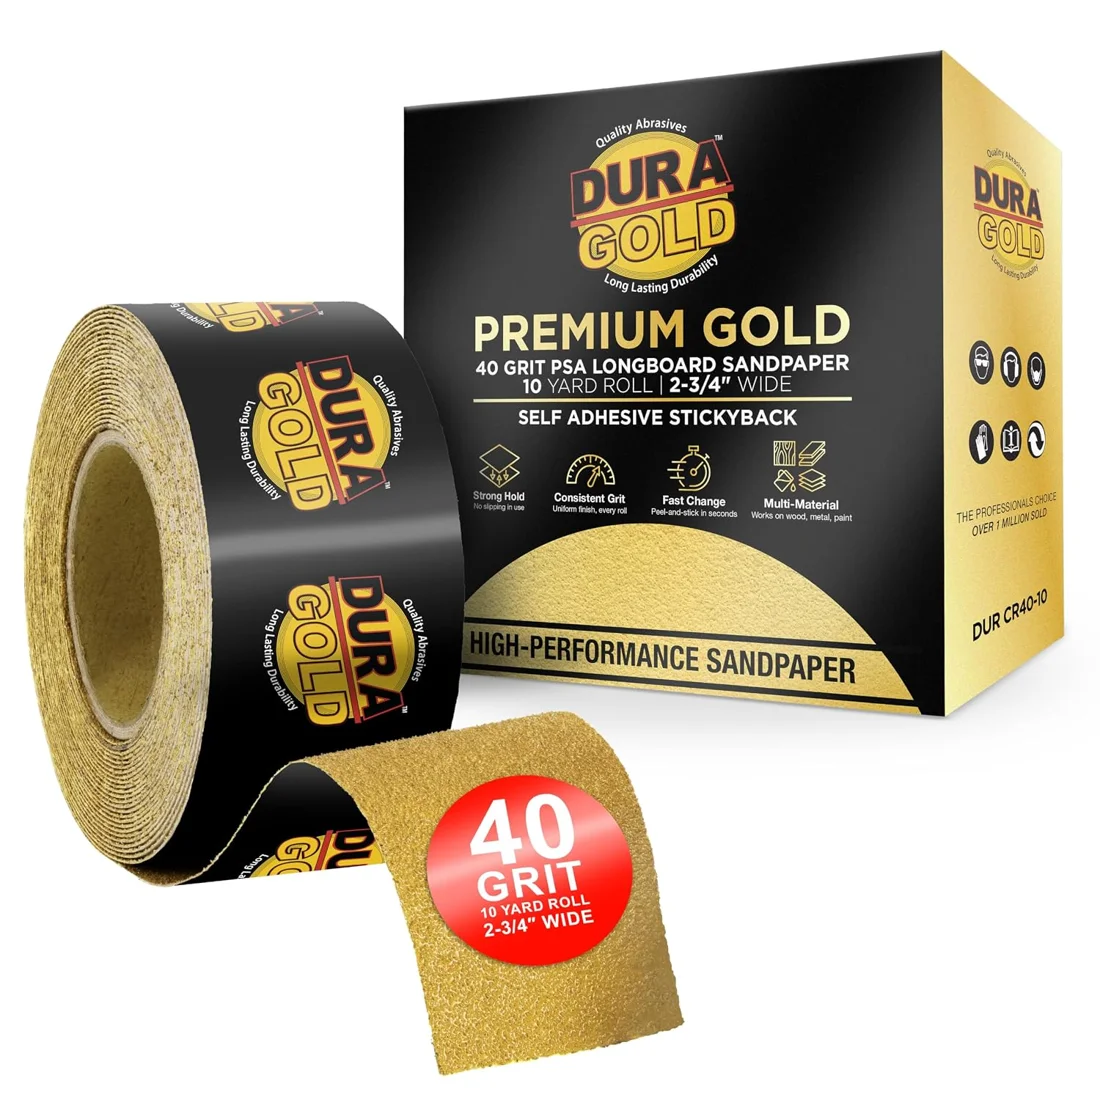
Dura-Gold 40-Grit PSA Sandpaper Roll
This coarse longboard abrasive roll has a pressure-sensitive adhesive backing. It can be divided into lengths for sanding blocks and longboard tools.
View on Amazon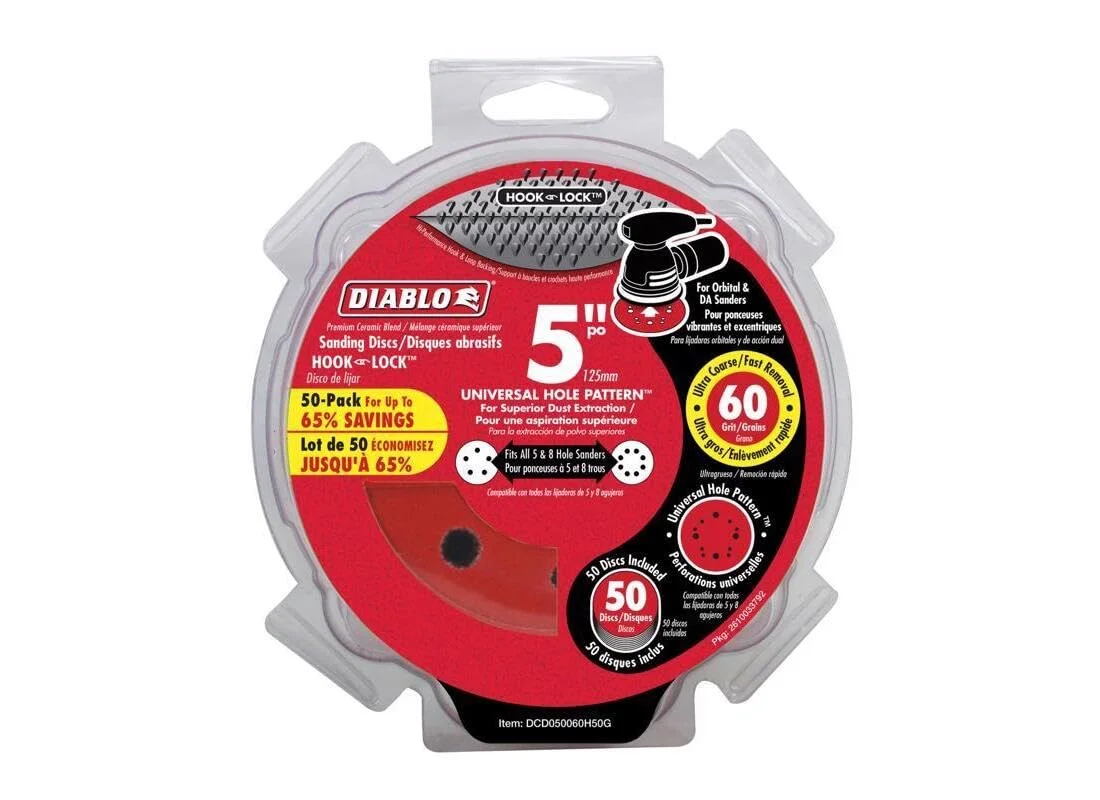
Diablo 60-Grit Sanding Discs
These coarse sanding discs use a hook-and-loop attachment surface. Their circular format provides another approach to surface preparation with a disc sander.
View on Amazon3. Astro 1716 long-nozzle air blow gun
My long-nozzle air gun is an Astro 1716 that I bought on Amazon in April2016. It was one of the older tools I brought into this project.
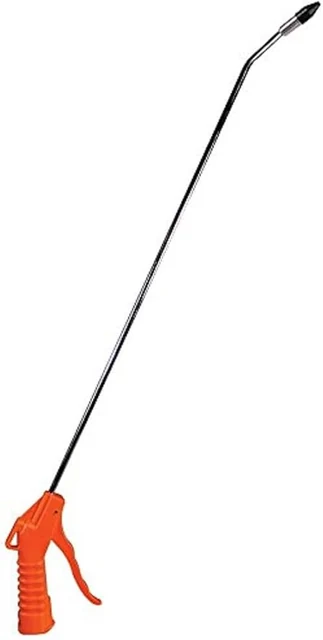
Astro 1716 air blow gun
This Astro air blow gun has a long angled nozzle and a trigger grip. Its nozzle includes a removable rubber tip.
View on AmazonTwo alternatives
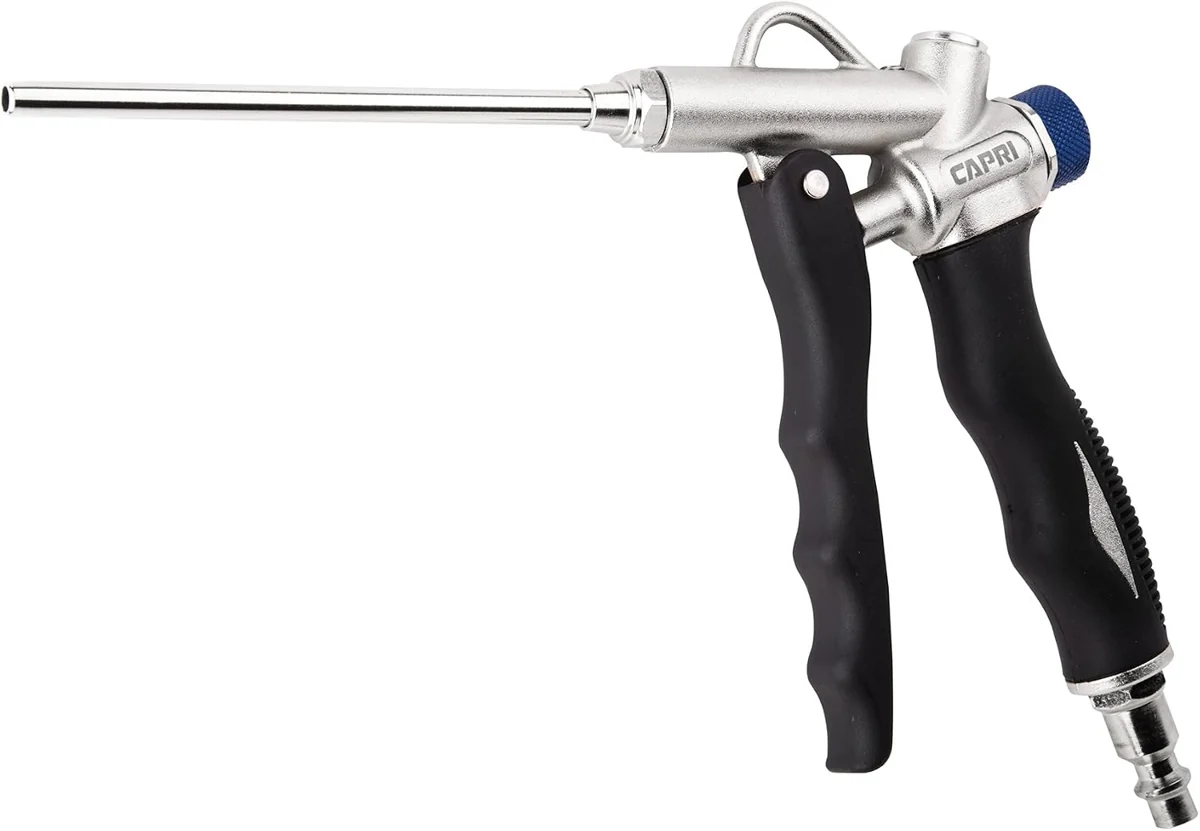
Capri Tools Extended Air Blow Gun
This Capri Tools gun directs compressed air through an extended nozzle. An adjustable control changes the airflow at the tool.
View on Amazon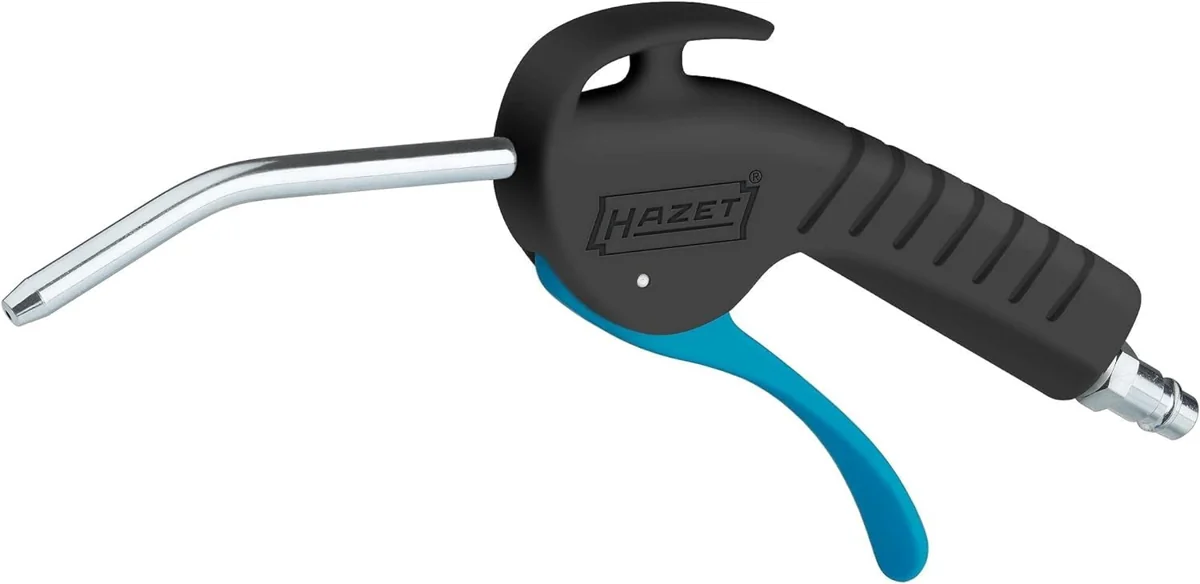
HAZET 9040P-1 Air Blow Gun
The HAZET 9040P-1 uses a short curved nozzle and a trigger grip. Its compact nozzle layout changes access compared with a long straight blow gun.
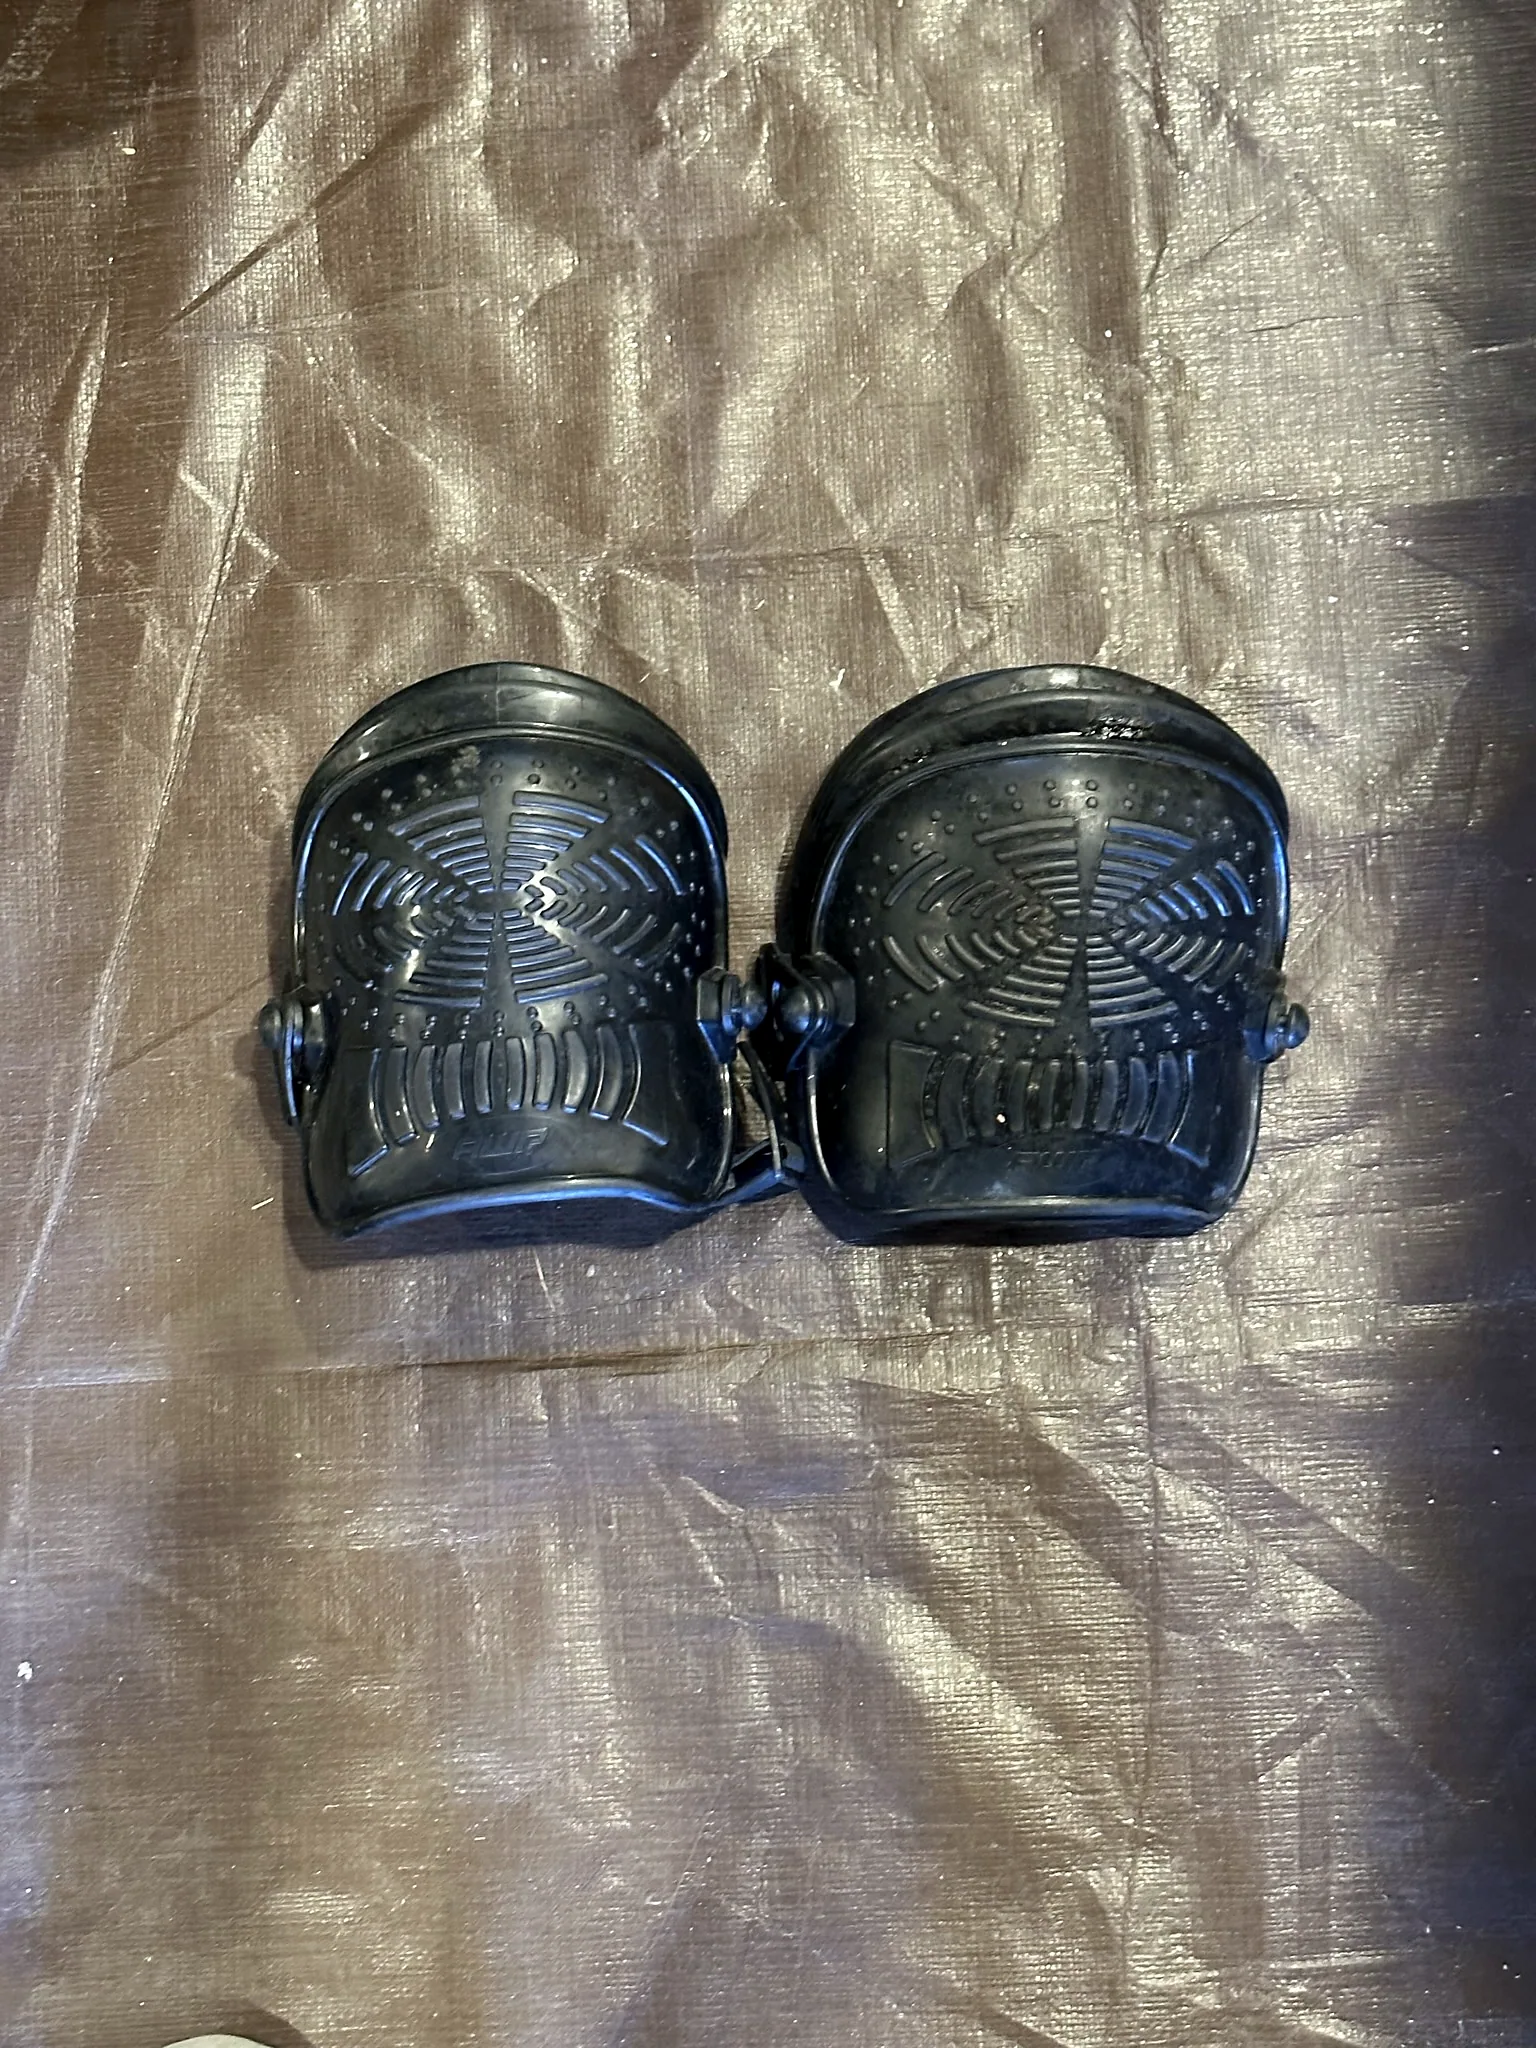
View on Amazon4. Older Home Depot hard-shell kneepads
I bought these hard-shell kneepads in person at Home Depot before the van build. The current Amazon options below are similar products I would compare today.
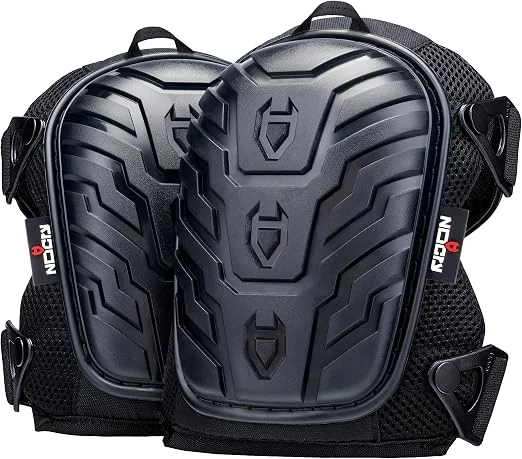
NoCry Professional Gel Knee Pads
These NoCry kneepads combine foam and gel cushioning with a hard outer cap. Adjustable straps secure the pads behind the knees.
View on AmazonTwo alternatives
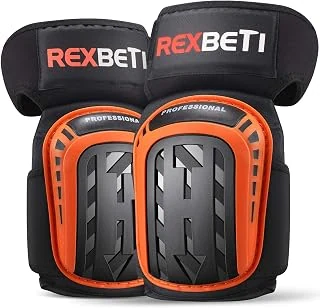
REXBETI construction gel kneepads
These REXBETI kneepads combine gel-and-foam padding with a hard outer cap. Stretchable straps hold each pad around the knee.
View on Amazon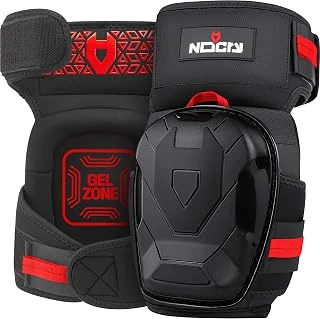
NoCry kneepads with thigh and shin straps
These NoCry kneepads use a longer design with thigh and shin straps. Their knee area combines foam-and-gel cushioning with an outer cap.
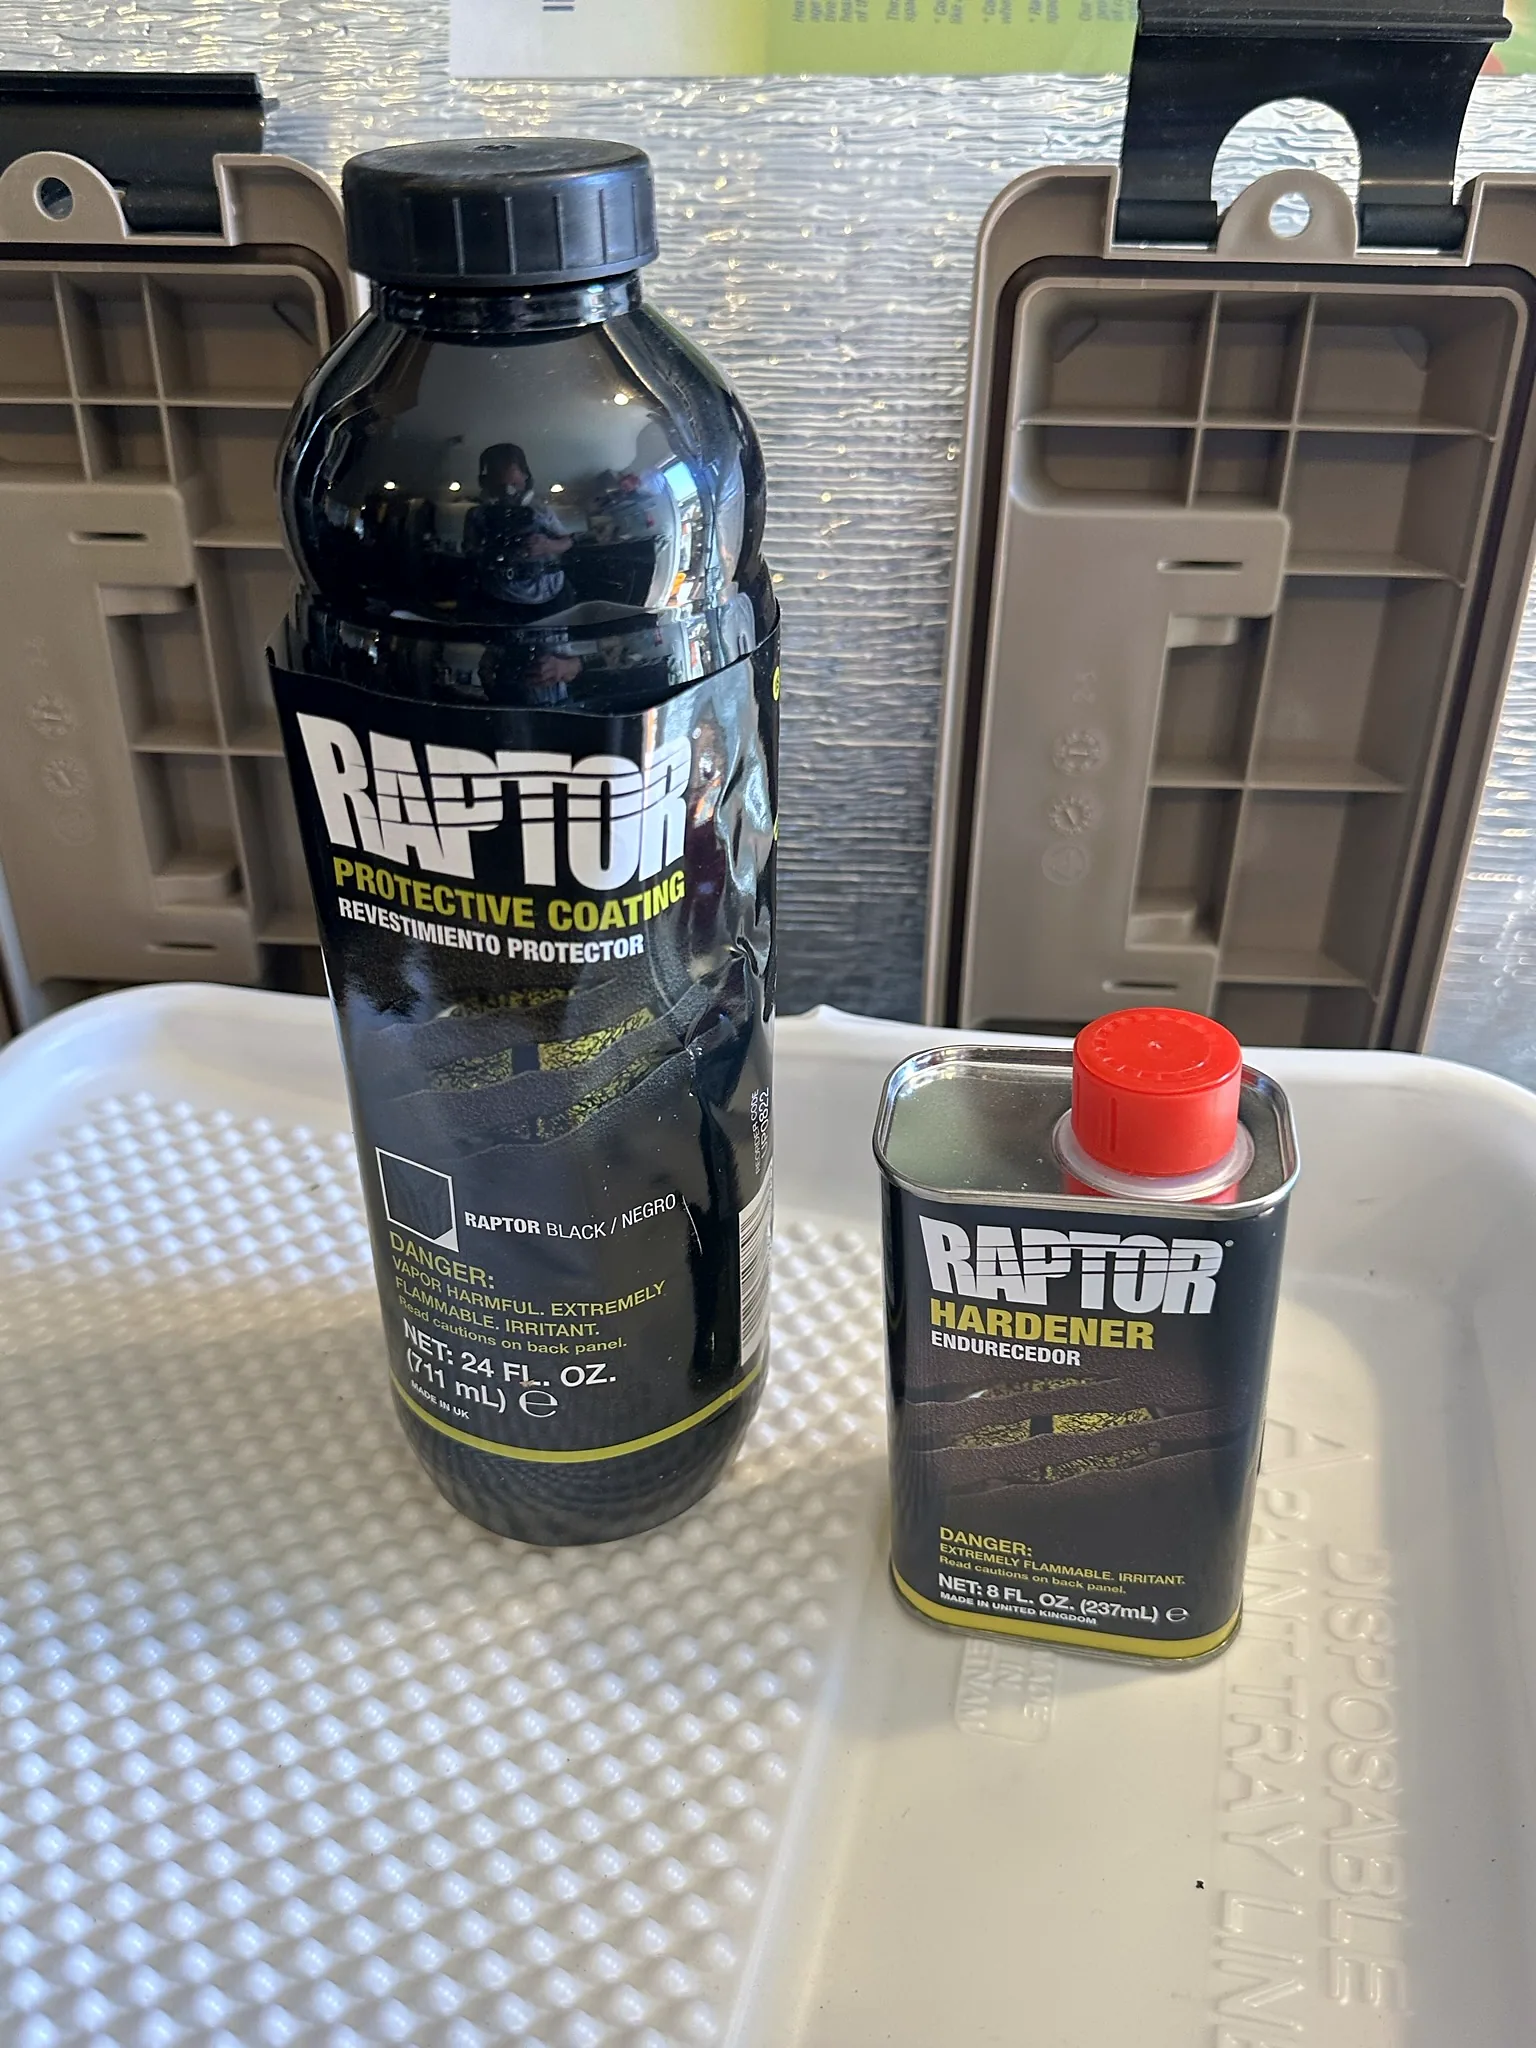
View on Amazon5. U-POL RAPTOR black bedliner and hardener
I coated the capsules with black RAPTOR bedliner and hardener. I bought several black RAPTOR kits, and the Amazon kit below is one of those purchases.
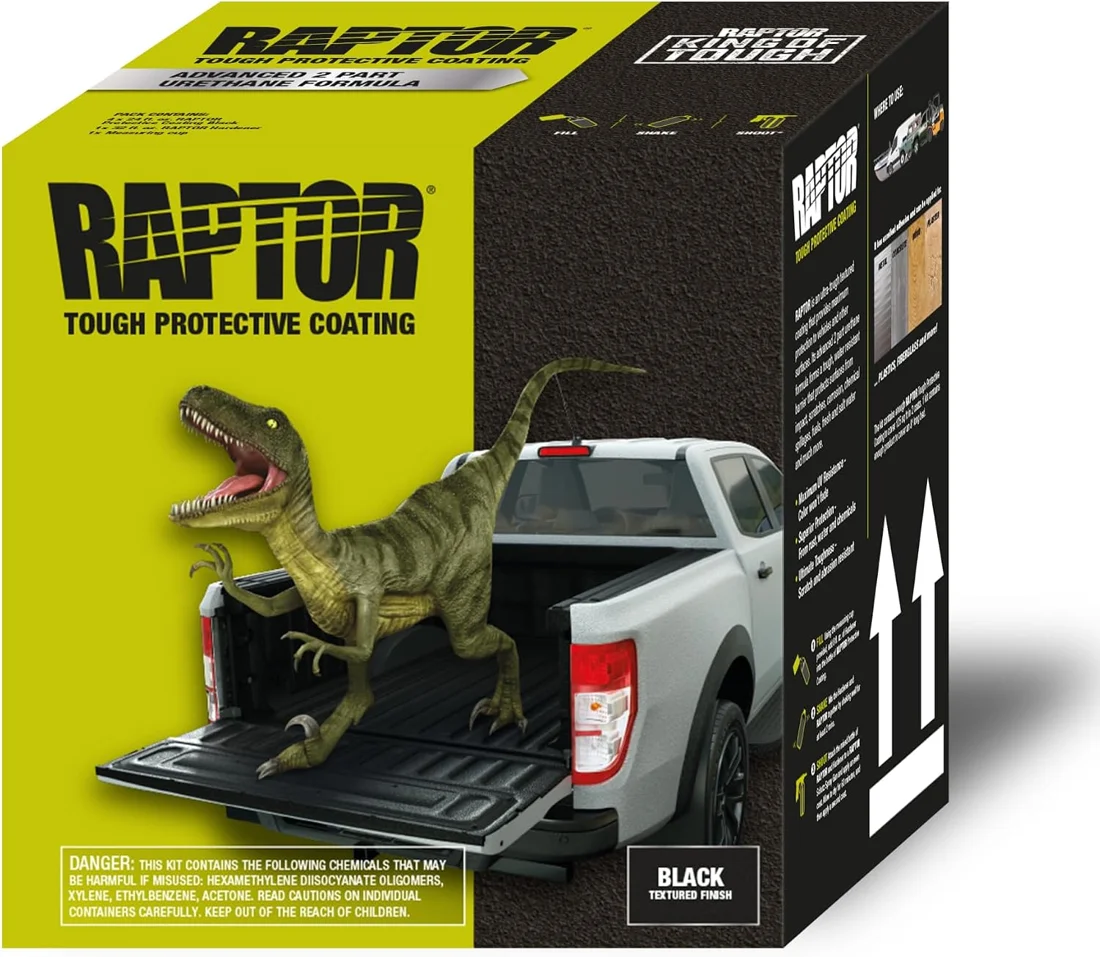
U-POL RAPTOR Black Bedliner Kit
This urethane coating kit includes a spray gun for applying a textured finish. It offers a larger coating-system format than a small aerosol can.
View on AmazonTwo alternatives
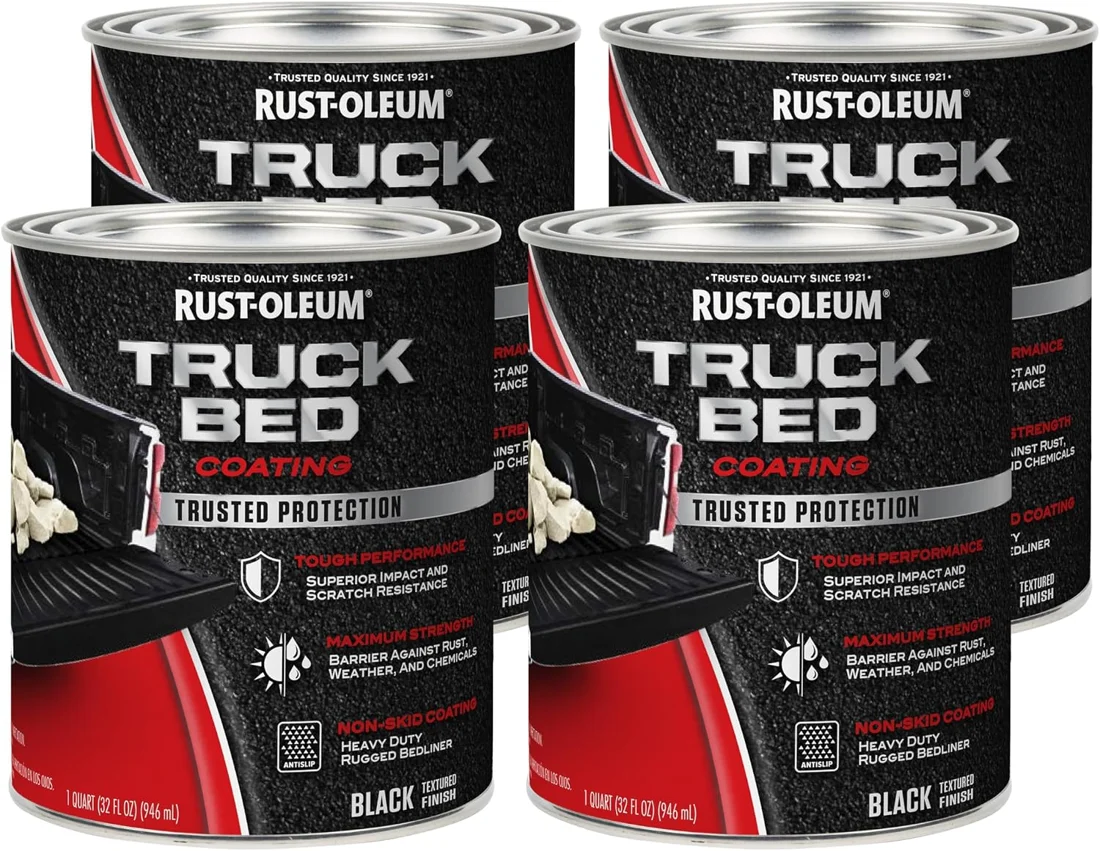
Rust-Oleum Black Truck Bed Coating
This black truck-bed coating is supplied in quart cans for coating work. It forms a textured finish and offers a different application format from an aerosol can.
View on Amazon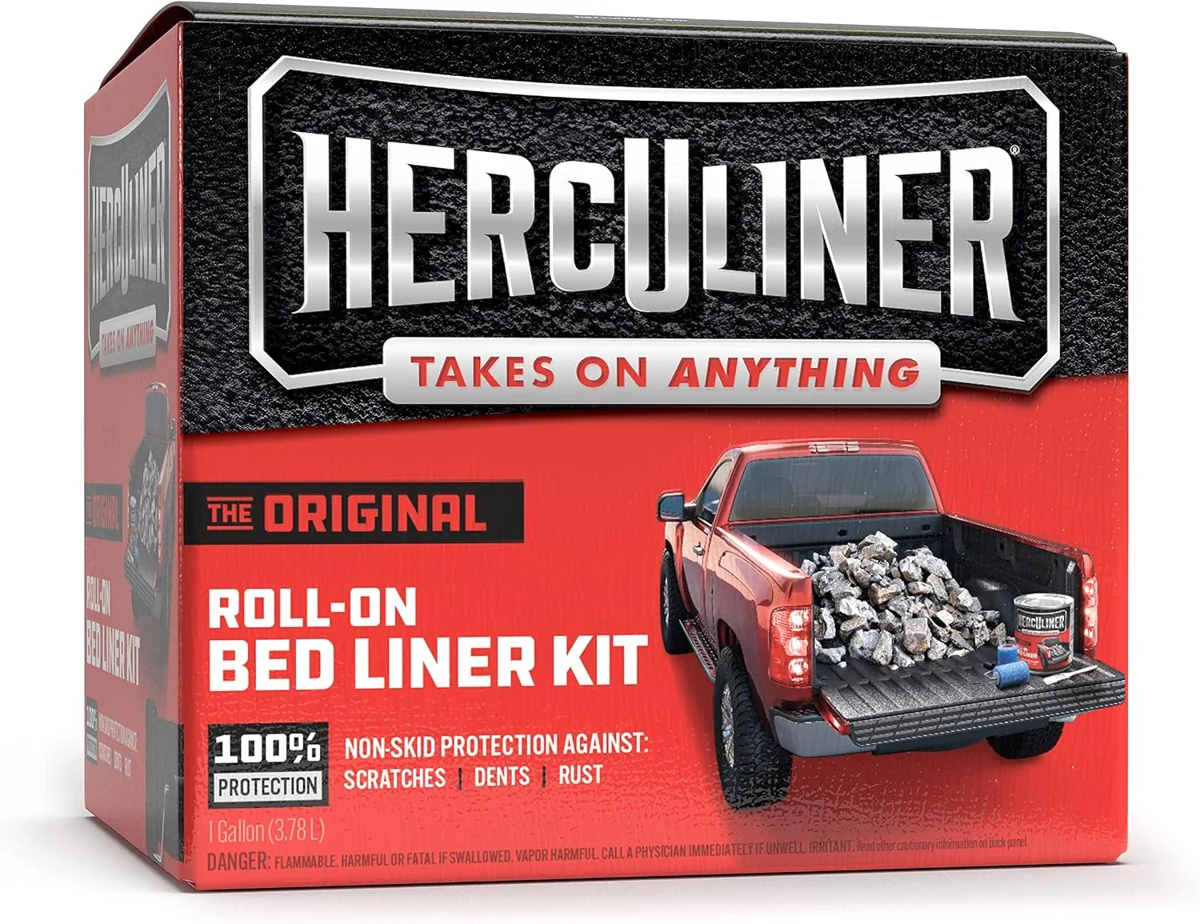
Herculiner Roll-On Bedliner Kit
This Herculiner kit pairs black bedliner coating with application accessories. The roll-on format spreads the coating with a roller.
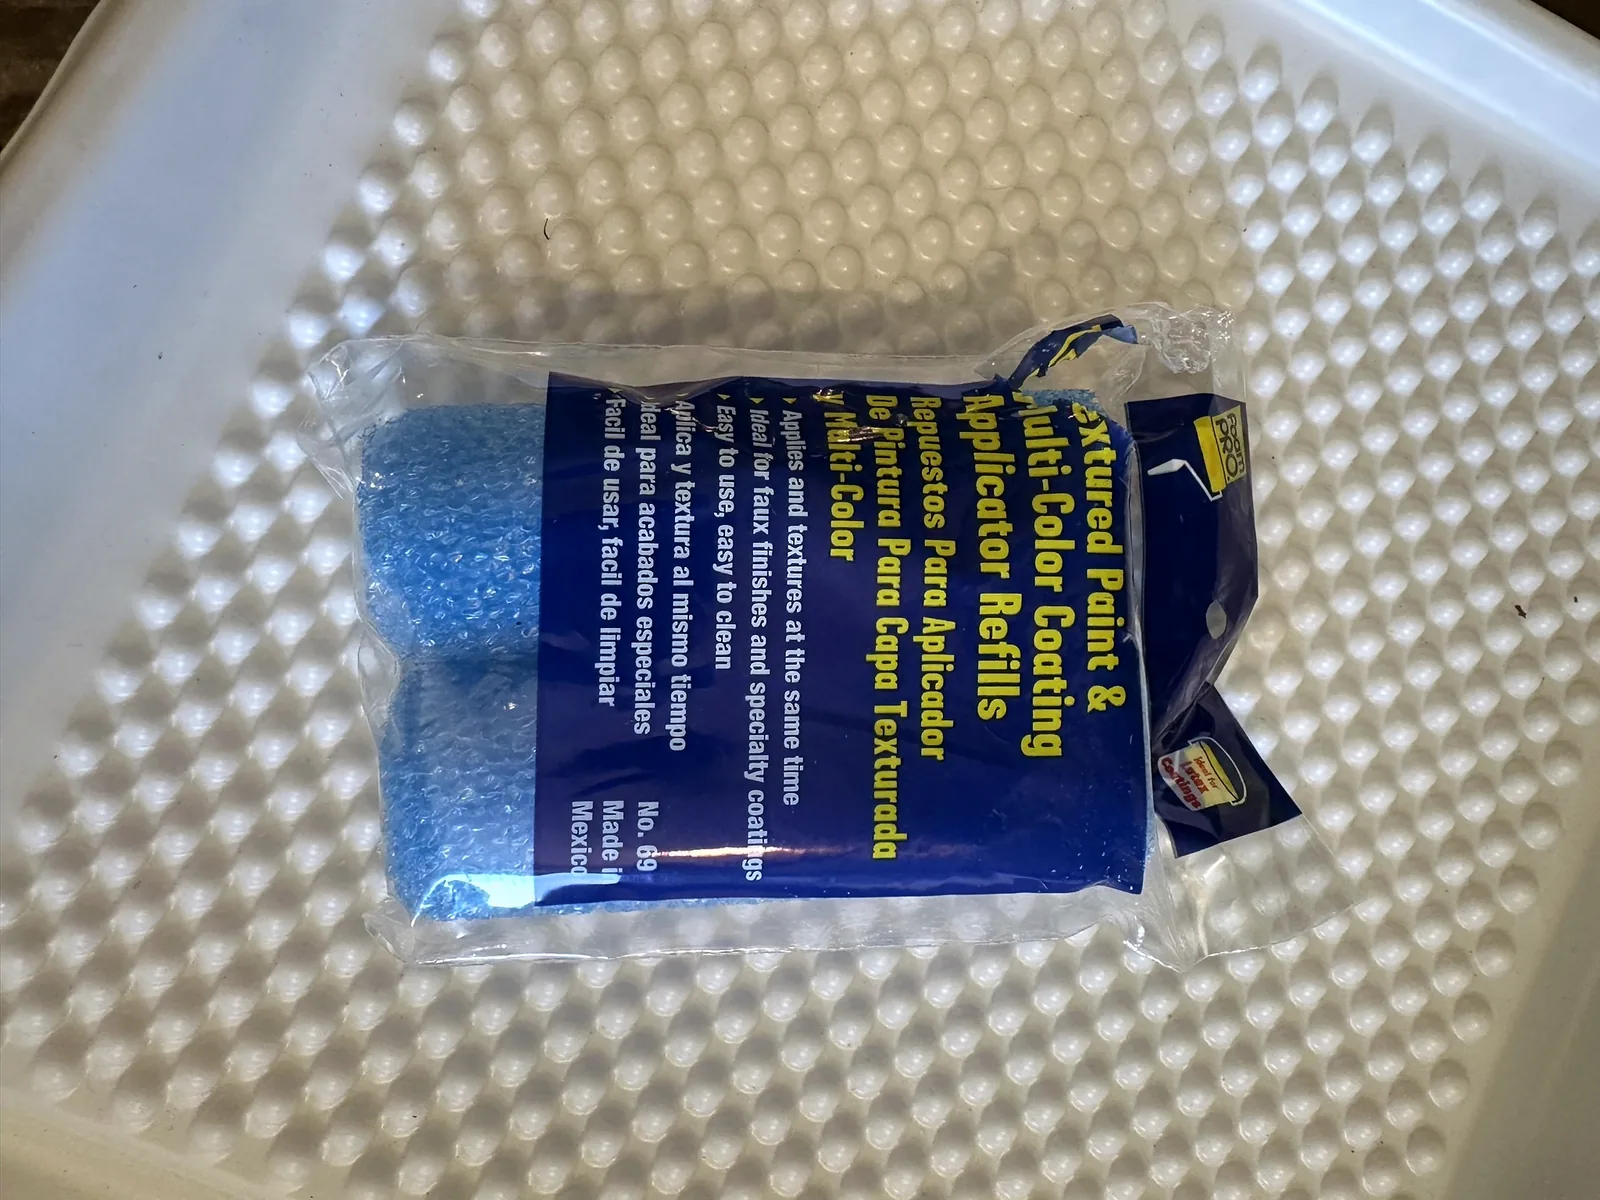
View on Amazon6. FoamPRO No. 69 four-inch textured-coating roller refills
The blue roller refills in my photograph are FoamPRO No.69 four-inch refills. The current Amazon page displays the No.68 complete roller instead, so I have labeled that current option separately.
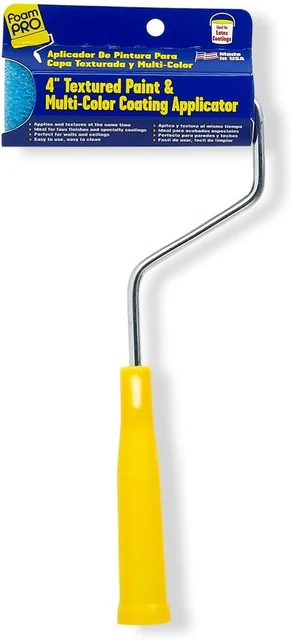
Current FoamPRO No.68 four-inch roller option
The current Amazon page displays a FoamPRO No.68 four-inch complete roller. This current purchase option differs from the historical No.69 refill package.
View on AmazonTwo alternatives
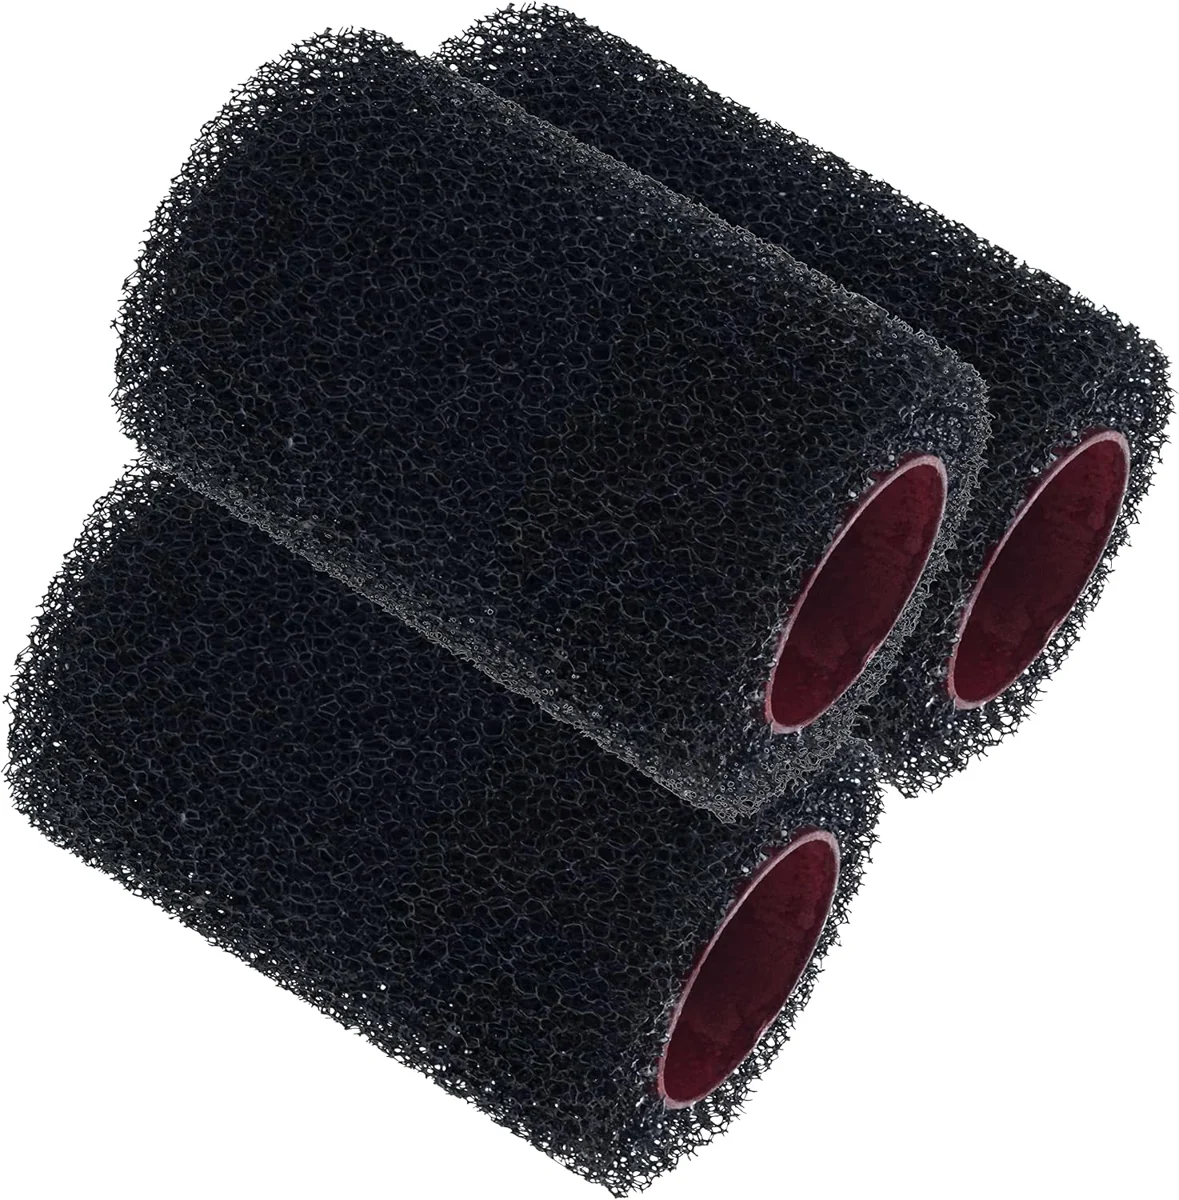
Custom Shop Textured Roller Covers
These Custom Shop roller covers have a textured surface for roll-on coatings. They fit the roller-application approach rather than an air-spray gun.
View on Amazon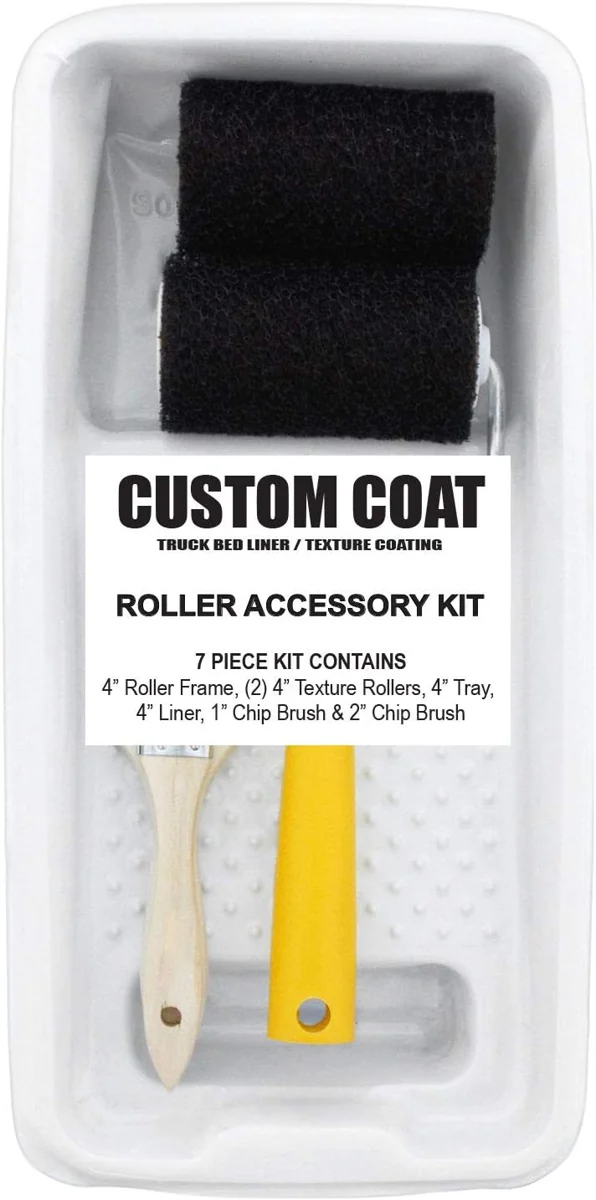
Custom Coat Bedliner Roller Kit
This application kit combines textured roller covers, a frame, a tray and brushes. The grouped tools provide a roll-on format for coating work.
View on Amazon7. Older small roller frame from Amazon
I bought this small roller frame on Amazon before the van build. The four-inch frame below is a similar current option.
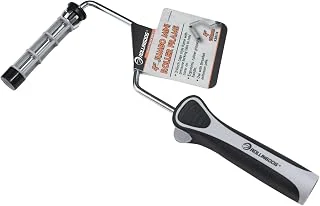
ROLLINGDOG four-inch jumbo mini roller frame
This ROLLINGDOG frame carries a four-inch mini roller. Its small format provides a hand-held roller frame for narrow coating work.
View on AmazonTwo alternatives
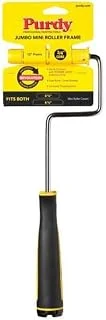
Purdy 4½–6½-inch mini roller frame
This Purdy frame accepts its listed four-and-a-half- to six-and-a-half-inch mini roller format. Its threaded handle accepts an extension pole.
View on Amazon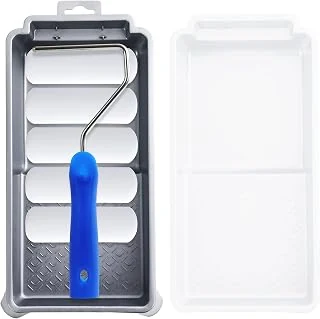
Mister Rui four-inch foam roller kit
This eight-piece kit combines four-inch foam roller covers with a frame. A tray and liner are included in the set.
View on Amazon8. Bates nine-inch disposable paint-tray liners, 10-pack
I bought these Bates nine-inch paint-tray liners on Amazon. I used the disposable liners when loading the roller for the coating work.
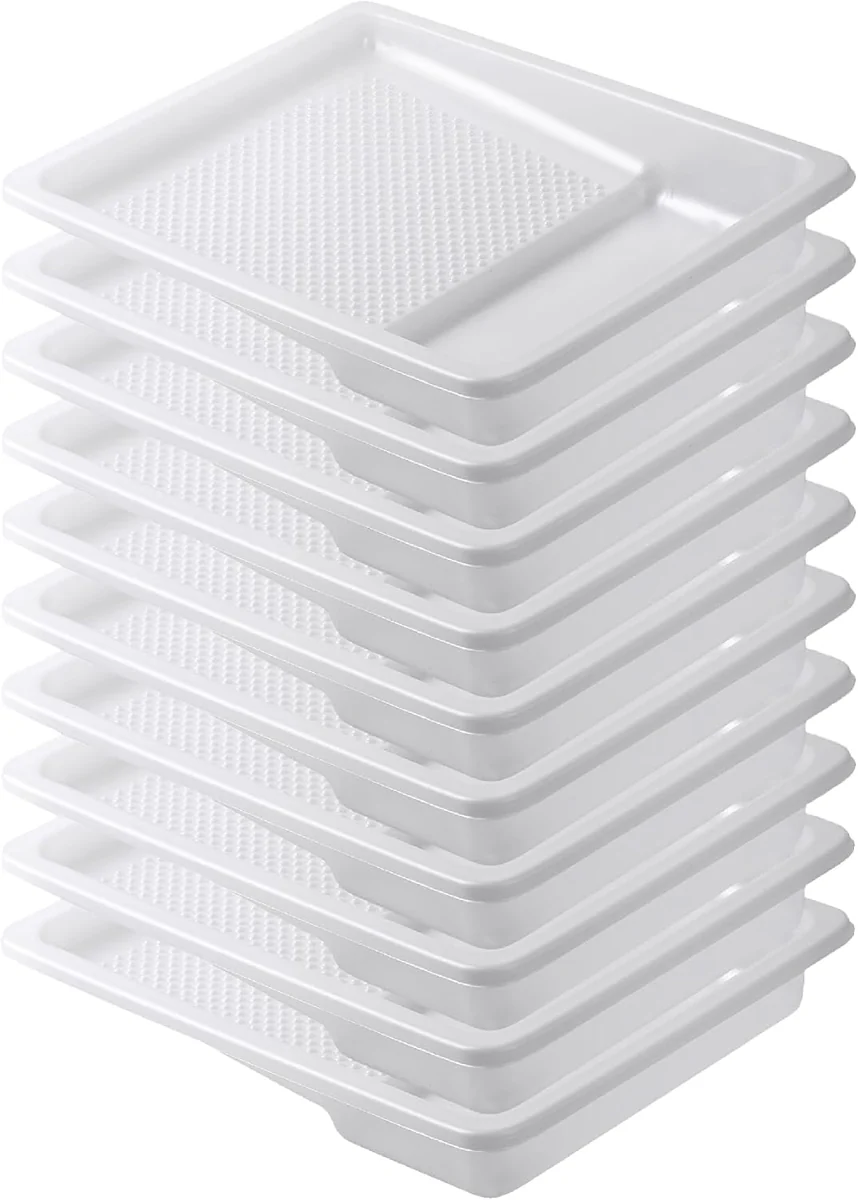
Bates Paint Tray Liners
These molded plastic liners fit into a paint-tray format. Their ramp and reservoir provide an area for loading a roller with coating.
View on AmazonTwo alternatives
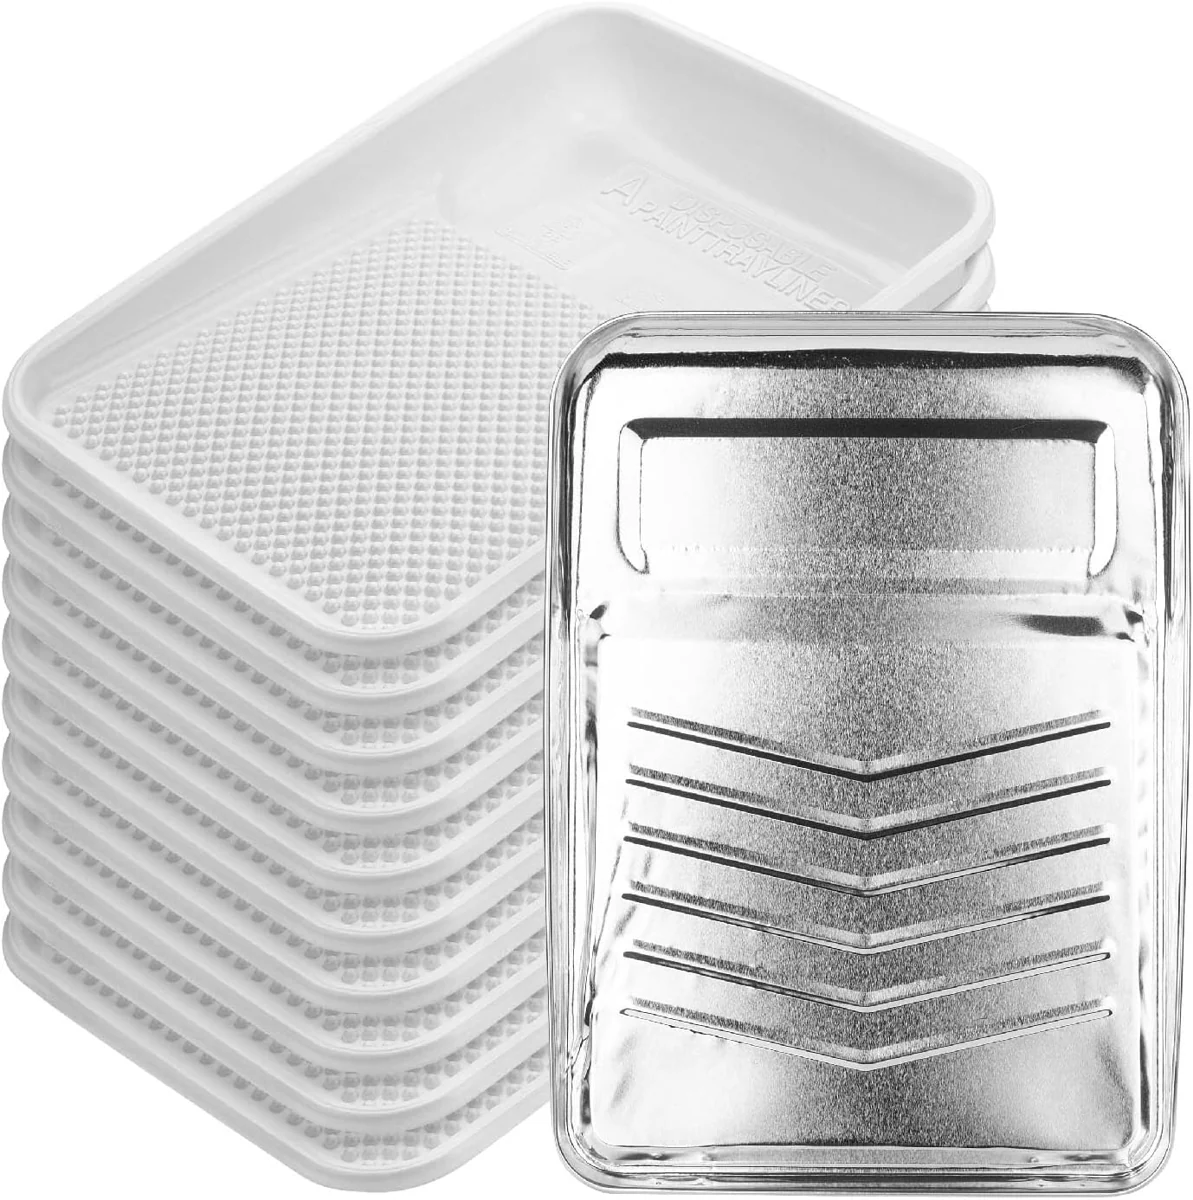
Bates Paint Tray and Liners
This package combines a paint tray with molded plastic liners. The sloped tray face provides an area for loading a roller above the coating reservoir.
View on AmazonCustom Coat Bedliner Roller Kit
This application kit combines textured roller covers, a frame, a tray and brushes. The grouped tools provide a roll-on format for coating work.
View on Amazon9. Older metal paint-roller tray
I used an older metal roller tray for the coating work. The Wooster tray below is a similar current Amazon option.
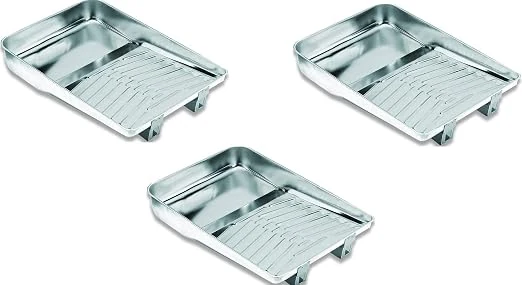
Wooster deluxe 11-inch metal tray, current three-pack
This Wooster metal tray has a ribbed ramp and welded legs. The current Amazon listing describes a three-tray package.
View on AmazonTwo alternatives
Bates Paint Tray and Liners
This package combines a paint tray with molded plastic liners. The sloped tray face provides an area for loading a roller above the coating reservoir.
View on AmazonCustom Coat Bedliner Roller Kit
This application kit combines textured roller covers, a frame, a tray and brushes. The grouped tools provide a roll-on format for coating work.
View on Amazon10. Bates six-pack of paintbrushes
I bought this six-pack of Bates paintbrushes on Amazon. The set includes flat and angled brushes with wooden handles.

Bates Paint Brush Set
This brush set contains several brush sizes with wooden handles. The grouped shapes provide separate tools for wider areas and smaller edge work.
View on AmazonTwo alternatives
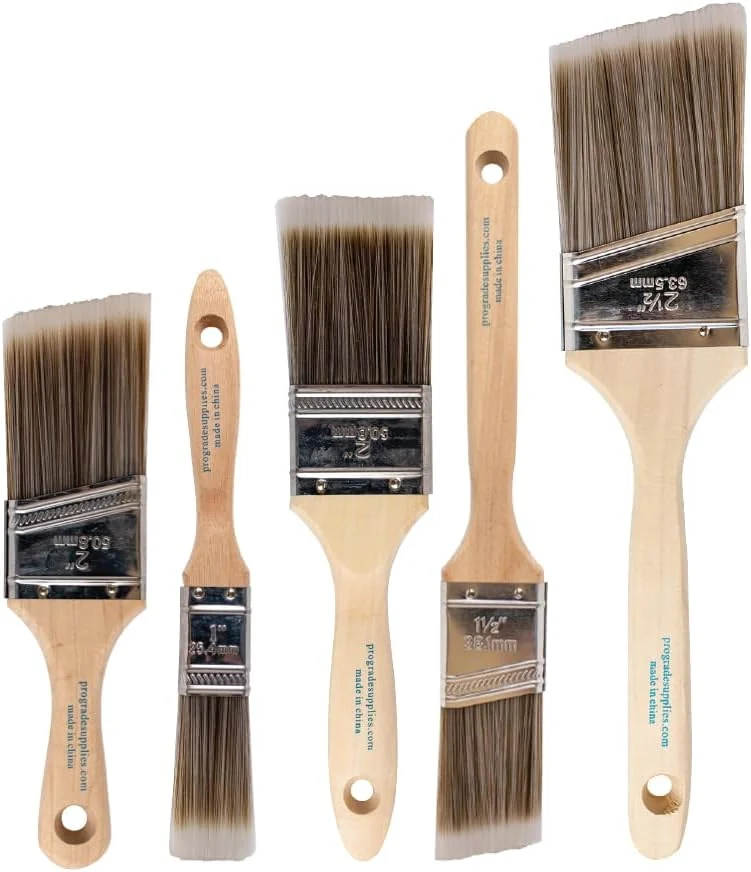
Pro Grade Flat and Angled Paint Brushes
This brush set includes flat and angled brush shapes. The different profiles provide options for broad strokes and smaller edge work.
View on Amazon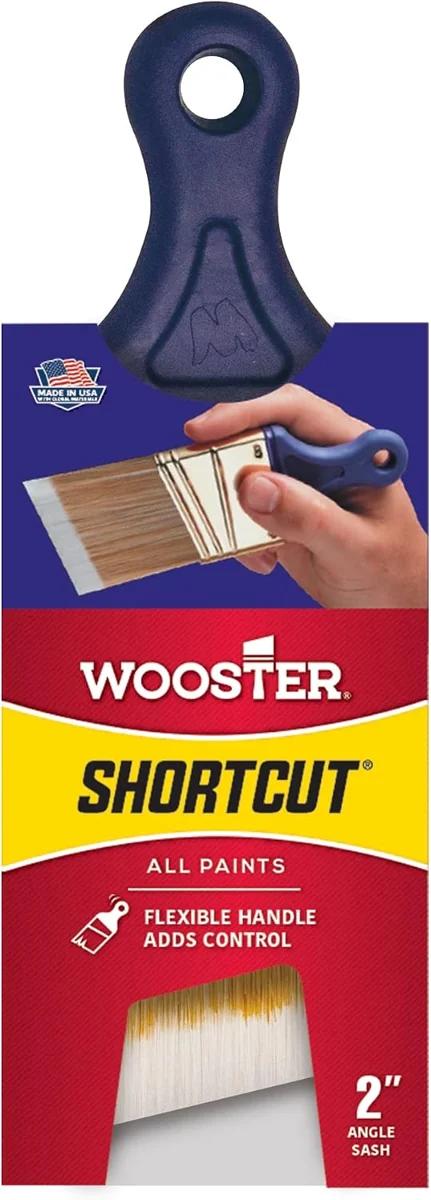
Wooster Shortcut Angled Brush
This paintbrush has angled bristles and a short handle. Its compact grip provides a different approach to edge work than a long-handled brush.
View on Amazon11. Berkland black polyurethane windshield adhesive
I bought Berkland black polyurethane windshield adhesive on Amazon for the installation work. The capsule fit problems left black adhesive spread across the surrounding white bodywork.
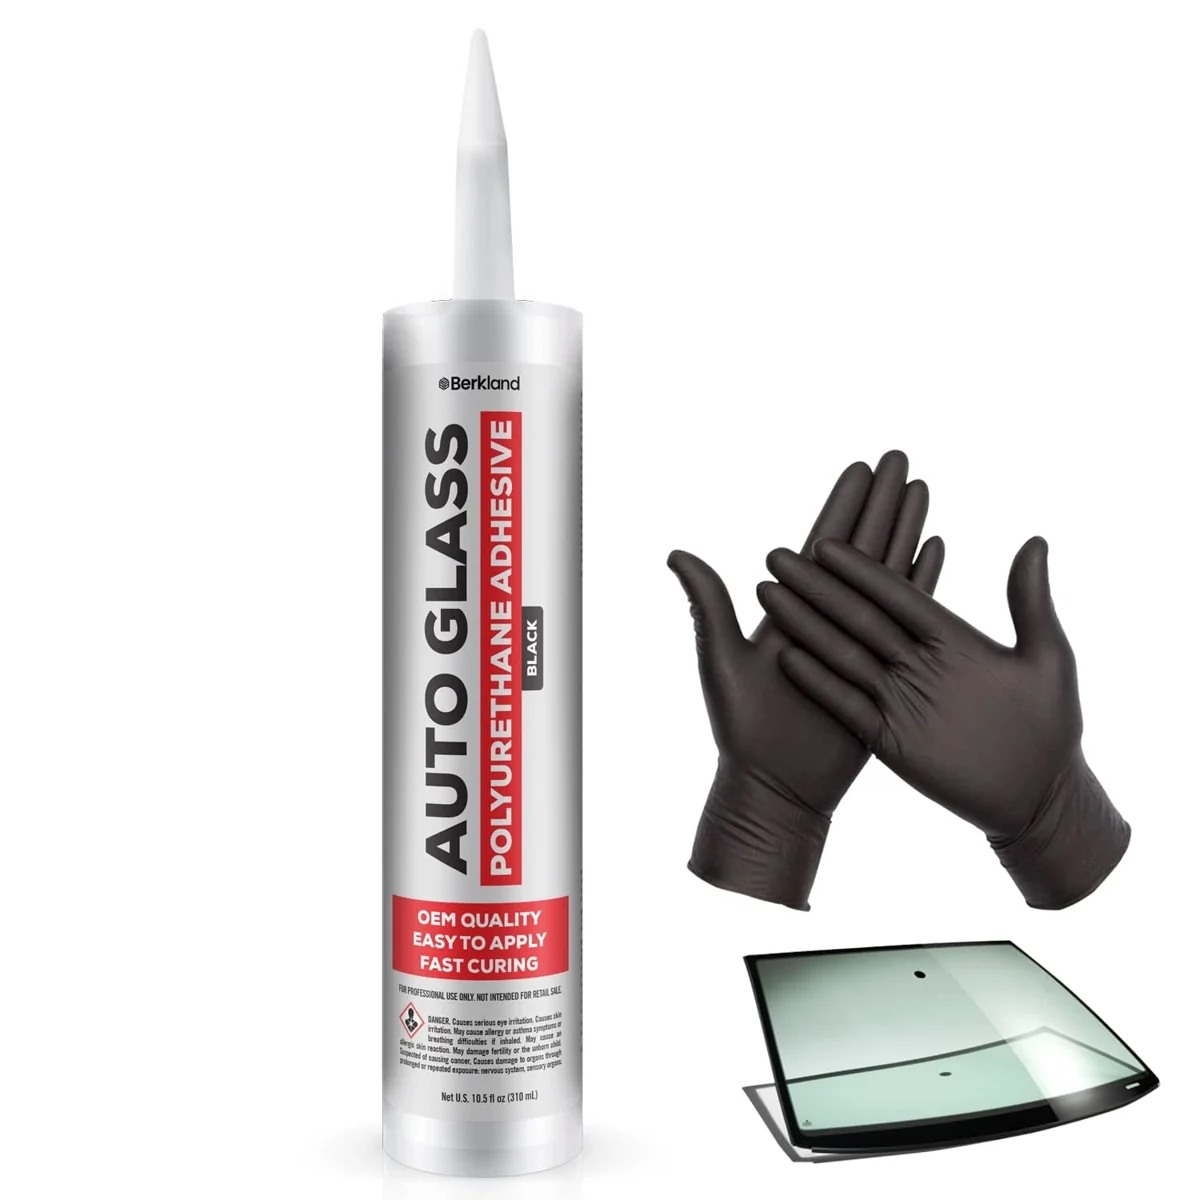
Berkland Polyurethane Windshield Adhesive
Berkland windshield adhesive is a black polyurethane compound supplied in a dispensing cartridge. The nozzle format places a continuous bead for automotive glass bonding.
View on AmazonTwo alternatives
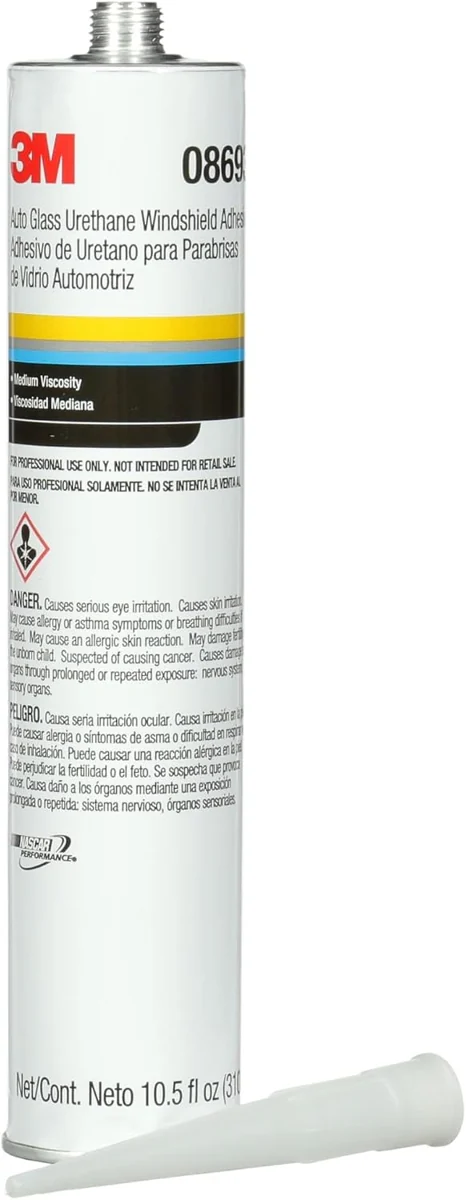
3M 08693 Auto Glass Urethane
This black urethane adhesive is packaged for automotive glass bonding. Its cartridge and nozzle provide controlled bead placement with a dispensing gun.
View on Amazon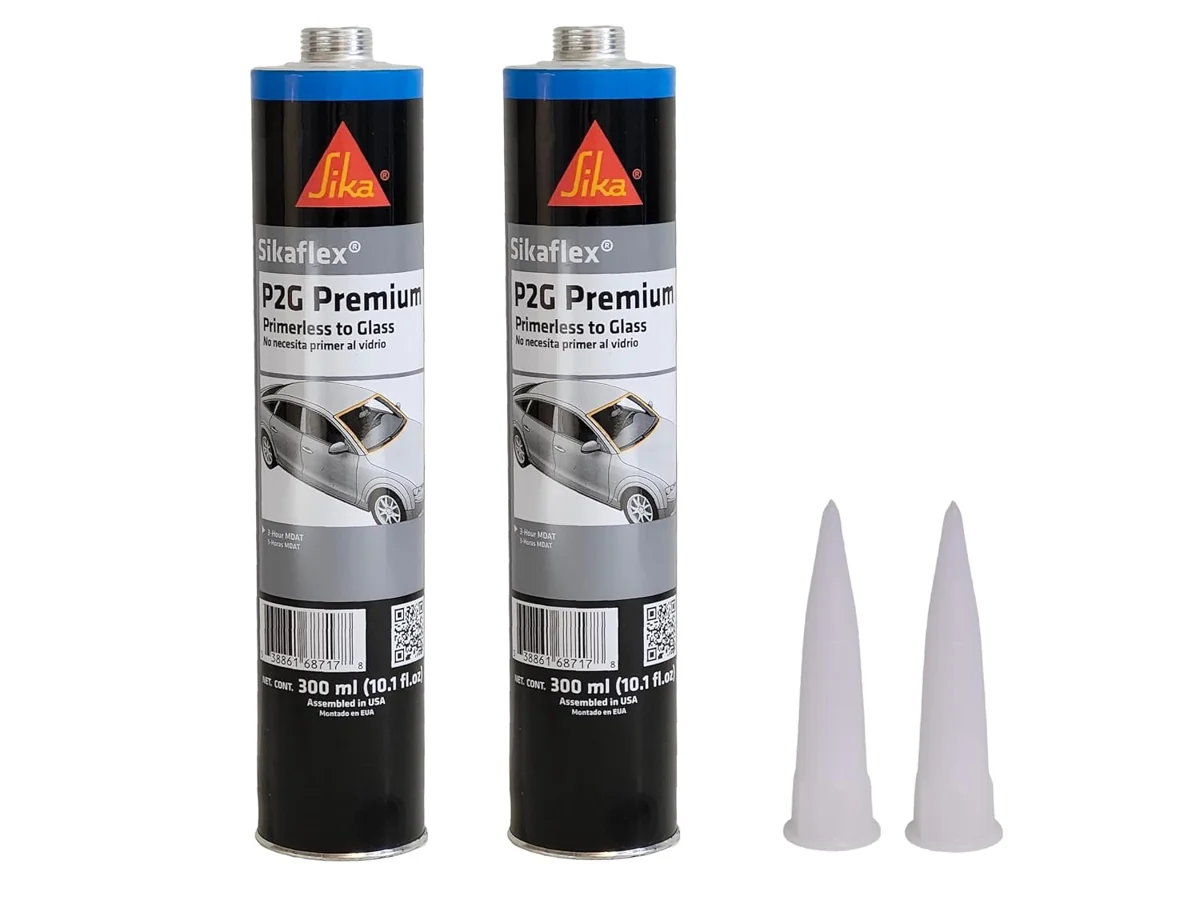
Sikaflex P2G Premium Glass Adhesive
This polyurethane adhesive is intended for automotive glass bonding. The two-cartridge package includes separate dispensing nozzles.
View on Amazon12. CRL VW1033L and VW1033R sliding bunk windows
I bought the CRL VW1033L driver-side and VW1033R passenger-side bunk windows separately from the capsules. They were ordered from Nomadic Supply in January2024 and delivered on January17.
CRL VW1033L driver-side and VW1033R passenger-side windows were ordered from Nomadic Supply in January2024 and delivered January17. VW1033L · VW1033R
Two alternatives
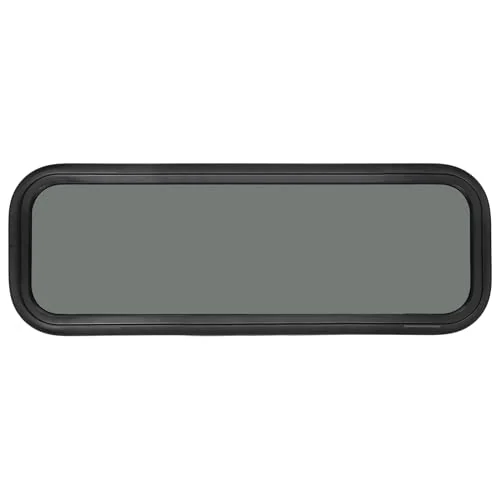
OUTPRIZE 33-by-10-Inch Fixed RV Window
This OUTPRIZE window uses tinted glass in a fixed frame. Its low, wide shape offers a daylight window option with a matching trim ring.
View on Amazon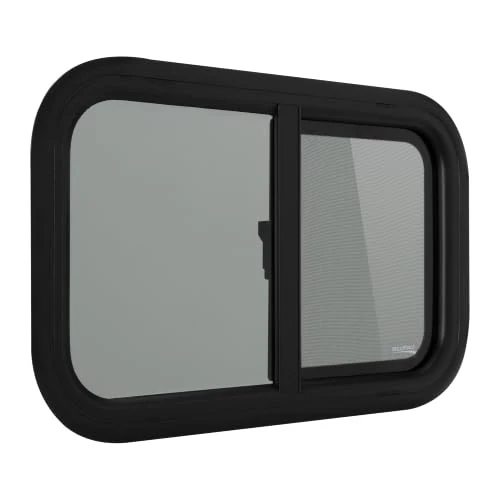
RecPro 24-by-15-Inch Sliding RV Window
This RecPro window combines tinted glass with a sliding section and central latch. Its rounded frame gives a taller window shape to compare with a long bunk window.
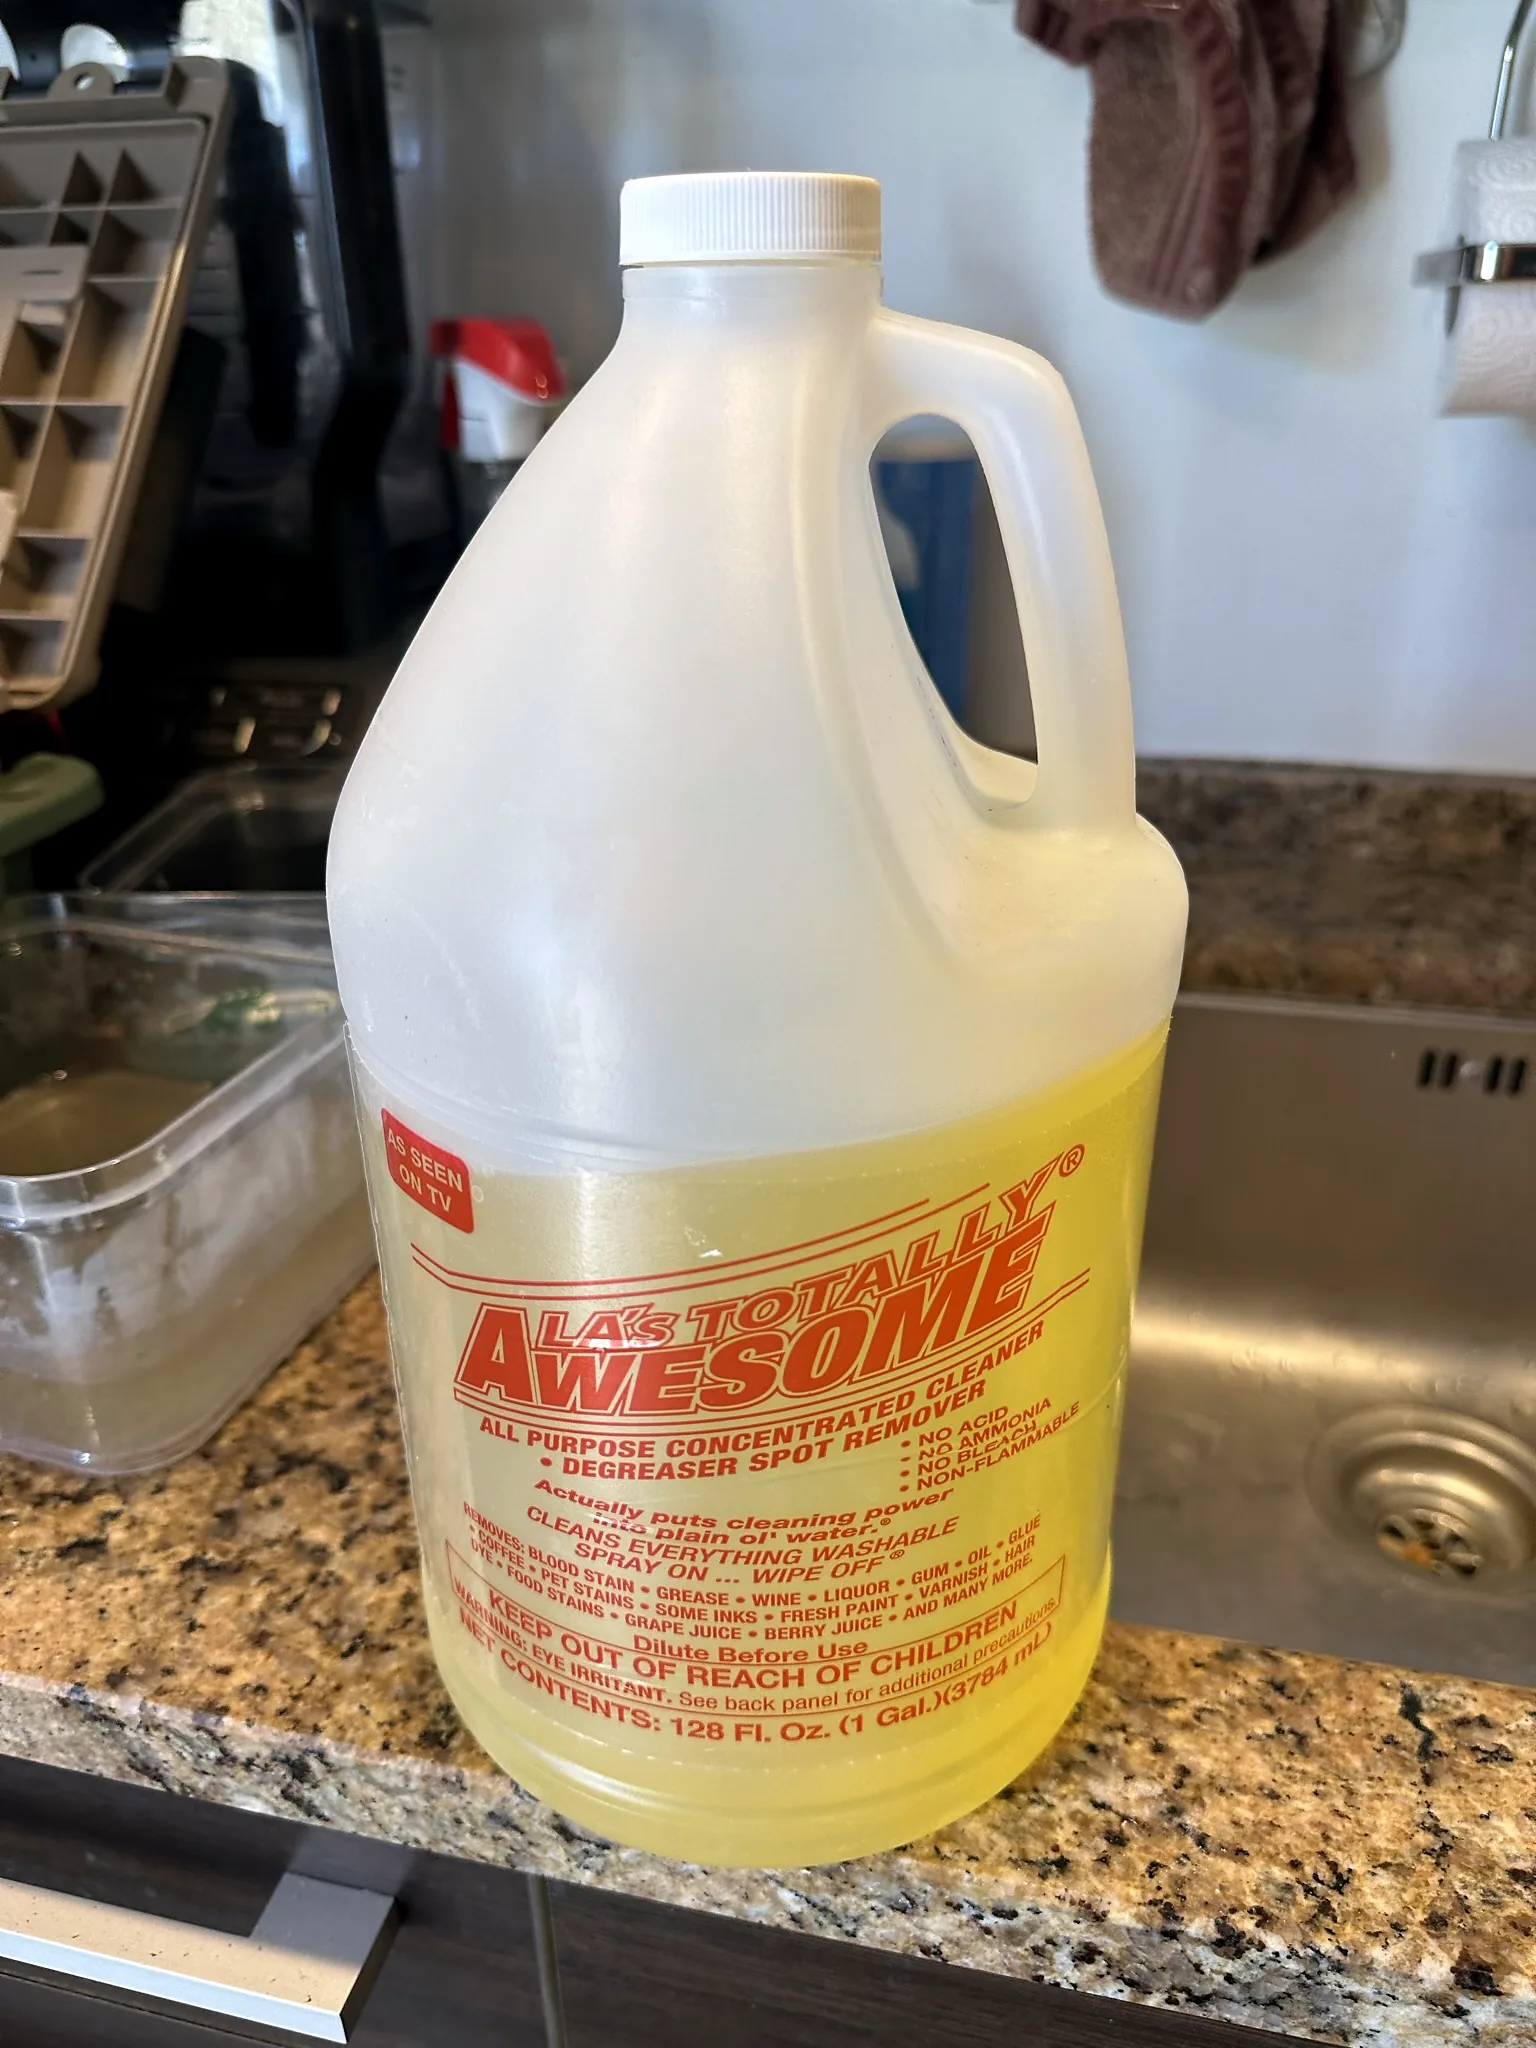
View on Amazon13. LA’s Totally Awesome original all-purpose cleaner, 128oz
I used LA’s Totally Awesome original cleaner in the gallon container shown in the photograph. The current Amazon bundle below includes the 128-ounce refill and a separate spray bottle.
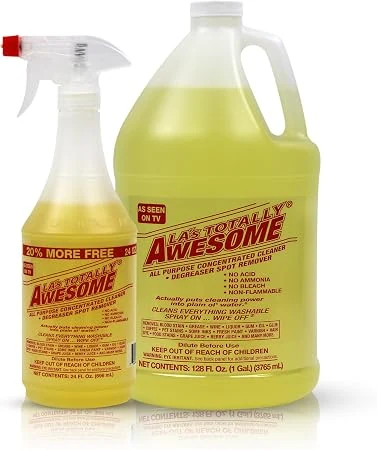
LA’s Totally Awesome 128oz refill plus 24oz spray bundle
This current LA’s Totally Awesome bundle combines a 128-ounce original cleaner refill with a 24-ounce spray bottle. It provides the same brand and cleaner type in a different current package.
View on AmazonTwo alternatives
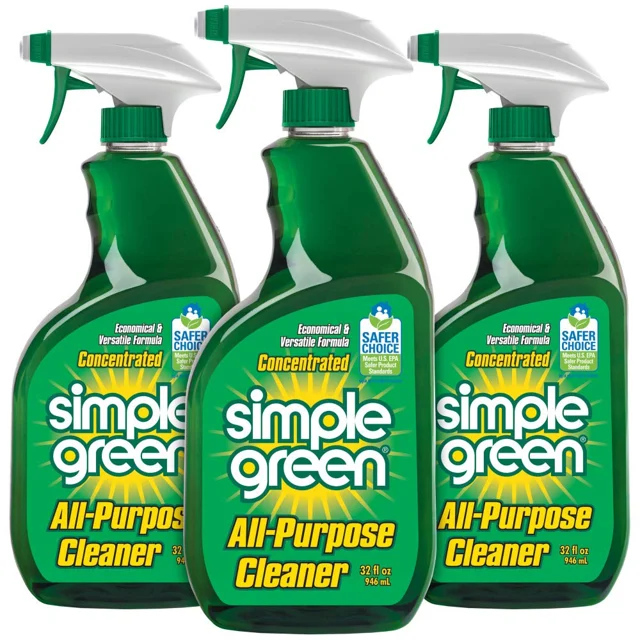
Simple Green All-Purpose Cleaner
This all-purpose cleaner removes dirt from washable surfaces. It is a cleanup supply for preparing the cargo area and workshop components.
View on Amazon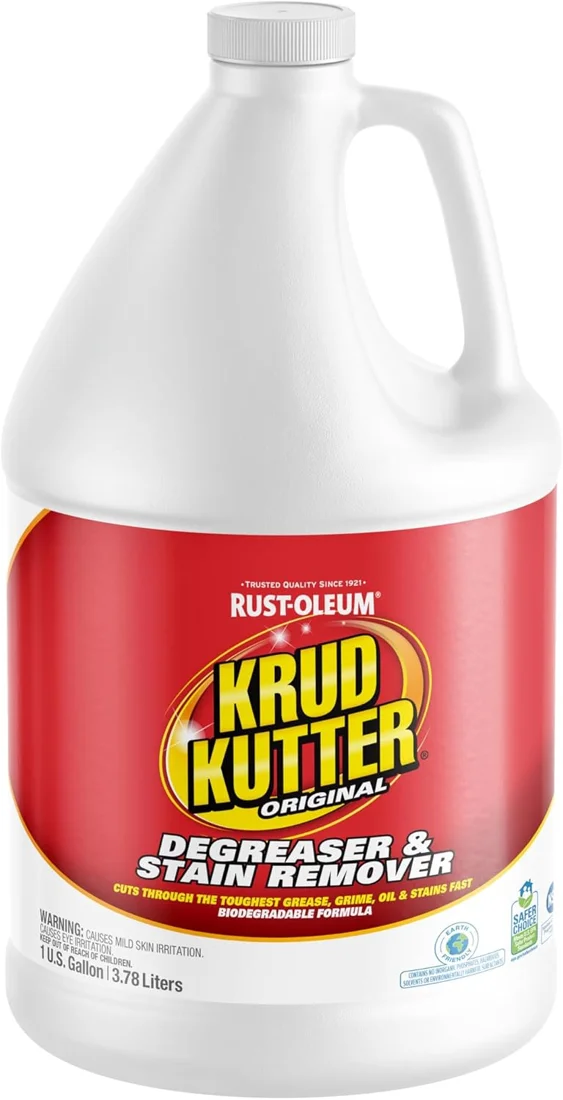
Krud Kutter Original Cleaner
This concentrated cleaner and degreaser targets grease, oil and other residue on washable surfaces. Its dilutable formula offers another general cleanup option for a workshop or cargo area.
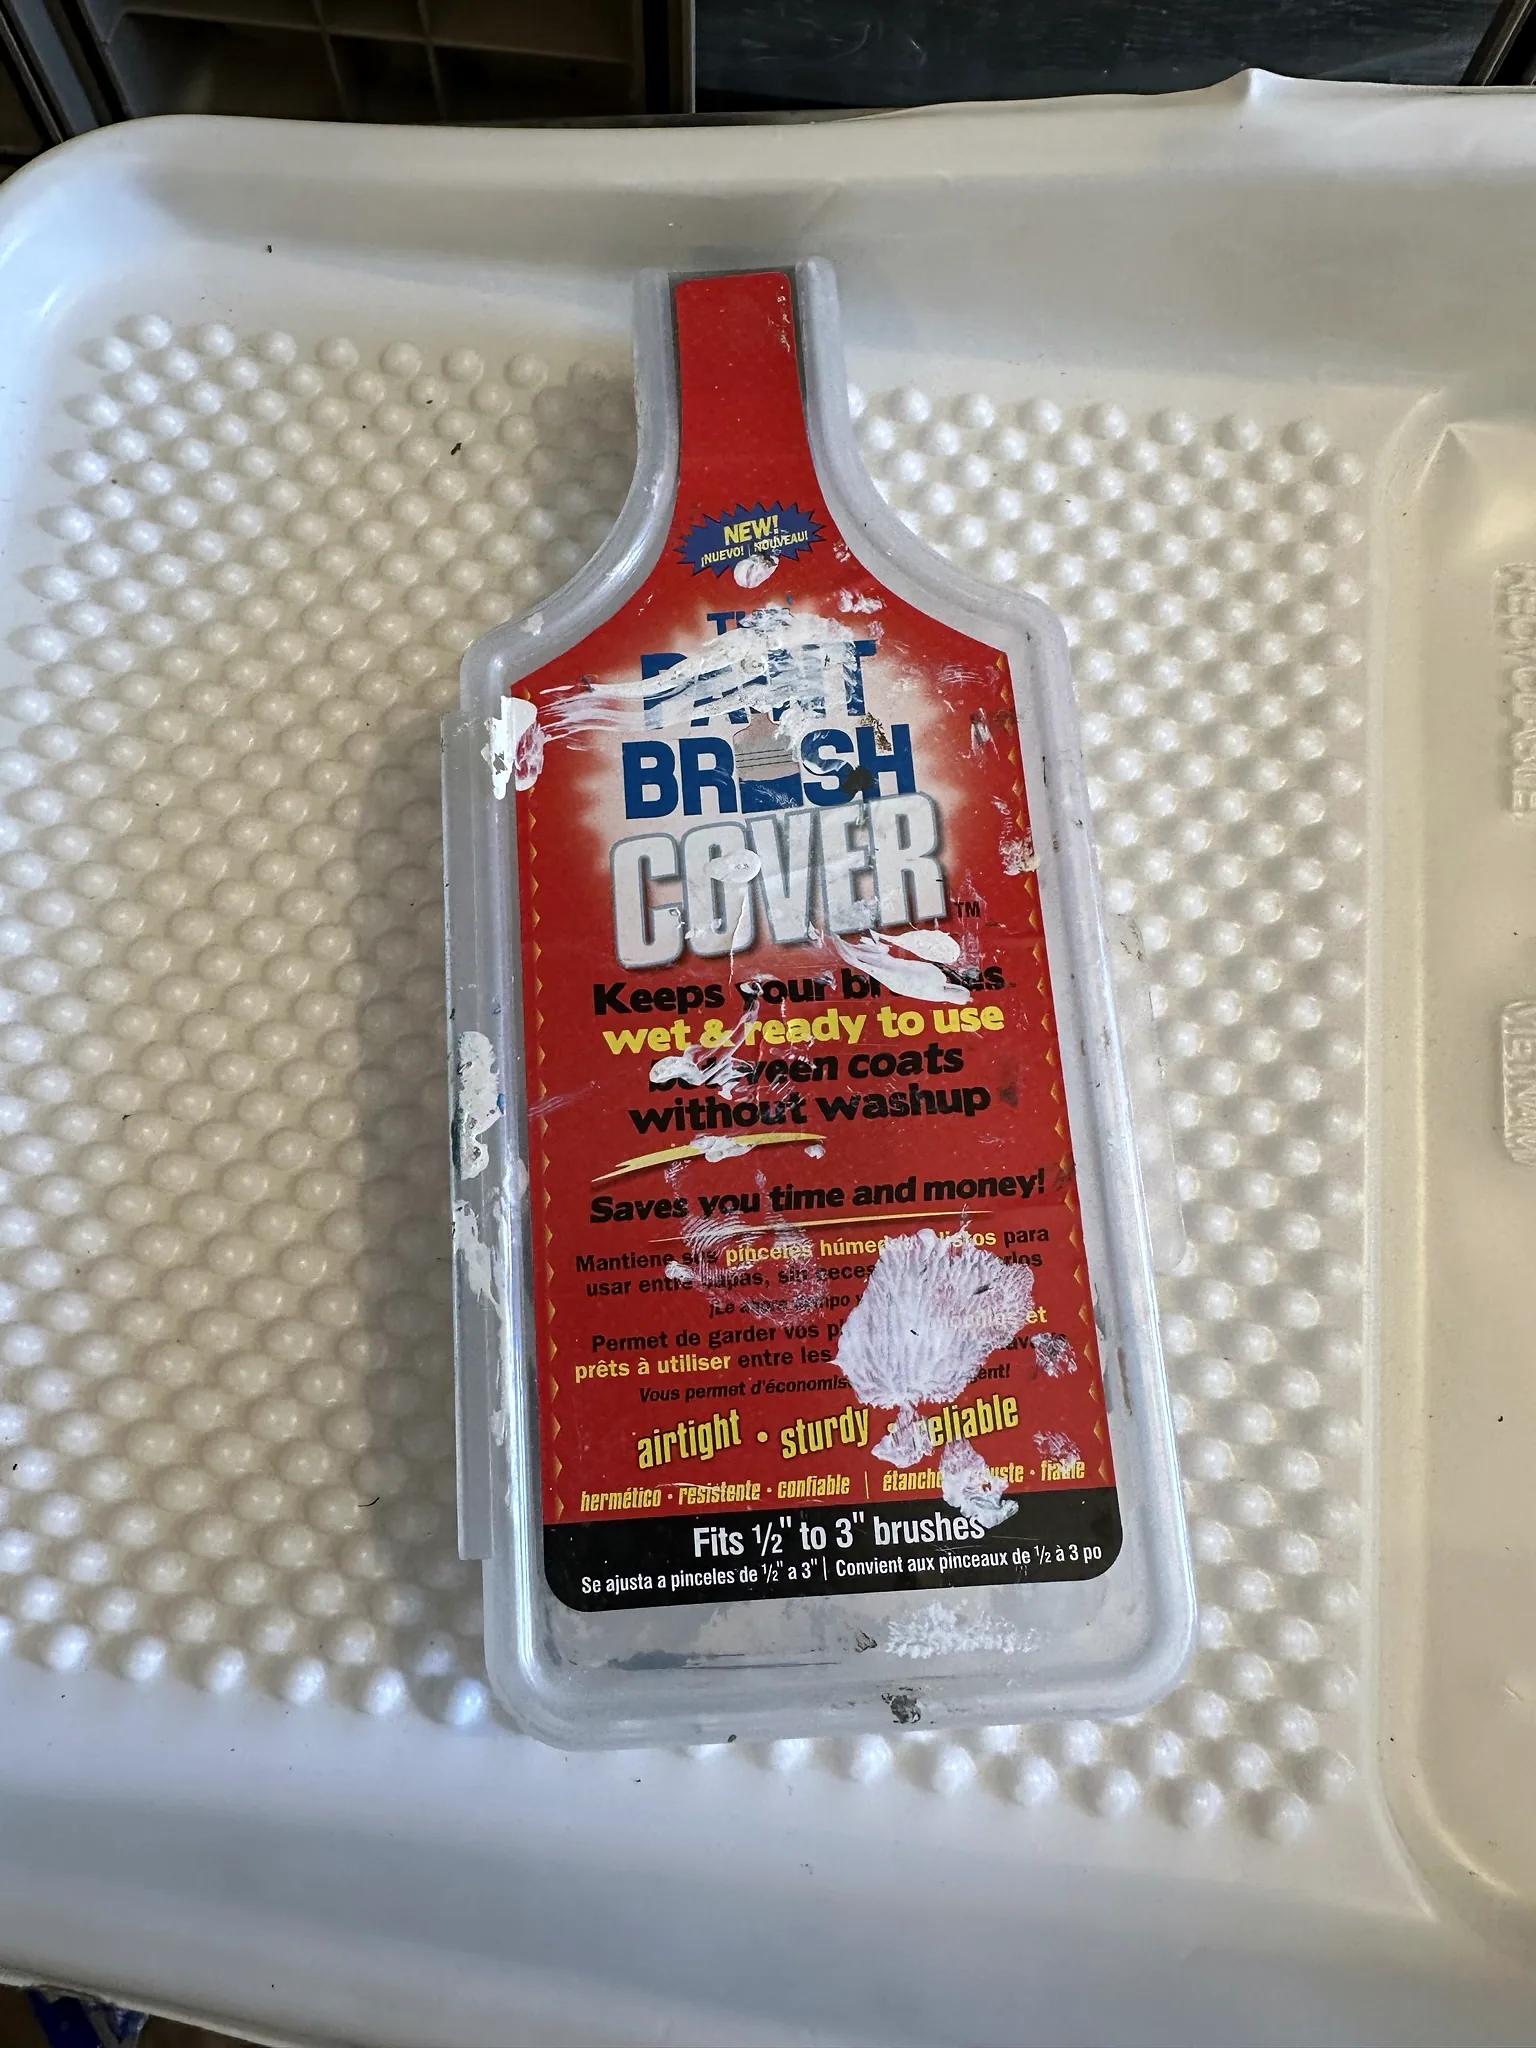
View on Amazon14. Likwid Concepts The Paint Brush Cover, PBC001
I bought The Paint Brush Cover on Amazon before the van build. The Likwid Concepts cover below matches the product in my photograph.
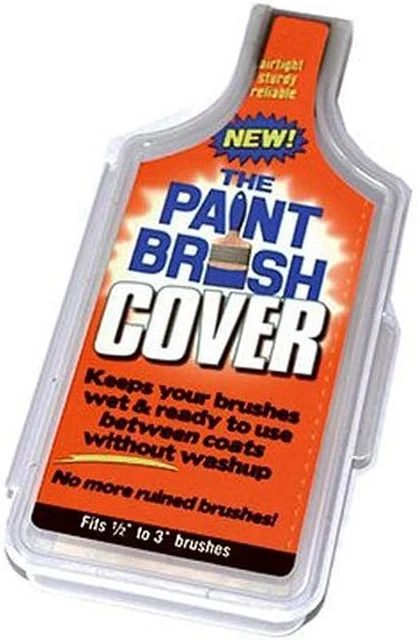
Likwid Concepts The Paint Brush Cover
This hinged plastic case encloses a paintbrush between coats. Its closure keeps the brush inside a reusable storage cover.
View on AmazonTwo alternatives
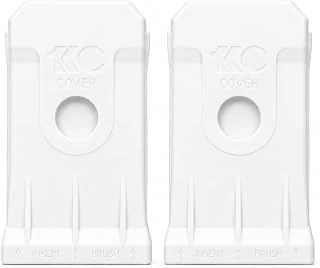
1KCover 2½-inch brush cover
This white reusable cover encloses a two-and-a-half-inch paintbrush. Its molded case provides a storage option between painting sessions.
View on Amazon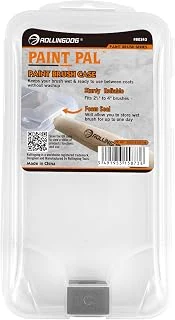
ROLLINGDOG Super Sealed brush cover
This ROLLINGDOG cover encloses a paintbrush in a reusable plastic case. Its latching design provides another brush-storage option.
View on Amazon