The Item in My Kit
I bought Mayhew 62215 Center Punch Set as part of my camper van equipment.
Drilled connector holes were a recurring part of my roof-mount fabrication. The Mayhew set sits in my purchased layout tools for the stage between marking a hole and bringing in the drill.
Laying Out the Drilled Connector Pieces
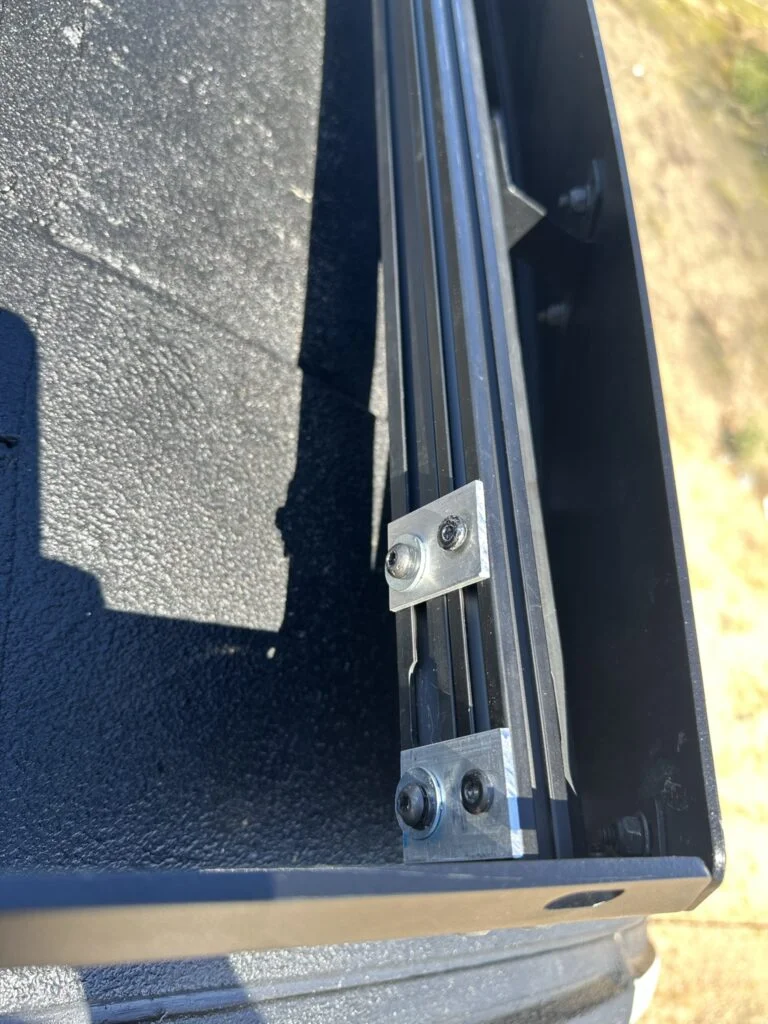
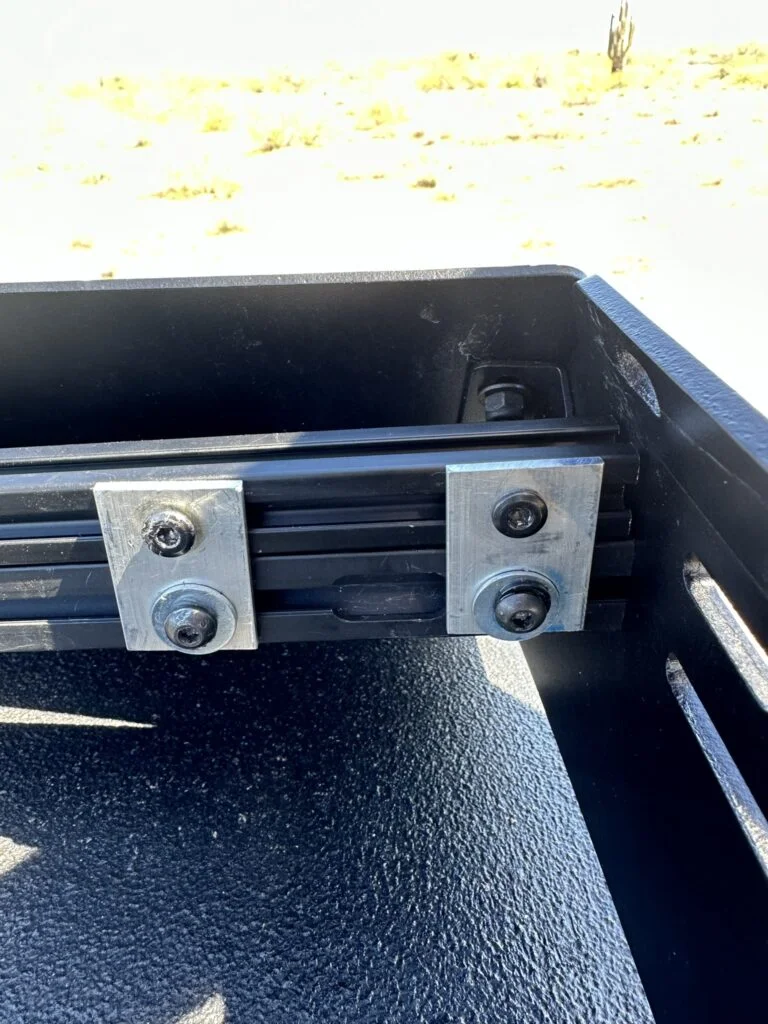
- I cut the added light-bar beam and made three short connector pieces.
- I drilled the connectors to join the different extrusion and rack hardware.
- I assembled the joints, then dealt with slot-nut position while starting the bolts.
Camper Van Project Applications
A center punch establishes a starting point before the drill bit begins cutting. This is useful on small brackets or extrusion where a wandering start changes the hole location. Layout, punch mark and drill-bit choice each contribute to the final position.
For a wider view of the build kit, see my van conversion tool checklist and budget versus professional tool comparisons.
Manufacturer Specifications And Instructions
| Specification | Manufacturer Detail |
|---|---|
| Model | 62215 |
| Set Size | Four centre punches |
| Point Sizes | 5/64, 1/8, 3/16 and 5/16 inch |
| Finish | Black oxide |
| Storage | Pouch |
Mayhew describes these punches as marking tools for starting drill holes. The point size is the marking tip, not a finished drill-hole diameter; the subsequent drill bit determines the hole used for the fastener.
My Experience with This Tool
I mainly used these punches on 2020 aluminum extrusion, but I also reached for them before drilling other metal on the roof and inside the van. Without a starting dimple, the drill bit could wander as it began cutting and leave the hole off from where I wanted it.
A quick punch mark helped my drill bits start exactly where I wanted. This is an inexpensive set, and I recommend it.
I also preferred these Mayhew punches to the punch supplied in my ZORUNNA woodworking kit. The Mayhew punches felt more solid and stable when I struck them against metal; the kit's punch moved around more.
Watch My Mayhew 62215 Center Punch Review
My narrated review covers the starting dimples I made mainly in 2020 aluminum extrusion, my roof-mount connector work and why I preferred these punches to the punch in my ZORUNNA kit.
Press Play To Start The Video.
Read The Video Transcript
Hi, I'm Steve Smith with Camper Van Freedom. These are my Mayhew six-two-two-one-five center punches. I mainly used them on twenty-twenty aluminum extrusion, and also before drilling other metal on the roof and inside the van. A quick starting dimple helped my drill bits begin exactly where I wanted the hole. This inexpensive set earned my recommendation.
The matching product picture shows four separate pointed punches. They are marking tools, used before the drill starts cutting. The point creates a small starting location; the drill bit makes the finished hole. Those are two different stages, so the punch point size is not the final hole diameter.
Without a starting dimple, my drill bit could wander as it began cutting. That could leave the hole away from the position I wanted. The diagram separates the marked location, the punch mark and the drill starting in that mark. It explains what I wanted the punch to do, before any bolt went into the assembly.
My roof-mount photographs show the profiles, connector pieces and joint hardware from the build. I cut the added light-bar beam and made three short connector pieces. Drilling those connectors came before joining the different extrusion and rack hardware. The photographs show the assembled connections and the position of their fasteners.
Laying out the work and starting the hole are separate from the later bolt-fitting job. The illustrative workshop footage shows measuring and holding a workpiece. My assembly then involved getting the slot nuts into position while starting the bolts. A good hole location helped set up that later stage; the punch was the marking tool in that sequence.
I also preferred these Mayhew punches to the punch included in my ZORUNNA kit. The Mayhew tools felt more solid and stable when I struck them against metal. The kit punch moved around more. The matching kit picture keeps that comparison tied to the product I actually used, rather than treating every punch as identical.
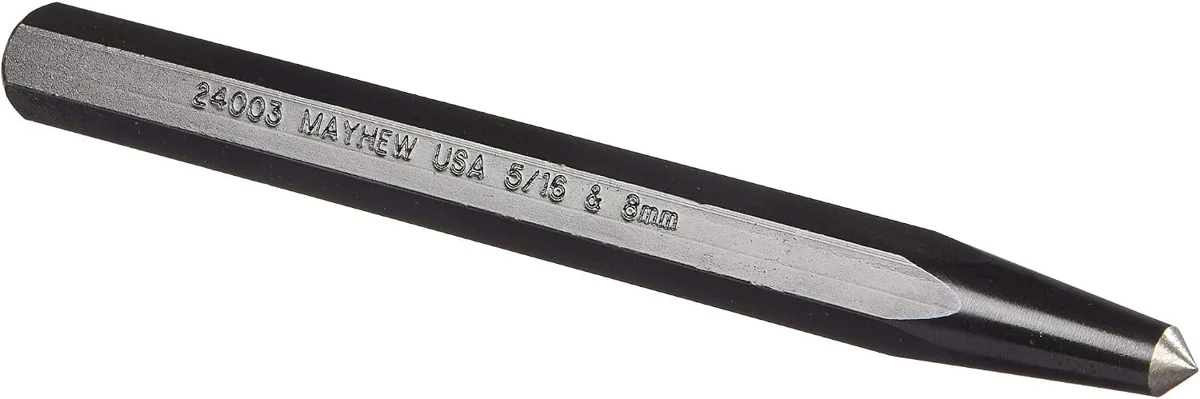
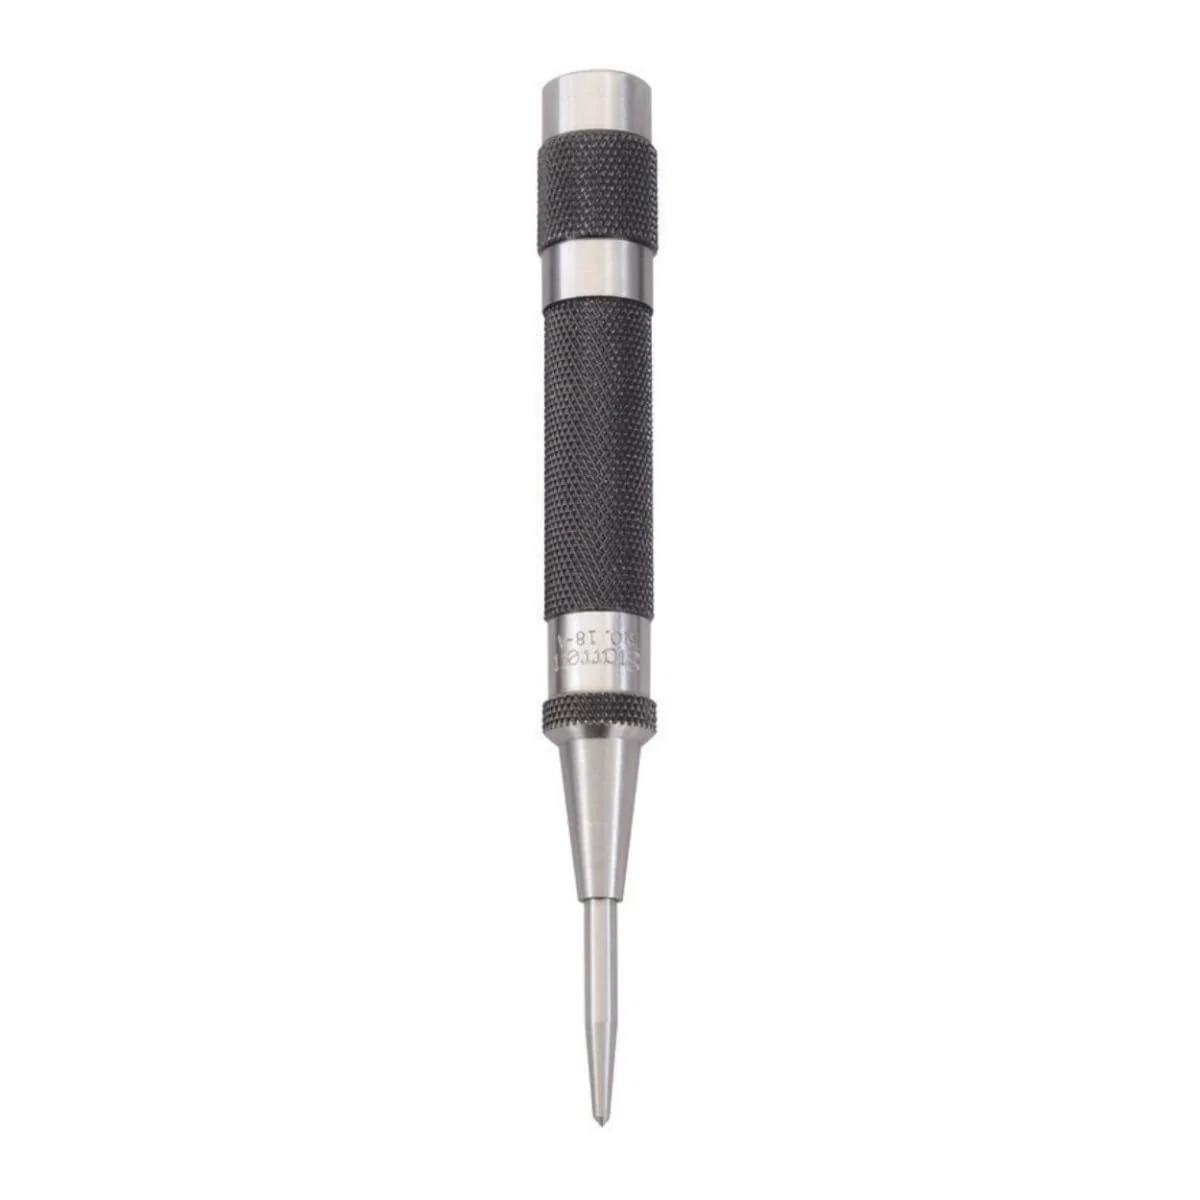
My page has two researched alternatives. The Mayhew twenty-four-thousand-three is a single hammer-struck center punch, rather than an assortment. The Starrett eighteen A uses a spring mechanism and an adjustable stroke to make the mark without a separate hammer. Their pictures show the different arrangements. My firsthand recommendation here is for the Mayhew set.
Thanks for watching. I'm Steve Smith with Camper Van Freedom. We covered my Mayhew center punches, starting dimples and the layout work behind my drilled roof connections. The full review, build pictures, related ZORUNNA review and current Amazon buying options are linked below. Until next time.
Watch This Review On YouTube · English Captions (VTT) · Download The Transcript
My Takeaway from This Job
Hole layout happens before the fiddly bolt-starting stage. My punch assortment offers several pointed tools; the alternatives simplify that to one struck punch or change the marking action to a spring-operated automatic punch.