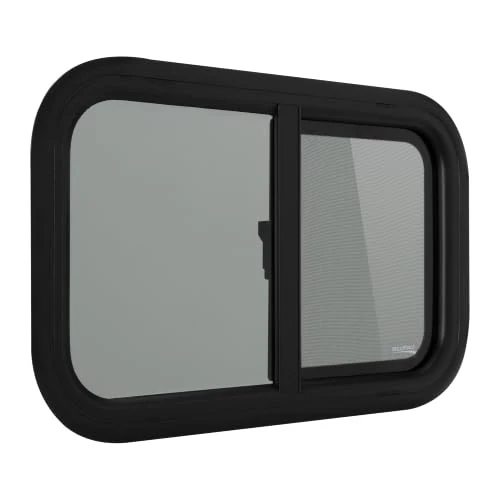
My camper-van purchases included both CRL VW1033L and VW1033R bunk windows. I have brought the driver-side and passenger-side purchases together on this page.
My camper-van purchases included both CRL VW1033L and VW1033R bunk windows. I have brought the driver-side and passenger-side purchases together on this page.
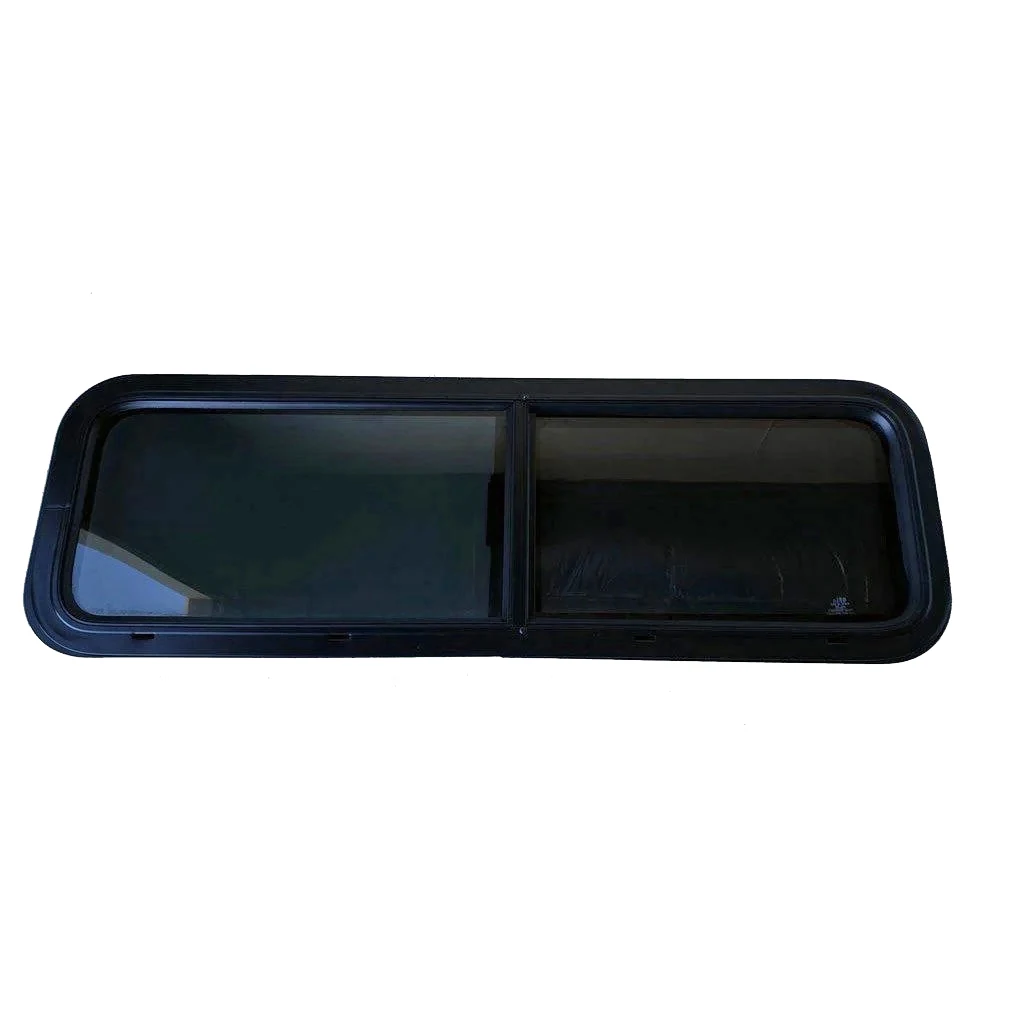
The VW1033L and VW1033R are the driver-side and passenger-side versions of CRL's long half-slider. Their low profile gives them a different shape from the taller RV window shown among the alternatives.
I used SketchUp to plan the interior and put body openings ahead of the framing, floor and wall panels.
My Interior Preparation notes included the shower drain and openings for three water tanks in that preparation sequence.
I removed cargo tie-down hardware for later framing mounts and door trim for the later insulation and paneling.
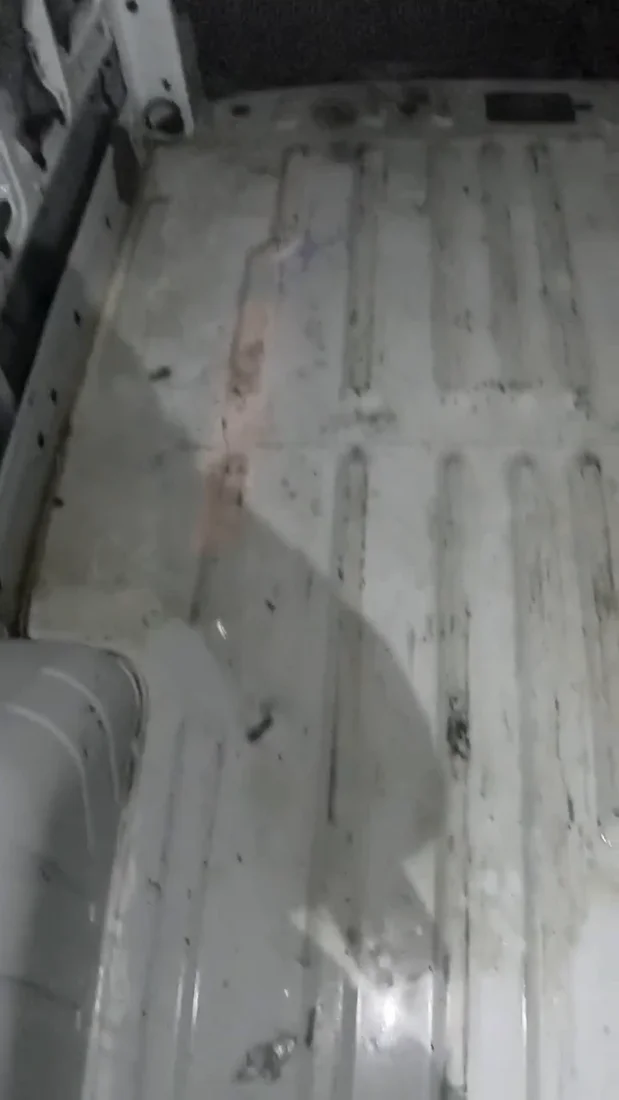
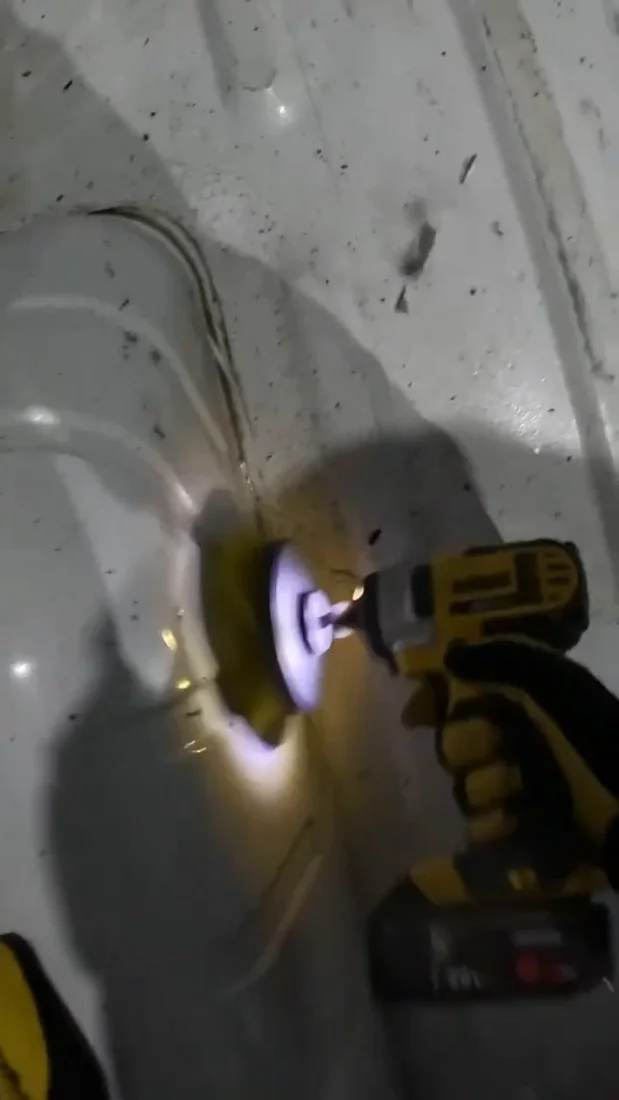
The cargo floor during my preparation session before sound deadening.Removing stuck-on residue during the floor cleanup.
My Takeaway for the Build
My interior preparation put body openings ahead of the later panels and insulation. That makes shape and opening style the useful comparison for the bunk-window purchase. The CRL is long and narrow with a half slider, OUTPRIZE is fixed, and RecPro is taller with a sliding section, changing the wall layout.
Product Details And Van-Build Uses
Specification
Product Detail
Driver-side model
VW1033L
Passenger-side model
VW1033R
Window format
Universal non-contoured half slider
The left and right CRL bunk-window models keep the opening direction matched to the side of the van. Before drawing a cutout, identify the model on the actual window and lay out its orientation beside the intended mounting surface. The frame, trim and surrounding interior all need space in the plan. An overall window dimension is different from a cutting template, so use the fitting information supplied for the actual assembly when transferring the opening. Keep the left and right pieces identified through the preparation stage.
They are separate side-specific models: VW1033L for the driver side and VW1033R for the passenger side.
Alternative products
Two Alternatives to Compare
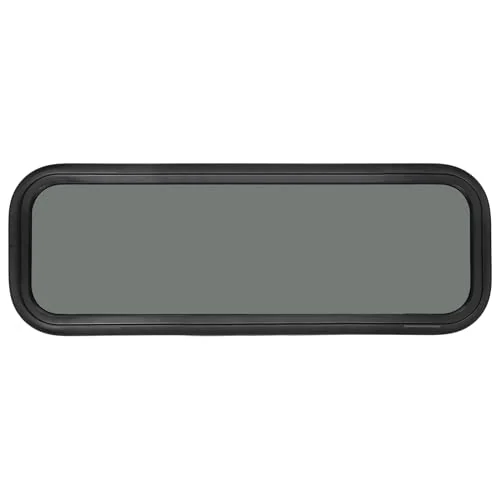
The CRL windows use a long half-slider format, listed at 33-7/8 by 10-7/8 inches. The OUTPRIZE option is a fixed 33-by-10-inch window, while the RecPro is a taller 24-by-15-inch sliding design; opening style and shape are the main differences for planning a wall layout.
Product
What distinguishes it
Purchase link
CRL Sliding Bunk Windows for My Camper Van
Long narrow CRL half-slider with removable screen.
This RecPro window combines tinted glass with a sliding section and central latch. Its rounded frame gives a taller window shape to compare with a long bunk window.
I bought the CRL VW1033L driver-side and VW1033R passenger-side bunk windows separately from the capsules. They were ordered from Nomadic Supply in January2024 and delivered on January17.