Returning to the Masking After Rain
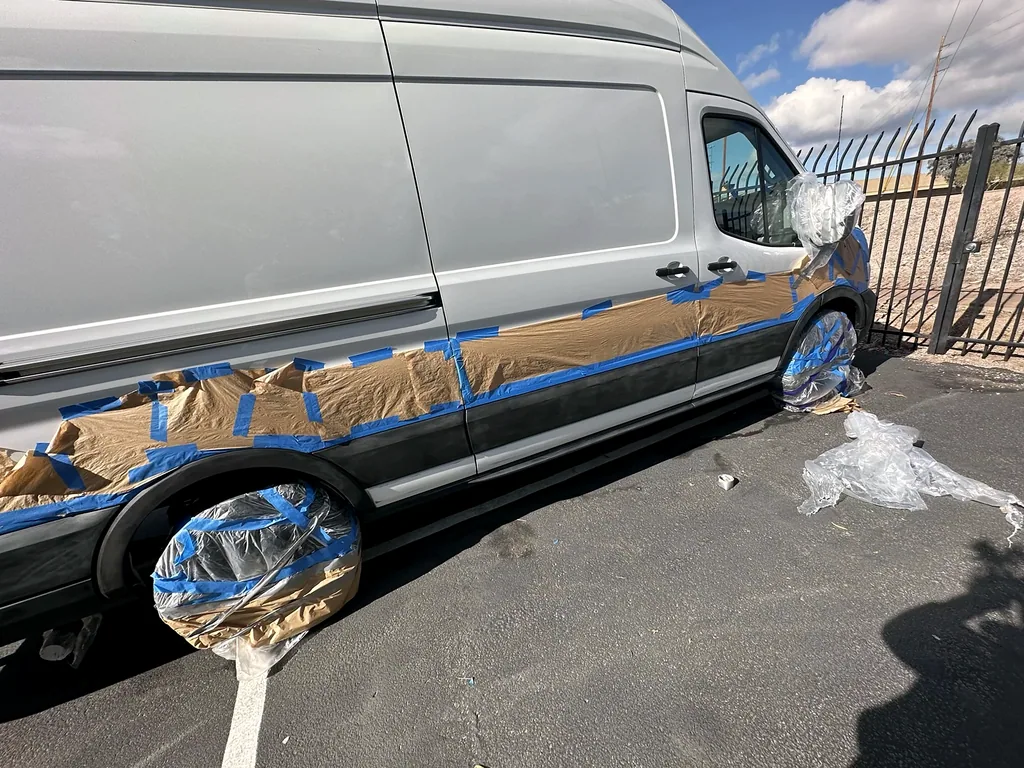
I began my update by explaining that I had tried to finish the previous day while the sun was out, but had not managed it. There had also been unexpected rain. The tape and paper had stayed in place, and I walked around the damp van while waiting for the surfaces to dry.
I recapped the cleaning, degreasing and sanding I had done and showed the scuffed trim and hood. My midday photographs record the masked van from several angles, with covered wheels and a blue-tape boundary above the lower panels.
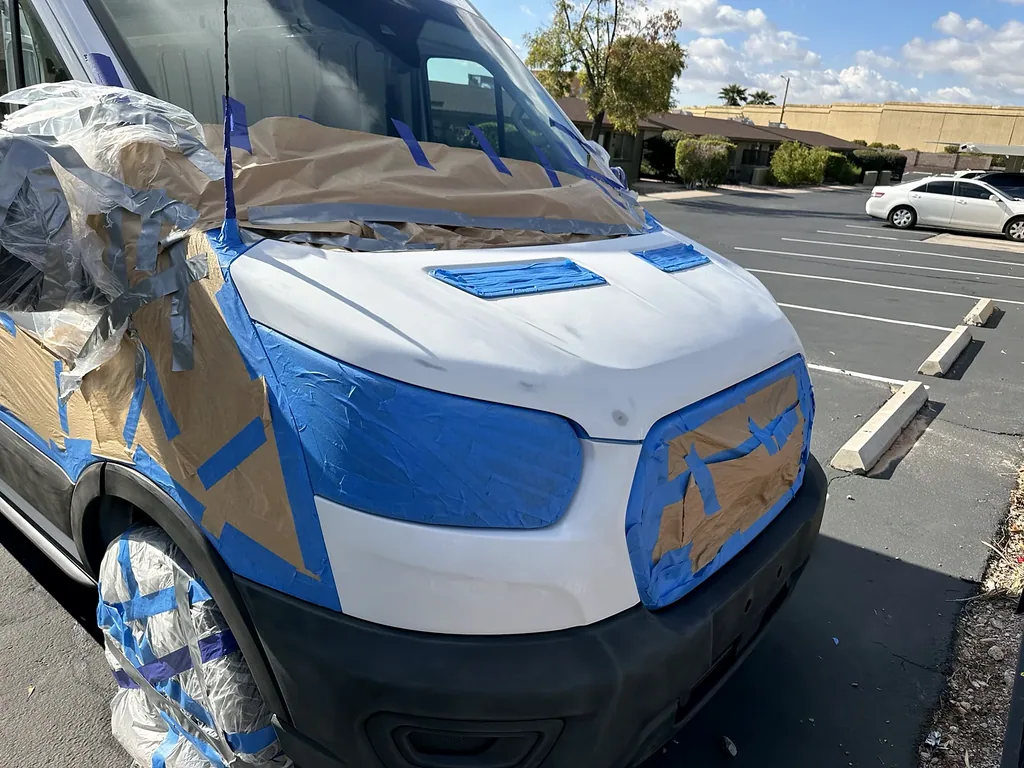
Preparing the Lower Trim
The Tack Cloth Caught the Small Things
I demonstrated wiping the prepared hood with a yellow tack cloth. It was my first experience using one, and I was struck by how sticky it was. I pointed out debris after the rain and little red fibers left by the towel I had used for drying.
The photographs include the HDX tack-cloth packet, the cloth itself and the preparation supplies. I also showed a Dupli-Color plastic adhesion-promoter can while explaining its intended role on the plastic trim. My tack-cloth notes and adhesion-promoter notes keep those project details together.
I used both Dupli-Color plastic adhesion promoter and U-POL adhesion promoter during my black RAPTOR project. The Dupli-Color can appears in my preparation footage, and the U-POL UP2096 purchase remains a separate item in my build records.
The Hood and the Sprayed Result
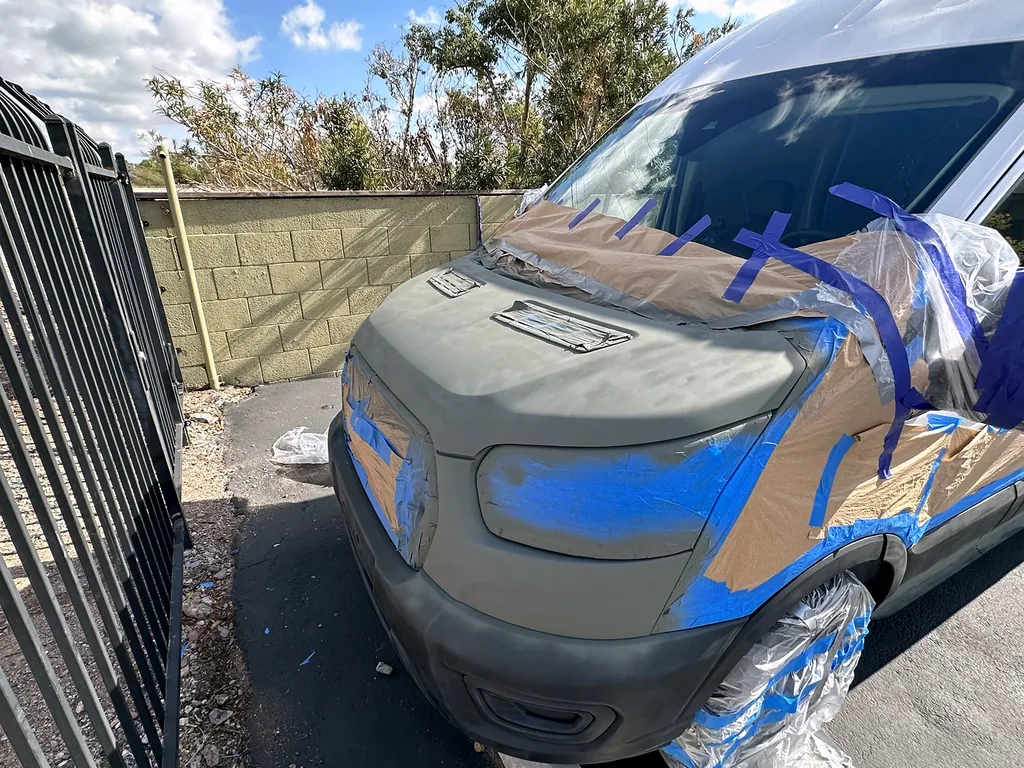
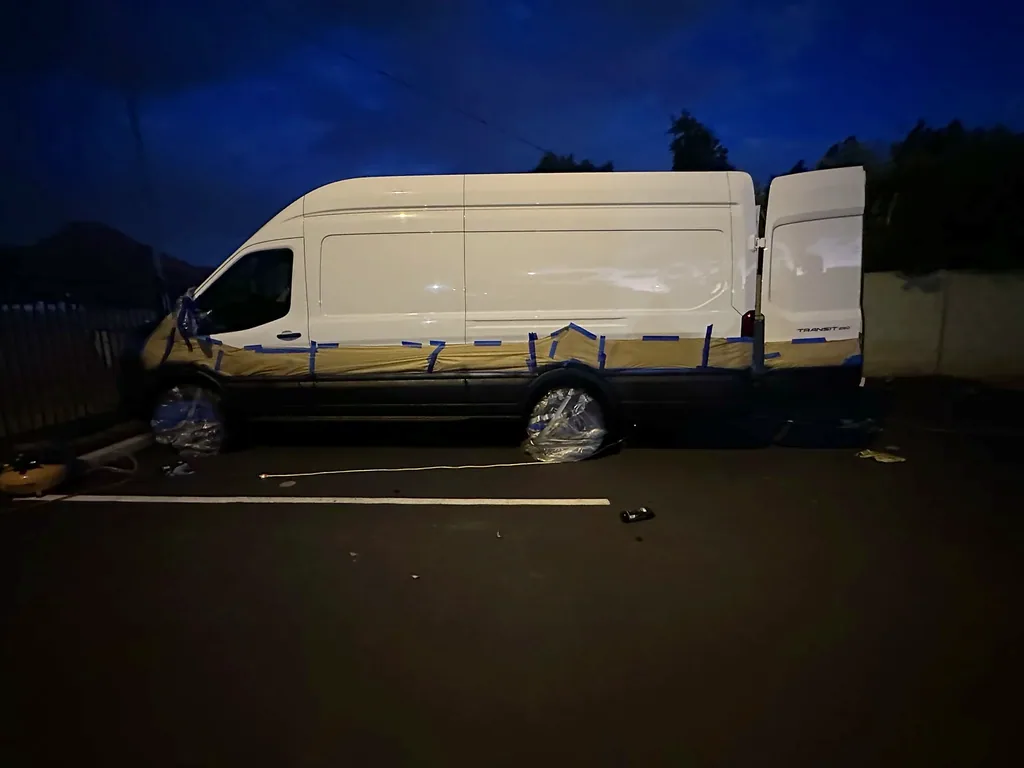
Later photographs show the gray-green primer on the hood and front painted area, with the masking still covering the surrounding parts. By the evening, the hood, lower sides and bumper had changed to black.
My expanded film shows the U-POL RAPTOR Black Urethane Bedliner Kit Project and the separate U-POL RAPTOR Black Urethane Bedliner Kit Project.
In the dusk walkthrough I showed the compressor and bottle-fed spray gun and described the coats I had sprayed. I had expected another black kit, but one of the boxes was tintable, which changed how much black coating I had available. The paper and wheel covers were still on when I recorded the result.
Aerosol Preparation Around the Hood and Bumper
Continuing the Aerosol Hood Preparation
Black Bedliner Spray-Gun Work on the Lower Trim
Continuing Along the Lower Edge
Finishing the Day in Fading Light
I was pleased with the black appearance at the end of the session. I described the work as two full days and at least twenty-five hours by that point, and said I would show the result in better light.
The evening photographs give a useful record of the finish immediately after spraying. The next day’s inspection brought a different concern into focus: some areas reflected the light differently, and I decided to work on that with a roller.
Where I Finished
The van was black along the lower body by the end of this session. Better light would be the next useful check on how evenly that finish looked.
U-POL RAPTOR Black Urethane Bedliner Kit Project for the wider sequence and related product notes.
The Preparation in a Shorter Edit
This additional portrait edit returns to my preparation account. It sits alongside the closer lower-trim and hood clips already in this diary, while the complete project story carries the wider preparation-to-finish sequence.
Watch The Additional Portrait Edit
U-POL RAPTOR Black Urethane Bedliner Kit — Preparation — Portrait
Read This Video’s Spoken Transcript
So the steps I've taken thus far have been that I washed everything with soap and water first then I degreased everything then I sanded everything then I degreased everything again then I used a tack cloth which is like a sticky I've never used it before but if I got it if I got it from Home Depot it's a sticky cloth that gets all the little dust and specks off and then that's where I am now