The Finish Looked Different in Daylight
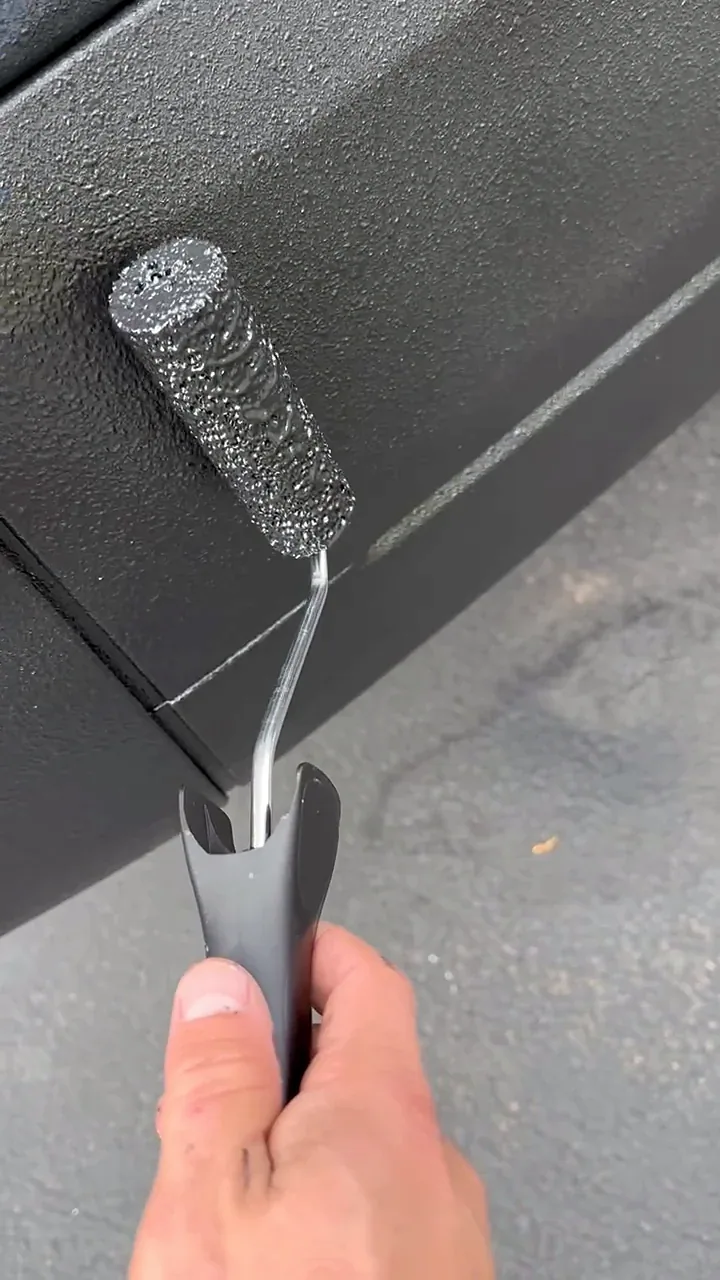
Looking over the sprayed bedliner, I noticed that the sheen was not consistent along the sides. Some areas looked flatter and others reflected more light. It was particularly noticeable to me on the side in the sun, while the shaded areas were harder to judge.
The unevenness bothered me enough to do something about it. I decided to get more RAPTOR and roll another coat onto the sides, aiming for a more consistent appearance.
Going Back over the Sides with a Roller
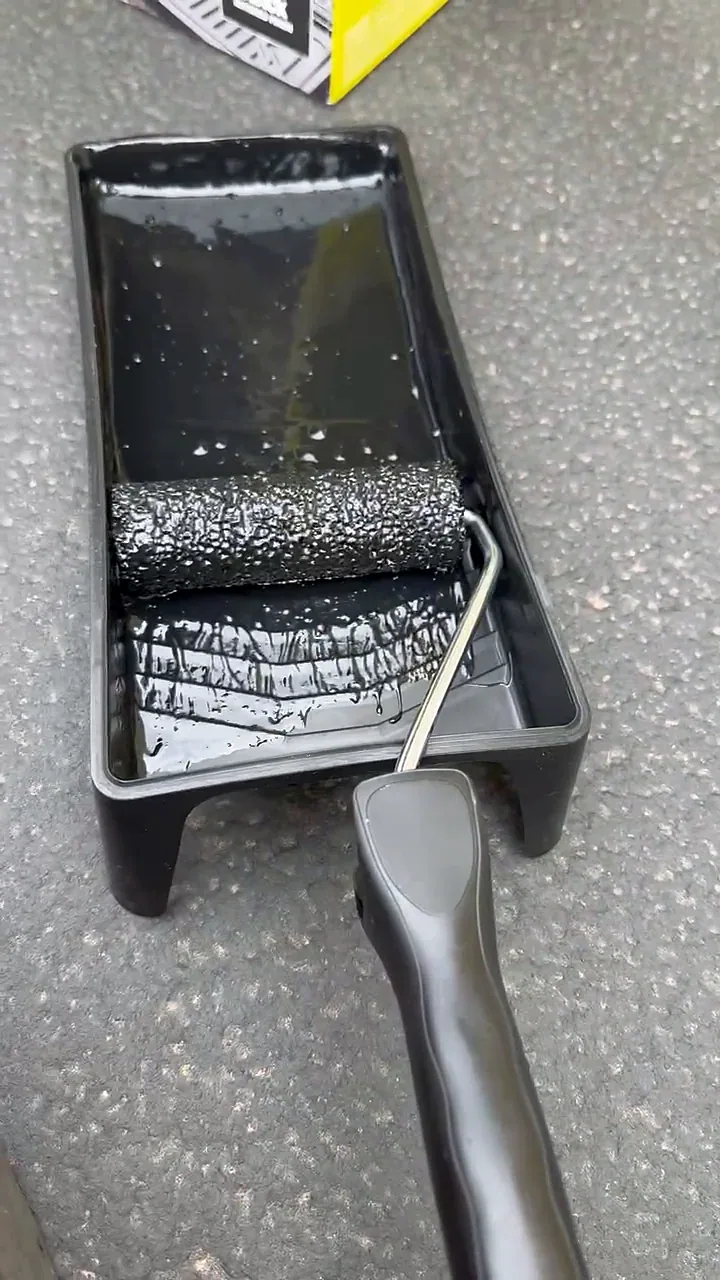
In the next clip I showed the new RAPTOR kit and the roller in its tray. I then recorded the roller touching the already sprayed lower trim and worked it along the panel. The paper and blue tape were still in place.
For this early RAPTOR work, I used the roller and tray supplied with the RAPTOR kit. I later used other rollers, trays and foam rollers bought on Amazon for more RAPTOR and other bedliner work on the van.
This was the corrective roller stage, after the spray work. The clip is a useful part of the diary because it shows the application itself, between my explanation of the problem and the walkthrough of the changed finish.
More Even, but Also More Glossy
After rolling, I said the finish looked much more even. I also noticed that it was much glossier than before—closer to a shiny, glistening appearance than the matte look I had wanted.
That was the tradeoff I recorded. I was satisfied with the improved consistency and still liked the overall result, even though the sheen had moved away from my original preference. The U-POL RAPTOR Black Urethane Bedliner Kit Project follows the uneven sprayed finish and this correction together.
My Assessment: More Even, but Glossier
Watch the Session
Where I Finished
U-POL RAPTOR Black Urethane Bedliner Kit Project in the expanded project film.
The roller gave me the more consistent appearance I was after on the sides. It also made the coating noticeably glossier, and both parts of that result mattered to me.
U-POL RAPTOR Black Urethane Bedliner Kit Project for the wider sequence and related product notes.
The Uneven Sheen and Correction Together
This additional edit keeps the uneven sprayed appearance, corrective roller stage and my glossier-result assessment in one sequence. The original session video and the closer assessment clip remain in the entry.
Watch The Additional Portrait Edit
U-POL RAPTOR Black Urethane Bedliner Kit — Roller Correction — Portrait
Read This Video’s Spoken Transcript
I'm noticing a little bit of inconsistency in the evenness of the spray and you know probably from the sprayer but in some parts it has a little more sheen to it and others it's more flat. So I've finished rolling and everything is definitely much more even after the rolling. It's it's much more even. The rolling, applying it that way makes the finish much glossier. It's like before it was quite matte. Now it's almost like a metallic finish. It's very shiny. I'm not sure if you can see this through the video, but the finish is very shiny. Not exactly what I wanted. I wanted more of a matte look, but that's alright. I'm still happy with it. It looks good.